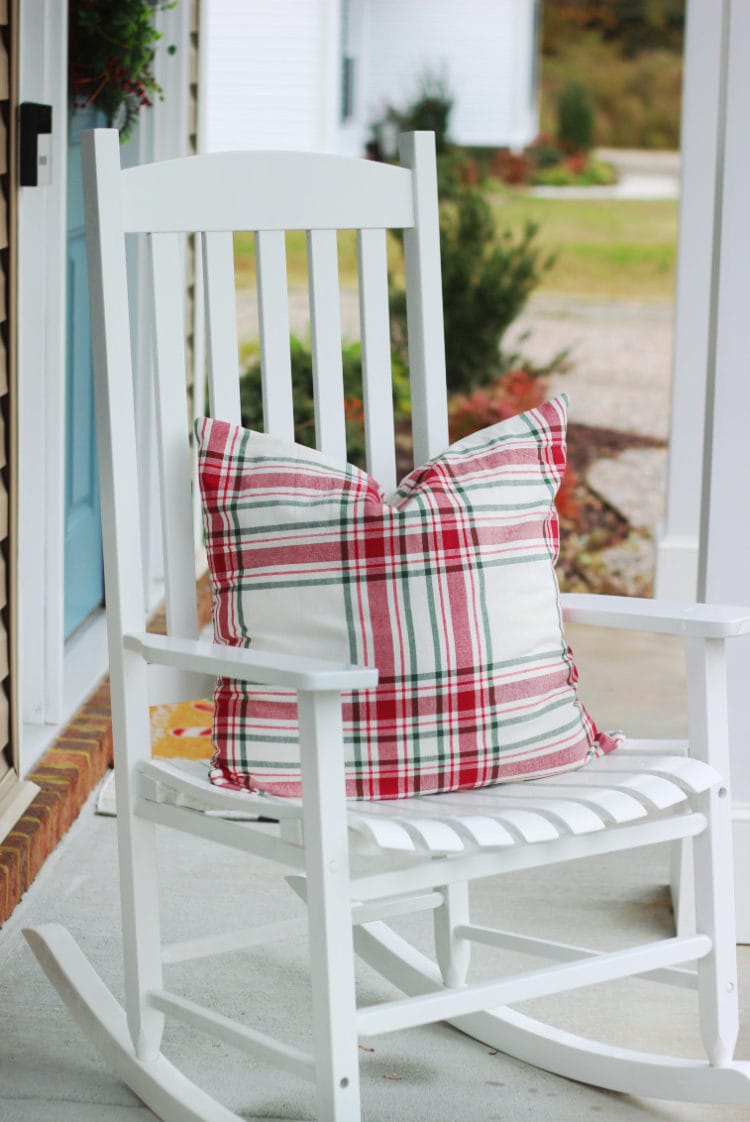
Save time and money by making your own pillow covers using a this holiday pillow cover tutorial! A simple 10 minute tutorial using a tablecloth that can be adjusted to fit any square throw pillow.
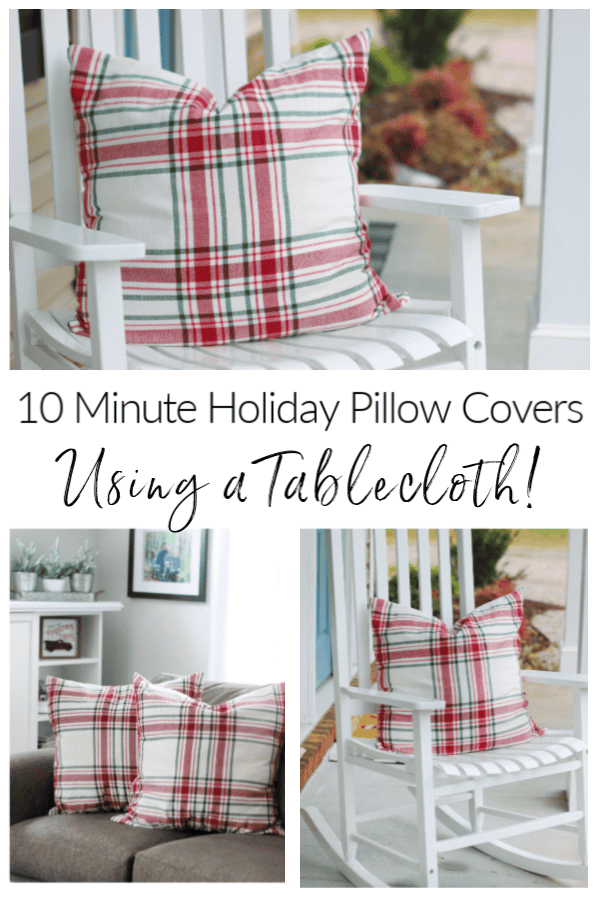
I recently saw a meme that said throw pillows are stuffed animals for grown women. Truer words have never been spoken, friends. I love changing out my pillow covers, and rarely have to buy inserts because I simply make covers for the pillows that I already have. The covers fold nicely to store in the linen closet and can be made using discount home decor fabric or even a tablecloth.
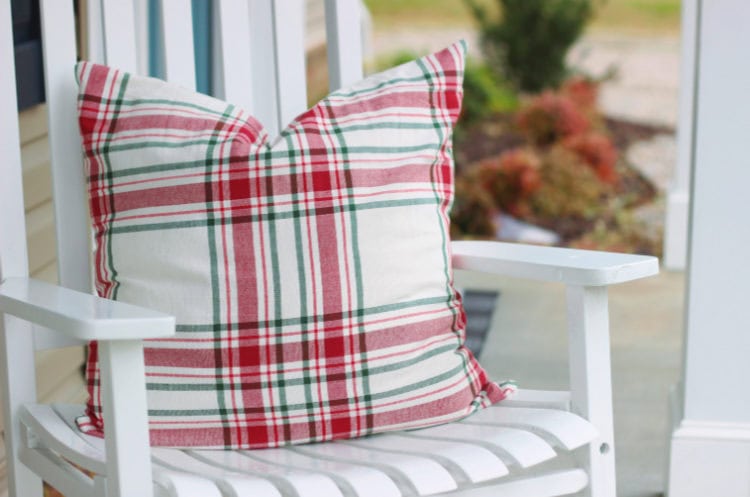
I saw this 60" x 84" tablecloth at Kohl's and loved the classic Christmas style. It was 50% off and I had a 30% coupon on top of that so it ended up being $10. Not a bad price considering that I was able to make 2 (23") pillow covers and an 18" pillow cover. I got the idea for using a tablecloth from BlessedMilHouse on Instagram. Such a brilliant idea! You can find gorgeous fabric tablecloths at thrift stores and on sale at your favorite stores like Target or Home Goods.
What kind of pillow cover are we making?
Some pillow covers have zippers, some have buttons, and some velcro to keep them fastened. This holiday pillow cover tutorial is the easiest of all and is very similar to the pillow covers that I made in this post. They open from the back with overlapping flaps. The only difference is the extra few minutes that you shave off by using a tablecloth and not having to iron or hem the flaps.
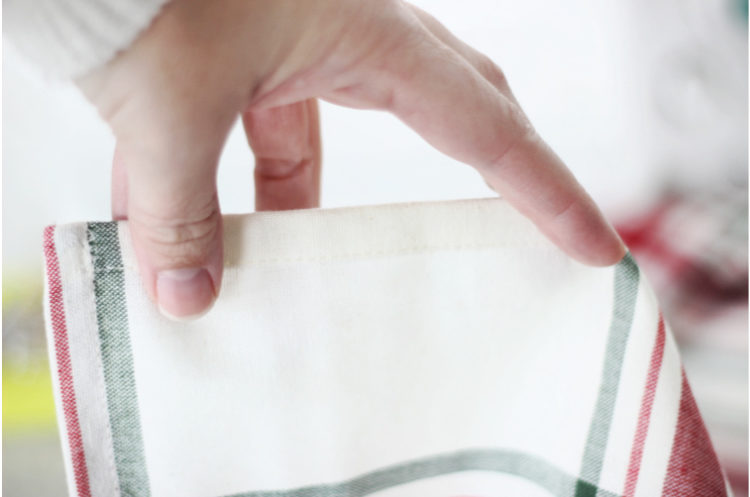
The beauty of using a tablecloth is that the edges are already hemmed.
Just cut out your pieces, layer them, then stitch around the perimeter before turning your holiday pillow cover right side out.
Sounds easy enough right? Let's get started!

4 More Pillow Projects You'll Love
Fold Over Button Pillow from Make It and Love It
Holiday Pillow Cover Tutorial Using a Table Cloth
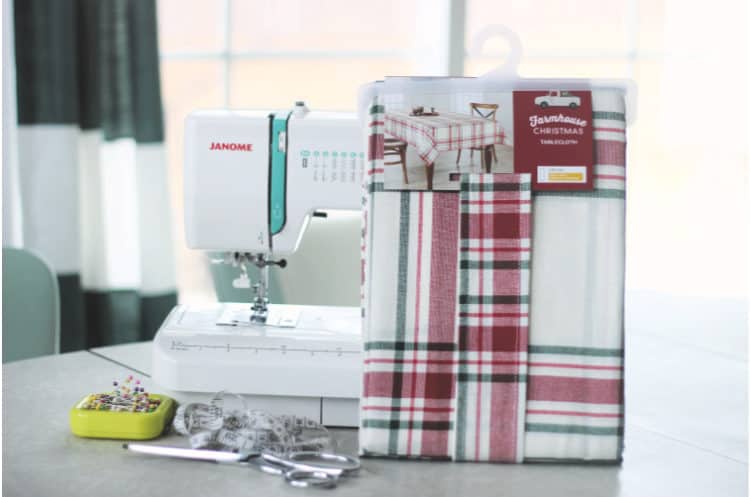
Supplies:
- Tablecloth
- Scissors
- Measuring Tape
- Pins
- Sewing machine with coordinating thread
- Pillow Insert
Cutting Measurements for Making a Holiday Pillow Cover
You will need a front piece and two back pieces (Note: cut the back pieces along the hemmed edge of the tablecloth. 3 sides will have a raw edge, one width side will be along the hem). Take note of any directional prints to make sure your pillow front is centered on the design.
24" pillow - 1 (24 ½") square and 2 (24 ½" x 14 ¼") back pieces.
22" pillow- 1 (22 ½") square and 2 (22 ½" x 13 ¼") back pieces.
20" pillow- 1 (20 ½") square and 2 (20 ½" x 12 ¼") back pieces.
18" pillow- 1 (18 ½") square and 2 (18 ½" x 11 ¼") back pieces
Don't see the size you'd like to make? No problem. I'll share how to come up with your own measurements below.
How to Make a Pillow Cover for Any Square Pillow
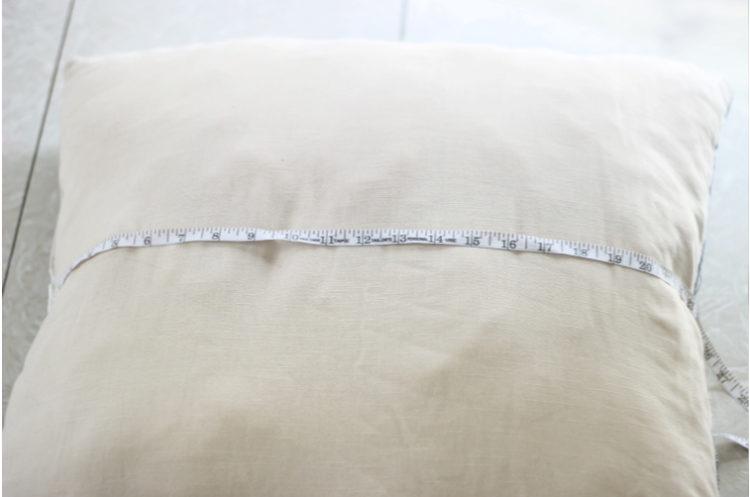
Step 1: Measure pillow across the width. This tutorial is for a square pillow so the width and length should be the same. Add ½" to this measurement for a seam allowance. Cut out a square this size. (My pillow was 23" across so I cut out a 23 ½" square of fabric.)
Step 2: Add 4 inches to the length of your pillow. Divide this number in half and write down the measurement (mine was 27 ½" divided by 2 for a new measurement of 13 ¾").
Cut out two pieces of fabric along the hemmed edge that are the same width as the square you cut out in step 1 and the length of the measurement you just made in step 2. (My measurement was 23 ½" width x 13 ¾" length.) Note: the 23 ½" edge should be along the hemmed edge of the tablecloth. Only one side will be hemmed. The other 3 sides will still be raw.
Assembling Your Holiday Pillow Cover
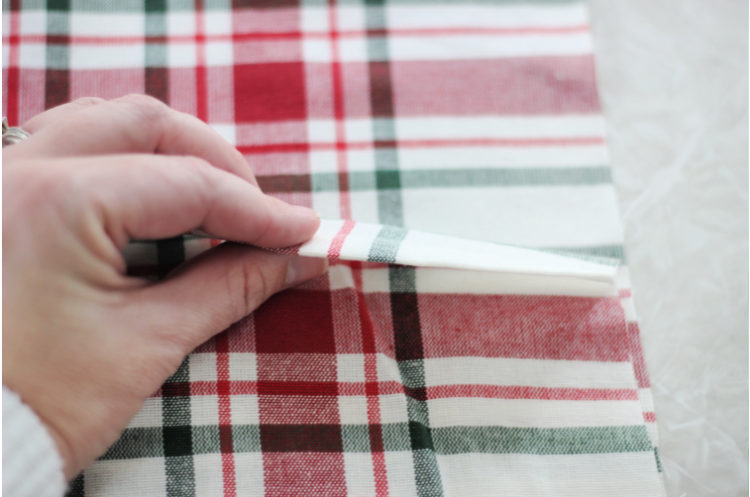
Place the square pillow front on your work surface with the right side facing you.
With right sides facing, lay the two back pieces on top of the front piece, matching outer edges. The hemmed edges of the two back pieces will overlap in the center.
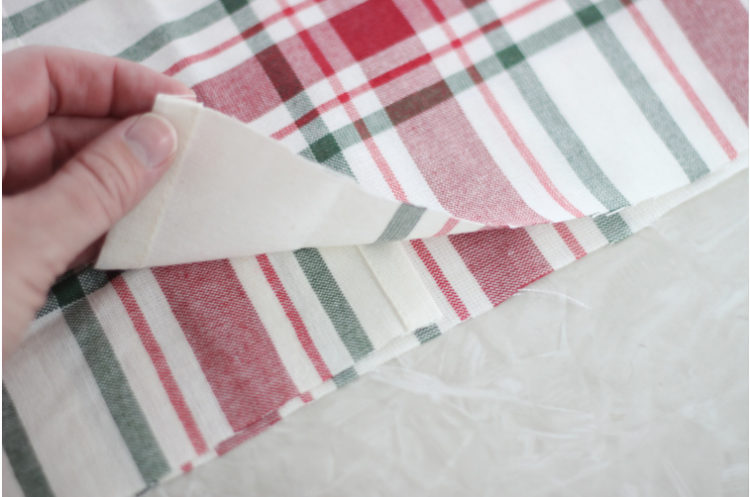
Pin and stitch all 4 side seams of the pillow cover using a ⅜″ seam allowance.
Clip corners and turn the pillow cover right side out.
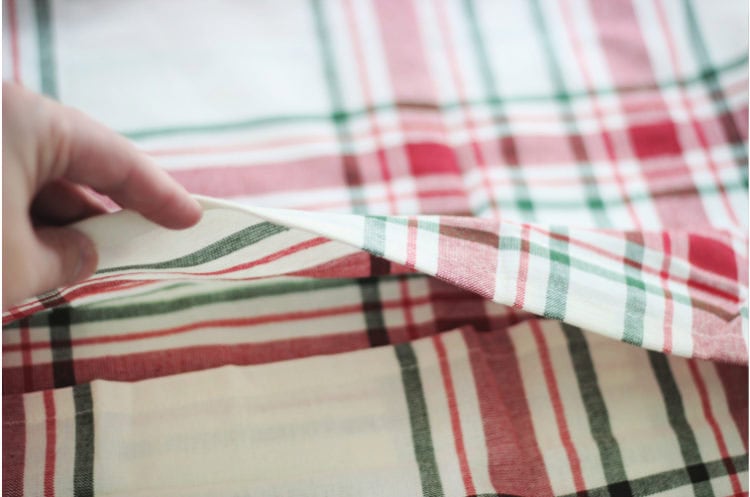
Now all that's left to do is slide your pillow insert inside!
Here are 60 sewing projects to make with kids! 3 skill levels and hours of fun!

Glenda says
Thank you so much for this instruction. I’ve been wanting to sew some pillow covers but I am a beginner sewer. Now with this I know I can do it!
Also, I wanted to thank you very, very much for the “print” button that converts it to an easy printable form. I am always trying to print out good instructions like this but it will end up with too many pages filled with all of the ads and weird spacing. You have no idea how excited I was to find this at the end of your article.
I have loved your site but now I am devoted ❤️
Brandy says
Thank you for your feedback! I’m so glad this has been helpful for you! 🙂 Happy Sewing!