Coconut oil, shea butter, Vitamin E, beeswax, and essential oils combine to create luxurious DIY lotion bars to combat dry hands. Warm a bar with your hands for a few seconds then rub across dry skin. To use on feet, rub the lotion bar across heels and bottom of feet, and put on a pair of socks before going to bed.
If you like making your own bath and body products you'll definitely want to try our homemade lip gloss, bath bombs, and peppermint sugar scrub!
Homemade gifts are my favorite. I love to make and receive them. For Christmas, my mom made lotion bars to give out as gifts. I suffer from dry skin, especially on my hands. And not just in the winter, but all year long. I'm sure it is due to the fact that I have young children and am constantly washing my hands after diaper changes, wiping noses, and cleaning. I'm sure weather also has something to do with it. That cocoa butter lotion bar that she sent me took my cracked knuckles and gave them a nice makeover within a couple of days. I now use a lotion bar every night before going to bed and I have had soft hands all winter!
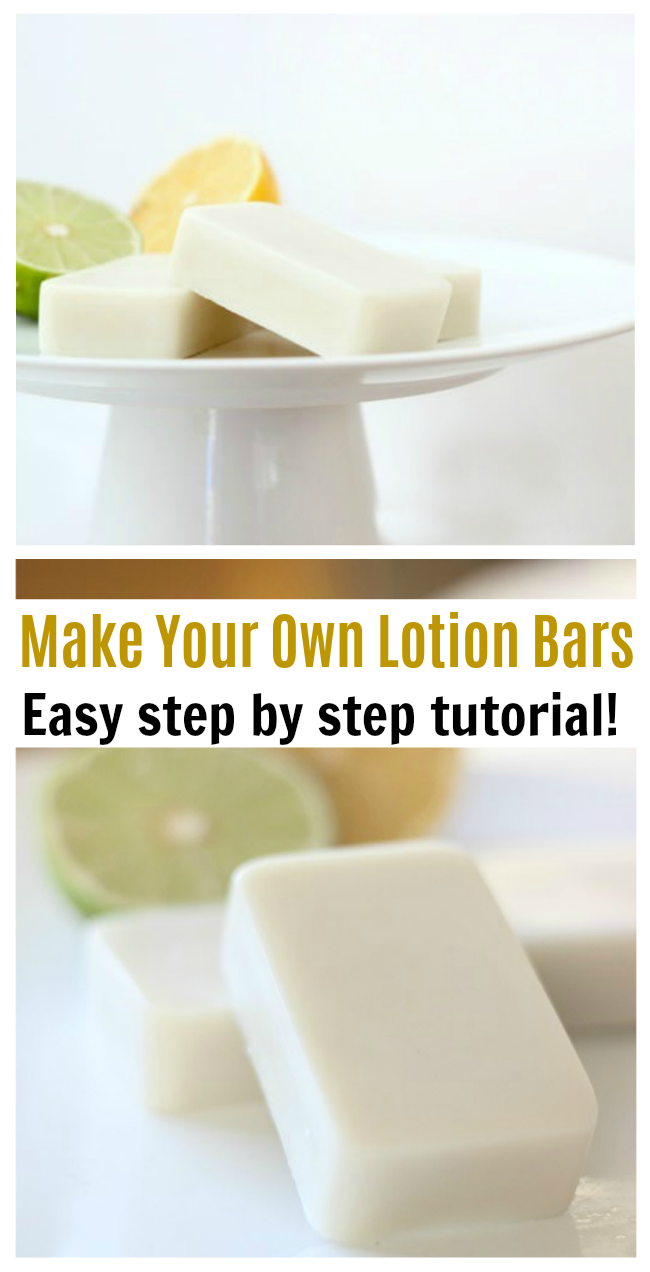
Homemade Lotion Bars
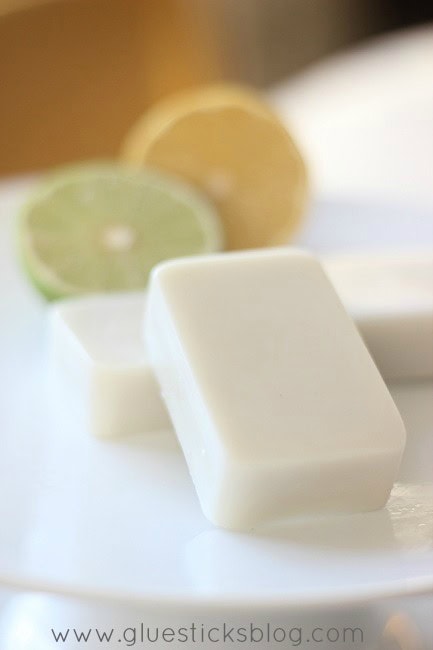
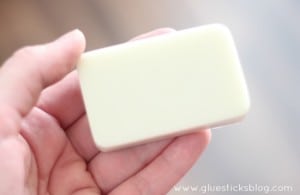
Lotion bars look like a bar of soap, but don't get wet or lather. These lotion bars warm in your hands and are easy to rub on elbows, dry hands, knees and feet. Today I am going to share how I made my own lotion bars with my favorite essential oils: lemon and lime.
The beauty of these melt and mold type projects is that you can customize them however you'd like! Your favorite ingredients, base oils, and essential oils. If you are allergic to coconut oil, you can use olive oil. You get the idea.
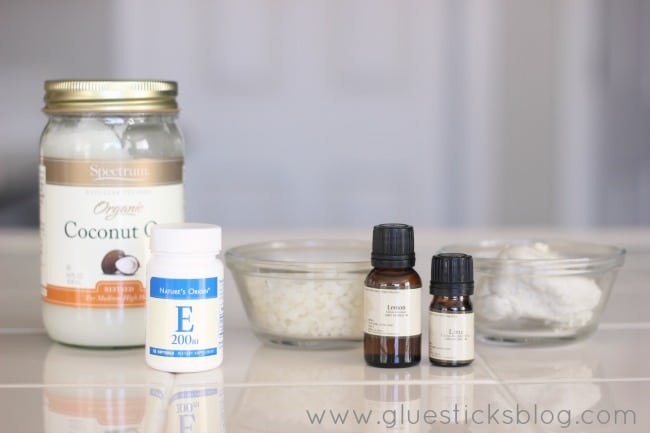
DIY lotion bars are incredibly easy to make and only require a few ingredients. I love making beauty products and already had a lot of the supplies in my cupboard from when I made lip gloss and melt and pour soap last year.
You will need equal ratios for this recipe, so that is easy to remember. I went with 2 oz. ratios.
Homemade Lotion Bar Recipe
Homemade Lotion Bars
Equipment
- glass pour measuring cup
- small baking sheet
- lotion bar mold (silicone soap molds work great)
Materials
- 2 ounces coconut oil
- 2 ounces shea butter
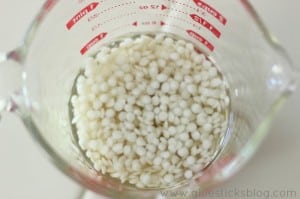
- 2 ounces bees wax pellets
- 2 capsules vitamin E oil
- essential oils for scent optional
Instructions
- Fill a sauce pan with about 2" of water and bring to a boil. Place a mason jar or smaller pot inside (double boiler**) and add your shea butter, beeswax, and coconut oil and heat until melted.

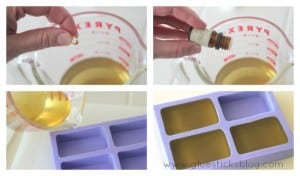
- Transfer to a pourable measuring cup. Cut the tip off of the vitamin E capsule and add it to your liquid mixture.

- Add essential oils, to your liking. As a reference, I used about 15 drops of each of the lemon and lime essential oils. Stir. If your mixture is lightly scented, add a few more drops and give it another whiff. If it smells just right, add a couple of more drops as it sometimes seems to lose potency when it has hardened.
- Pour your mixture into your molds.
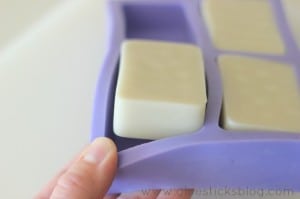
- Allow lotion bars to sit until the tops start to look solid (about 15 minutes). Carefully move to the refrigerator and allow to set completely about 30 minutes.
- Pop your lotion bars out of the molds. Store solid lotion bars at room temperature for a long shelf life.

Video
Notes
**I used to make these by microwaving them, but learned that you lose so many of the valuable properties in the coconut oil and shea butter that way. Using a double boiler is super easy to do and works great---and you get all of the benefits of these amazing oils!
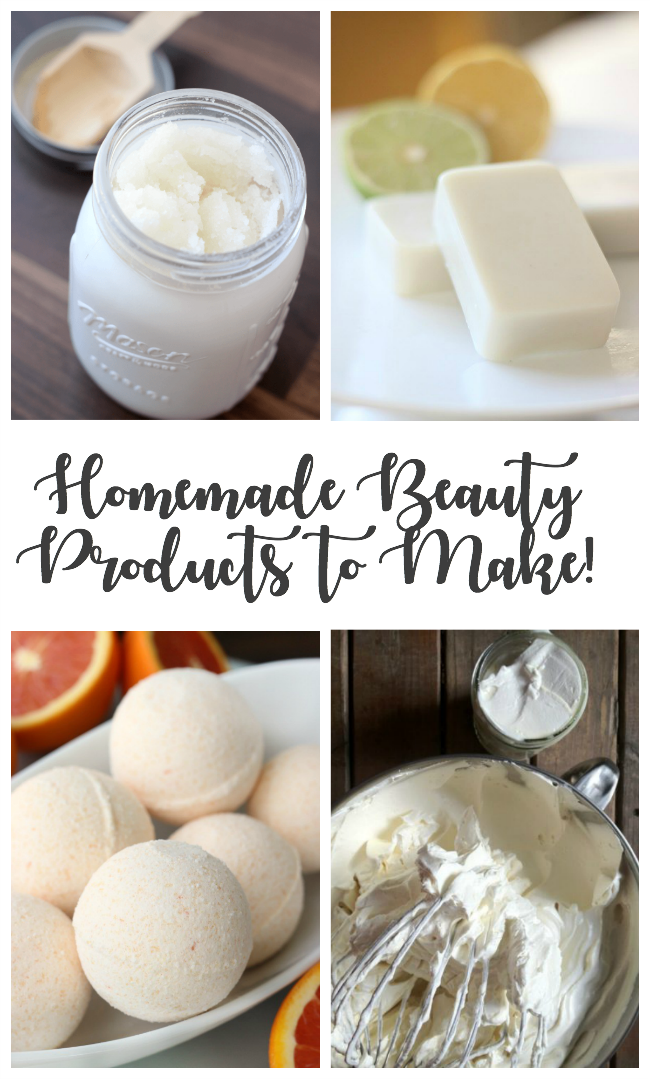
If you enjoy making your own beauty products, you may enjoy this collection of homemade beauty gifts that I put together below!
This post is a refresh of a post originally shared in 2014.


Kristine says
Thank you for this recipe, Brandy! I just made some unscented bars for my husband and some lavender rosemary ones for myself. We both love them.
Brandy says
I'm so glad! They really do help!
Maisy says
Hi Brandy, these lotion bars look great! And I actually have all the ingredients at home, yay! 🙂 Thanks for sharing at the Friday Favorites linky party. I hope you'll come back next week to link up your projects so I can stop by again!
Rita C at Panoply says
Great post and quick video!
Julie @ Back To My Southern Roots says
I've made these before, but only with beeswax and essential oils. I really love the idea of adding vitamin E and coconut oil. Now, I really want to try these! Thanks for sharing this wonderful recipe.
Colleen Pausley says
What a great idea! I can't wait to try this!
Theresa says
I seriously need to make some of these. Thanks for sharing at the Inspiration Spotlight party @DearCreatives. Happy New Year btw. See you again soon. 😉
Leanna says
This soap looks beautiful and I love the idea of knowing exactly whats in it.
Christine says
My hands have been so dry this month so definitely going to give these a try! Thanks for sharing on Inspiration Monday 🙂
Michelle Leslie says
Oh this is great Brandy. I love walking barefoot except when it's really cold outside which means my heels are as hard as rocks and have a tendency to crack sometimes. Your lotion bars may be just what the heel doctor ordered. Can't wait to make some