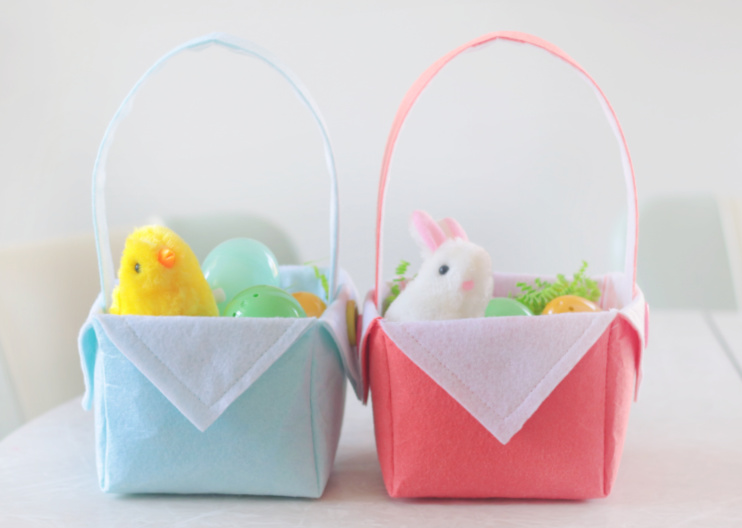
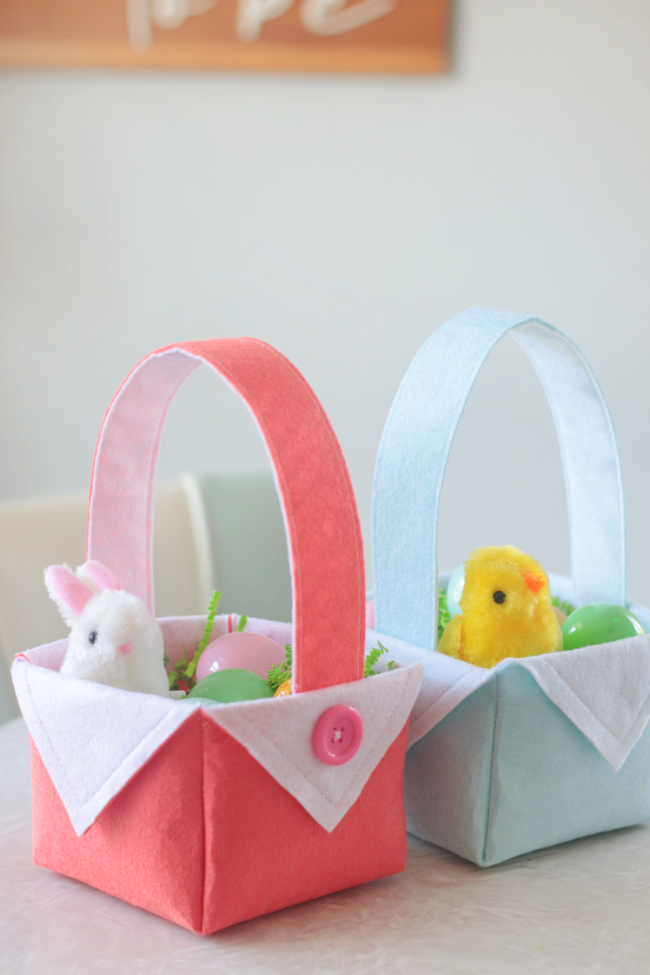
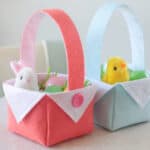
Learn how to make a DIY fabric Easter basket with this easy step-by-step sewing tutorial! A reusable, homemade Easter basket perfect for kids. Includes video instructions.
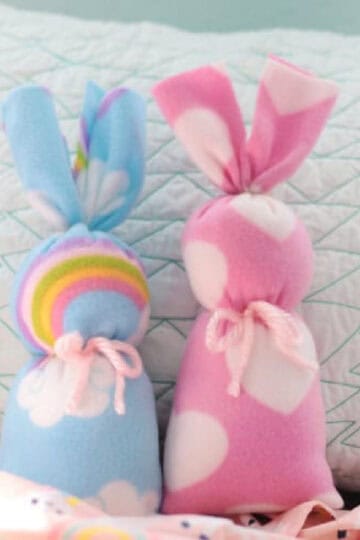
You might also like my 10-minute fleece bunnies or felt carrot candy pouches. Both are EASY sewing projects and a free sewing pattern.
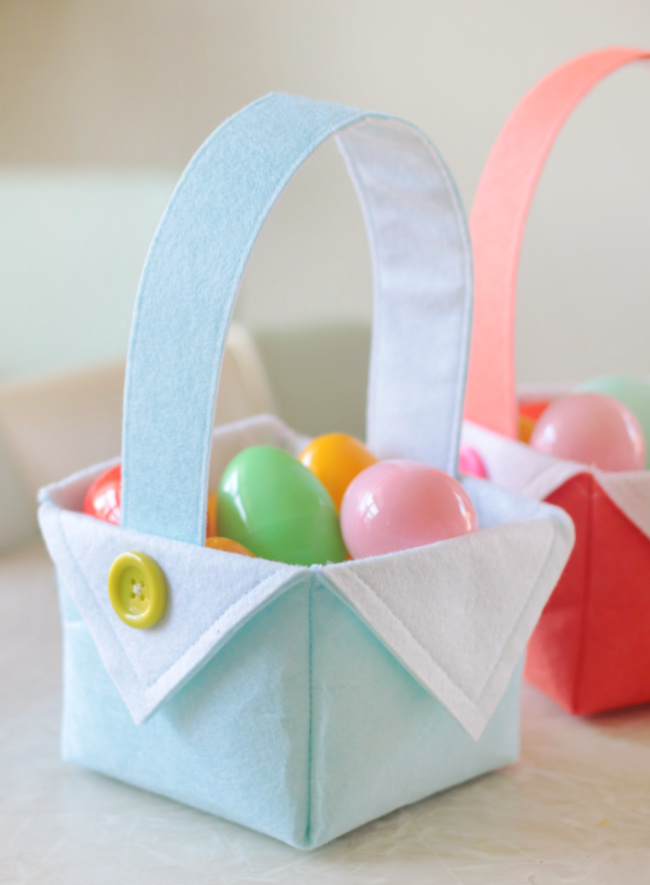
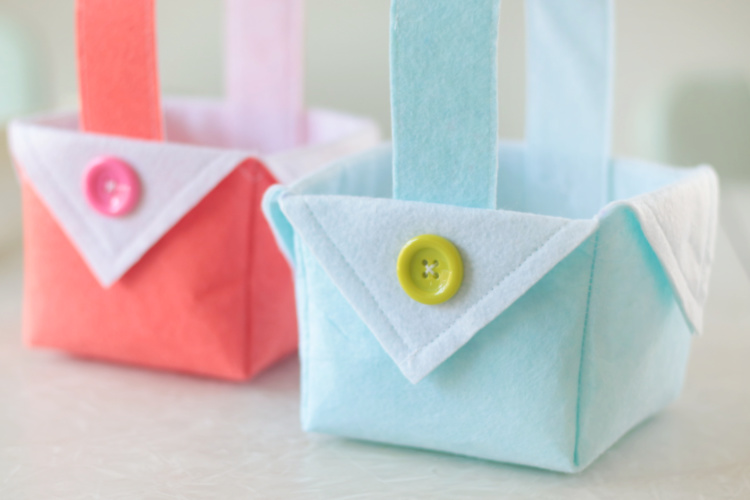
I love simple sewing projects, and these baskets are ridiculously easy. This basket is just the right size to hold 12-16 Easter eggs or small toys and goodies. Wouldn't this make a cute spring gift for a friend? You could fill it with a package of Cadbury mini eggs!
Why I Like This Project
- Easy sewing project. If you can sew a straight line, you can make one of these baskets! No pattern pieces, ironing board, embroidery, fusible interfacing, or binding are necessary. Just FELT and a couple of buttons!
- Tried and true method. My baskets are patterned after the nesting boxes in my kids' sewing book. I simply added a handle this time! They are sturdy, easy to make in multiple sizes, and are a quick project.
- Perfect for Easter egg hunts. This project yields 1 Easter basket (6"x6") that can hold up to 16 regular-sized plastic eggs.
Jump to:
Basket Fabric Suggestions
Felt is such an easy fabric to work with. It sticks to itself (reducing the number of pins needed), doesn't fray (no need to hem), and is sturdy. You will need both regular craft felt and stiff craft felt.
- Regular craft felt: We all know and love the basic felt rectangles that you can buy at any craft store. You can buy it in sheets or by the yard, and it is perfect for so many projects! We'll use this type of felt for the basket's lining. You'll need a 12" x18" piece (if you can't find a sheet this size, you can buy it by the yard or in a package like this from Hobby Lobby).
- Stiff craft felt: Some craft stores also sell "stiffened felt" right next to the sheets of regular craft felt. It comes in 12" x 18" sheets. This type of felt is perfect for the outside of the basket. You'll need one 12" x 18" sheet. If you aren't able to locate any, you can use regular craft felt. The handle won't be quite as stiff, but it will still work. You can find sheets of stiffened felt for $1.99 from Hobby Lobby or a package of colorful 12"x12" sheets on Amazon.
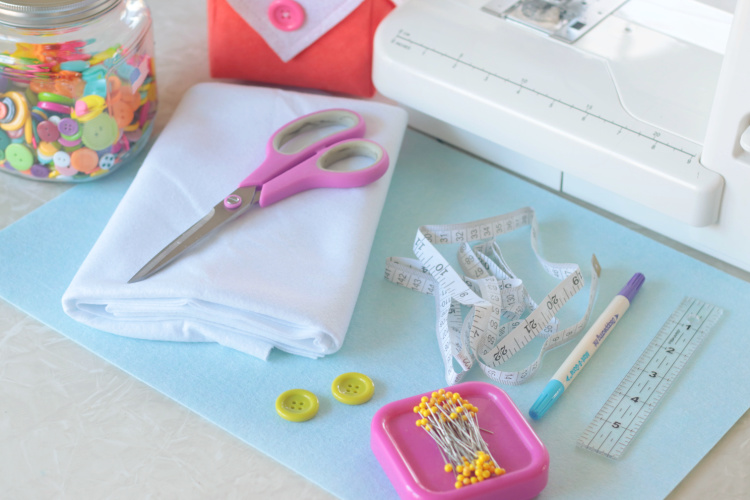
Supplies
- Felt (regular and stiff)
- Scissors
- Measuring Tape
- Sewing Pen or pencil (my pen has disappearing ink)
- Pins
- Needle
- Thread
- Sewing Machine
- 2 Buttons
- ruler or straight edge
See the how-to card at the end of the post for full information on supplies and quantities.
How To Make Fabric Easter Baskets
Step 1: You'll need a 12" x18" piece of stiff felt for the basket's exterior and another 12" x18" piece of craft felt for the lining.
Note: If you can't find a sheet of stiff felt, you can use regular craft felt. The basket handle will be slightly more floppy, but it will work.
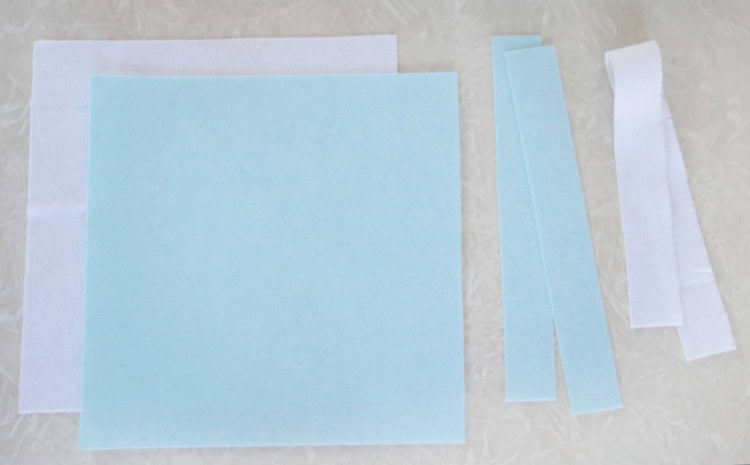
Step 2: Cut felt (both the outer and lining into the following pieces:
1 (12" x 12") square for the outer and one for the lining.
2 (1.5" x 12") strips for the outer handle and 2 for the handle lining (you will sew these together to create a long 1.5" x20" basket handle in the end).
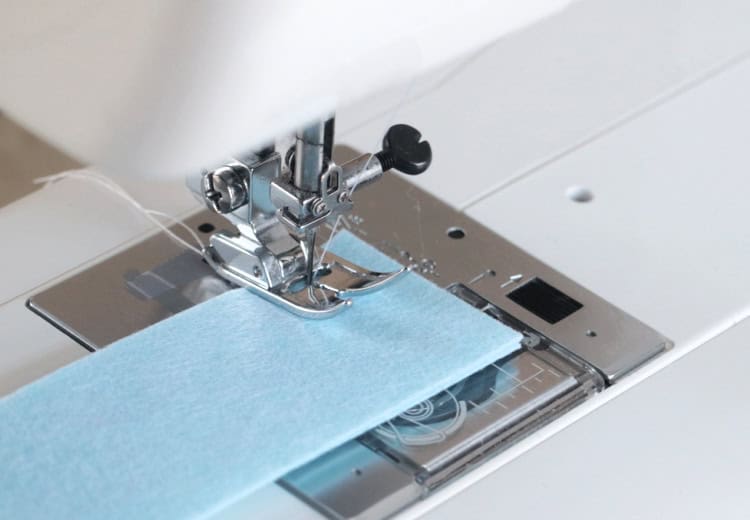
Step 3: Sew the two outer handle pieces together on the short ends using a ⅝" seam. Sew two lining handle pieces together using a ⅝" seam. Open seams flat. You should now have two long strips of felt (one outer and one lining) measuring 1.5" x 23".
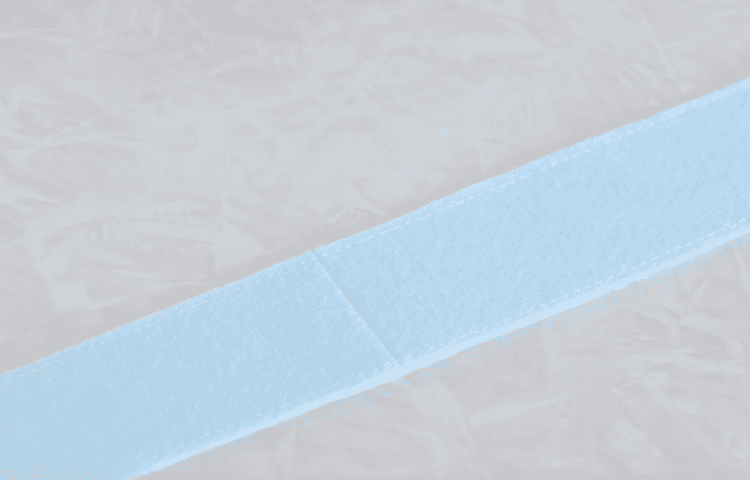
Step 4: Place one basket handle piece on top of the others (with the right sides on the outside and center seams matching) and stitch around the perimeter using a ¼" seam allowance. Trim fabric close to the seam with scissors. Set the handle aside.
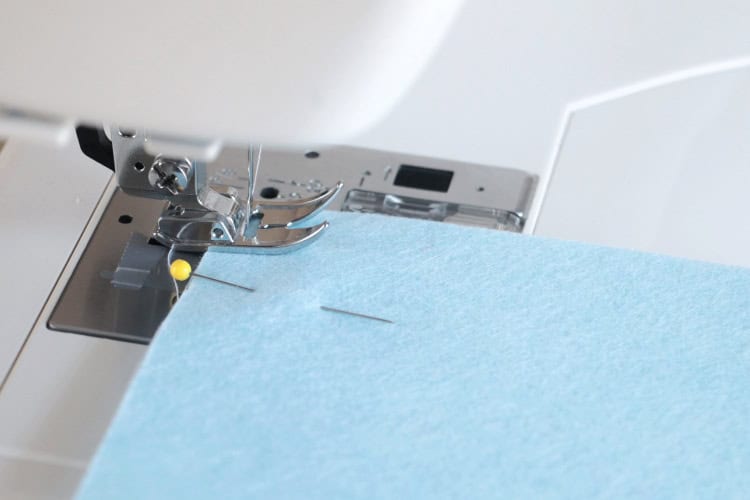
Step 5: Stack the 2 (12") squares, line up the edges, and add a few pins to keep everything in place.
Note: If you are using patterned felt, make sure the right side of the fabric is on the outside. Machine stitch around all four sides using the pressure foot on your machine as a guide (⅜"). Trim the threads.

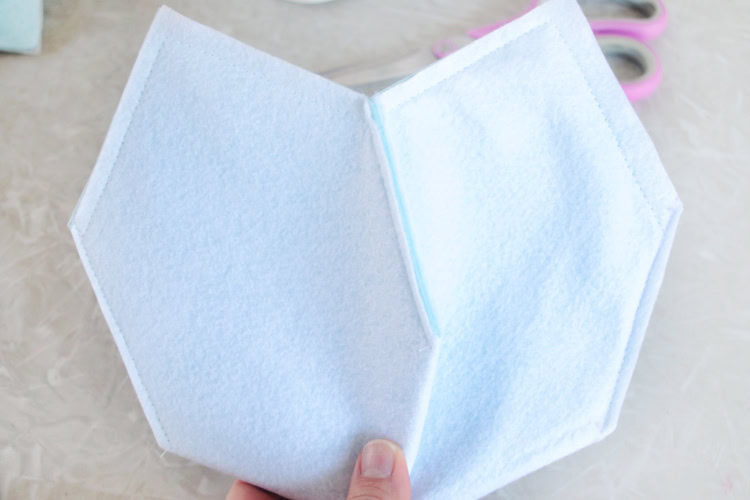
Step 6: Now we're going to make the bottom of the basket and sides by creating corners. To do this, fold the square in half with the lining (wrong side) on the outside and the fold on the bottom.
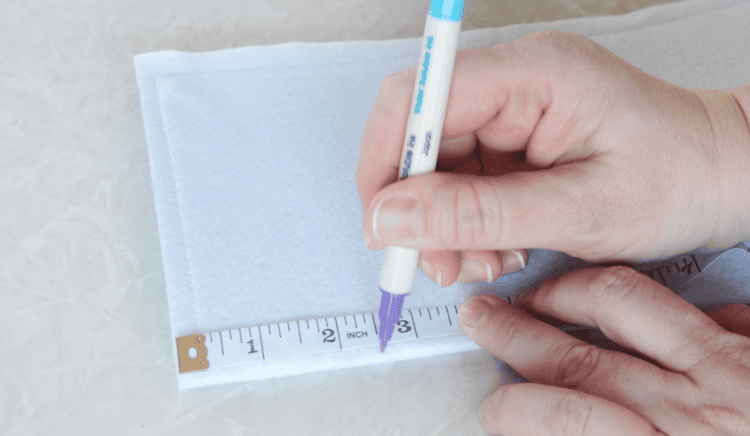
Step 7: Measure 2.5” on the bottom and mark it with a pencil or sewing pen. Measure 2.5” on the side and mark it as well.
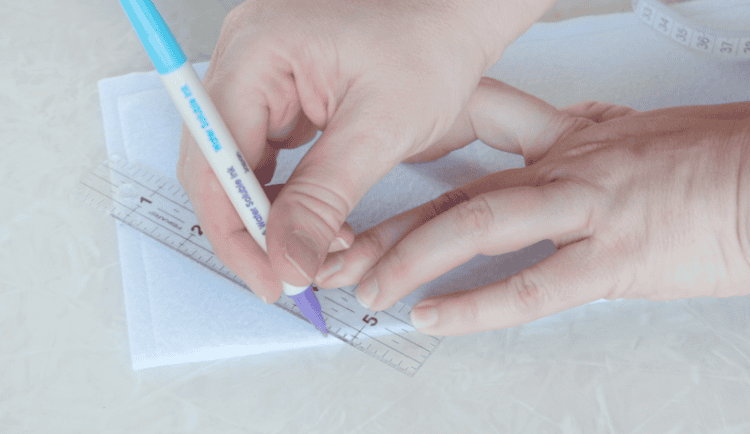
Step 8: Connect the two markings with a diagonal line to form a triangle. Repeat for the other side.
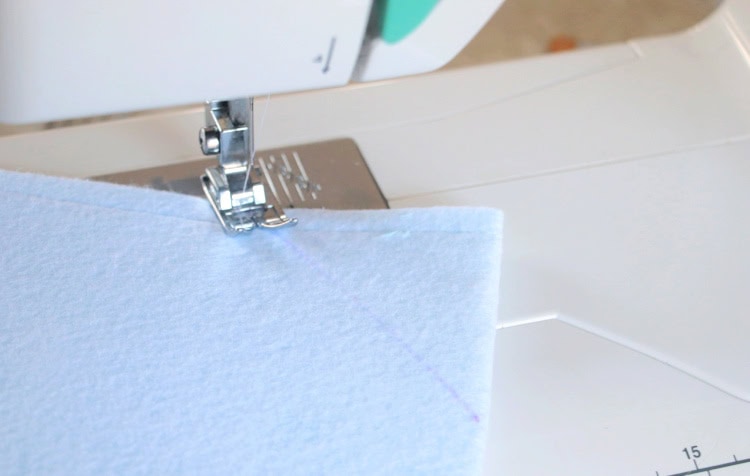
Step 9. Machine stitch along the diagonal lines. Fold the fabric in half the other direction and mark the other two corners 2.5” up and 2.5” along the bottom. Machine stitch along the diagonal lines.
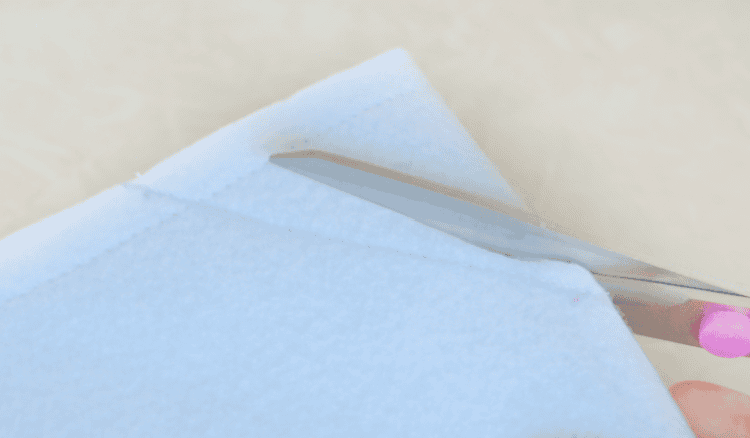
Step 10. Cut each corner seam on a diagonal ¼” away from the seam using scissors or a rotary cutter.
Your basket should look like this.
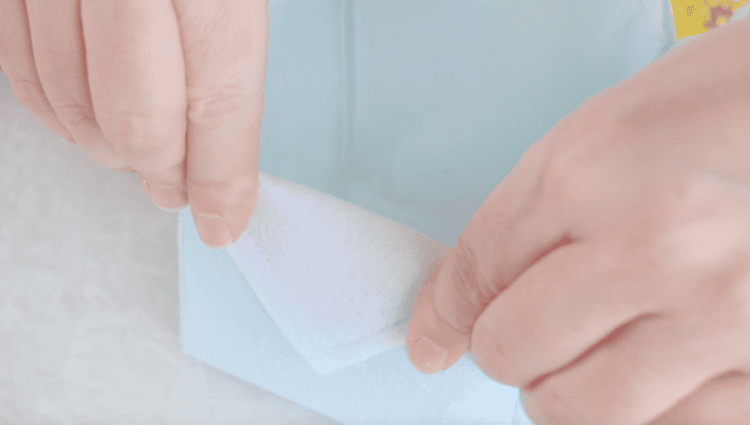
Step 11. Turn the basket right-side-out, pushing out corners and creasing side seams to create a basket shape. Fold each flap over.
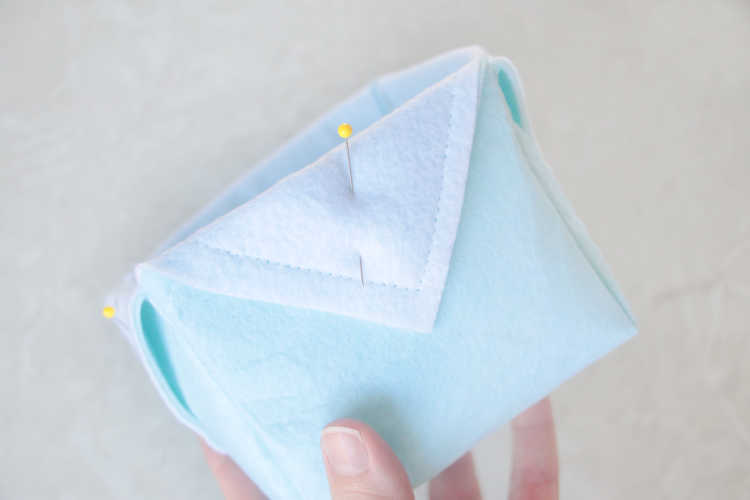
Step 12. Pin flaps into place.
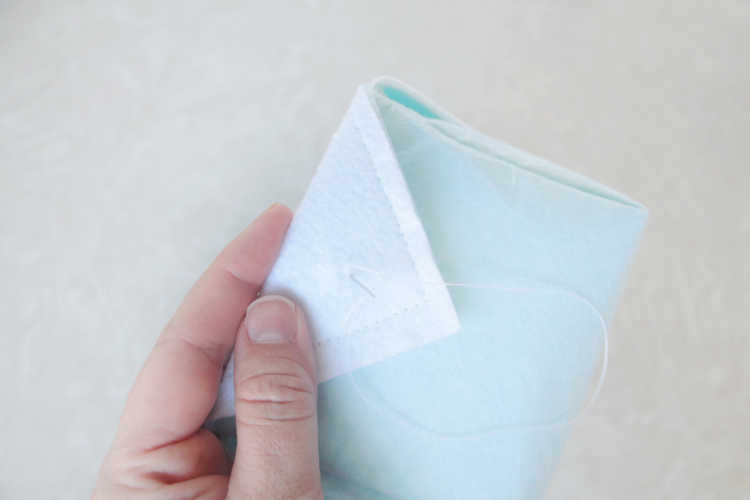
Step 13. Thread a needle with matching thread and tack each side down with two stitches in the center. Tie a knot on the back and trim the thread.
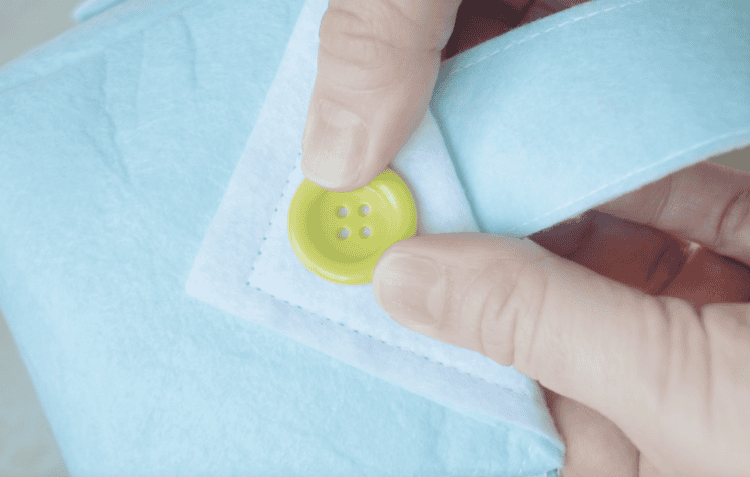
Step 14. Decide how long you'd like the handle to be and trim ends (mine was 20"). Line up the basket handle with the bottom edge of the basket. Place a button on top of the flap and sew it into place, sewing through all layers to secure the basket handle at the same time. Repeat on the other side of the basket.
Step 15. Trim off any loose threads.
Homemade Easter Basket FAQs
Felt is such an easy fabric to work with. It sticks to itself (reducing the number of pins needed), doesn't fray (no need to hem), and is sturdy. You will need both regular craft felt and stiff craft felt to make this Easter basket.
Cutting and Measuring Guide:
4-inch basket: cut 2 (8") squares of felt. One for the outside and one for the lining. Measure 1.5" corners.
5-inch basket: cut 2 (10") squares of felt. One for the outside and one for the lining. Measure 2" corners.
6-inch basket: cut 2 (12") squares of felt. One for the outside and one for the lining. Measure 2.5" corners.
To Make Even More Sizes:
If you want a 7" basket, you'll double that length to create the felt square size that you need. For example, a 7" basket = 14" felt squares. An 8" basket = 16" felt squares.
Add ½" to the corner measurement for every inch you increase the basket size. For example, a 7" basket would have 3" corners, an 8" basket would have 3.5" corners, and a 9" basket would have 4" corners.
Handle: Decide how long you want your handle to be and adjust the length accordingly.
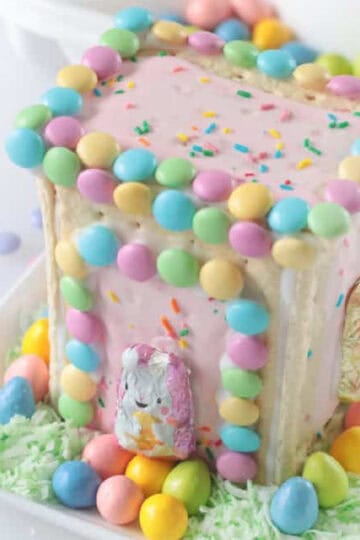
More Easter Crafts To Make

MADE THIS CRAFT AND LOVED IT? 💛 Please leave a STAR rating and COMMENT below! Post it to Facebook or Pinterest to easily share with friends!
Easy Easter Basket Sewing Tutorial
Equipment
- sewing machine
- measuring tape
- pins
- marker
- sewing needle
- ruler or straight edge
Materials
- 1 12"x18" piece stiff felt for basket exterior
- 1 12"x18" piece felt for basket lining (interior)
- thread
- 2 buttons
Instructions
- Let's talk about the felt fabric pieces. For this project, you are going to use stiff felt and regular felt. You'll need a 12"x18" piece of stiff felt for the outside of the basket and another 12"x18" piece of craft felt for the lining of the basket. Note: If you aren't able to find a sheet of stiff felt you can use regular craft felt. The basket handle will be slightly more floppy, but it will work.
- Cut felt (both the outer and lining into the following pieces):1 (12" x 12") square for the outer and one for the lining.2 (1.5" x 12") strips for the outer handle and two for the handle lining (you will sew these together to create a long 1.5"x20" basket handle in the end).
- Sew the two outer handle pieces together on the short ends using a ⅝" seam.Sew two lining handle pieces together using a ⅝" seam.Open seams flat. You should now have two long strips of felt (one outer and one lining) that are 1.5" x 24" long.
- Place one basket handle piece on top of the others (with the right sides on the outside and center seams matching) and stitch around the perimeter using a ¼" seam allowance.Trim fabric close to the seam with scissors. Set handle aside.
- Stack the 2 (12") squares, line up the edges, and add a few pins to keep everything in place. Note: if you are using patterned felt, make sure the right side of the fabric is on the outside.Machine stitch around all four sides using the pressure foot on your machine as a guide (⅜"). Trim the threads.
- Now we're going to make the bottom of the basket and sides by creating corners. To do this, fold the square in half with the lining (wrong side) on the outside and the fold on the bottom.
- Measure 2.5” on the bottom and mark it with a pencil or sewing pen. Measure 2.5” on the side and mark it as well.
- Connect the two markings with a diagonal line, forming a triangle. Repeat for the other side.
- Machine stitch along the diagonal lines. Fold the fabric in half the other direction and mark the other two corners 2.5” up and 2.5” along the bottom. Machine stitch along the diagonal lines.
- Cut each corner seam on a diagonal ¼” away from the seam using scissors or a rotary cutter.
- Turn basket right-side-out, pushing out corners and creasing side seams to create a basket shape.Fold each flap over.
- Pin flaps into place.
- Thread a needle with matching thread and tack each side down with two stitches in the center. Tie a knot on the back and trim the thread.
- Decide how long you'd like the handle to be and trim ends (mine was 20"). Line up basket handle with bottom edge inside basket. Place a button on top of the flap and sew button into place, sewing through all of the layers to secure the basket handle at the same time. Repeat on the other side of the basket.
- Trim off any loose threads.
Video
Notes
- 4-inch basket: cut 2 (8") squares of felt. One for the outside and one for the lining. Measure 1.5" corners.
- 5-inch basket: cut 2 (10") squares of felt. One for the outside and one for the lining. Measure 2" corners.
- 6-inch basket: cut 2 (12") squares of felt. One for the outside and one for the lining. Measure 2.5" corners.


Brenda says
How do you attach the flaps that do not have buttons?
Brandy says
With two stitches. Just enough to hold them in place.