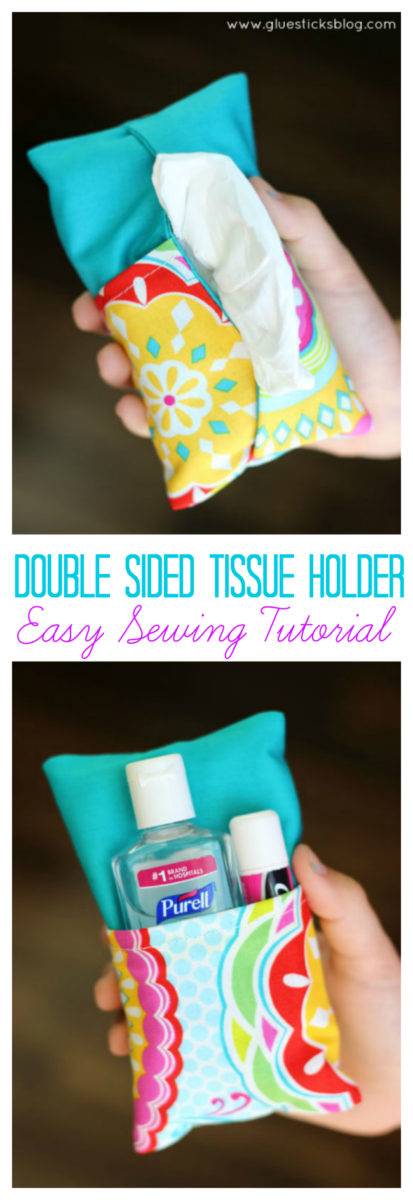
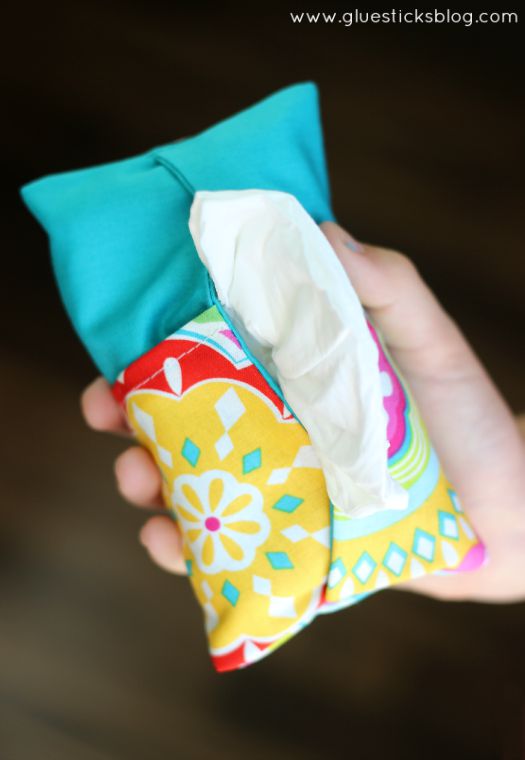
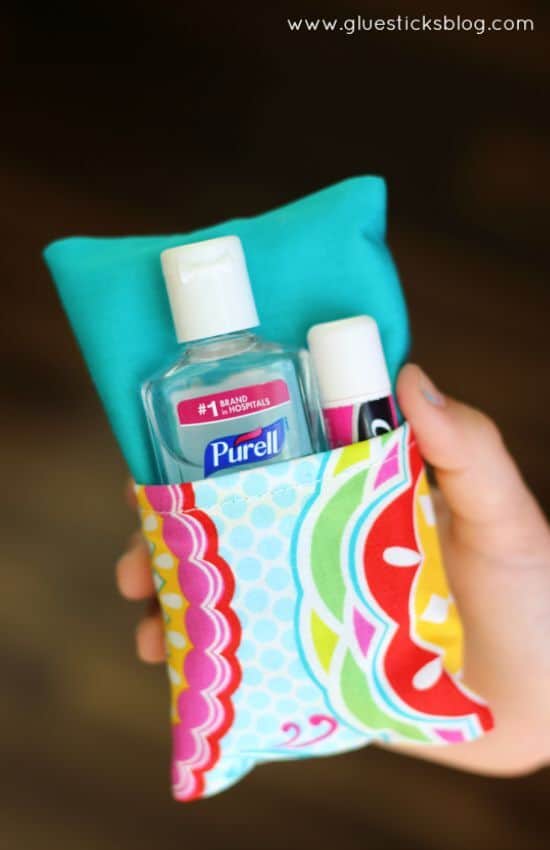
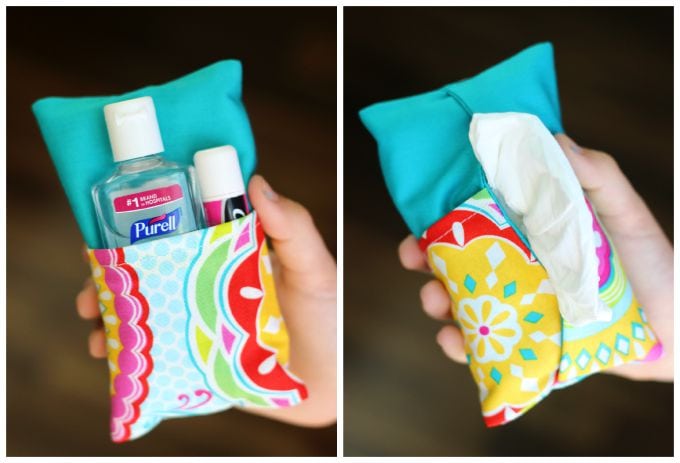
A two-sided tissue holder pouch is perfect for cold and flu season. One side can hold a pack of tissues, and the other side can hold a mini bottle of sanitizer and a lip gloss! Watch our video tutorial or scroll down for a step-by-step photo tutorial!
Watch our step by step video!
With cold and flu season approaching I decided to make some little tissue pouches to put in the kid's backpacks and one for my purse. They all like the single sized tissue packs, but they don't always hold up well being tossed around in a bag with books and binders.

For 60 more sewing projects, check out my sewing book for kids!
How to sew a two-sided tissue holder for your purse or backpack.
Supplies:
- Fabric Scraps
- Thread
- Measuring Tape
- Tissue Pouch (2x4.5") (affiliate)
- PURELL® Advanced Hand Sanitizer
- Lip gloss, optional
fabric tissue holder Instructions.
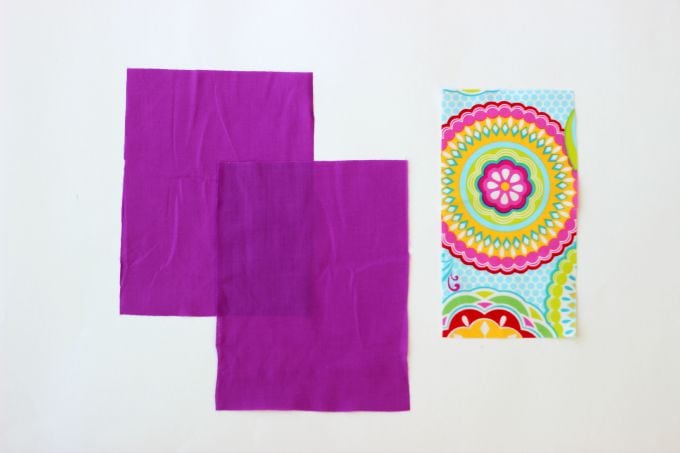
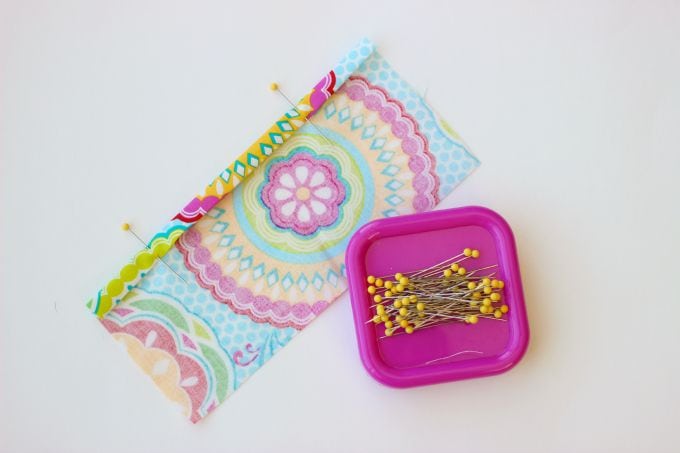
1. Cut your fabrics. You will need 1 main fabric for the body and 1 contrasting fabric for the pocket.
Body: (cut 2) 5 ¾" x 7 ½"
Pocket: (cut 1) 4" x 7 ½"
Seam allowance ¼"
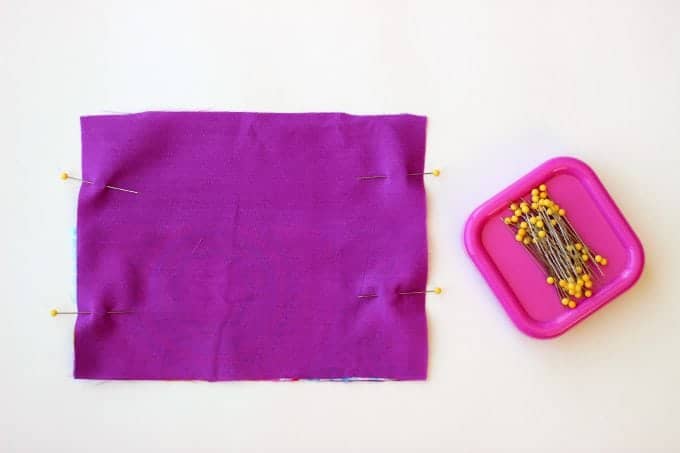
5. Pin sides and stitch both sides closed, leaving the top and bottom open.
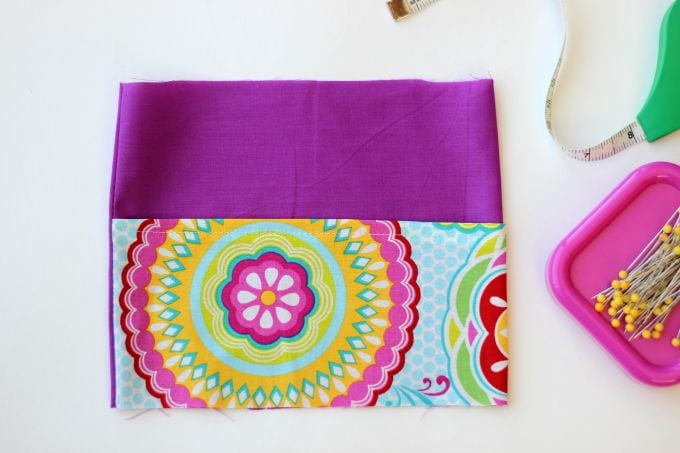
7. Press seams flat.
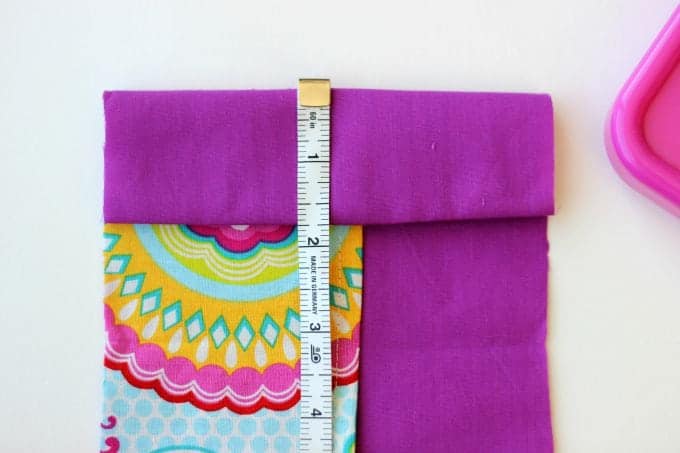
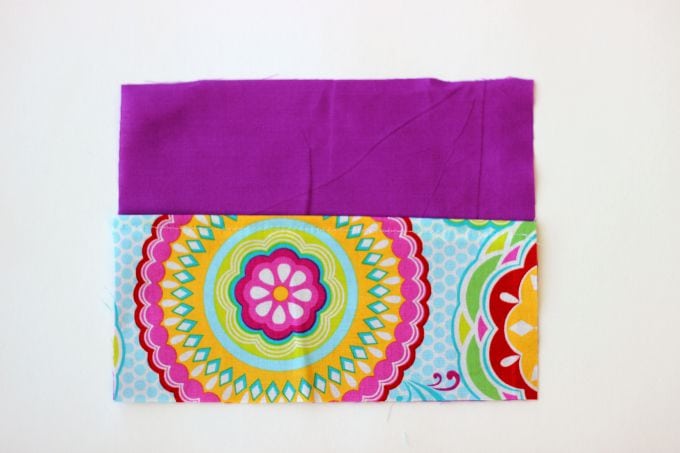
9. Fold the top down 1 ¾".
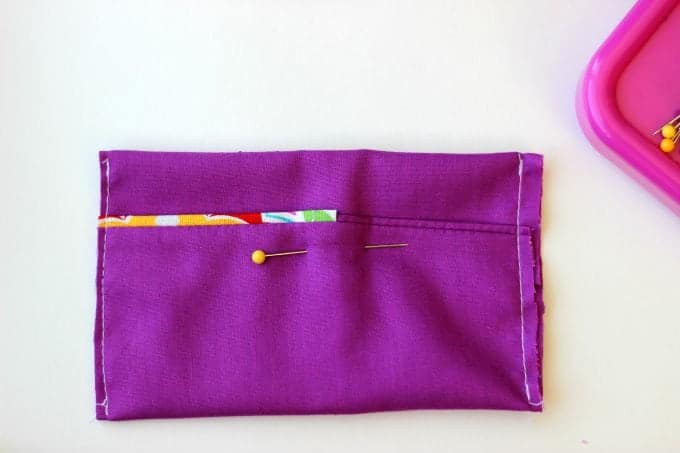
12. Stitch sides closed and trim close to seam.
13. Turn right side out.
You're going to love this double-sided tissue holder so much you'll want to make a few more to keep on hand for gifts!
This post was sponsored by GOJO Industries, the makers of Purel and contains affiliate links. This post is a refresh of my original tutorial, first shared in 2015.
You might also like...
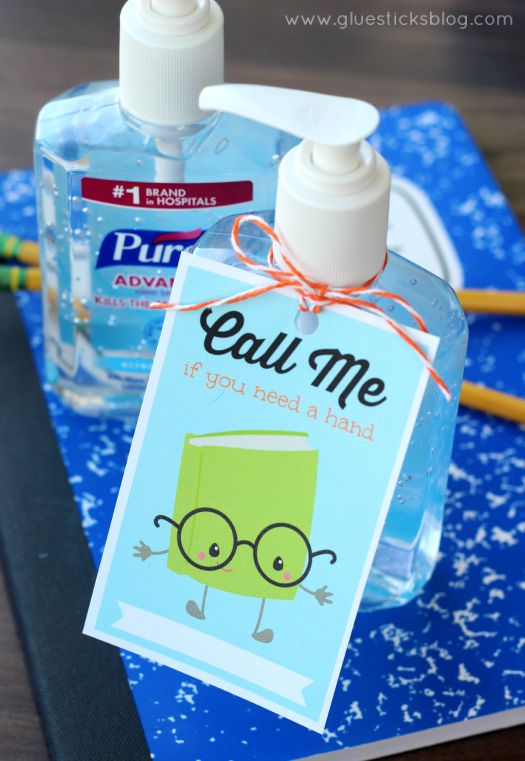
Hand Sanitizer Printable for Teachers


Phyllis says
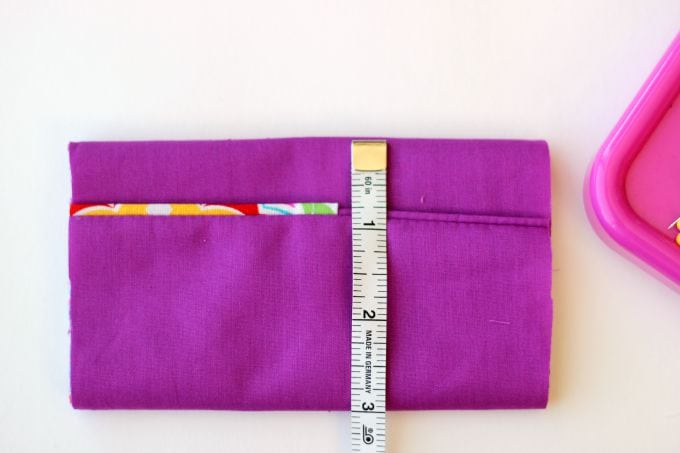
I think the final measurement should be 3.5" instead of 3"'. If I do 3" it overlaps....However, I did the 3.5" ....it's very cute and I'm planning on making them as gifts for a retreat...
Brandy says
Hi Phyllis! It is supposed to overlap 🙂 Have fun at your retreat!
Stephanie says
Do you sell these already made?
Brandy says
Hi Stephanie, I actually don't, but I've had several readers ask for permission to sell them on Etsy. So I think you might be able to find some on there using my pattern!
Lynne says
I made 30 of them and they came together very nicely. Great project! Thank you so much!
Kathy French says
Great tutorial but I think the pocket measurements are off. My pocket ended up an inch down from the top - Not like the photo. I checked both the video and page measurements before starting. I think I"ll try again with a 3 x 7 1/2 pocket.
Thank you for a great idea! Making a bunch for friends and relatives.
C. Bosmans says
I find the directions very confusing. Hard to tell from the pictures which sides are finished.I am on my second try and still not right. Apparently Ive sewed the wrong sides. I know thus should be very simple but the directions need to be more specific. I.e. .long side or shirt side.
Brandy says
I'm sorry that you find them confusing. I've gone over them and am not sure how to simplify them more, but if you watch the photos you will see the placement of pocket when you are folding the top and bottom of the pouch. Keep an eye on the pocket piece to make sure your pouch looks like mine before sewing the sides. Hopefully, that helps!
C. Bosmans says
Finally figured it out. The next one should be a piece if cake. Thank you for the pattern.
Brandy says
Oh, good!! I'm so glad.
Kim~madeinaday says
So cute I love it! This would be so handy for the kids for their backpacks. Thank you for sharing on Merry Monday! Hope to see ya next week!
Kim
B says
I made one and it turned out really great!
Brandy says
I'm so glad! They are very useful little things!
Deana says
Thank you for posting this project! I made 4 of them this morning and featured it on my homeschooling blog! I linked to your page, of course! Thank you for sharing!
Courtney says
I absolutely love this. This is my first thing to hand sew and it wad so easy. I will definately be using thos at school ✔✅☑
Brandy says
Yay! I'm so glad!
Emma says
Hi, in step 6 you say to turn right side out before pressing seams. However, at the end you are told to turn right side out! So do you turn it wrong side out before completing the final steps after pressing the seams? I love the pouch, have started to make it but its so unclear at the end. As a beginner I find it very frustrating when tutorials are not clear enough. Please help!
Brandy says
Hi Emma!
In step 5 you will see that the tissue pouch is inside-out. In step 6 you turn it right side out. Then iron the side seams.
Now it's time to fold it to create the pouch which will essentially make it inside-out again after you make those folds.
In the last photo after it has been folded and the side seams have been stitched you will see that it needs to be turned right side out again.
Hope that helps!
Emma says
Thank you for your reply! I went ahead anyway & turned it inside out. It went in the bin. I'll give it another go, now its clearer ?
Katharine in Brussels says
Just made two for my dogwalking friends - with a loop of twill tape at the top to clip to the leash. Very cute! There's space for tucking in a doggie doo bag next to the hand sanitizer.
Brandy says
What a great idea! Love that. I may have to make another to take with us for our doggie too!
Debbie says
What size sanitizer, mine atrent coming out right. Having a get together with 13 friends and ive made 4 and made them a tad bigger butthe back is split open, doesnt look good.
Brandy says
Hi Debbie! The ones I used are only about 2 1/2" tall. They aren't the ones that hang from a purse or fit into the silicone carriers that you can find. It was even smaller and I found them at Walmart in the travel section a couple of years ago. Do the ones you have fit without a lip gloss in the pouch too or not at all?
Lisa // Cucicucicoo: Eco Sewing and Crafting says
Cute and convenient idea! Pinning! 🙂 Lisa
roseannmhampton says
Love this idea! Thanks for the tutorial!
MrsMcD918 says
Adorable! Great way to use up scraps! I'll be making one!
vrmm26 says
Super cute! Great gift idea for anyone on your list. Visiting from Happiness Is Homemade party.