I decided that Ruby needed a changing pad the other day. One that could fit easily in my diaper bag and hold a diaper and a few things. I also wanted something that was large enough to lay out and let her play on while at friends' homes or at church.
You might also like our fabric diaper pouch sewing tutorial or fabric baby shoes pattern!
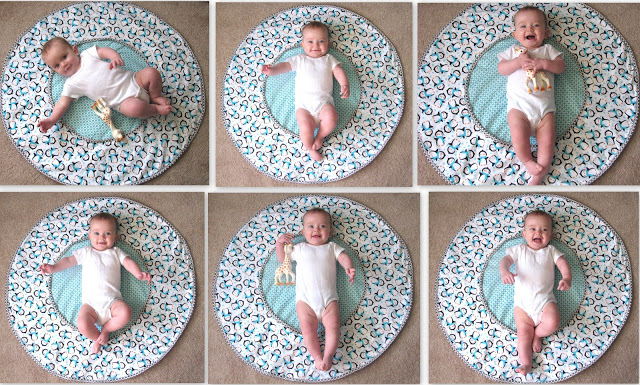
She is at the age where she really enjoys playing and chewing on toys...and rolling around. I'd prefer that she stop growing so fast and not do those types of things, but since we are here and there is no going back, I might as well cater to her needs 🙂
My inspiration for this project originated from a Patemm changing pad.
I really loved their concept and execution. It was brilliant! Theirs are made from laminated cotton (like picnic tablecloths) which is easy to wipe down. You can make this one from the same type of fabric, but I wanted something a bit softer since I was going to use this as a play mat too.
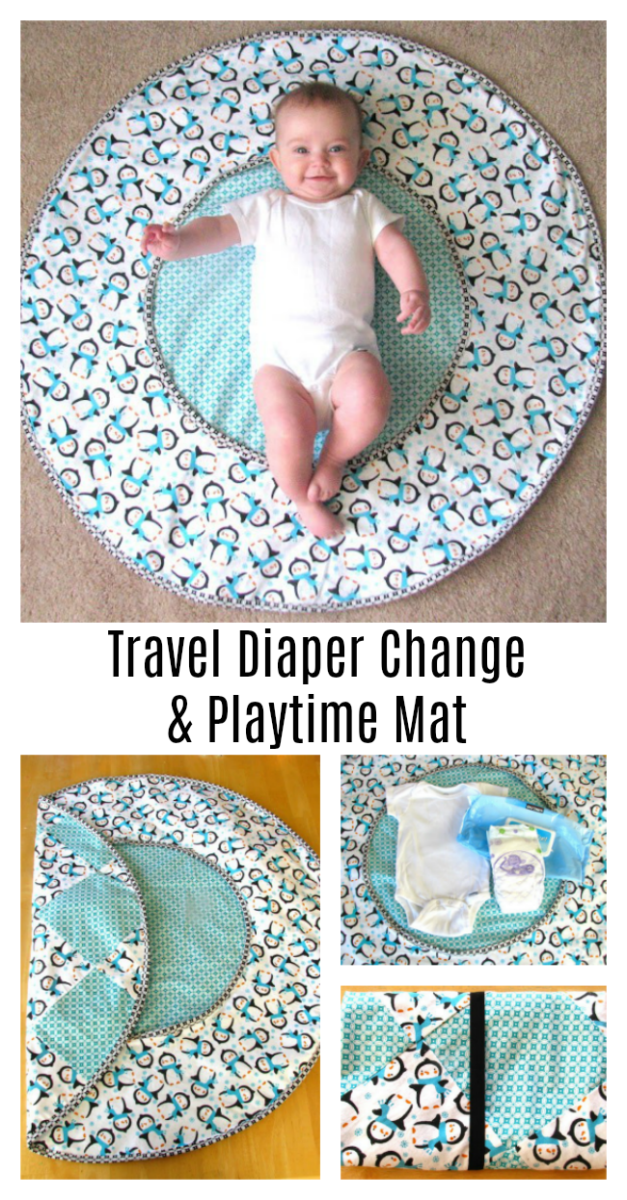
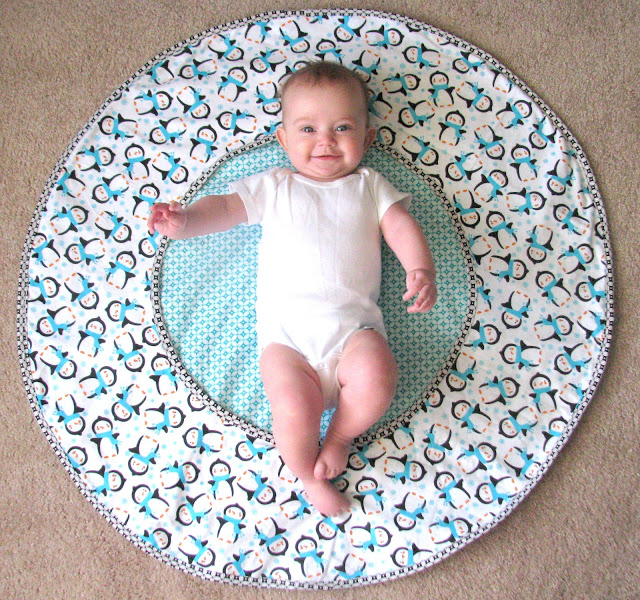
DIY Travel Diaper Changing Pad & Playtime Mat
So I came up with a little knock-off version that has worked out perfectly for Ruby's needs. I used 3 yards of fabric, plus extra fabric to create my own bias tape, store-bought bias tape works great too.
When buying your fabric buy 1 yard of 3 coordinating fabrics & about 5 ¼ yards of bias tape. I used a 1" bias tape tool to make mine.
Since my fabrics were purchased on sale and with coupons, I spent a total of $6 to make my changing pad. A savings of almost $60.
How To Make A Folding Diaper Changing Mat
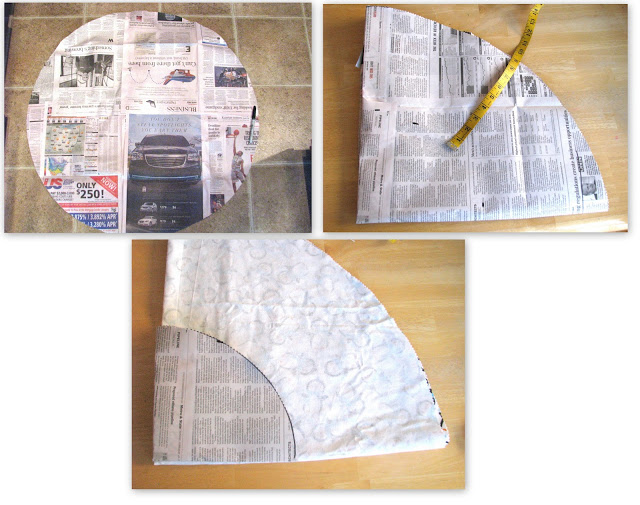
How To Make a Circular Pattern
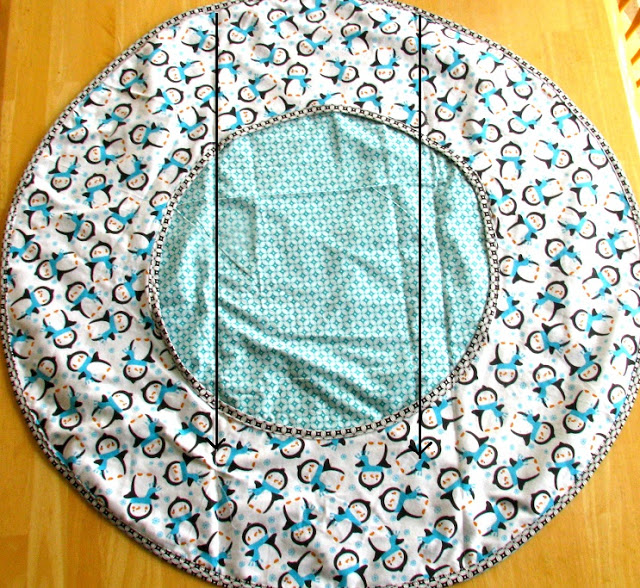
First, you'll need a pattern. I used my super scientific method of taping a 15" string to a marker and making a big circle that way. You can use whatever method you choose. You'll just need a 30" circle.
You will need to cut out 3 {30"} circles from your fabrics. If you'd like to add a layer of felt, you can as well for padding, but it will take up more room in your diaper bag if you do this.
You will see, below, that I have 2 solid circles and one with a hole in the center. To make that hole, fold your paper circle into fourths. Measure 8.5" from the edges, trace your markings and cut out that cone shape. Lay the shape on your 3rd piece of {30"} fabric, which has also been folded into fourths, and cut out that section. You should now have a nice big donut-shaped piece of fabric.
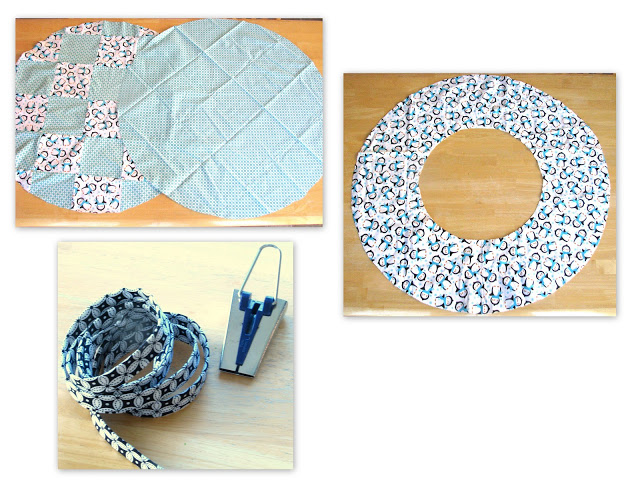
Bias Tape
I was intimidated by bias tape until I saw all of the wonderful projects and posts that were shared on MADE. When I saw Dana make her own tape, I immediately added a bias tape tool to my little sewing wish list. That was MONTHS ago and it sat in my sewing box until I tried it on this project! I'm hooked! If you need help with bias tape techniques, check out her post here.
It doesn't matter if you use store bought or make your own. I like the look of homemade bias tape because you can coordinate it perfectly with your project.
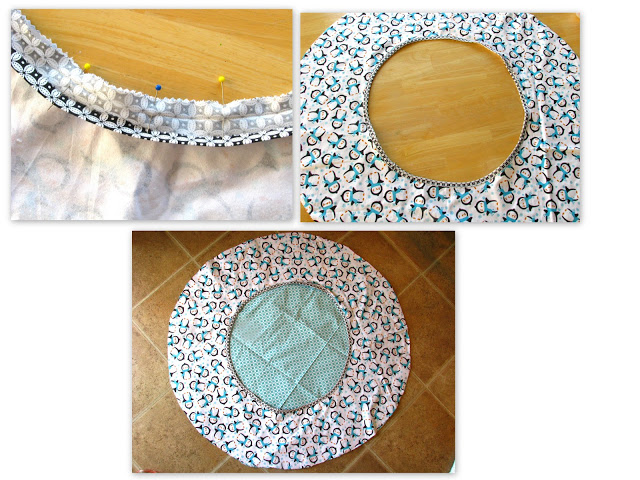
Sewing On Bias Tape
You will need to sew your bias tape onto the center of the donut shape fabric. Start by pinning the opened tape to the back of your fabric. Sew along the fold line. Flip over and pin the remaining edges along the front and stitch.
When you have finished that, layer up your fabrics. Begin with your backing (right side facing the table), then your lining (right side facing you), then your donut-shaped fabric on top.
Sew and finish the outer edges of the changing pad by using more bias tape.
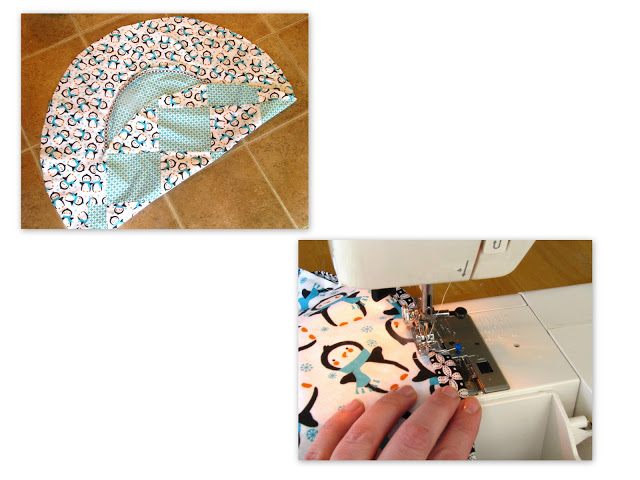
Easy Folds for Changing Mat
To create easy fold lines and sections for your items, fold your pad in thirds. Starting with the left, then the right and mark your folds with a pin. And iron your fold so that you can see it clearly to stitch. Pin along the stitch line, if necessary, to see it better. Stitch through all thicknesses starting at the top and going down on both lines (See illustration below) all the way to the bottom bias tape of your mat. This will create 4 sections. The top and bottom sections will be approx. 8x12" and the sides approx. 8x24". It is hard to see the thread in the photos, but it does create 4 nice sections and makes it easier to fold up the changing pad.
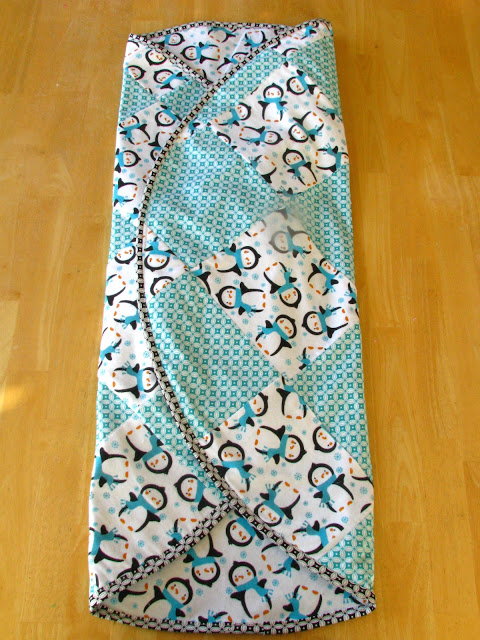
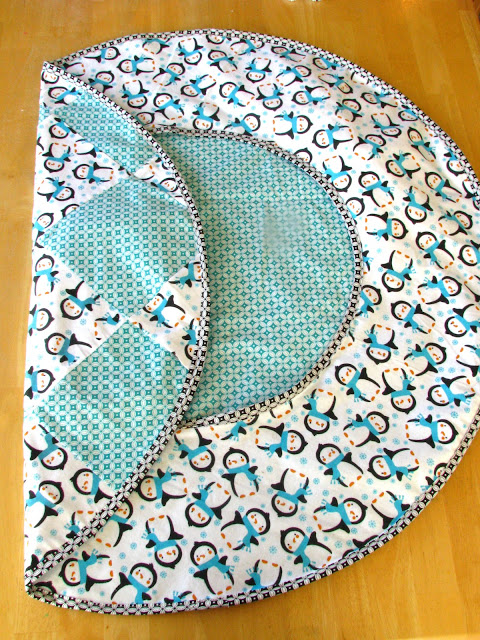
Your changing pad is just about complete! Fold up the left side, then the right. Fold up the bottom until it meets the center and then the top down to the center. Then fold in half one more time.
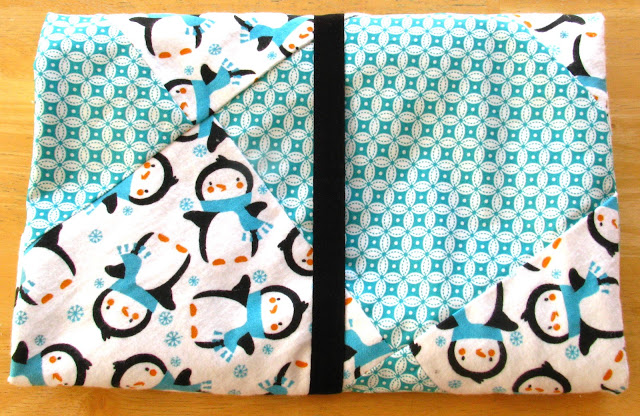
How To Secure Changing Mat
You can add whatever fastener you would like to your changing pad: snaps, Velcro, a button...I just used some black elastic. I measured the length, then quickly stitched the ends together to make a band. The same kind I use for headbands for the girls. I tried to enlarge one of the photos from my inspiration to see how they did their handle closure but wasn't smart enough to figure it out, and this elastic band just seemed simple.
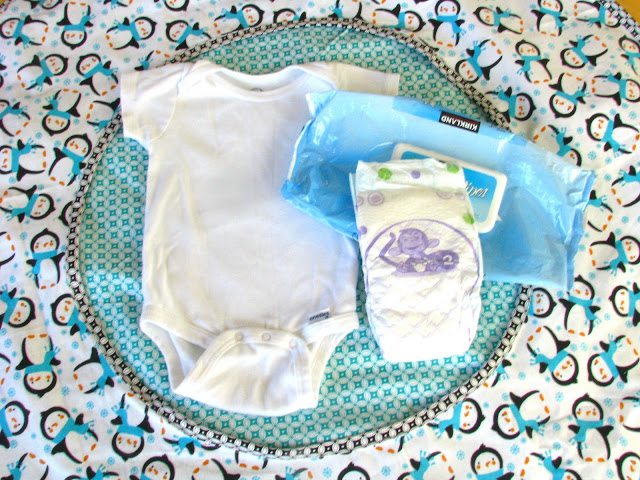
All of the items below tuck neatly inside the side pouch. I found that the mat folded better when the items were placed on the top and bottom of the mat pouches vs. along the sides. This wipe pouch is about ¼ full. Any thicker and it wouldn't fit as well. The plastic travel size cases would be perfect and nice and flat.
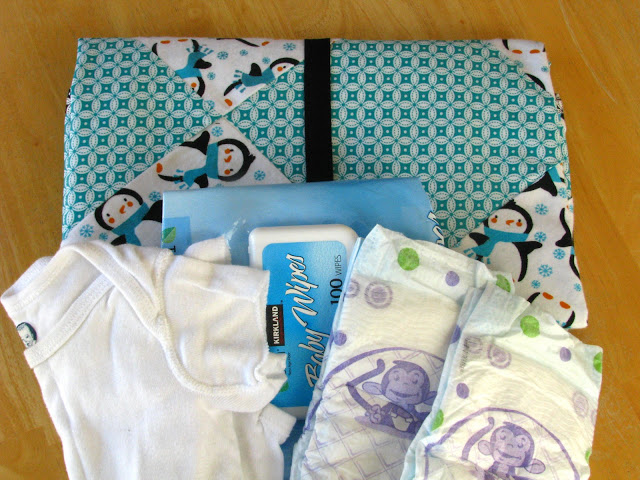
The entire changing pad is completely machine washable to make for a nice clean playtime & diaper change. Perfect for this darling little gal and a fun idea to keep in mind for baby shower gifts!


Meelaap says
Namaste
Love from India.
Thanks for Sharing.