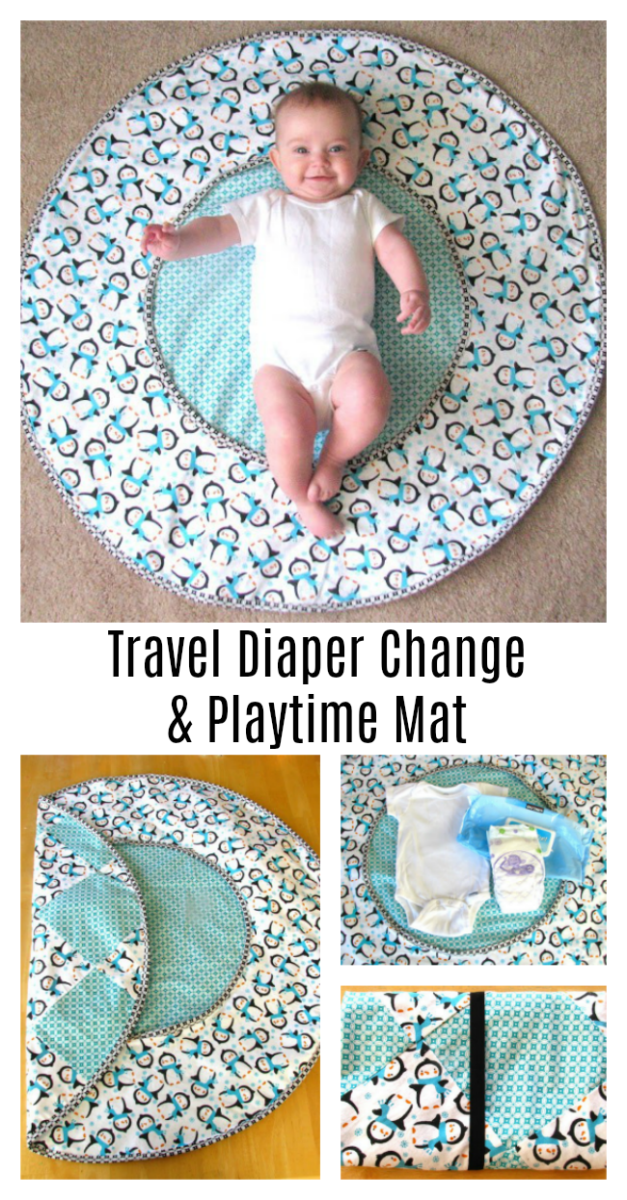
My inspiration for this project originated from a Patemm changing pad.
DIY Travel Diaper Changing Pad & Playtime Mat
How To Make A Folding Diaper Changing Mat
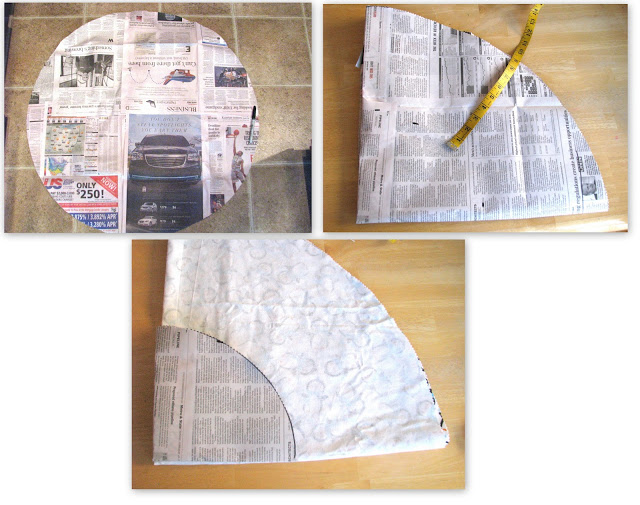
How To Make a Circular Pattern
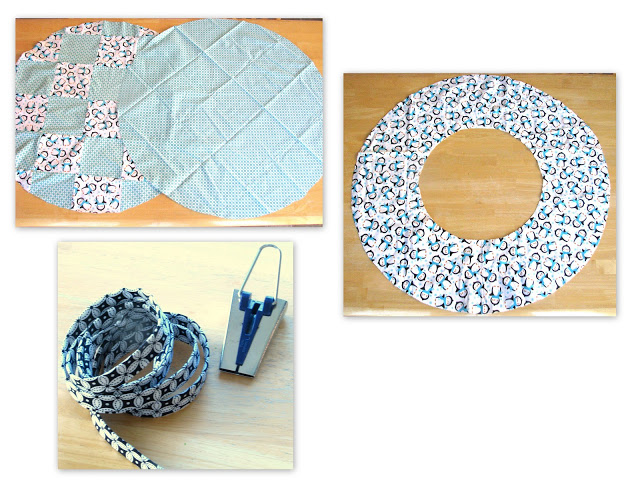
Bias Tape
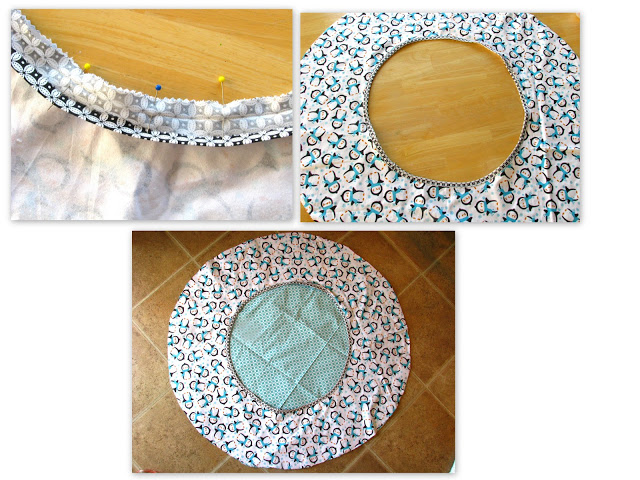
Sewing On Bias Tape
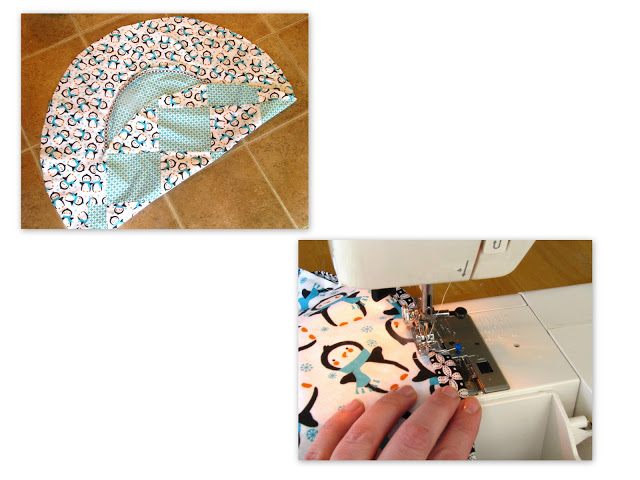
Easy Folds for Changing Mat
To create easy fold lines and sections for your items, fold your pad in thirds. Starting with the left, then the right and mark your folds with a pin. And iron your fold so that you can see it clearly to stitch. Pin along the stitch line, if necessary, to see it better. Stitch through all thicknesses starting at the top and going down on both lines (See illustration below) all the way to the bottom bias tape of your mat. This will create 4 sections. The top and bottom sections will be approx. 8x12" and the sides approx. 8x24". It is hard to see the thread in the photos, but it does create 4 nice sections and makes it easier to fold up the changing pad.
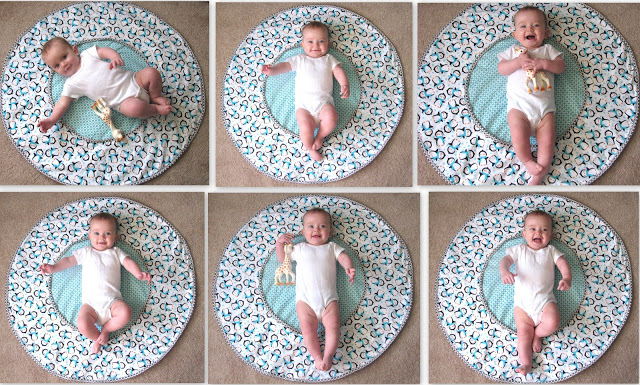
How To Secure Changing Mat

RIAZ UDDIN says
Planning a trip? Gathering the best and most accurate travel information about the area you are interested in is a key part in your vacations success. I have found http://www.paradiseintheworld.com to be one of the best travel guides on the Internet.
Hannah Hathaway says
Wonderful Tutorial! I love it!
I linked to it on my blog post on the best baby tutorials, here:
http://welivedhappilyeverafter.blogspot.com/2012/11/35-baby-sewing-tutorials-ideas-found.html
<3 Hannah
Mollie says
Just finished this project!! Thank you so much for the idea! Will be posting it on my blog today with your link! 🙂
http://thegandyshomebase.blogspot.com
Danielle Wagasky says
Hi there! I just wanted to let you know I featured you on Blissful and Domestic today. Stop by and check it out:>
http://www.blissfulanddomestic.com/2012/08/10-fashionable-fabric-projects.html
Marigold Haske says
This is so super adorable! I found out today that 2 good friends are pregnant, and I think this just might be an easy, beautiful and useful gift I can make! I'm pinning it!
Also, I'd love to have you link this up on my blog hop. I host with 2 other bloggers, so your link will show up on three blogs 🙂 Hope to see you there! http://www.hideousdreadfulstinky.com/2012/08/eat-make-grow-thursday-blog-hop-2.html
Marie says
I love this Thank You.
I will make one too.
And i will the happy baby!!!!!
No, that's a joke 😀
Bye
Marie
stoffsack.blogspot.de
Kathryn Pepper says
This is so awesome! I'm going to pin this...maybe for the next baby 🙂
Kathryn
destinationcraft.blogspot.com
Designed by Dawn Nicole says
SO cute! The baby and the project! I have a 11 week old so this is going on my to-do list for sure! 🙂
Brandy says
That is a seriously cute baby! What a great tutorial, and thank you for sharing.
Wendy says
What a wonderful project, thanks so much for sharing! I love that penguin fabric and the baby is beautiful.
Hannah says
I LOVE this!!! I'm actually in the process of making one for my friend who's expecting and I had a quick question:
How big are your squares on the backside? I love the checkerboard and want to do that, too.
Jen says
Love it! Next time I have a baby I will have to make one. Thanks for sharing!
Kim says
I love it.. and those fabric choices are sooo cute!
Melissa @ LoveBugLiving says
Love the patterns. Too cute! I'll have to look into a bias tape tool.
Melissa
http://www.lovebugliving.com
Julie, RN says
Cute idea! I pinned it to my "baby gift ideas" board for future use!