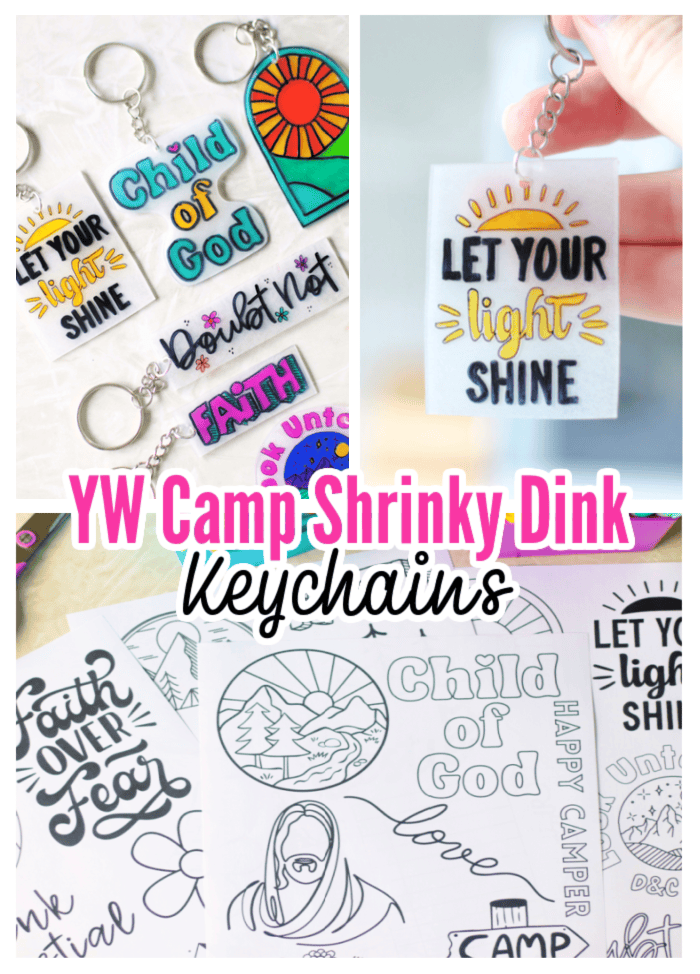
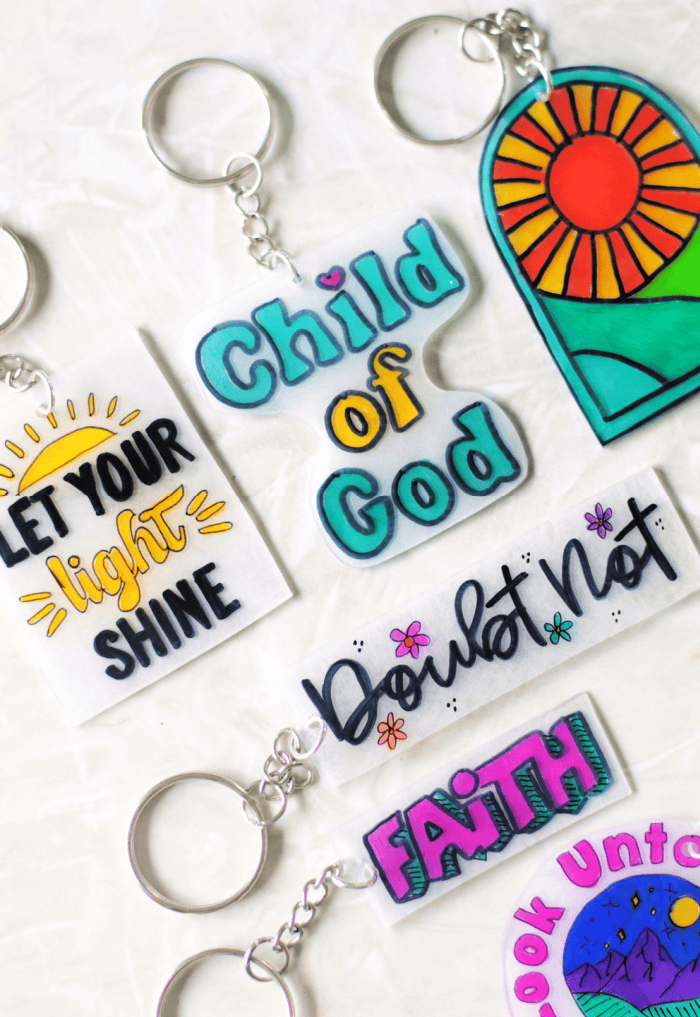
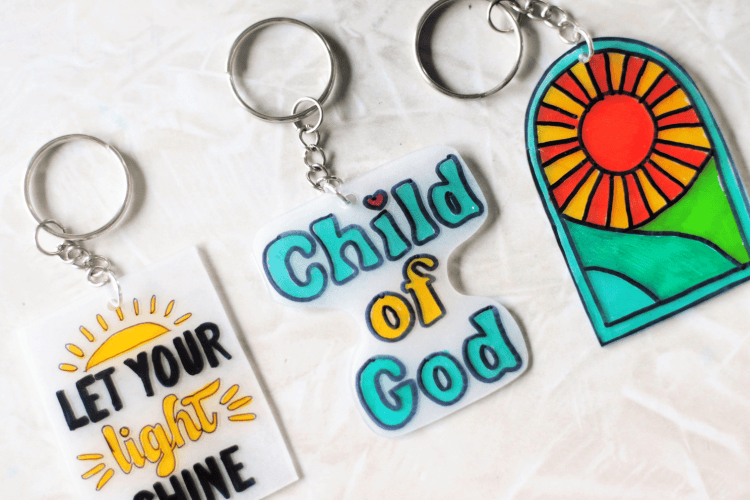
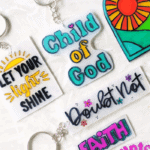
Colorful and cute, these YW camp shrinky dink keychains are easy to make! There are four sheets of camp and young women-themed designs to choose from! This post contains affiliate links.
Looking for more ideas? Check out my entire YW camp craft collection!
Watch our step by step video!
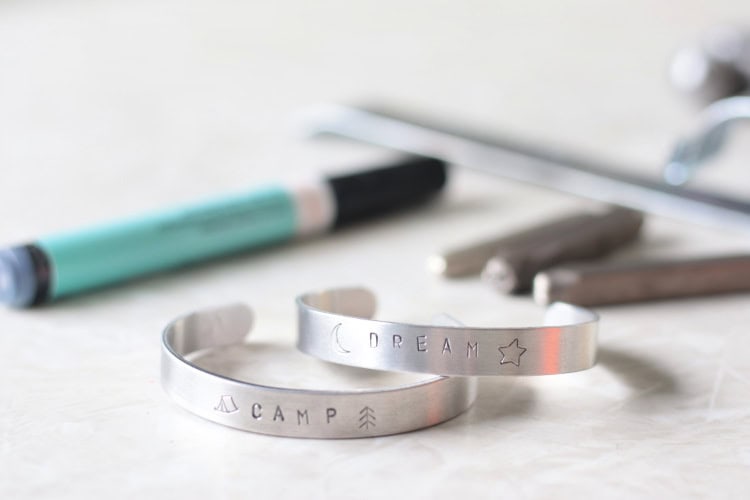
I've been the craft coordinator for our church camp for 5 years. The camp is for girls ages 12-18 and is called Young Women's Camp (YW camp). It's been a lot of fun coming up with simple projects for them to make! We've done stamped jewelry, Morse code bracelets, yarn macrame, and even Russian nesting dolls! I typically have 2 main crafts that I spend more of my budget on, and 3-4 filler crafts that come back every year.
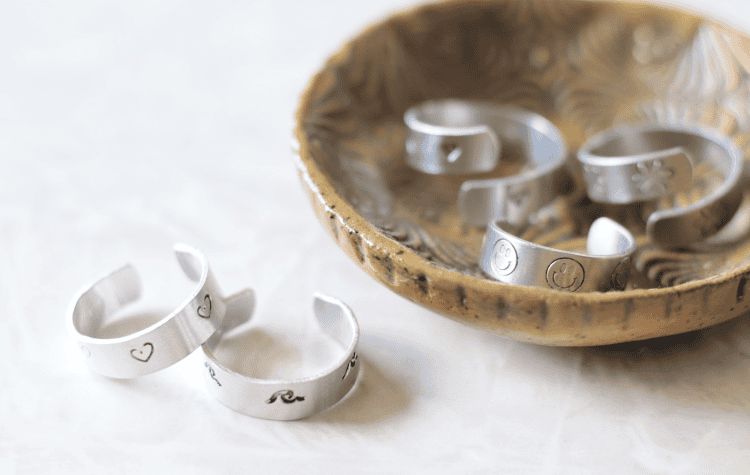
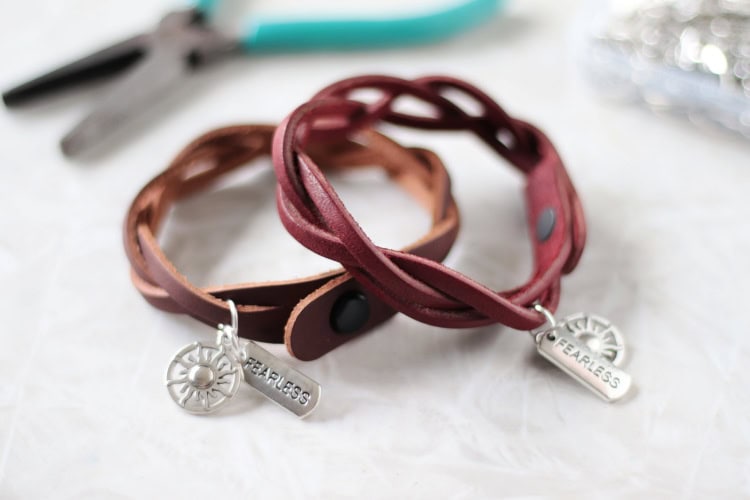
This year, the main crafts are leather bracelets and stamped rings, and the filler crafts are hair tinsel, diamond art stickers, friendship bracelets, watercolor postcards, and shrinky dink keychains!
Shrinky Dink Keychains
I have two types of shrink art sheets in my craft closet. Printable sheets and regular sheets. The printable sheets are fun because you simply run them through an inkjet printer to add photos or designs. Today I'm using regular sheets. Regular sheets allow for more creativity and are more affordable. They also come in different sizes to reduce waste.
YW Camp Keychain Designs
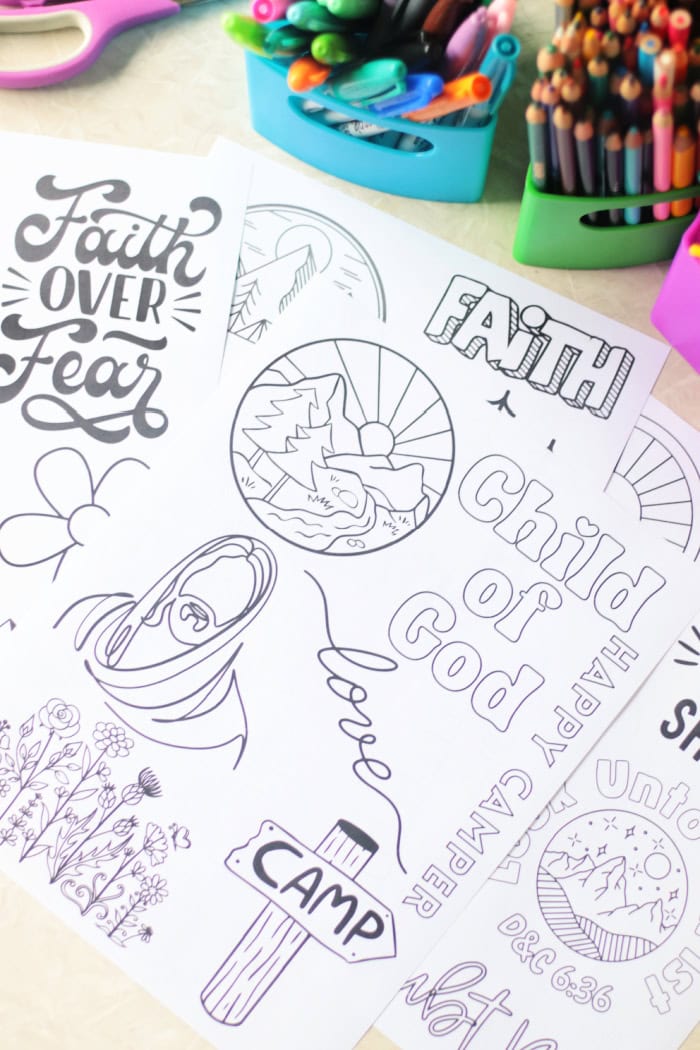
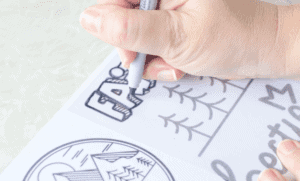
We have so many creative girls who will have a great time drawing and designing their own shrink art images, but I wanted to have a few pre-printed sheets that can be used for inspiration, too. All you have to do is trace the design onto the shrink sheet and color it in!
There are 4 sheets to choose from. Click here to download a set!
YW Camp Shrinky Dink Keychain Supplies
(Click on each item below to shop the link on Amazon)
- Shrinky Dink Sheets
- Toaster Oven
- Scissors
- Permanent Markers (It's a good idea to have fine-tip and ultra-fine-tip for outlining)
- Hole Punch
- Jump Rings (optional---see note)*
- Key Chains
- Printable YW Camp shrink art designs (click here for all 4 sheets!)
*The keychains already have jump rings on the ends, so you don't necessarily need to use additional ones. I found that my holes sometimes weren't as close to the edge as they could have been, and the jump rings on the keychains were oval and narrow in shape, making it harder to attach the shrinky dink. I used a slightly larger 8mm round jump ring that I already had, and it worked like a charm.
Shrink Art Tips and Tricks
1. Use colored pencils or Sharpie permanent markers. There are all sorts of art supplies that you can use for shrink art (paint, pastels, alcohol pens, etc.), but the easiest ones are colored pencils or permanent markers. Especially if you are making these with a group. I always try to keep things as simple as possible for camp crafts, so I am only offering two options to help the girls get the best results.
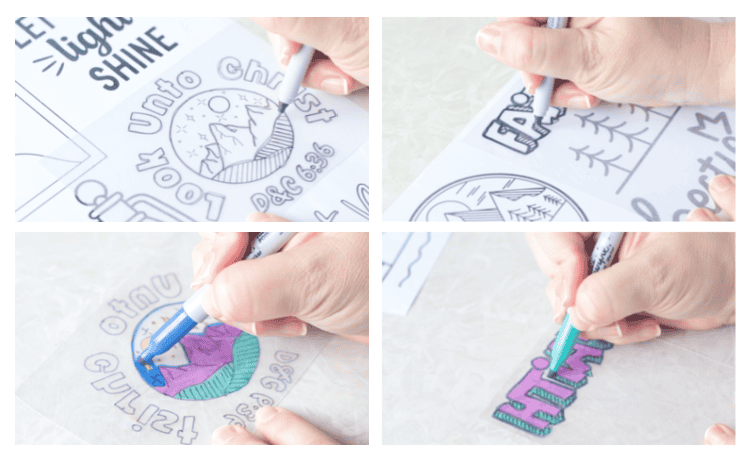
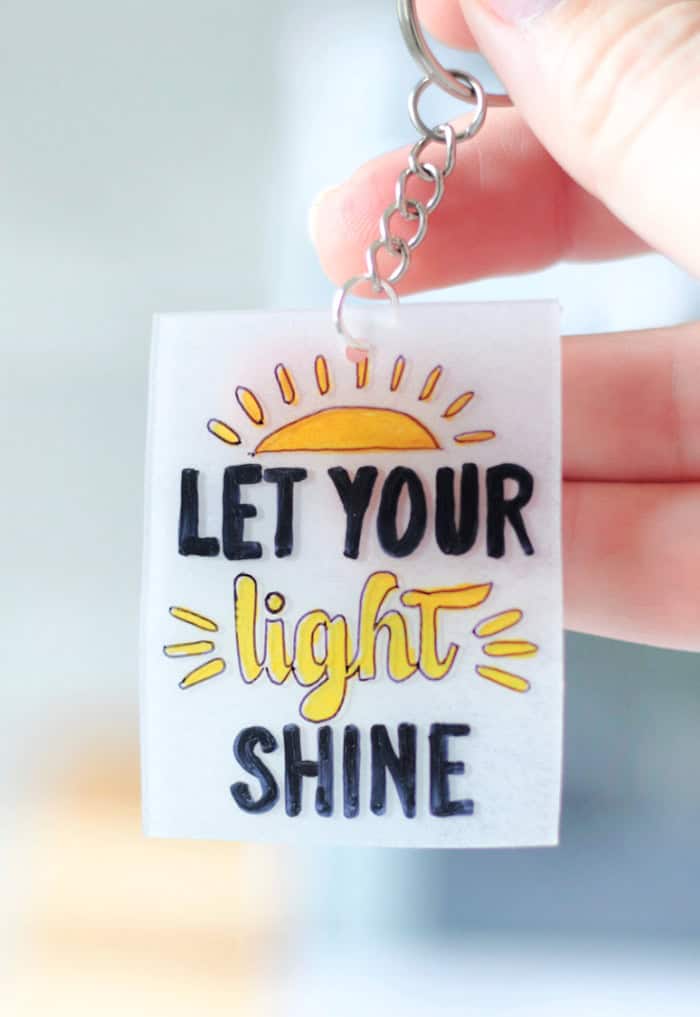
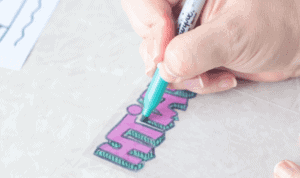
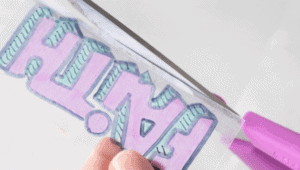
2. Use both sides of the shrink sheet. There is typically a shiny side and a matte side. I outline the image using a black permanent marker on the shiny side, then flip the sheet over and color the design in on the matte side. This prevents the color from bleeding with the outline and gives the design a sharp, bold look.

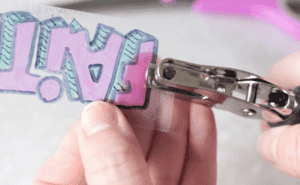
3. Punch a hole near the edge BEFORE BAKING. Don't forget to punch a hole using a standard-sized hole punch if you plan on making your design into a charm or keychain. Once baked, the plastic will be too thick to add a hole.
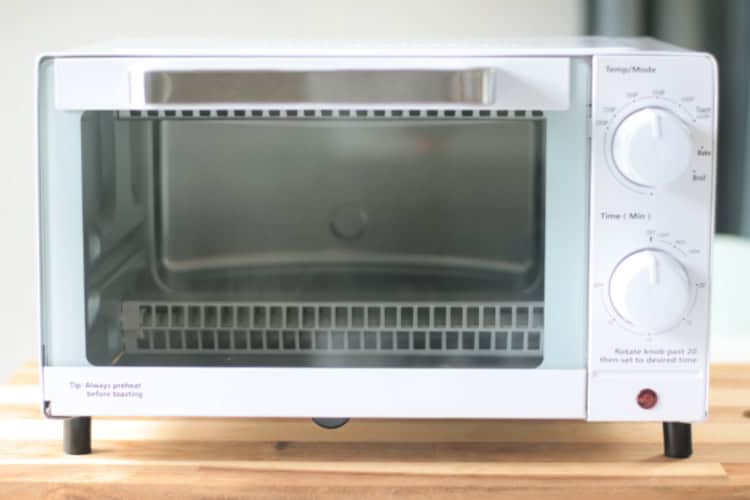
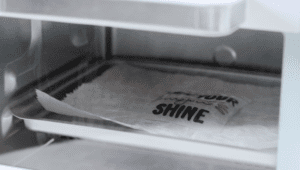
4. Use a toaster oven. I've had the best results baking my shrink art designs in a toaster oven or a regular oven. Heat guns are hit and miss for me, but many people use them. I'm making these at camp with 100 girls and need a dependable and portable option to keep in the craft cabin, so I bought a small toaster oven. It works great!
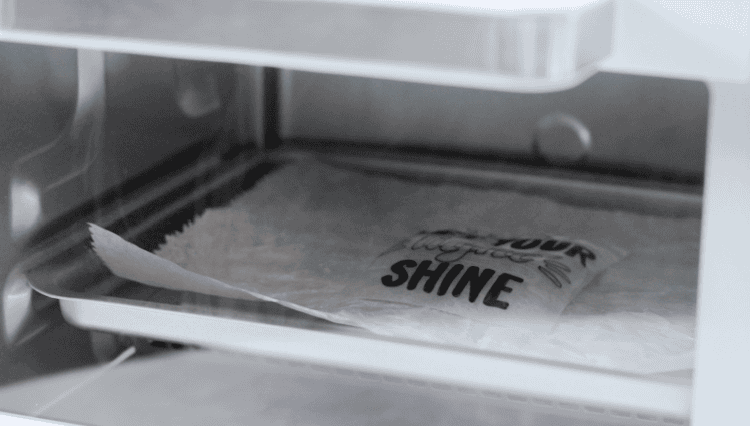
5. Have patience. Don't freak out if you see the shrinky dink curling in the oven. It's supposed to do that! It'll flatten out, just give it time.
If it's still a little warped at the end, you can flatten it slightly with a bowl before it cools.
How To Make Shrinky Dink Keychains
YW Camp Shrinky Dink Keychains
Equipment
- Toaster Oven
- scissors
- jewelry pliers
- hole punch
Materials
- shrink art sheets
- permanent markers
- jump rings 8mm
- keychains
- printable tracing templates
Instructions
- Use a permanent marker to trace the outline of the design onto the SHINY side of the shrink art sheet.

- Flip the sheet over and color in the design on the matte side of the shrink art sheet.

- Cut around the edge of the design, leaving a space to punch a hole.

- Punch a hole using a regular-sized hole punch.

- Place the shrink art design onto a small baking sheet, lined with a piece of parchment paper.Preheat oven to 325 degrees.

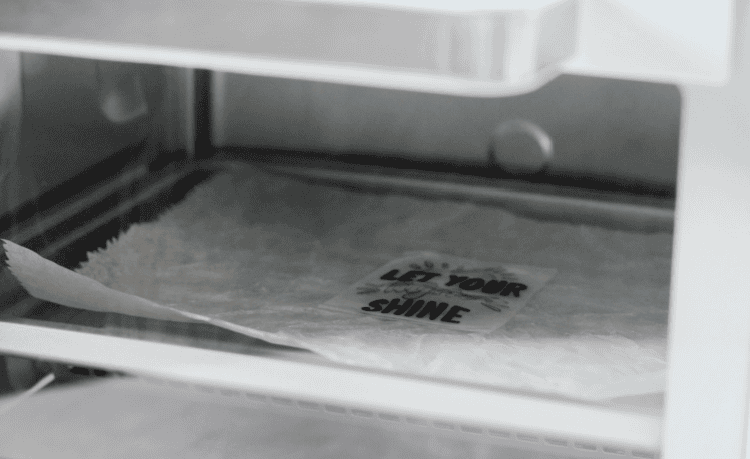
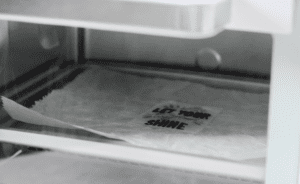
- Bake for 1-2 minutes, watching carefully. The sheet will curl up then flatten.
- Once flattened, let it bake for 20-30 additional seconds, then remove from the oven. Cool completely before handling.

- Add a jump ring and keychain to each design using jewelry pliers.


kirsti says
Thank you so much!! This is going to be a great addition to our camp crafts!
Brandy says
Wonderful! Have fun!
Danielle Garner says
I love this and we are using your templates! You shared a link for the jump rings and the keychains, but it looks like the keychains have a jump ring. Is there a reason for an additional one?
Brandy says
Yes! I’ll go back and address that, thank you! They keyrings do come with jump rings, but I found that the placement of my hole wasn’t always as close to the edge as it should be and the jump rings on the keychains were oval and more narrow. It was easier to attach using a round one. The girls will have the option of doing either. Most probably won’t need one, but since I needed one for the first keychain I used jump rings on all so they matched. 🙂