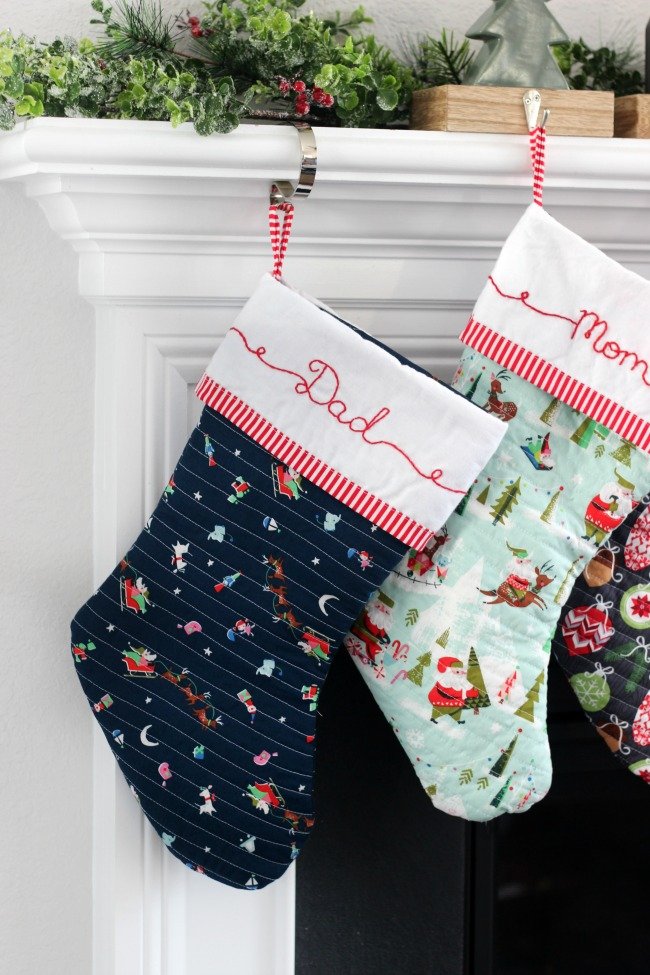
Make your own stockings this year with this free Christmas stocking sewing pattern. A great beginning sewing project and they turn out so beautiful!

Watch our step by step video!
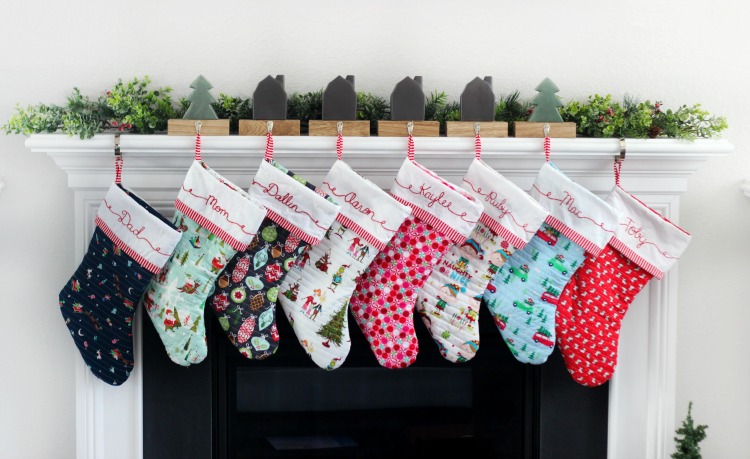
Christmas stockings are fairly simple to make and are fun to customize for your family. I plan on making these for my children's families when they are all grown up. A practical and thoughtful gift!
As you can see, I quilted my stockings. This is super simple to do but is completely optional. If you'd prefer to not machine quilt your stockings you can omit the batting.
Christmas Stocking Sewing Pattern
Sewing Level: Beginner
Time: 1 hour
Seam Allowance: ⅜"
Types of fabric: cotton, flannel, lightweight denim.
Supplies to make 1 stocking:
Stocking pattern: download my free pattern here. It prints on 5 pages and all you have to do is cut and tape the pieces together. The cuff piece is separate.
- ½ yard fabric for stocking
- ½ yard fabric for lining
- ½ yard batting (I like this kind)
- 1 (5.5″ x 19.5″) piece of fabric for cuff
- 1 (19.5") piece of trim (bias tape, fabric, lace, etc.) My trim was 2.5"x19.5".
- 1 (2″ x 6″) piece of fabric for loop (stocking hanger)
- thread
- scissors
- pins
- sewing machine
- iron
Homemade Stockings Cutting Guide
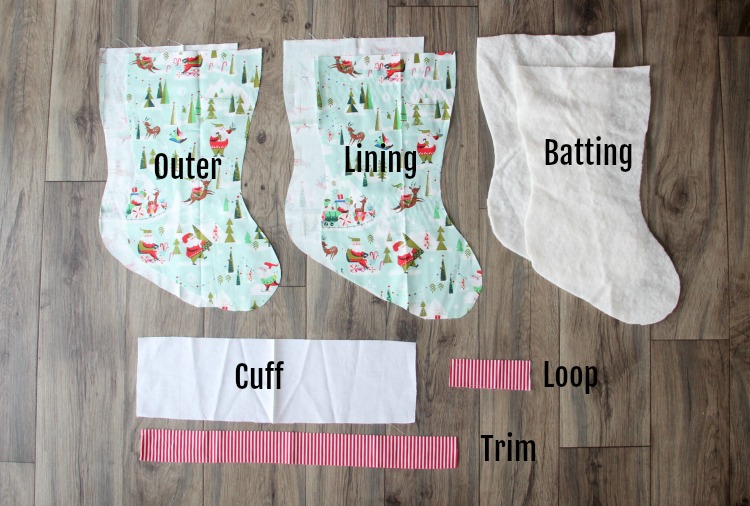
You'll need 2 out of the outer fabric, 2 out of lining fabric, and 2 pieces of batting. You will also need a cuff piece, trim (optional), and loop piece.
Note: I always cut the trim a few inches longer than what is actually needed to leave a little wiggle room, then trim to size after I sew it on.
- Print out the pattern and tape it together.
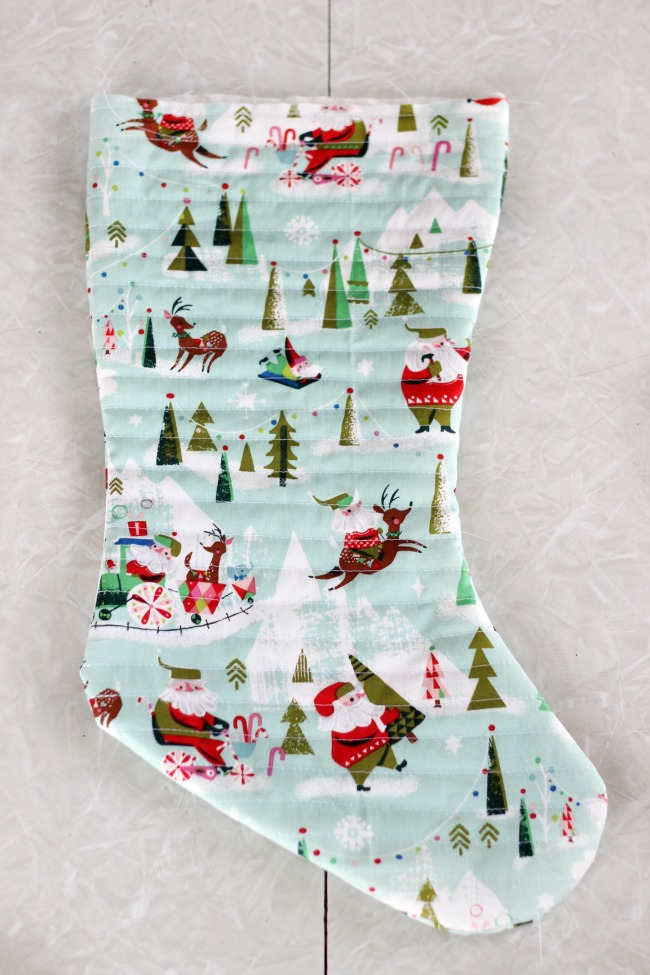
- Pin batting to the back of the outer pieces of fabric and quilt in straight lines across, horizontally. Do this for both outer pieces. For a post with more photos of straight-line quilting for pillows and stockings click here.
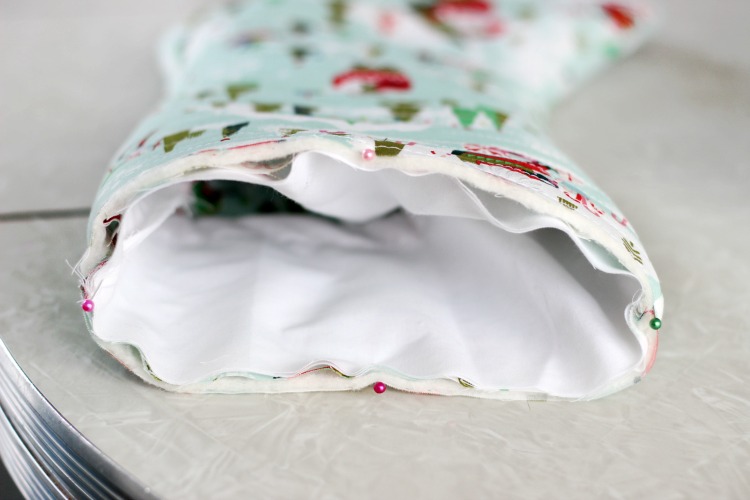
- Place outer stocking pieces together with the right sides together. Sew around the edges of the quilted fabric, leaving the top open. Clip the curves close to the hem. Turn right side out. (see photo above)
- Place lining pieces together with the right sides of the fabric facing each other. Sew around the edges, leaving the top open. Leave the lining inside out.
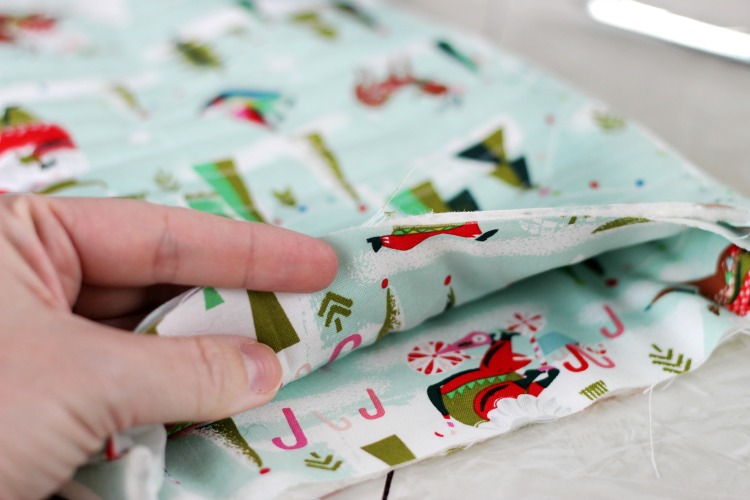
- Place the inner/lining stocking inside the outer stocking, with the wrong sides facing each other and lining up side seams. (see photo above)
- Fold the hanging loop (stocking hanger) piece in half (1″ wide) with the wrong side of the fabric facing out. Stitch the side seam. Turn right side out. Iron flat.
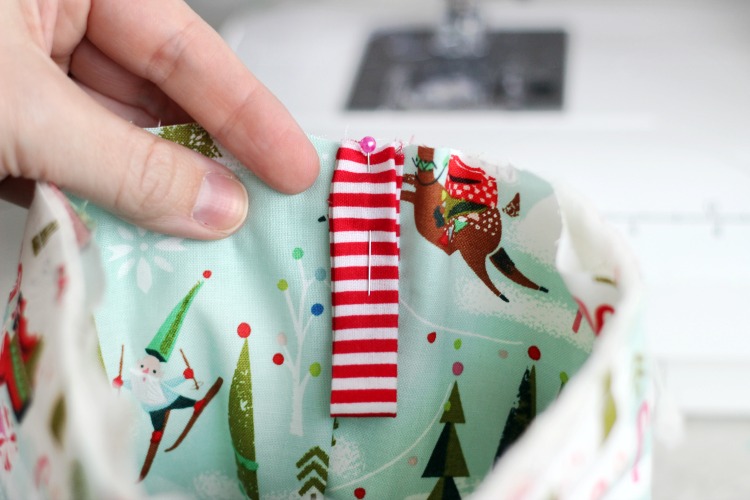
- Fold the loop in half and pin it inside the stocking on the side seam and line up the raw edges.
Trim for Cuff
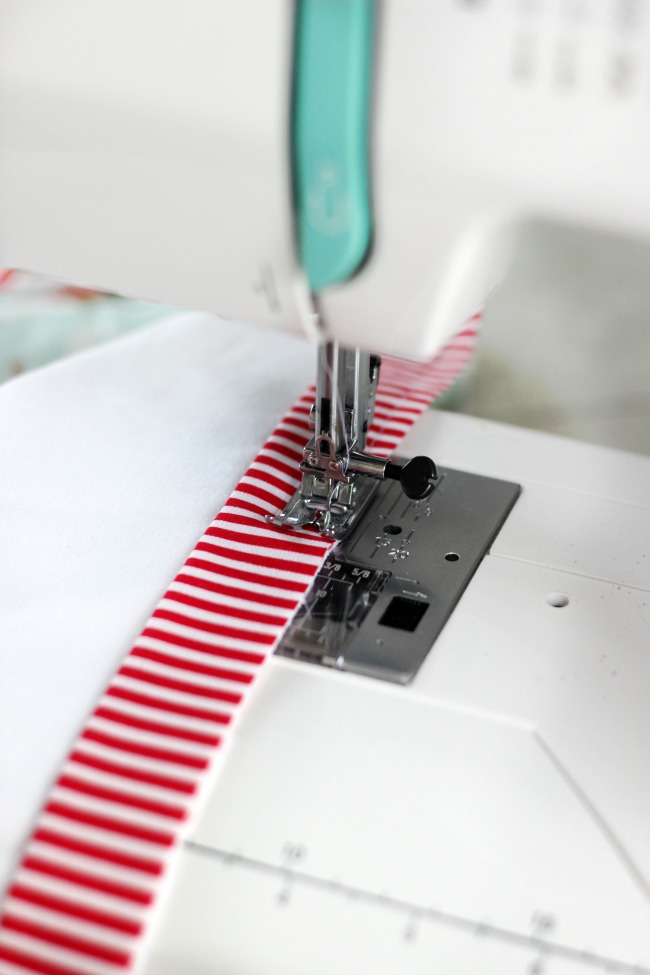
- If you'd like to add a trim to the cuff of the stocking, you can do that right now. I used a piece of fabric that I folded in half and pressed. I lined up the raw edges to the bottom edge of the cuff and stitched it together. (see photo above)
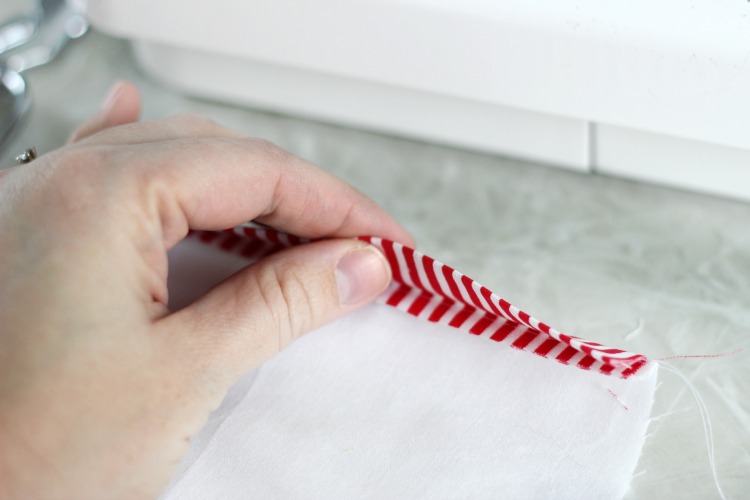
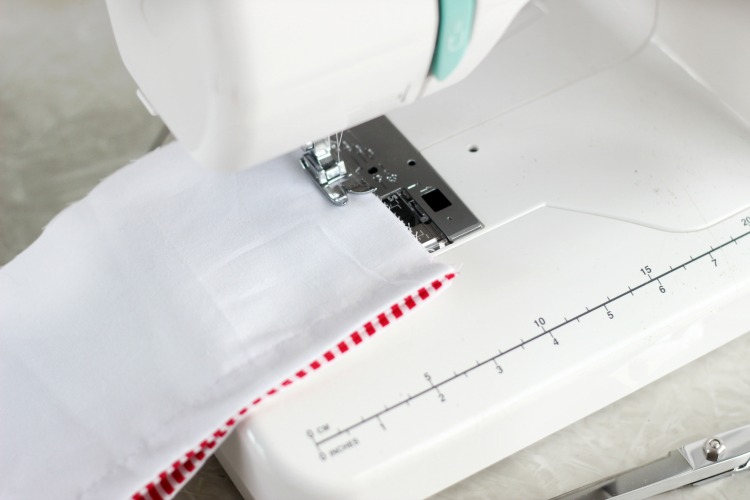
- Then I folded it over (to enclose the raw edge--see photo above) and topstitched it into place. You can also add lace, pom pom trim, or any other trimming to the edge!
- If you don't want to add trim, just fold the bottom edge over ¼", press with an iron, then fold over once more and stitch in place to create a hem.
Cuff
- Fold the cuff in half with the wrong side of the fabric facing out (see photo above). Stitch the side seam. Turn right side out.
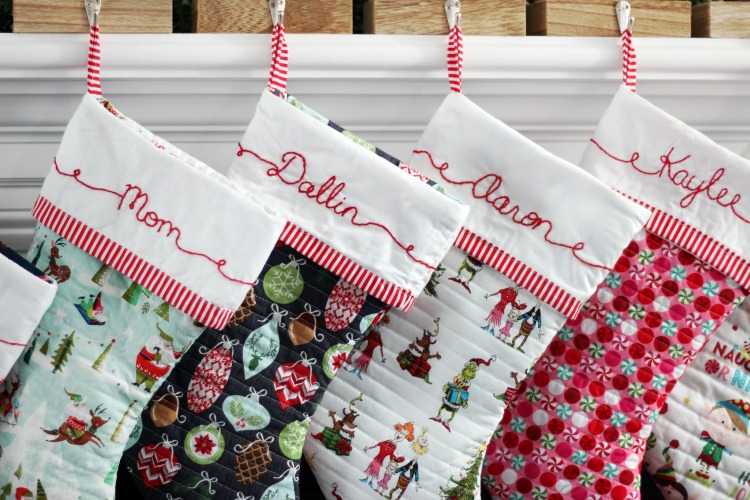
Note: if you'd like to add names to your stockings do this now, then proceed to tuck the cuff inside the stocking using the directions below. I used a photo of Christmas stockings that I found on Etsy as inspiration then freehanded the lettering using a pencil before stitching with embroidery thread.
- Tuck the cuff inside the stocking with the right side of the fabric facing the lining fabric. The top of the cuff lining up with the raw edge of the stocking, and the side seam lining up with one of the stocking side seams. The loop (stocking hanger) will be between the lining fabric and the cuff. Pin in place.
- Stitch around the entire top edge. Stitch over the stocking loop a few times, going forward and in reverse, to reinforce the seam.
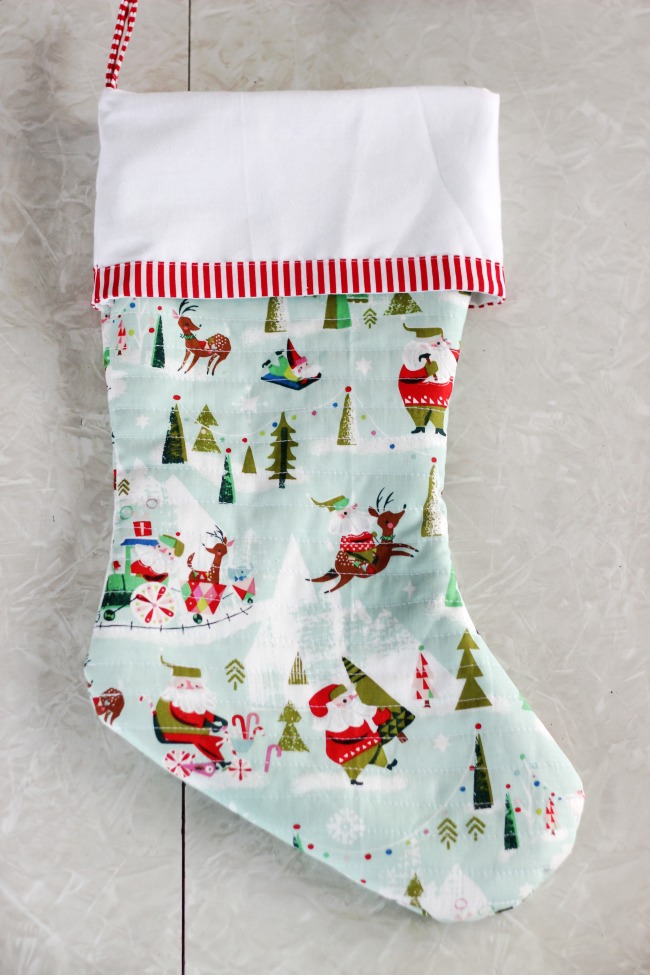
- Pull the cuff out of the stocking and fold over the stocking.
If you don't have a mantel to hang them on you can use a quilt ladder! Here is our $15 stocking ladder tutorial. Perfect for blankets OR stockings!
And be sure to check out these DIY Christmas stocking ideas!





Elyce Treacy says
Thank you Brandy I made 3 stockings based on your brilliant tutorial. Have a wonderful Christmas from Elyce in Ireland.
Brandy says
I’m so glad to hear that! Merry Christmas!
Emily Muir says
I'm having a hard time finding the video link for this tutorial.
Brandy says
Hi Emily! The videos plays directly under the first image of the post. Do you have an ad or pop up blocker on?
Mary says
Great pattern fairly easy. It did take me longer than 1 hour! Closer to 2. And had a bit of trouble matching cuff edges- found cuff to be a hit too big. But will make again!
Brandy says
Glad to hear!
Kyrie says
Love this pattern so much! I'm new to sewing and this beautiful, simple pattern seems like a great beginners craft. Question though, did you use just a regular foot for the quilting part or a walking foot? I'm probably overthinking it.
Brandy says
You can use either one! I used a regular foot since it wasn’t very thick.
Dee says
Thank you for the pattern, Brandy! Quick question...where is the link to the step by step video? I see the words, "Watch our step by step video!" but I'm not able to find a link.
Brandy says
Hi Dee! The video plays right under the first image in the post. Do you have a pop up blocker on your browser by chance?
Morgan Fobare says
I am a novice when it comes to sewing but this pattern and your detailed instructions were super easy to follow! This is the first time I’ve made anything like this and the first time I’ve ever embroidered but I wanted to make a Christmas stocking for my son’s first Christmas that he can cherish forever. My mother made me a personalized stocking when I was little and I really wanted to carry on the tradition. Thank you! I’m so happy with how this turned out
Brandy says
Morgan, this made my day! What a keepsake that will be!
Gail says
Please describe exactly how to tape the stocking together A, B, C, & D. I understand cuff is cut separately. Had a terrible time printing instructions and would really like to make these soon.
Brandy says
A attaches to B. C attaches to D. Then attach the AB piece to CD piece.
Alex says
Just made one last night! How fun. Sewed together a bunch of scraps from mask projects from the last year. My first quilting project, so things are a little catawampus. Everything was in the stash, and it was really satisfying to whip this up in a few hours.
https://www.instagram.com/p/CXjwUhZPdR6/?utm_source=ig_web_copy_link
Brandy says
Beautiful!!
Alex says
Also appreciate that you can make the outside out of a quarter yard of fabric. Woohoo!
Nancy says
Hi, I'm trying to download your pattern, but I can not get it to download. I'm clicking on everything I think should be the link, but nothing is taking me anyplace except the ads! My first thought was the stocking that says FREE PDF, but when I click there it does nothing. Any suggestions on how I can get the pattern?
Brandy says
Hi Nancy! That’s odd! I’ll go ahead and email it to you since it isn’t opening correctly. Could just be a pop up blocker or something.