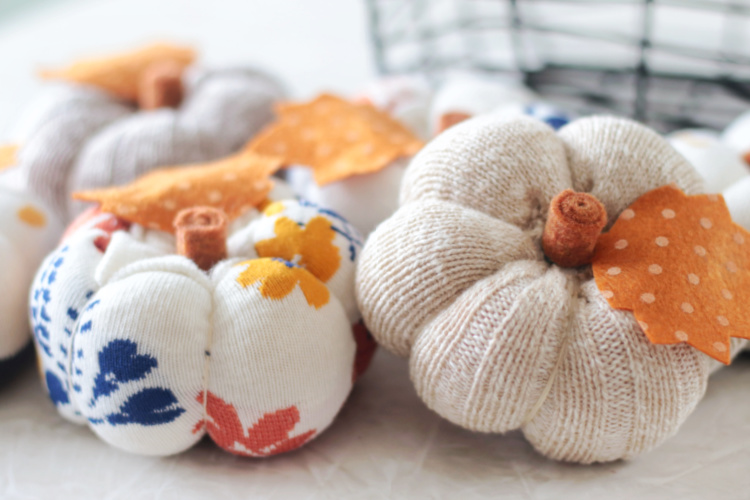
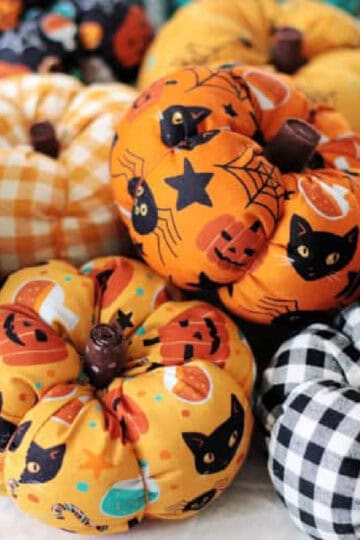
Make these easy sock pumpkins in 10 minutes! Perfect for fall or Halloween decor and SO easy to make! You’ll want to make an entire pumpkin patch of sock pumpkins for fall decor this year.
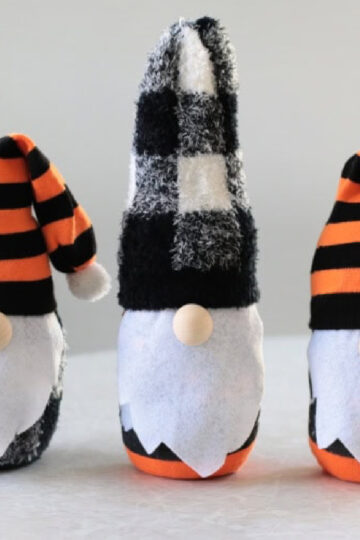
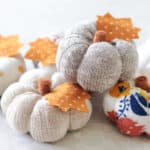
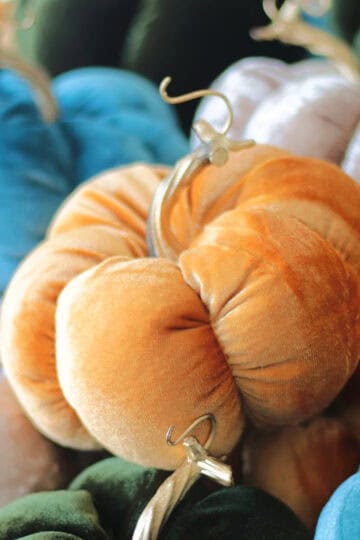
You might also like our easy fabric pumpkins, easy velvet pumpkins, or no-sew Halloween sock gnomes!

I love quick no-sew projects, and this one is at the top of my list of favorite crafts to make. These sock pumpkins are easy to make, come together quickly, and make great fall decor year after year.
Why I Like This Project
- Easy to make. These adorable sock pumpkins come together SO quickly, and while you do need a needle and thread to create the pumpkin shape---it's not hard. Promise.
- Make great gifts. These pumpkins make great gifts and are a fun activity to make with groups. We're making these with our young women's youth group next month. The girls were asked to do a Halloween-themed activity, so they are going to come in costume, and one of the activities will be to make a little pumpkin to take home.
- Great project for mismatched socks. Not all of the socks that I used were Halloween or fall-themed. Some were simple sweater socks, and they worked great for making sock pumpkins! Use used or mismatched socks when possible to save on the cost of this craft.
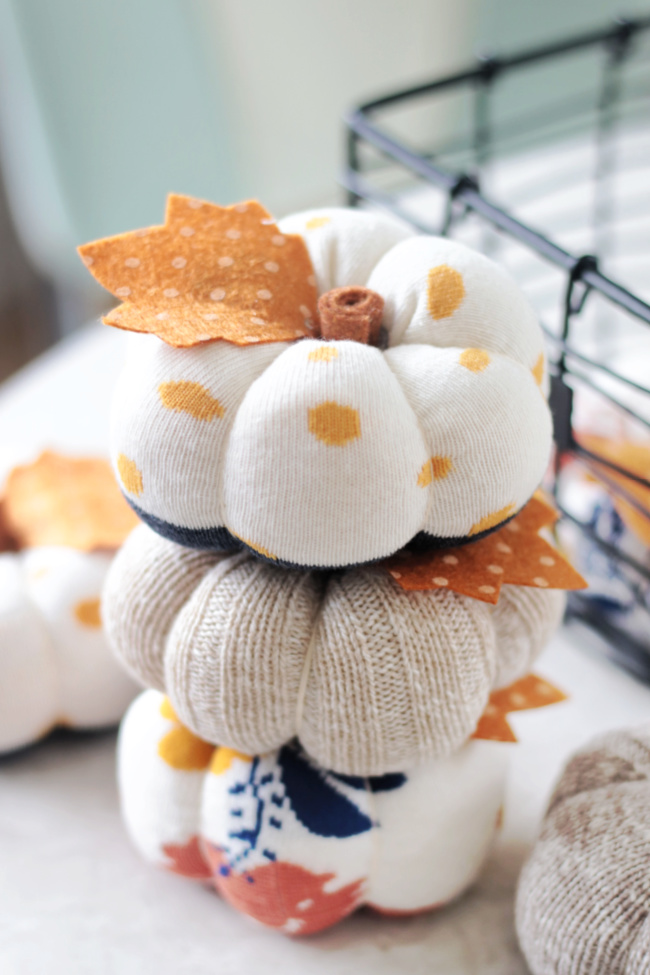
- Fun fall decor. They stack beautifully and look so cute in a basket or on a mantle.
What Others Are Saying
Brandy, you’ve provided easy quick instructions for this adorable pumpkin. I was looking for something to give my Thanksgiving guests and this is perfect. Thank you 😊---Kym on Pinterest
I tried this in school with kids, we have so much fun and kids take with them so cute autumn decorations🥰 thanks for idea and directions♥️---Kristina on Pinterest
We did this at church a few years ago and loved it!---Jodi on FB
Jump to:
Tips and Tricks
- How to minimize waste: You can make 2 pumpkins out of each sock, so one pair of socks is enough to make 4 pumpkins! The directions are a LITTLE different for the top portion of the sock vs. the bottom portion, but they are both easy to make and turn out darling!
- Use a small amount of rice to give the pumpkin weight. I use a combination of rice and pillow stuffing to fill the sock pumpkins. The rice provides them a nice weight so that they stand up straight, and the stuffing makes them a little squishy.
- Finishing Touches: The leaf and stem are made out of felt and hot-glued into place. Other ideas would be to glue a small branch, cinnamon stick, or dowel into the center of each pumpkin or floral stems/leaves.
- Best socks to use for sock pumpkins: You can use kids/youth socks, but women's socks are my favorite. They are just the right size to make a 3" pumpkin. I used a combination of patterned crew socks and sweater socks. Just make sure that your socks don't have large knitted holes, or else your rice will fall through the holes. Like, if you use a chunky cable knit type of sock, the holes might be too big.
Supplies
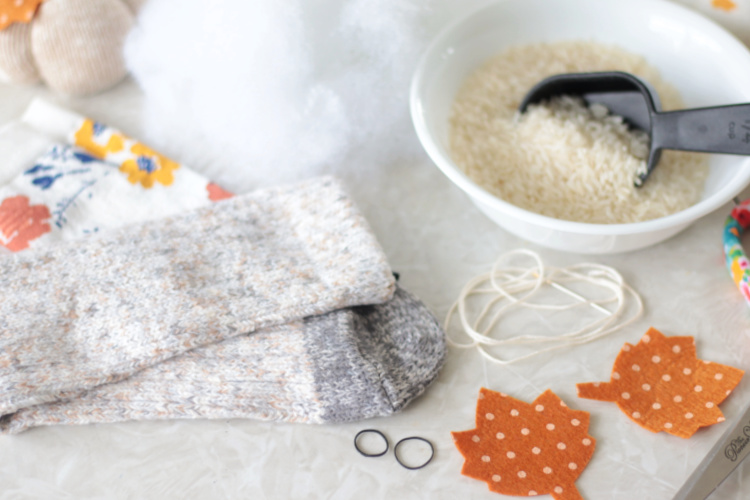
- Socks: (I found mine at Target: floral/dots and sweater socks)
- Rice: I've been using rice in my homemade hand warmers, sock pumpkins, no sew sock gnomes, and rice teddy bear heat packs for YEARS, and not once have I ever had an issue with mice or mold. If you live in an area that is super humid or have a rodent problem where you store your seasonal decor you can use kitty litter or small beads instead of rice.
- Polyfil (pillow stuffing)
- Leaf template
- Felt for leaf
- Felt for stem (cut into 3.5" x .5" strip)
- Embroidery thread
- Needle
- Scissors
- Hot glue gun/glue
- Hair elastics: You don't need to sew the ends closed; simply fill and tie off with hair elastics! I use this method for our fleece bunny tutorial and holiday sock gnomes, too!
How To Make Sock Pumpkins
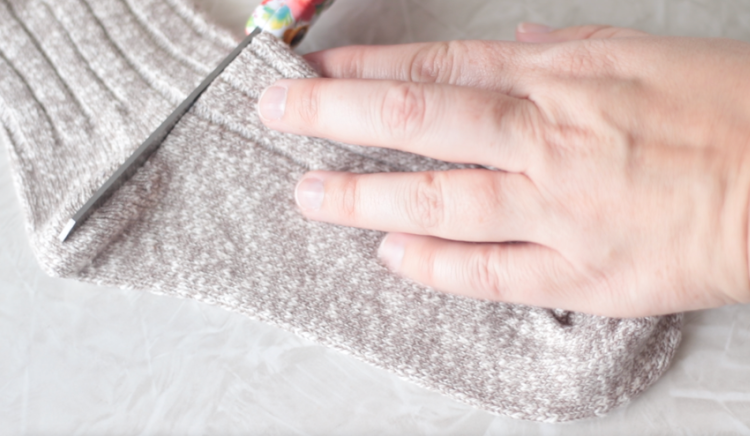
Prepare the sock: Cut a crew sock in half, right through the center of the heel. Decide if you'd like to make your sock pumpkin with the top half or the bottom half of the sock then refer to the instructions below.
To Make a Sock Pumpkin With The Foot Of the Sock
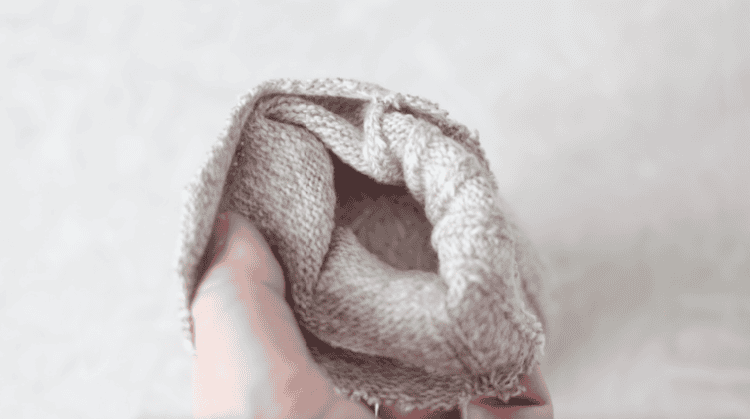
Step 1: Fill sock with ¾ cup of rice and a small handful of pillow stuffing.
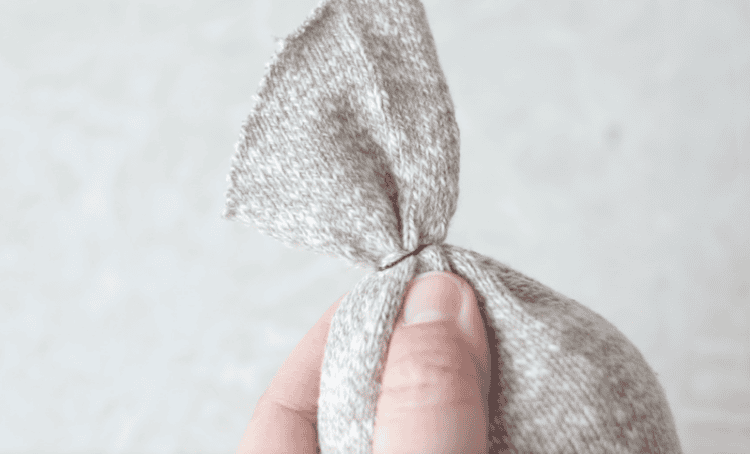
Step 2: Tie off with a hair elastic.Note: you can also tie it off with dental floss or yarn.
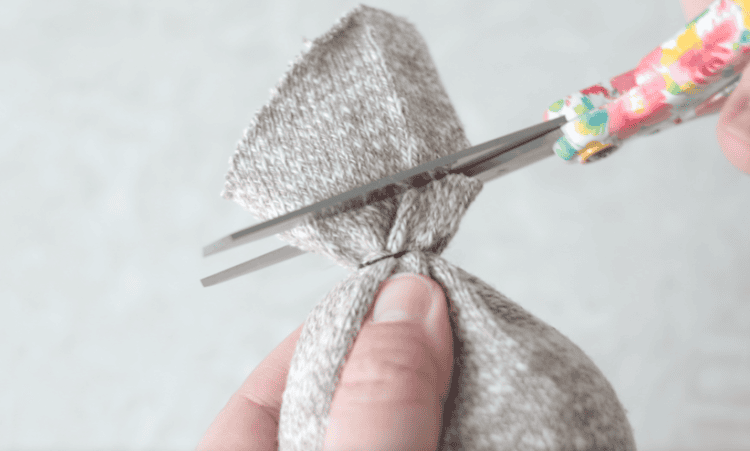
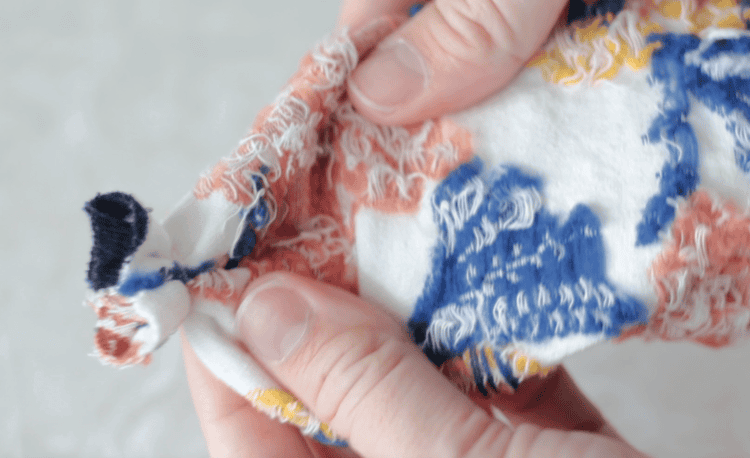
Step 3: Trim excess sock with scissors.

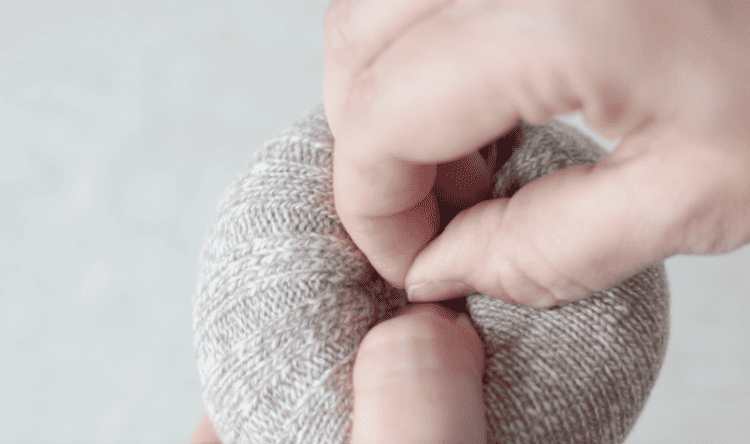
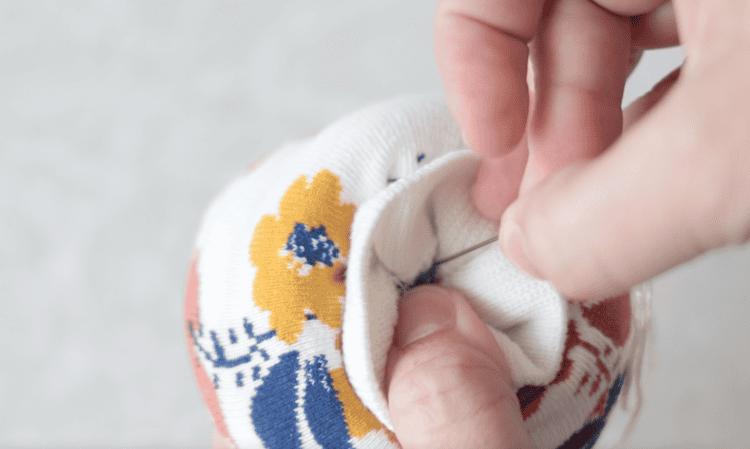
Step 4: Cut a strand of embroidery thread that is 32" long. Thread it through a needle. Tie a knot at the end. Press the sock ball down to squish it down a bit (this makes it easier to insert the needle). Poke the needle through the center of the sock and out the back. Pull until the knot hits. Bring the needle around to the top again, insert through the center and out the back again, then pull the thread TIGHT. You'll notice that you've created one of the pumpkin grooves on the side of the pumpkin.
Step 5: Continue this process until you have 6 sections (dimples).
NOTE: I highly recommend referring to my step-by-step video in the "how to" card at the end of the post.
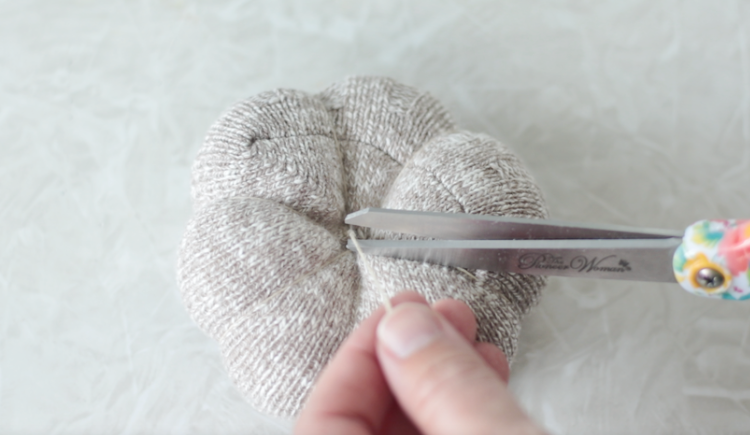
Step 6: When you've completed the previous step, pull the thread tight as you tie a couple of knots on the bottom of the pumpkin. Trim excess thread.
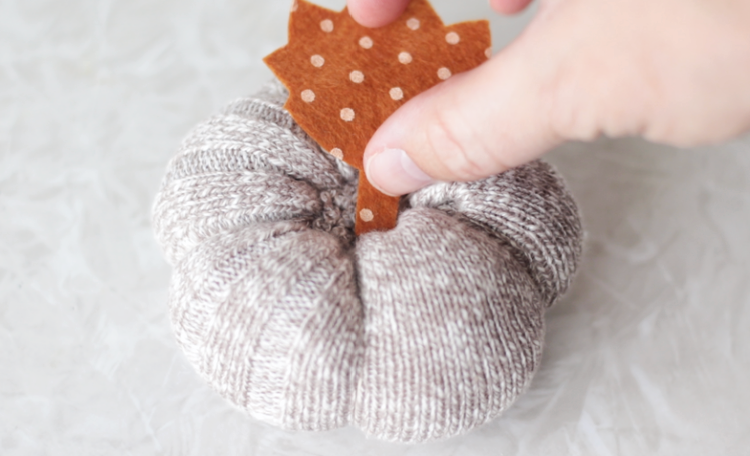
Step 7: Hot glue the leaf to the top of the pumpkin.

Step 8: Roll the strip of felt up tightly.

Step 9: Add a dot of hot glue to secure the end of the felt.
Step 10: Glue the felt stem to the top of the pumpkin.
To Make a Sock Pumpkin With The Top Of the Sock
Step 1: Turn sock inside out. Tie off the raw end with a hair elastic.

Step 2: Turn sock right side out.
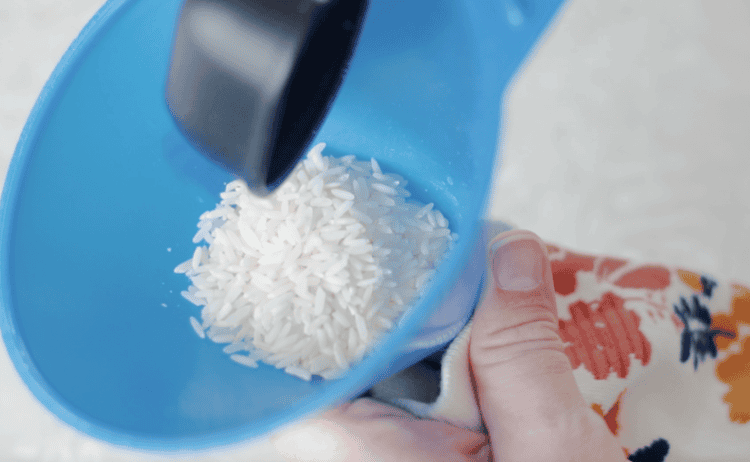
Step 3: Fill sock with ¾ cup of rice.
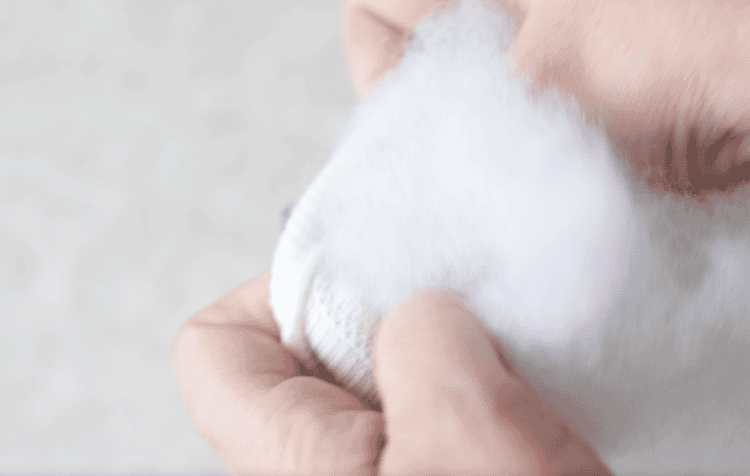
Step 4: Add a handful of pillow stuffing.
Step 5: Tie a hair elasic around the opening a few times to close off sock.
At this point, the instructions are the same for the top of the sock pumpkin and the foot of the sock pumpkin. Follow steps 4-10 above to finish your sock pumpkin.
Sock Pumpkins FAQs
You can use kids/youth socks, but women's socks are my favorite. They are just the right size to make a 3" pumpkin. I used a combination of patterned crew socks and sweater socks. Just make sure that your socks don't have large knitted holes, or else your rice will fall through the holes. Like, if you use a chunky cable knit type of sock, the holes might be too big.
I use a combination of rice and pillow stuffing to fill the sock pumpkins. The rice provides them a nice weight so that they stand up straight, and the stuffing makes them a little squishy.
You can make 2 pumpkins out of each sock, so one pair of socks is enough to make 4 pumpkins! The directions are a LITTLE different for the top portion of the sock vs. the bottom portion, but they are both easy to make and turn out darling!
More Fall Crafts To Make
MADE THIS CRAFT AND LOVED IT? 💛 Please leave a STAR rating and COMMENT below! Post it to Facebook or Pinterest to easily share with friends!
Sock Pumpkins
Equipment
- scissors
- measuring tape
- hot glue gun/glue
Materials
- 1 sock
- ¾ cup rice
- small handful pillow stuffing (polyfil)
- small hair elastic
- needle
- embroidery thread 32"
- felt leaf template
- scrap of felt for leaf
- scrap of felt for stem (3.5" x .5")
Instructions
- Cut a crew sock in half, right through the center of the heel. Decide if you'd like to make your sock pumpkin with the top half or the bottom half of the sock then refer to the instructions below.
How to Make a Sock Pumpkin With the Foot of the Sock
- Fill sock with ¾ cup of rice and a small handful of pillow stuffing.
- Tie off with a hair elastic.Note: you can also tie it off with dental floss or yarn.
- Trim ecess sock with scissors.
- Cut a strand of embroidery thread that is 32" long. Thread it through a needle. Tie a knot at the end.Press the sock ball down to squish it down a bit (this makes it easier to insert the needle).Poke the needle through the center of the sock and out the back. Pull until the knot hits. Bring the needle around to the top again, insert through the center and out the back again, then pull the thread TIGHT. You'll notice that you've created one of the pumpkin grooves on the side of the pumpkin.
- Continue this process until you have 6 sections (dimples). NOTE: I highly recommend referring to my step-by-step video for a great visual on how to create the pumpkin sections/shape using the thread.
- When you've completed the previous step, pull the thread tight as you tie a couple of knots on the bottom of the pumpkin. Trim excess thread.
- Hot glue the leaf to the top of the pumpkin.
- Roll the strip of felt up tightly.
- Add a dot of hot glue to secure the end of the felt.
- Glue the felt stem to the top of the pumpkin.
How to Make a Sock Pumpkin with the Top of the Sock
- Turn sock inside out. Tie off the raw end with a hair elastic.
- Turn sock right side out.
- Fill sock with ¾ cup of rice.
- Add a handful of pillow stuffing.
- Tie a hair elasic around the opening a few times to close off sock.At this point the instructions are the same for the top of the sock pumpkin and the foot of the sock pumpkin. Follow steps 4-10 to finish your sock pumpkin.


Jenny says
Did anybody else find that 32 inches of embroidery thread was not nearly enough? By the time you thread it through and tie a knot, there are only 16 inches left, and that was enough to comfortably to two sections.
Brandy says
Hi! I’m trying to figure out how it went from 32” to 16”. Tying a knot should have taken off maybe 1/4”. And another 6” hanging out the other end of the threaded needle and it should still be pretty long, with plenty of length to do all of the lines on the pumpkin. Did you double up and tie both ends at the bottom or something?
Brandy says
The video player is embedded under the first image in every post. There isn’t any other way to add it for my site. It’s playing for me right now. If you missed it playing the first time as you scrolled through the post it automatically moves on to a different video. Refresh the page then go directly to the video and it will play the pumpkin one.
Shanele Morin says
How many pumpkins can you make with that bag of stuffing?
Brandy says
I’m not sure. A lot, since they don’t take much stuffing at all!
Brandy says
Hi! That is odd. Is there a button that says “stay”? There should be. It pops up around 30 seconds in asking if you’d like to stay on the video. I’ll look into it. Otherwise, there is a step by step tutorial with photos at the end of the post that you can follow!
Shannon says
I LOVE this project!!!
Brenda says
May I suggest that embroidery thread or string be used to tie off sock as eventually elasctic's will deteriote over time and pumpkin will loose it's stuffing.
Stephanie says
Love this simple and quick idea for making sock pumpkins! Thanks so much for sharing!!!
Brandy says
You’re welcome! 🙂
Brandy says
Hi Rochelle! The sock pumpkin video plays RIGHT under the first image. I just checked and it's playing! 🙂
Merry says
Can you direct me to the video? I do not see a clickable spot to access it. Thanks!
Brandy says
Hi! It plays right under the first image and also in the "how to" card at the end of the post.
Merry says
Thank you! The ads were the problem.
Toni says
I LOVE THEM , THANK YOU FOR SHARING THESE WITH US
Linda says
Love this idea will be making these as a craft with the students in the after school program
Valerie says
So cute!! How many strands of embroidery thread did you use?
Brandy says
I used all 6 🙂
SALLY VITIRITTI says
GREAT CRAFTING IDEAS