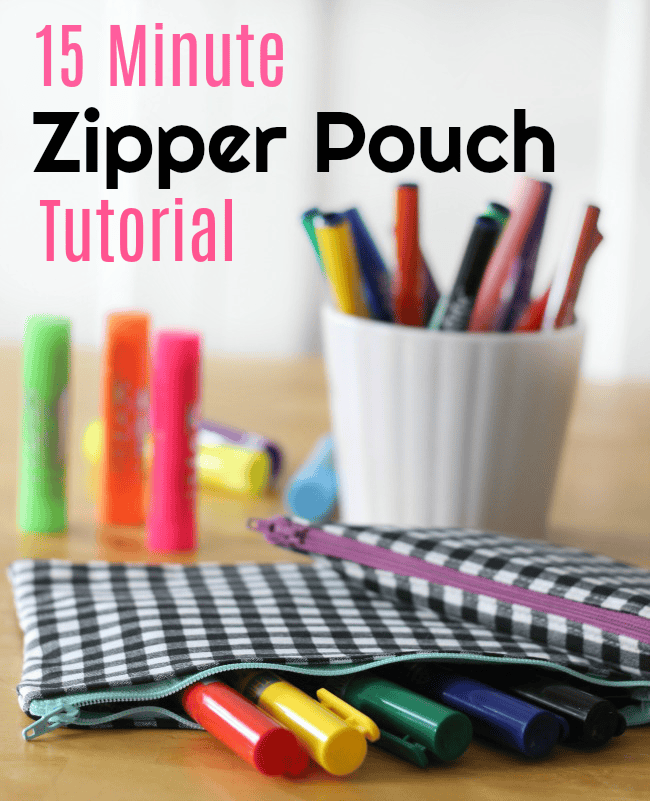
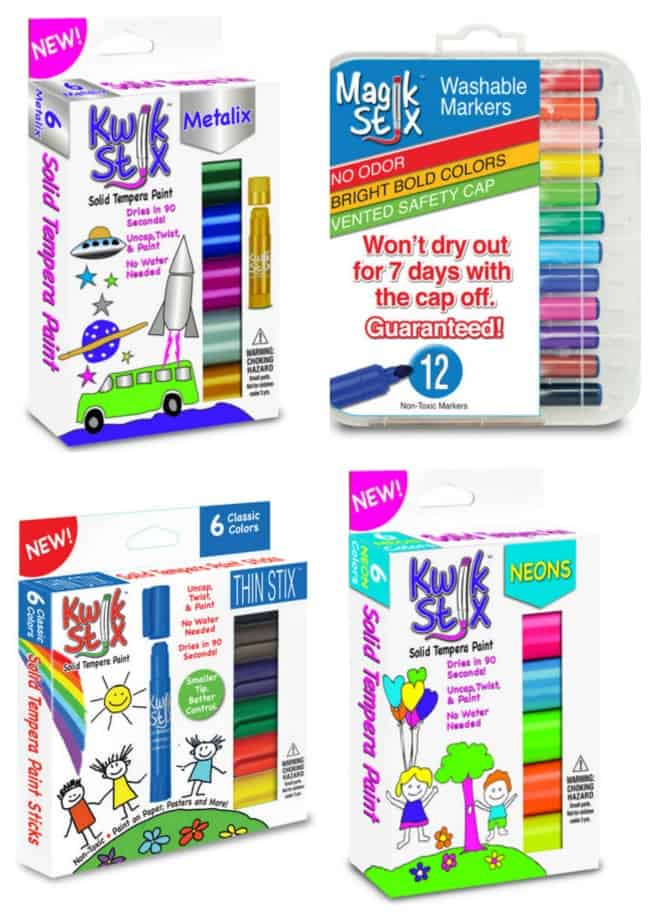
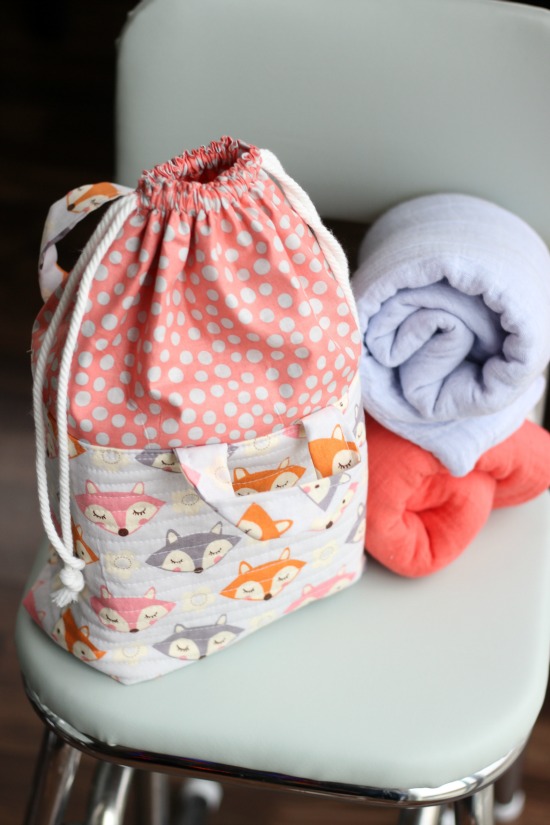
This zipper pencil pouch tutorial is such a quick and easy project and these pouches are useful for so many things! Pencils, markers, make up...anything! A special thanks to the The Pencil Grip Inc. for sponsoring this post. This post contains an affiliate link.
These are the kind of items that I like tucking inside their Christmas stockings. With five children, the last thing we need are more trinkets so we carefully select the things that we will add to our kids' collection of "stuff" and generally lean towards creative products.
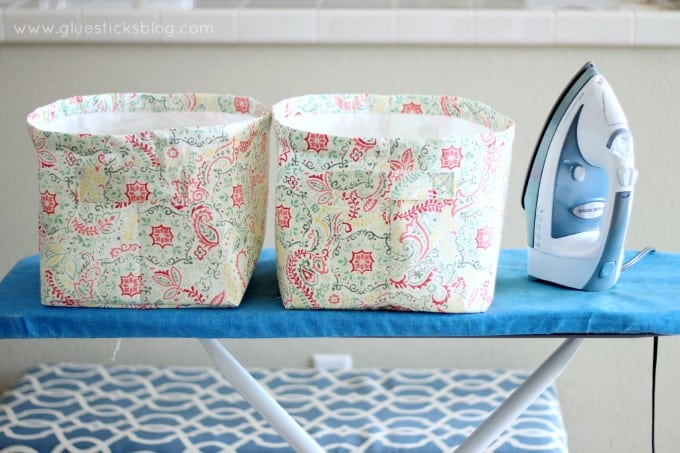
We all know that the cardboard boxes that art supplies come in often don't last very long with a lot of wear and tear. A pencil box, pouch, or other way to transport is always useful to have to tuck inside a backpack. I whipped a couple of zipper pouches for my girls to keep their art supplies in and each one only took about 15 minutes to make from start to finish!

For 60 more sewing projects, check out my sewing book for kids!
15 Minute Zipper Pencil Pouch Tutorial
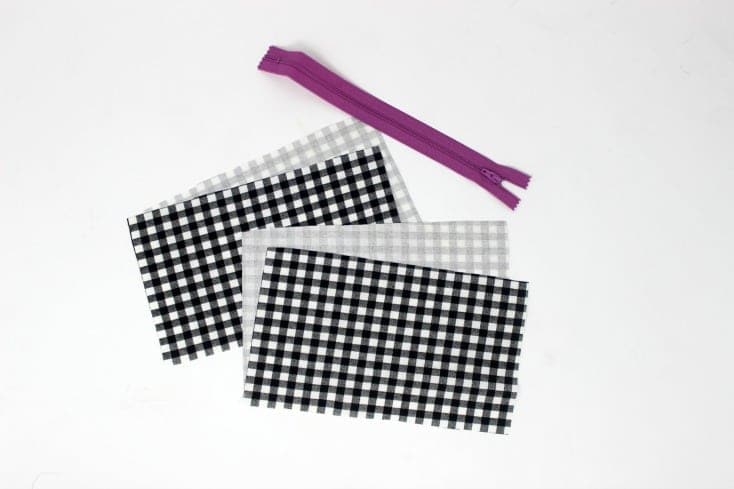
Cotton fabric
zipper
pins
sewing machine
scissors
measuring tape
thread
Instructions:
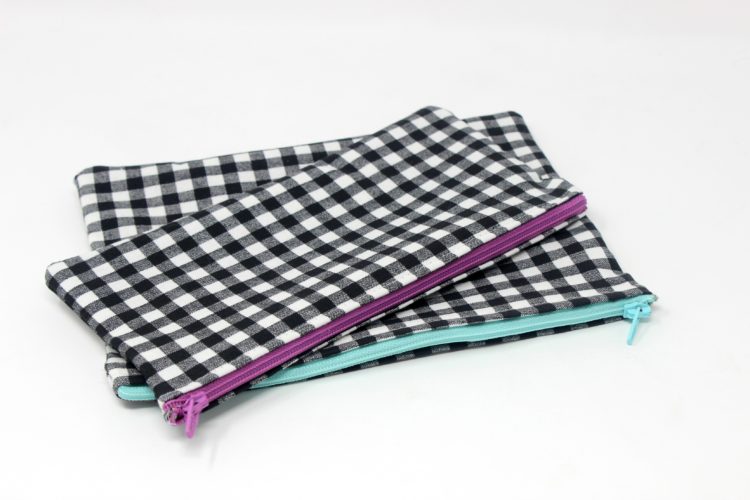
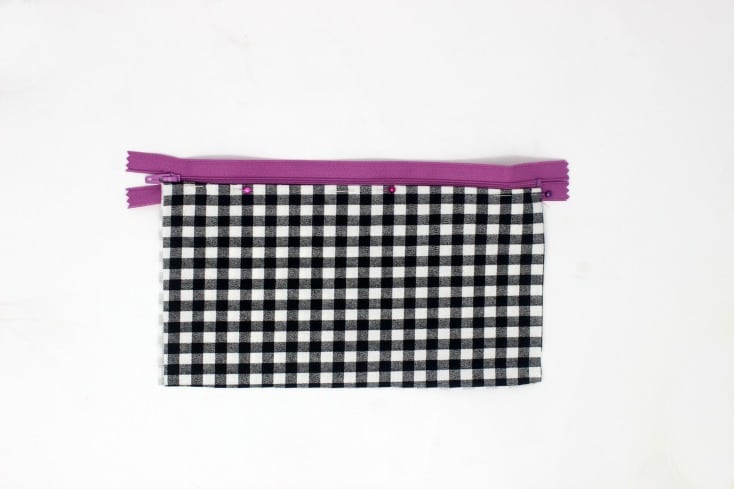
The size of your pouch depends entirely on the length of your zipper. Want a 9" pouch? You'll need a 9" zipper. A 12" pouch? You'll need a 12" zipper. I'll share the dimensions of mine and you can customize your pouch to fit your needs.
I used a 9" zipper so my rectangles were 9" x 5".
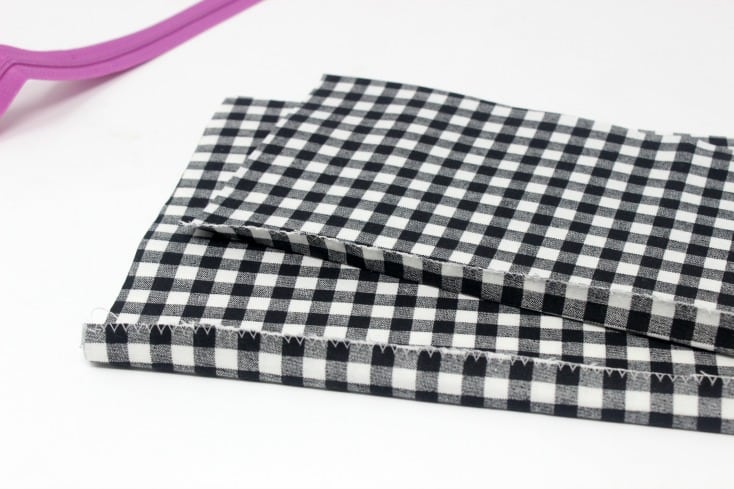
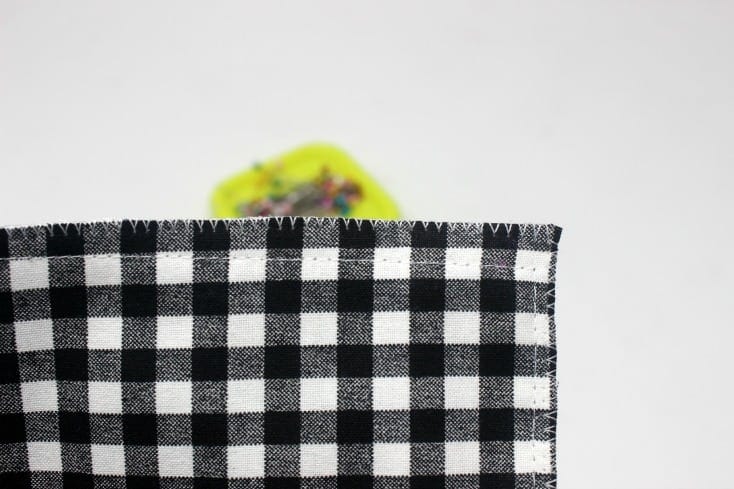
Place two rectangles together, right sides out. Zig zag across the top edge. Fold over ½" and press. Repeat with other set of rectangles.
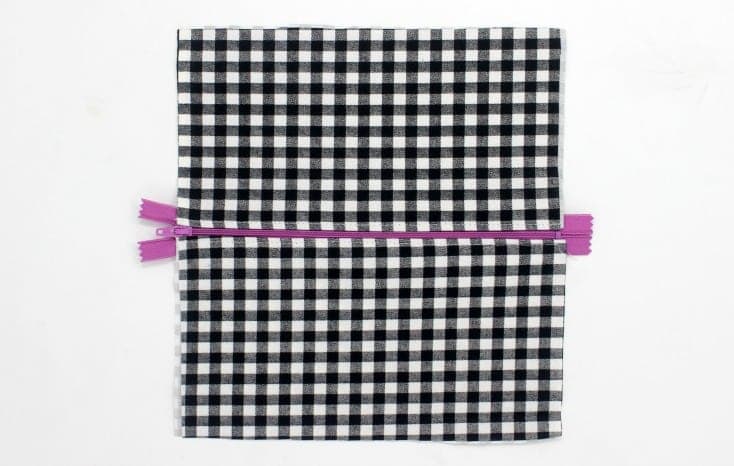
Make sure that when you stitch around the sides that the zipper is open a few inches so that you can turn your pouch right side out.
Turn pouch right side out.
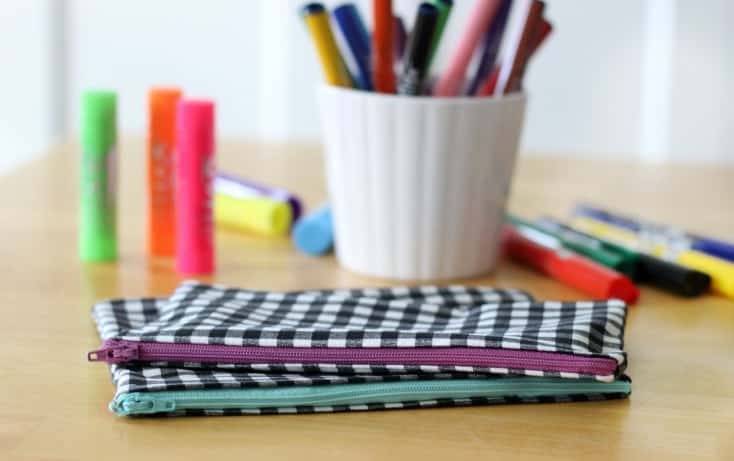
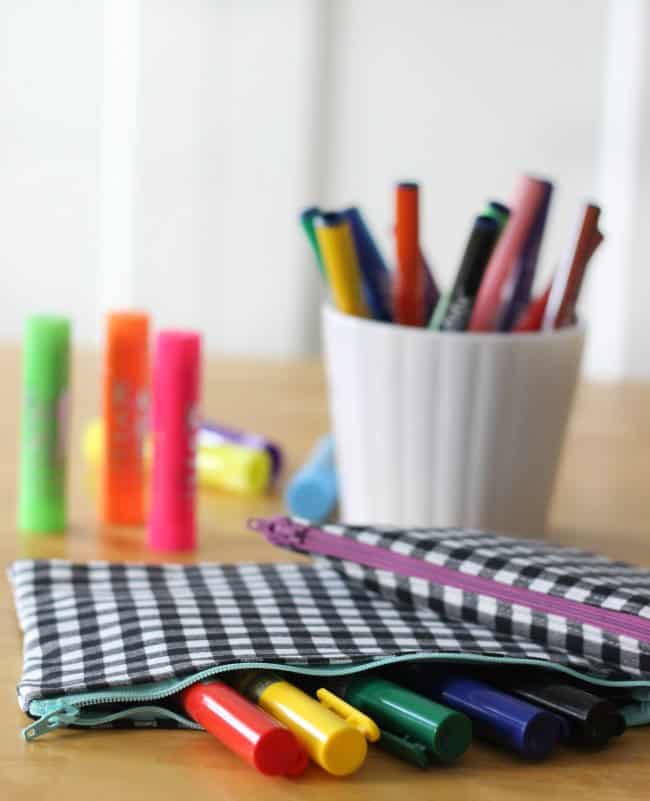
What would you store in a 15 minute zipper pouch?
If you liked this pencil pouch tutorial you might also like...

Joanna says
Hey there! I'm hoping you can help me.
Every pouch I sew ends up with rounded corners at both ends of the zipper. The bottom 2 corners are clean and sharp, but I can't seem to get the same thing at the top of my pouch by the zipper ends. And... I've even torn the zipper/fabric in the corners on a couple pouches. Do you have any idea what I'm doing wrong?
Brandy says
Hi Joanna! I'm not sure what to tell you here so I did a quick search for using zippers in zipper pouches and hope you find this to be helpful! http://www.blog.hollandcox.com/2014/09/perfect-zippers-part-2-perfect-corners/
She said, "the key to having the straight corners is in pinning & stitching the seam allowances right, no matter how you decide to put in the zipper! I always use a zipper foot when putting in a zipper, but if the regular foot on your sewing machine is very narrow (some older machines and industrial machines have very narrow feet), then you might get away without using one."