Fresh salsa is amazing, but you simply can't store it. This canned salsa is absolutely delicious and has a fantastic shelf life. It definitely rivals any salsa you'd get in a restaurant! I'll show you how to can salsa like a pro with a few simple steps.
This post contains affiliate links.
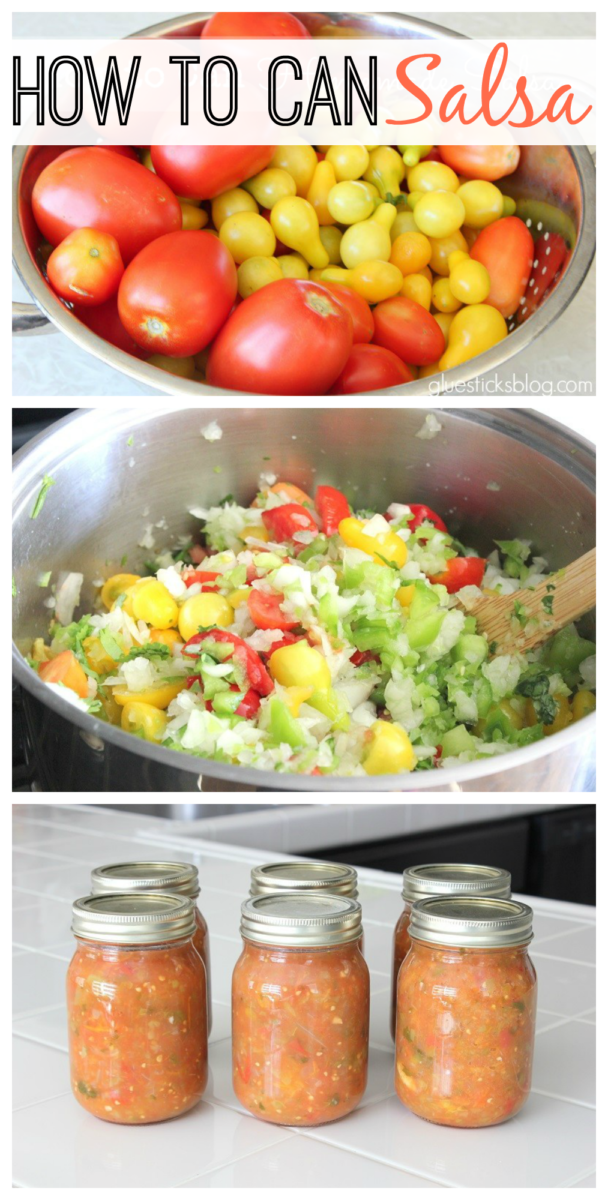
Canning salsa is easier than it sounds. Just chop and simmer. Not like making spaghetti sauce and having to peel tomatoes or canning peaches and having a sticky mess all over the kitchen. We won't talk about the spaghetti sauce I canned a few summers ago except to say that it was awful. There's nothing worse than spending an afternoon peeling tomatoes and sweating up a storm in the kitchen only to have the fruits of your labor not turn out at all!
I love making fresh salsa (pico de gallo) and blender salsa because I like to avoid the canning process whenever possible, and they always turn out great, but this salsa was fairly quick to make and turned out absolutely delicious! It's a keeper, for sure, and if I could just get a handle on not bawling my eyes out while cutting onions it would be even better.
Anyone have tips for an onion cry baby like me? It's awful!!
I only purchased one tomato plant for our garden this year because I am the only ones who likes tomatoes in our family. Then I received two plants from a gal at church who had way too many starts. I figured I'd get a few tomatoes from each plant since that has been my experience in the past. Well, these 3 plants were good to me this year and grew like CRAZY. Between the 3 tomato plants, and the pumpkin plant that spread across the back of the house creating a huge pumpkin patch, our "little" garden has taken over. I couldn't keep up with just adding them to sandwiches and salads and wanted to preserve them somehow. Luckily Derrick likes salsa too, so now we have a nice supply to share.
You can use any combination of tomatoes, veggies, and spices. The canning process is the same. Use this recipe as a base to come up with a family recipe that you'll want to make over and over! Give this one a chance to simmer down, then add more sugar or salt if you'd like. You can also add a bit of cumin, pepper, or any other spices. I like mine with just a bit of salt and sugar to allow most of the flavor to come from the veggies and tomatoes.
How to Can Salsa
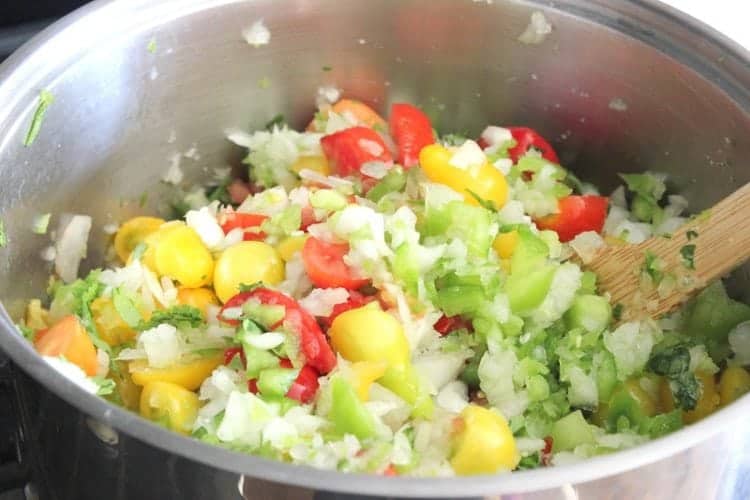
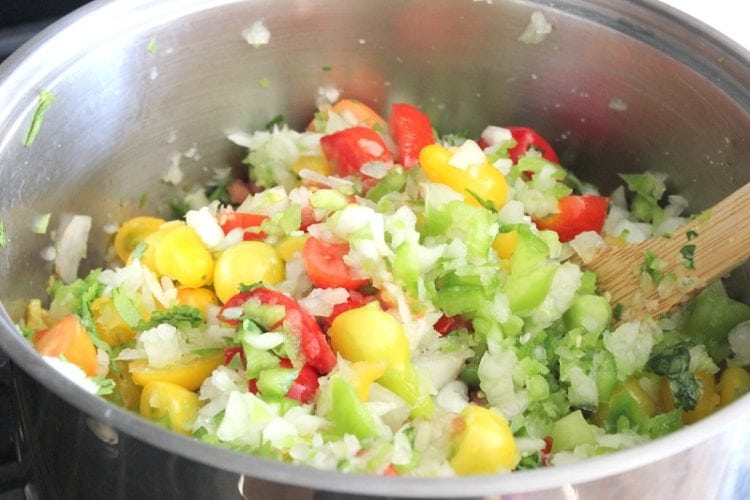
I filled a large stockpot with all of my veggies. Tomatoes (red and yellow), bell peppers, jalapenos, onions, garlic, and apple cider vinegar. I let it simmer until it started to break down into a desired thickness.
Water Bath Canning Salsa
New to canning? Here is a great resource to get you started in the processs of water bath canning.
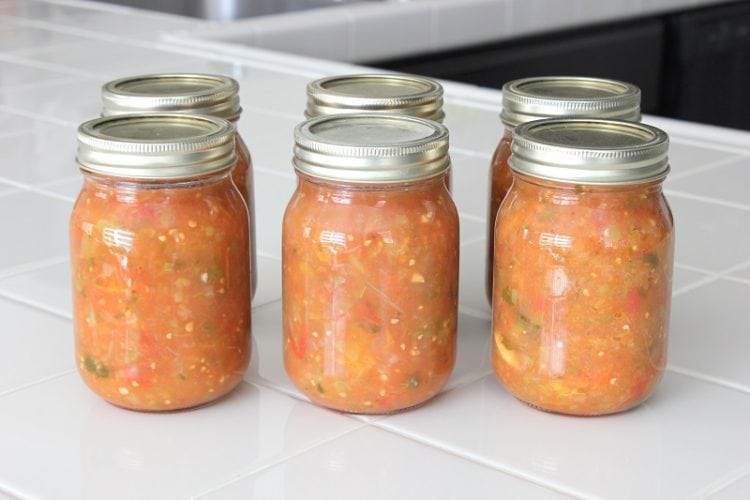
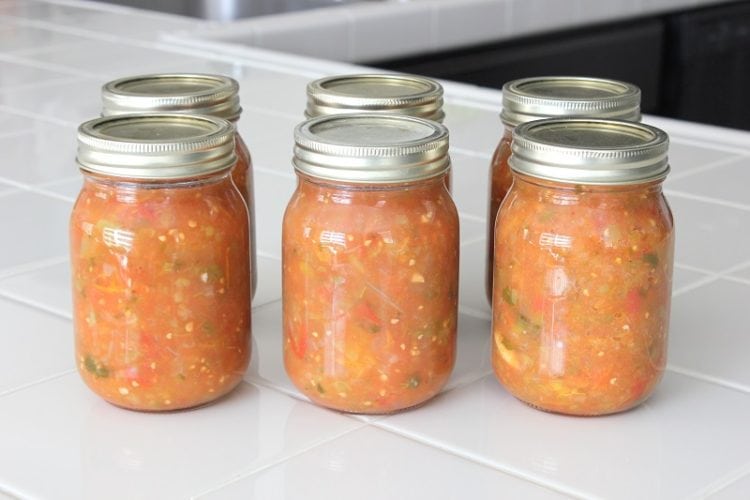
After the salsa had a chance to simmer and be tasted I ladled it into hot canning jars (that had just been washed) and added the lids and rings. I ran them through a quick 35 minute process in my water bath canner. If you haven't canned before, a water bath canner is the way to go. You can can most fruits and jams/jellies this way. It is just a huge stock pot; large enough for quart sized jars to fit inside.
Once the timer went off, I pulled the jars out and carefully moved them to the counter on top of a dish towel to cool. You'll know they are sealed when the lids make a popping sound and there isn't any give when pushing the lid down in the center.
How To Can Salsa
Equipment
- 5-6 pint sized jars
- water bath canner
- jar tongs
Ingredients
- 5 pounds of tomatoes diced
- 2 cup bell peppers diced
- 2-3 jalapeño peppers seeded, diced
- 2 cup onion diced
- 3 cloves garlic minced
- 1 cup apple cider vinegar
- 2 teaspoon salt
- 1 Tbsp. sugar
Instructions
- Prepare canning lids by sterilizing them in boiling water.
- Clean jars.
- Place all ingredients in a large stock pot.
- Simmer 20 minutes. (Remember, it will continue to cook in the water bath canner)
- Give your salsa a quick taste and extra sugar or salt, if necessary.
- Ladle salsa into canning jars, leaving about ½" space at the top.
- Wipe the rims of the jars with a damp towel to clean, if necessary. Screw on lids, being careful to not screw them on too tight.
- Process salsa in a water bath canner for 35 minutes.
- Remove jars and place on a towel on the counter.
- Listen for the jar lids to "pop". This means that they have sealed. Any jars that don't seal can be reprocessed for another 15 minutes or placed in the refrigerator to be eaten.
Notes
Nutrition
Salsa that has been processed with a good seal has a shelf life of 18 months.
You can use a food processor to making chopping and dicing easier.
Have you canned any of your summer bounty this year?
You might also like...
Strawberry Freezer Jam with Instant Pectin



Brandy says
You're welcome! Thank YOU for sharing such a great recipe! I've tried others, but this one is the one I'm going to stick with 🙂 I think with all the tomatoes we have I may need to make another batch.
Kandice Murphy says
Cut onions outside. I've done this for years. Even in the winter. No tears and no smell in the house!
Brandy says
THANK YOU! I will definitely do this!
Tera @ Adventures in Mommy-hood says
Glad you shared this. I have yet to find a salsa for canning recipe that I actually like. And I agree--chop onions in the food processor. If you have to chop them by hand, try wearing swim goggles. Looks silly, but it works!
Brandy says
This is the only cooked salsa that we have actually liked. I hope you guys like it too and I am going to definitely find some goggles. It is just getting ridiculous cooking with mascara running down my cheeks!
Jaclyn says
Ever since I had to get contacts my eyes have ceased to tear up and burn while cutting onions. The other week I was cutting one up without my contacts in for the first time in years and I was going crazy by how bad it was! I empathize for people who DON'T have contacts for this reason. Every cloud has a silver lining...bad vision has saved me from the pain of cutting onions. =)
Brandy says
Haha! Yes, every cloud does have a lining. Maybe I should wear goggles to cover my eyes!
Rebecca says
For chopping onions and even the peppers... last week while making both salsa, pepper jam, and tomato sauce (first attempt, and I AGREE with you!!) my friend and I found that the key to "chopping" these, fast and easy was using a manual food processor!! It was quick and easy, and no one had to cry. 🙂
Brandy says
Thanks! Maybe pulsing them in my food processor would work too!
Karen says
I do all my veggies in the blender! I do chop the onions in quarters and off course I seed the peppers. I don't use fresh jalapeños, I buy the hot pepper flakes and just add a few to the blender with some of the veggies.
As far as crying when cutting onions etc., my Mom taught me to put a piece of whole wheat or rye bread in my mouth (dry, not butter or anything else) and keep it there. That forces you to breath through your nose and the problem is solved 🙂 It works for me. Another alternative that I have been told of is to wear a pair of safety goggles -- yes, the ones you or your hubby use in the woodshed. Swim goggles will also work. What you are doing in this case is keeping the fumes from your eyes. So there you go. I haven't used the safety glass idea although I admit I did use the swim goggles a few years ago when I was doing giant batches with lots of onions and found that they worked well. However, I still go back to the tried and true -- dry bread in my mouth.
Thank you for this recipe. It looks really good. I wouldn't can it -- I would freeze it. I don't have a canner and am not about to get another one at this stage in my life (I will be 70 this summer). I find that any of the sauces that I freeze turn out well. The flavours do blend nicely -- I usually let them sit in containers in the fridge for 12 - 24 hours before freezing them.
Brandy says
Great tip, thank you Karen! And I like freezing a lot of my recipes too. I wondered though if this one continued to cook because of the water bath canning process. If you aren't going to run it through that process maybe let it simmer on the stove a bit longer before labeling into jars. Enjoy!