Make an easy fall pumpkin wreath with fabric pumpkins in under 30 minutes! Follow our easy wreath tutorial for a gorgeous wreath to hang on your front door that will last for years!
You might also like our grapevine Christmas wreath, our summer citrus greenery wreath or our easy faux hydrangea wreath!
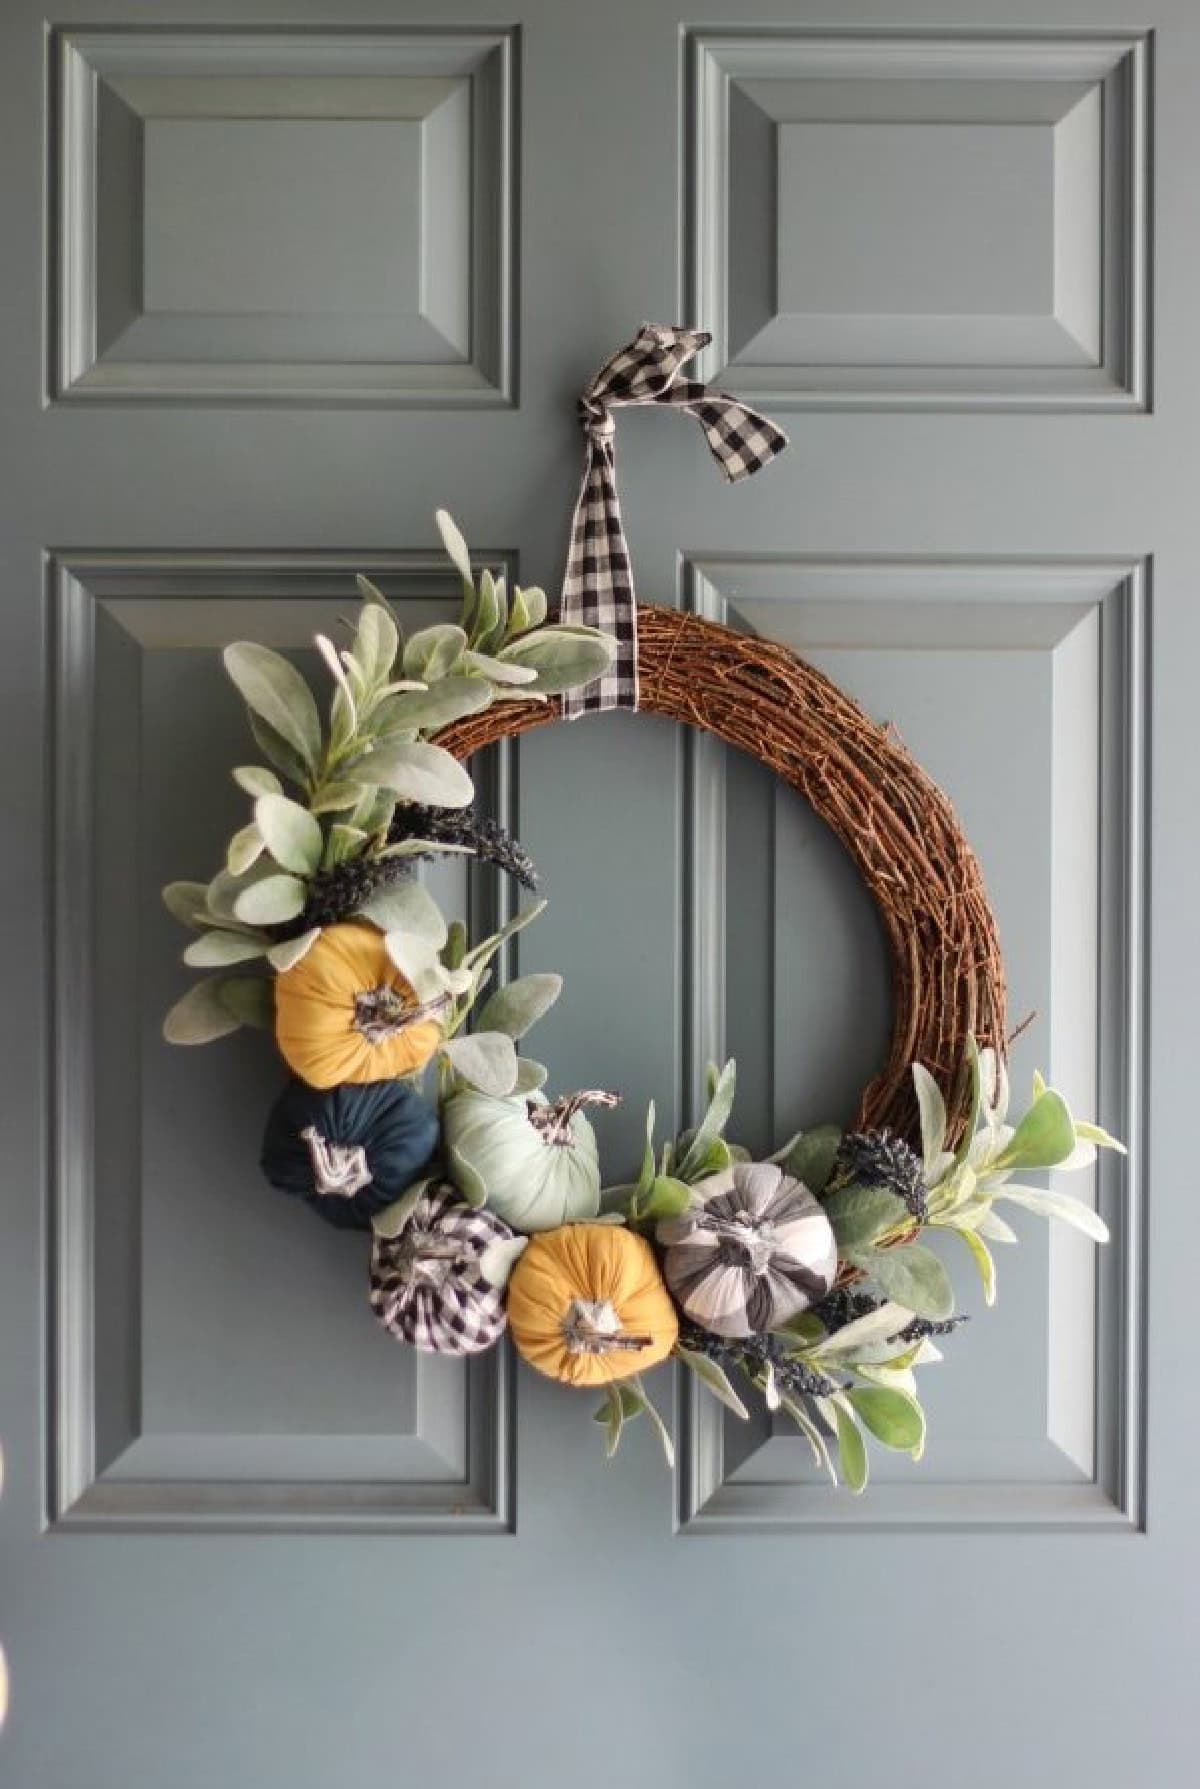
I stopped by Target and was surprised to see that they were already pulling out the fall items for the Dollar Spot! I immediately spotted the cute velvety $1 pumpkins that they had last year. I grabbed 6, and had the beginnings of one of my FAVORITE homemade wreaths. This wreath went viral the first fall that I shared it on social media, and I loved seeing how cute and colorful the wreaths turned out!
Why I Like This Wreath
- Quick to assemble. You can use wire or glue to create this quick wreath. I'll share directions for both. This wreath easily comes together in about 30 minutes.
- Inexpensive to make. If you have an old wreath base, you'll save even more money, but the fact that the pumpkins were only $1 each is such a deal! You can even make your own fabric pumpkins with my easy tutorial. Just make them a little smaller.
- The wreath will last for years. If your porch is covered, the fabric pumpkins will last a long time without fading or weathering. Simply touch up the greenery year to year if it comes loose.
Jump to:
Reader-Made Pumpkin Wreaths


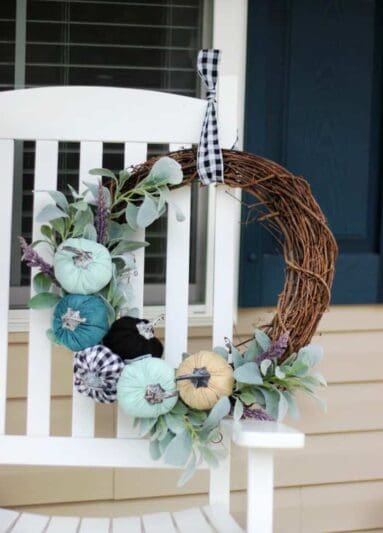
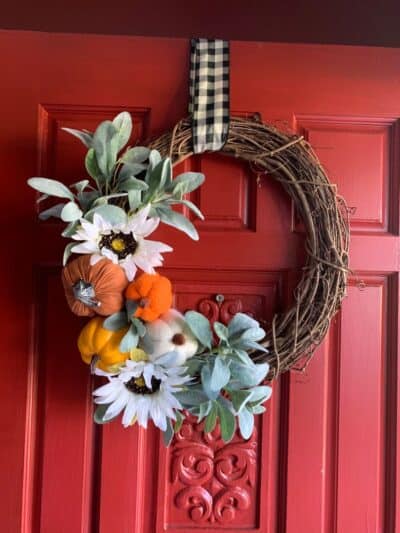

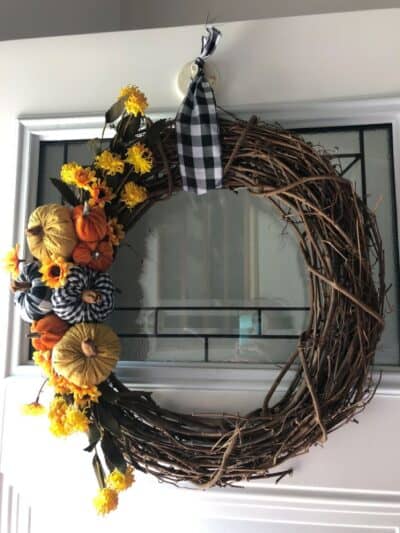
I love that this tutorial has inspired so many crafty readers!
Pumpkin Wreath Tips and Tricks
- Repurpose what you already have. Wreaths, even DIY wreaths, can add up in cost. If you have an old wreath that you don't think you'll use again, pull the items off and use it as your base! I do this all the time with grapevine wreaths. You can also reuse greenery and ribbon. I reused some greenery from my painted ceramic pumpkin mantle display and blue floral stems from my summer citrus wreath.
- Tips for finding fabric pumpkins. You'll definitely want to head to the Dollar Spot at Target first. They've had mini pumpkins, in varying colors and fabrics, for the past 5 years. At $1 each, it is the easiest option, and super affordable too. While they do restock, it's best to get them early so that you can get your wreath up sooner, vs. later. They often have mini plastic pumpkins that would work too! Michaels, Hobby Lobby and Walmart are also great places to find mini pumpkins and greenery.
- Tips for hanging wreaths in a hot climate. If you live in a hot climate, and it doesn't cool off in the fall, you might consider wiring the pumpkins onto the wreath. I glued mine, and my wreath has held up just fine. I simply touch it up every year before hanging it on the door. If you are worried about the hot glue shifting or melting, you can poke floral wire sticks through the plush pumpkin in one side (towards the bottom of the pumpkin) and out the other, and then twist the wire onto the wreath.
🧵Supplies

- Wreath base: Walmart is the best place to find affordable grapevine wreaths for around $5.
- Greenery stems. You can find these at any craft store, but I find that Hobby Lobby has the best variety.
- 6 Mini Pumpkins: Make your own mini fabric pumpkins or stop by Target to grab a bunch for $1. Walmart, Hobby Lobby, or Michaels are also great options.
- Floral filler stems: These are optional, but they add nice texture.
- Ribbon for hanging: You can hang the wreath directly on the door without ribbon, but I think the ribbon adds a great pop of color and is easy to hang on a hook.
- Hot Glue/Gun or Floral Wire: Both options work well for attaching and securing the supplies to the wreath base.
- Wire Cutters: Helpful for trimming greenery stems and floral wire
See the how-to card for full information on ingredients and quantities.
✄How To Make a Wreath with Fabric Pumpkins
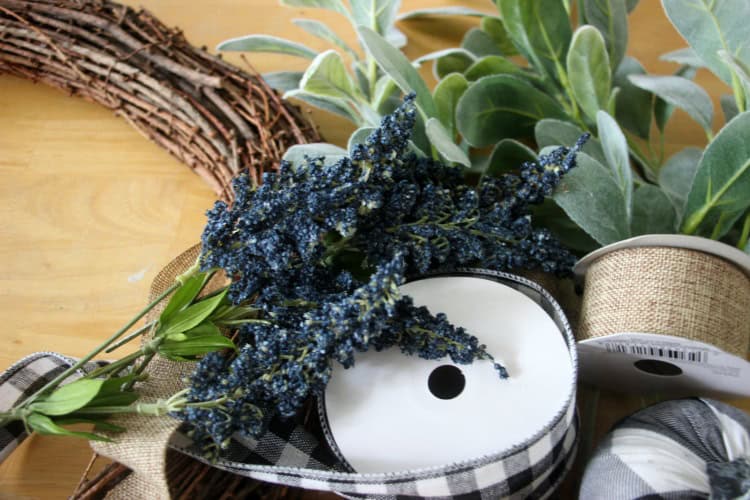
Step 1: Gather your supplies. Trim the wire on the greenery stems so that it tucks in nicely into the wreath and doesn't poke out the back.
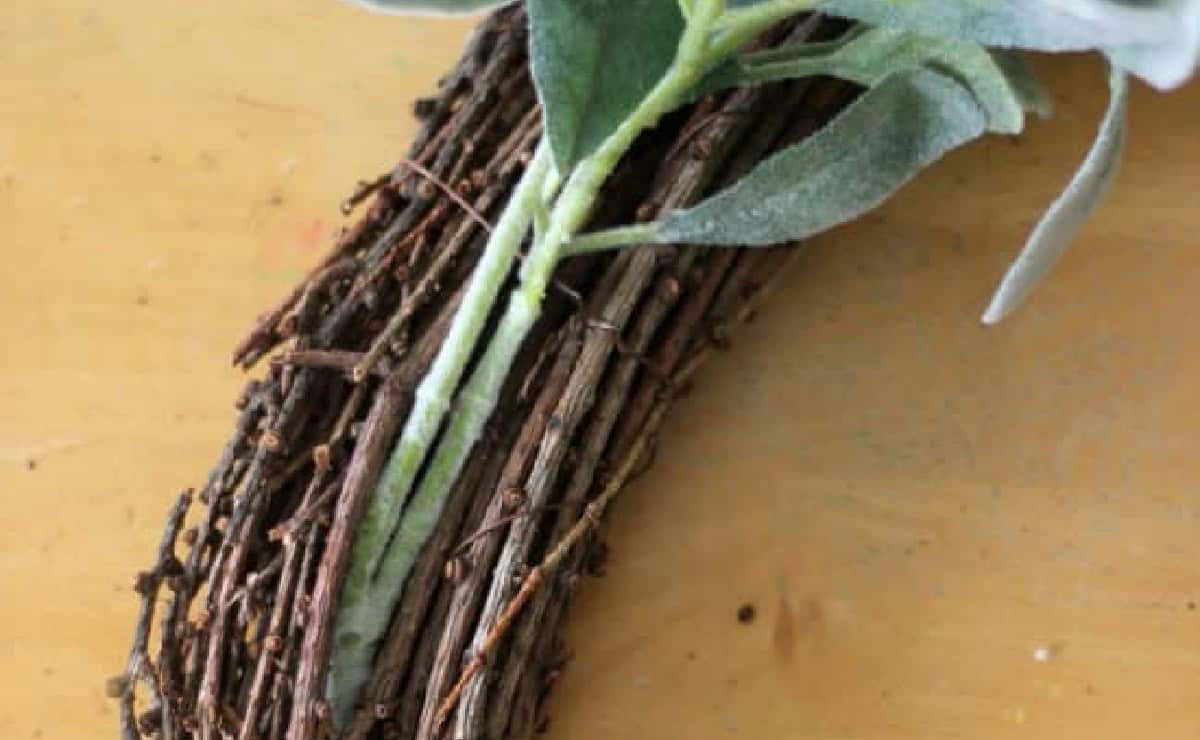
Step 2: Place two of the greenery stems in between the grapevine twigs. Tuck them in nice and tight. Have one stem going up, and the other one going down. Tuck one more greenery stem on each end to add a bit more fullness.
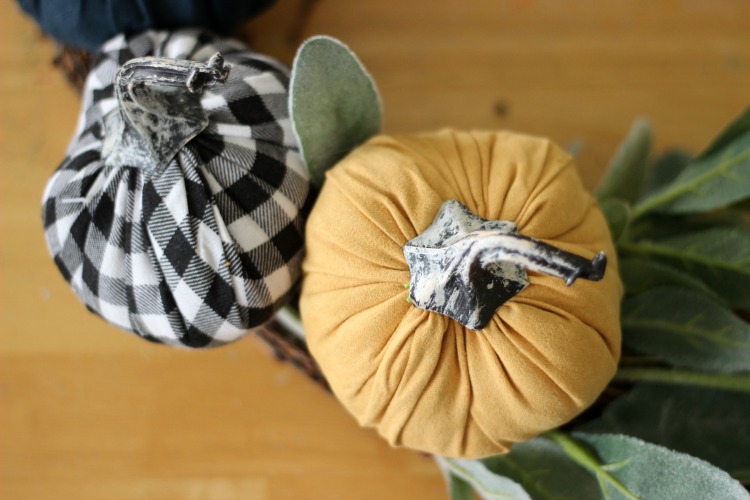
Step 3: Hot glue the pumpkins onto the wreath. Go slowly, and hold each pumpkin in place until the glue dries.

Step 4: Add extra greenery stems that are smaller, anywhere you'd like, to create fullness. Secure any loose areas with hot glue or floral wire.
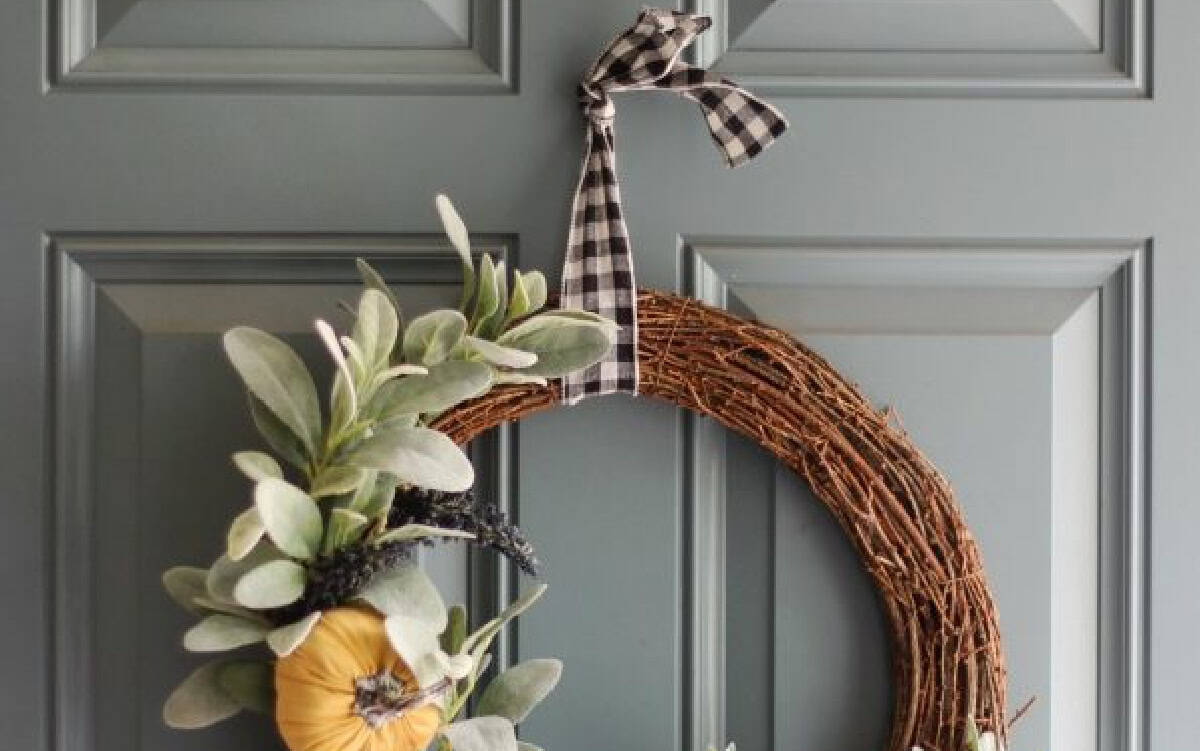
Step 5: Cut a loop of ribbon and tie it around the wreath for hanging.
Wreath FAQs
Give the wreath a good dusting at the end of the season to clean off any debris from hanging outside. Place in a wreath bag or box. Then store in a place that allows it to lie flat, and not compressed.
This is ultimately up to you and depends on the depth of the wreath. You can hang it on the door if the wreath fits, or simply hang it on the storm door.
Hang the wreath at eye level, with the ribbon hanging on the nail a bit higher. I typically shoot for having the top of the wreath covering the peephole on my front door.

More Wreaths To Make


MADE THIS CRAFT AND LOVED IT? 💛 Please leave a STAR rating and COMMENT below! Post it to Facebook or Pinterest to easily share with friends!

Easy Fall Wreath With $1 Pumpkins
Equipment
- hot glue gun
Materials
- 1 wreath base
- fabric pumpkins
- greenery stems
- artificial floral stems
- hot glue sticks
- floral wire
- ribbon for hanging
Instructions
- Gather your supplies. Trim the wire on the greenery stems so that it tucks in nicely into the wreath and doesn't poke out the back.
- Place two of the greenery stems in between the grapevine twigs. Tuck them in nice and tight. Have one stem going up, and the other one going down. Tuck one more greenery stem on each end to add a bit more fullness.
- Hot glue the pumpkins onto the wreath. Go slowly, and hold each pumpkin in place until the glue dries.
- Add extra greenery stems that are smaller, anywhere you'd like, to create fullness. Secure any loose areas with hot glue or floral wire.
- Cut a loop of ribbon and tie it around the wreath for hanging.


Brandy says
My pumpkin wreath is 6 years old now and still looks great! Can't wait to pull it out again in the fall.
tara gray says
What is the name of the gray paint on your door? Every thing looks beautiful
Brandy says
Hi Tara! It's called REFUGE by Sherwin Williams and is actually a grey/blue. It looks a bit darker in this photo than it really is. You can see a better representation of it in this photo: https://gluesticksblog.com/easy-wreath-tutorial/
Pamela says
Absolutely adorable!!