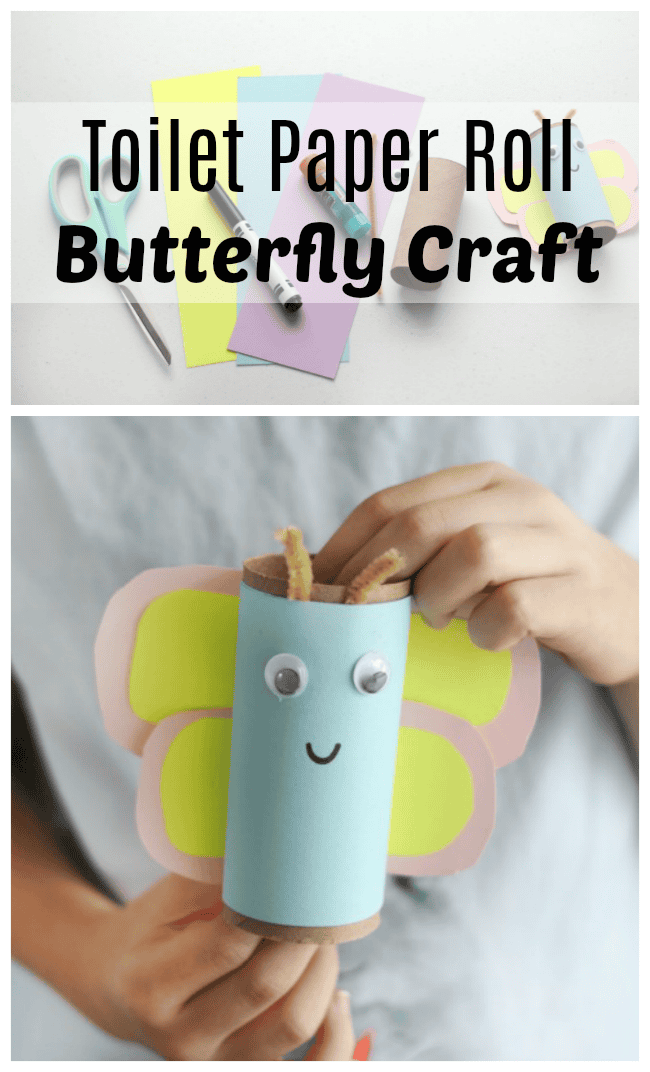
This little toilet paper roll butterfly comes together in just minutes. Such an easy craft for kids to make! Looking for more fun and creative ideas for kids? Check out our DIY pocket fan, hippo softie sewing pattern, and easy science experiments for kids (using household ingredients)!
Watch our step by step video!
Out of all of my kids, Ruby has been the most excited about the extra time at home lately. She loves school, but also has no issues finding things to do to keep busy at home. She loves coming up with little crafts, and is the biggest culprit of making messes in my craft room.
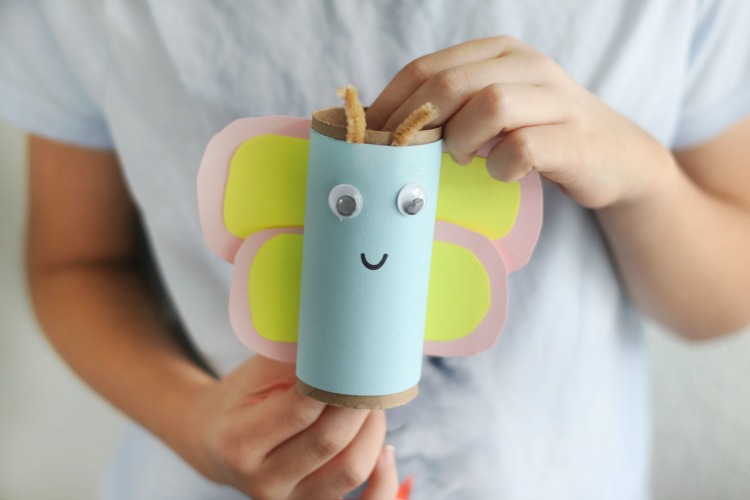
She brought this little toilet paper roll butterfly craft over to show me last week. It was just about the cutest thing ever. She was so happy with how it turned out that she made another one with my 3 year old. She is such a sweet and patient little teacher. It was adorable watching them (8 and 3) craft together.
More Craft Ideas and Activities
Springtime Activities for Kids
Toilet Paper Roll Crafts for Kids
I asked if she would be up to making a third one and this time I'd video tape her. I set up a tripod, turned on the camera and let her creative juices flow.
Her technique is different than how I would have approached making it. I like how she tucked the pipe cleaner in between the paper and the toilet paper roll.
I think if I was making this I would have simplified the wing construction, but this was her activity. She made it on her own. So I've included her instructions as well as alternate instructions for the wings in the notes.
Without further adieu, here is Ruby's toilet paper roll butterfly for kids to make.
Toilet Paper Roll Butterfly Craft for Kids
Toilet Paper Roll Butterfly Craft
Equipment
- scissors
- marker
Materials
- 1 toilet paper roll
- card stock or construction paper
- glue
- craft eyes
- pipe cleaner
Instructions
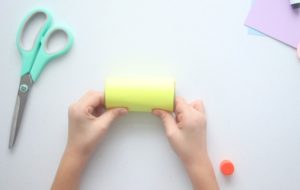
- Cut a piece of cardstick the width of the toilet paper roll and long enough to wrap around with some overlap. Roll a glue stick across the paper.

- Place the toilet paper over the paper and roll up tightly.

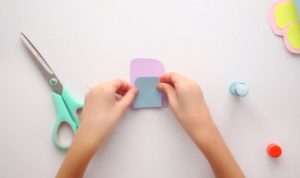
- Cut out two large outer wings and two inner wings. Glue the inner wing inside the outer wing. Repeat with the other outer and inner wing that you cut out.

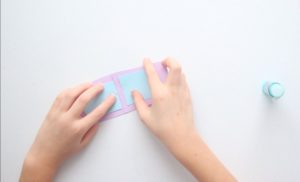
- Glue the two wings togehter. This will be the large wing for the butterfly. Now you need to make a smaller one using the same technique. Cut out two smaller outer wings and two smaller inner wings. Glue the inner wings to the outer wings and then glue them together to make one wing.See alternate wing instructions in notes.*

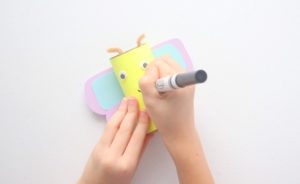
- Glue the wings to the back of the butterfly. Cut two small pieces of pipe cleaner. Add a small amoung of glue to the end and glue them inside the toilet paper roll. Glue on eyes and use a marker to add a mouth.


Leave a Reply