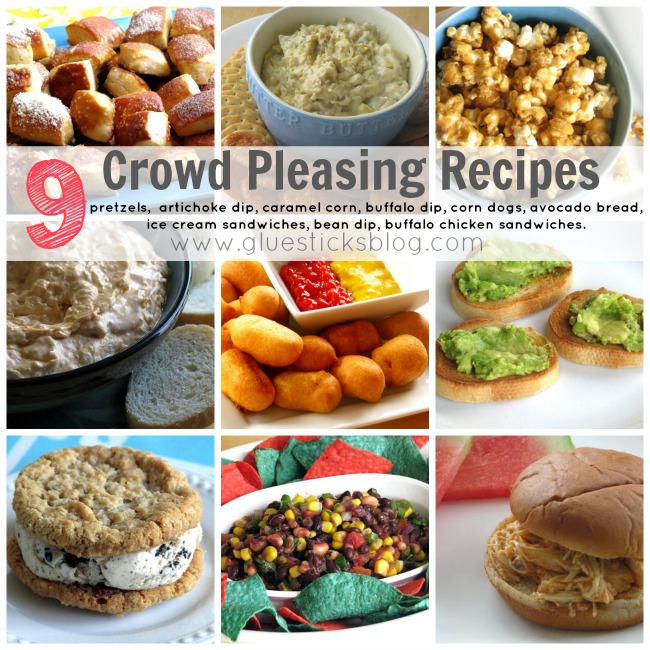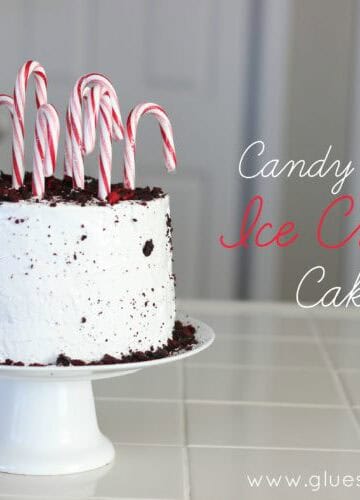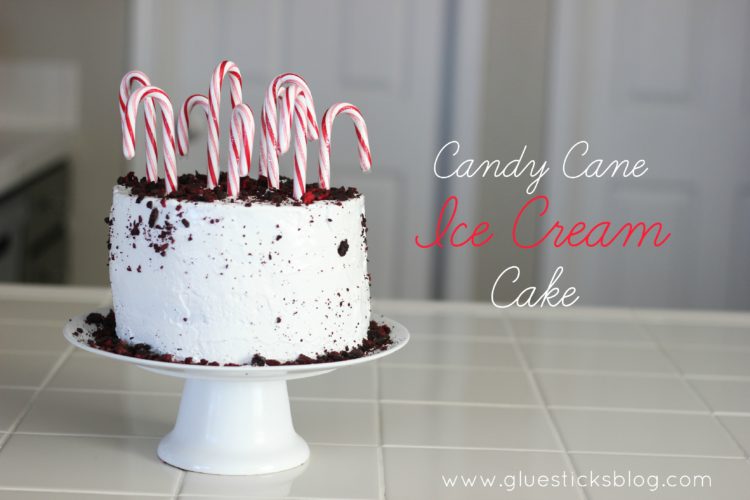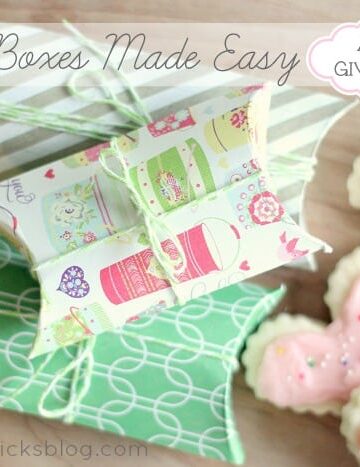

I love making little boxes. There are so many fun designs to choose from! I made these little pillow boxes and they were so easy to do. I filled them with conversation hearts and my tiny Bakery Style Sugar Cookies. Pillow boxes have so many fun uses so it's nice to have a quick and easy method for making lots and lots of them for class parties, Christmas treats, or just to keep on hand, folded flat, all ready to go.
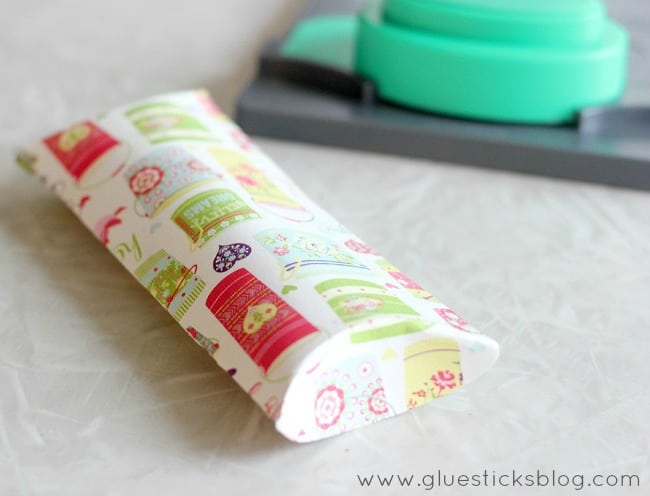
You can easily make pillow boxes using a printable template. It requires tracing, cutting, scoring, and folding, but if you have a punch board you can cut your production time in half! Probably more than that. I made each pillow box, using my punch board, in about 45 seconds.

To make quick and easy pillow boxes you will need:
We R Memory Keepers Pillow Box Punch Board
Card stock
Adhesive
Scissors
Twine (optional)
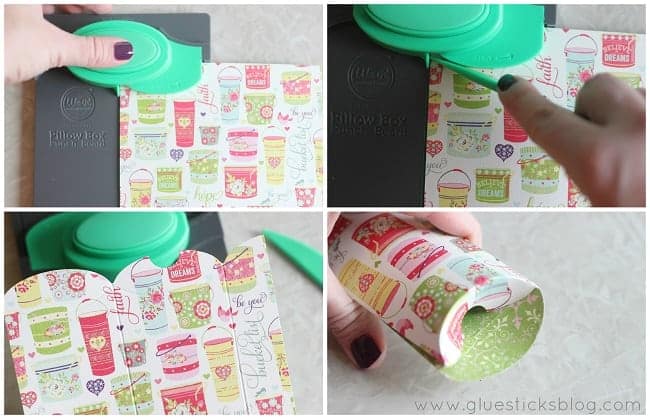
First you need to decide how long you'd like your box to be. Between 4-12". I cut my paper 6" wide and the desired length (4, 6, and 8" for varying sizes) and inserted it into my punch board.
Punch and Score. Move. Punch and Score. Move. Yep, it's that easy. No tracing or no guess work. Nice crisp edges and straight lines every time.
There is even a little punch on the reverse side of the main punch that takes care of the notch on the edge. This makes the boxes easy to open.
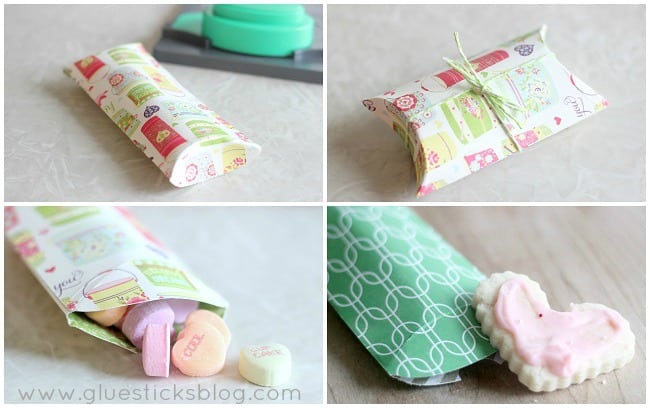
Fill with your favorite treats for any occasion, and wrap with a piece of string or twine!
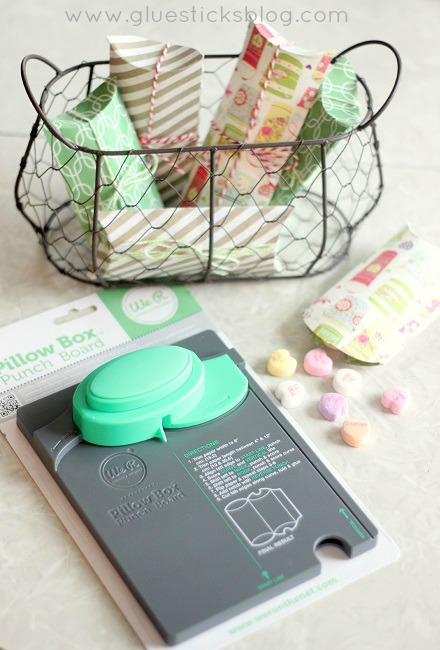
I absolutely love my little punch board! It is small and compact, easy to store, and so easy to use. I think I may need a few more punch boards and will definitely come up with lots of excuses to use them!
If you are dying to get your hands on this or any other fun products from We R Memory Keepers you can use the following code to receive 20% off!
Disclosure: I am a studio member for LifeStyle Crafts/We R Memory Keepers. I receive products of my choosing in exchange for tutorials and projects shared on Gluesticks.
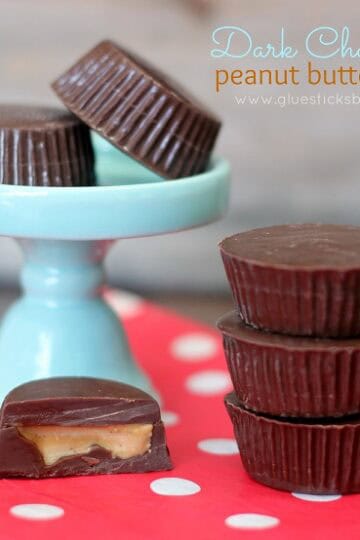
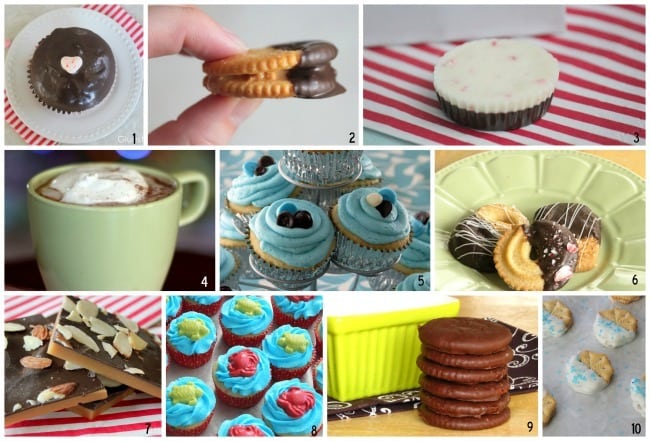
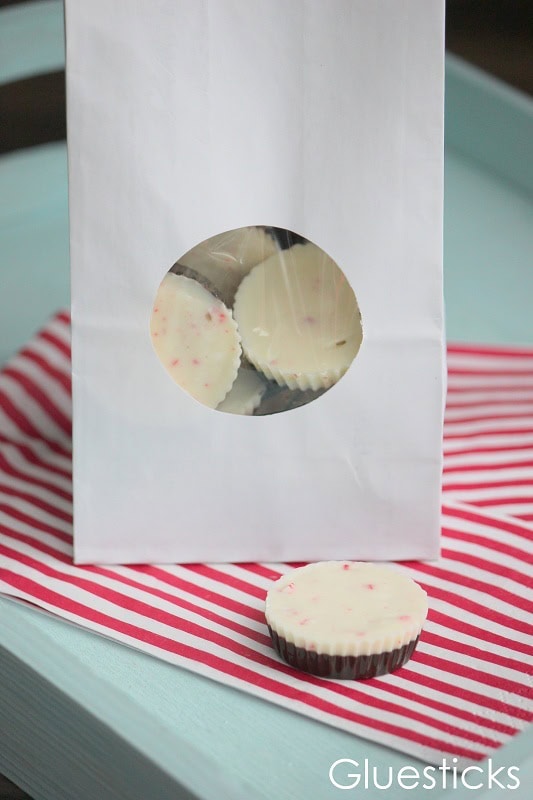
 Anything that begins with Ghirardelli melting chocolates is bound to be insanely good. These dark chocolate peanut butter cups are no exception. I used Ruby's nap time to make (and eat some) the other day. I probably could have found a more productive way to use my time, but it wouldn't have tasted as good!