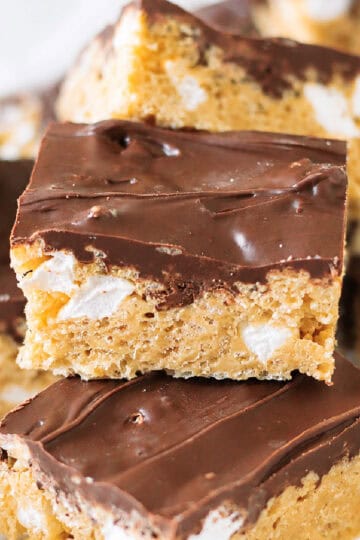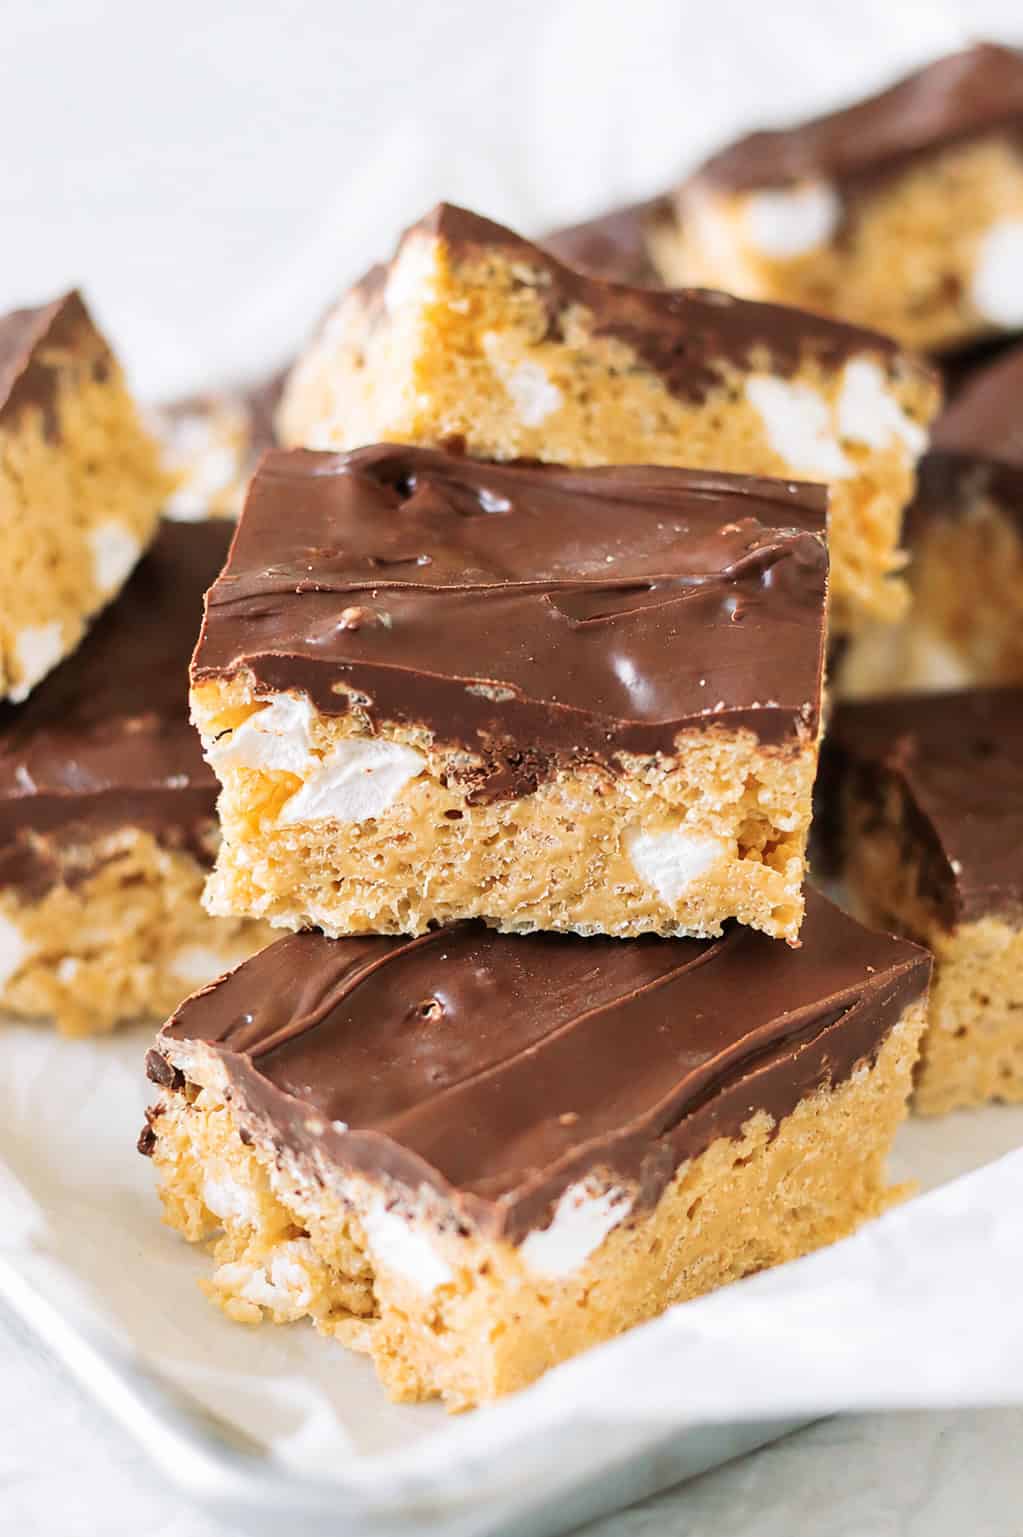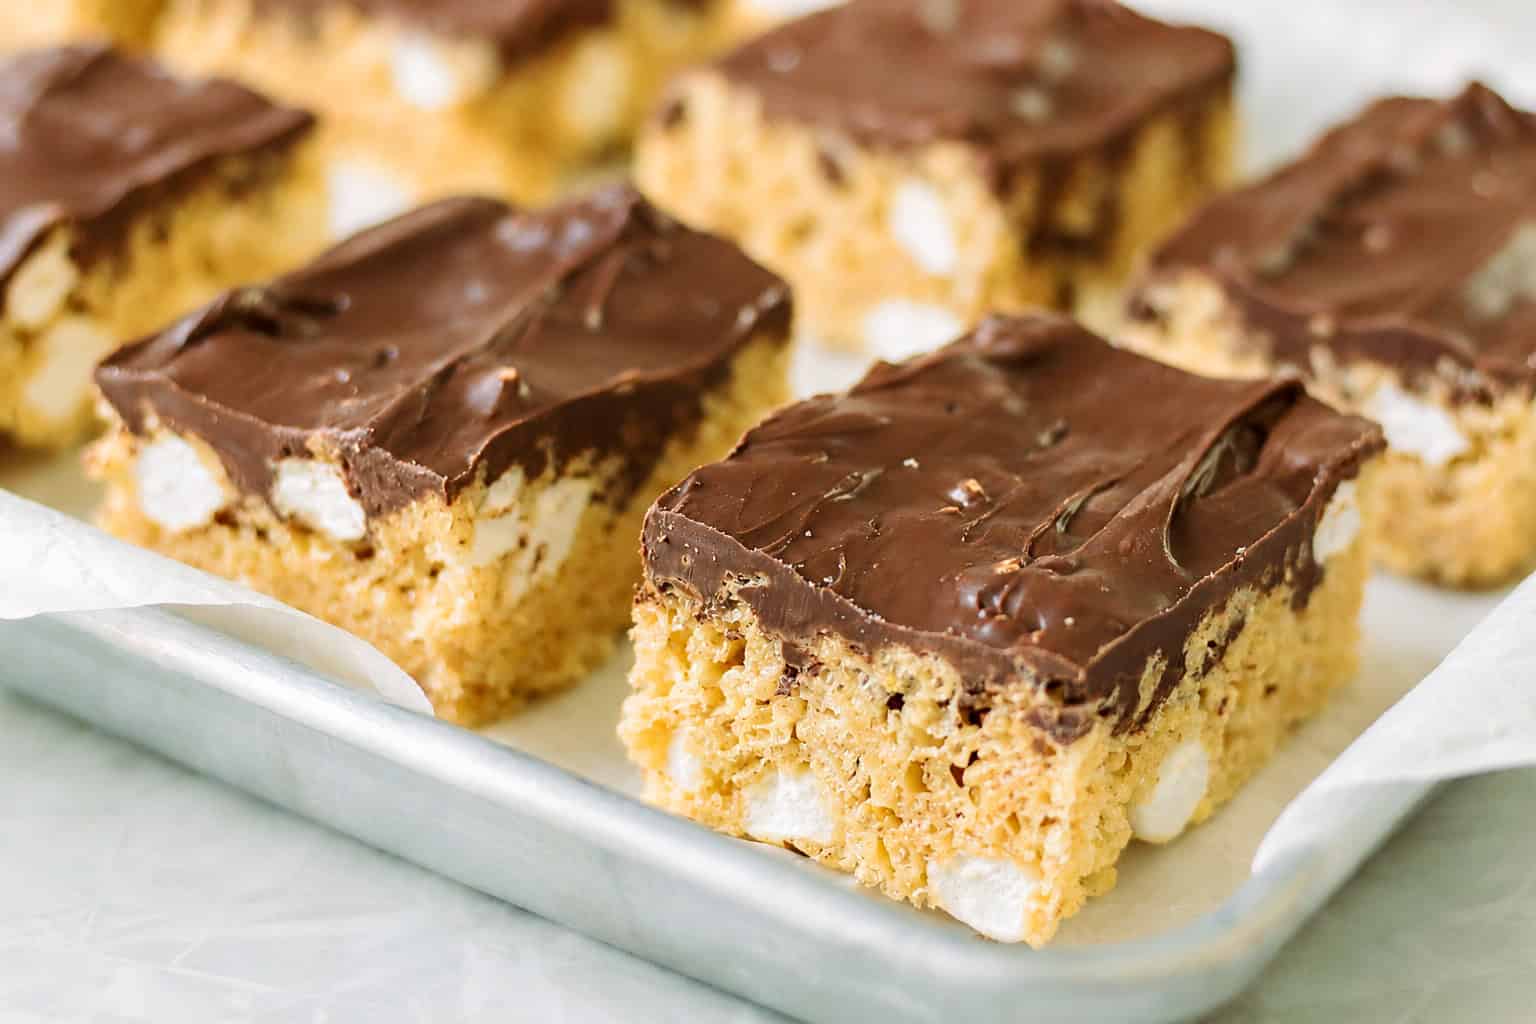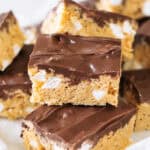
Cornflake butterfinger bars are easy to make and absolutely delicious! Crispy, crunchy, peanut-buttery.
You might also like Chex scotcheroos, Reese's peanut butter cookies or homemade Take 5 bars!
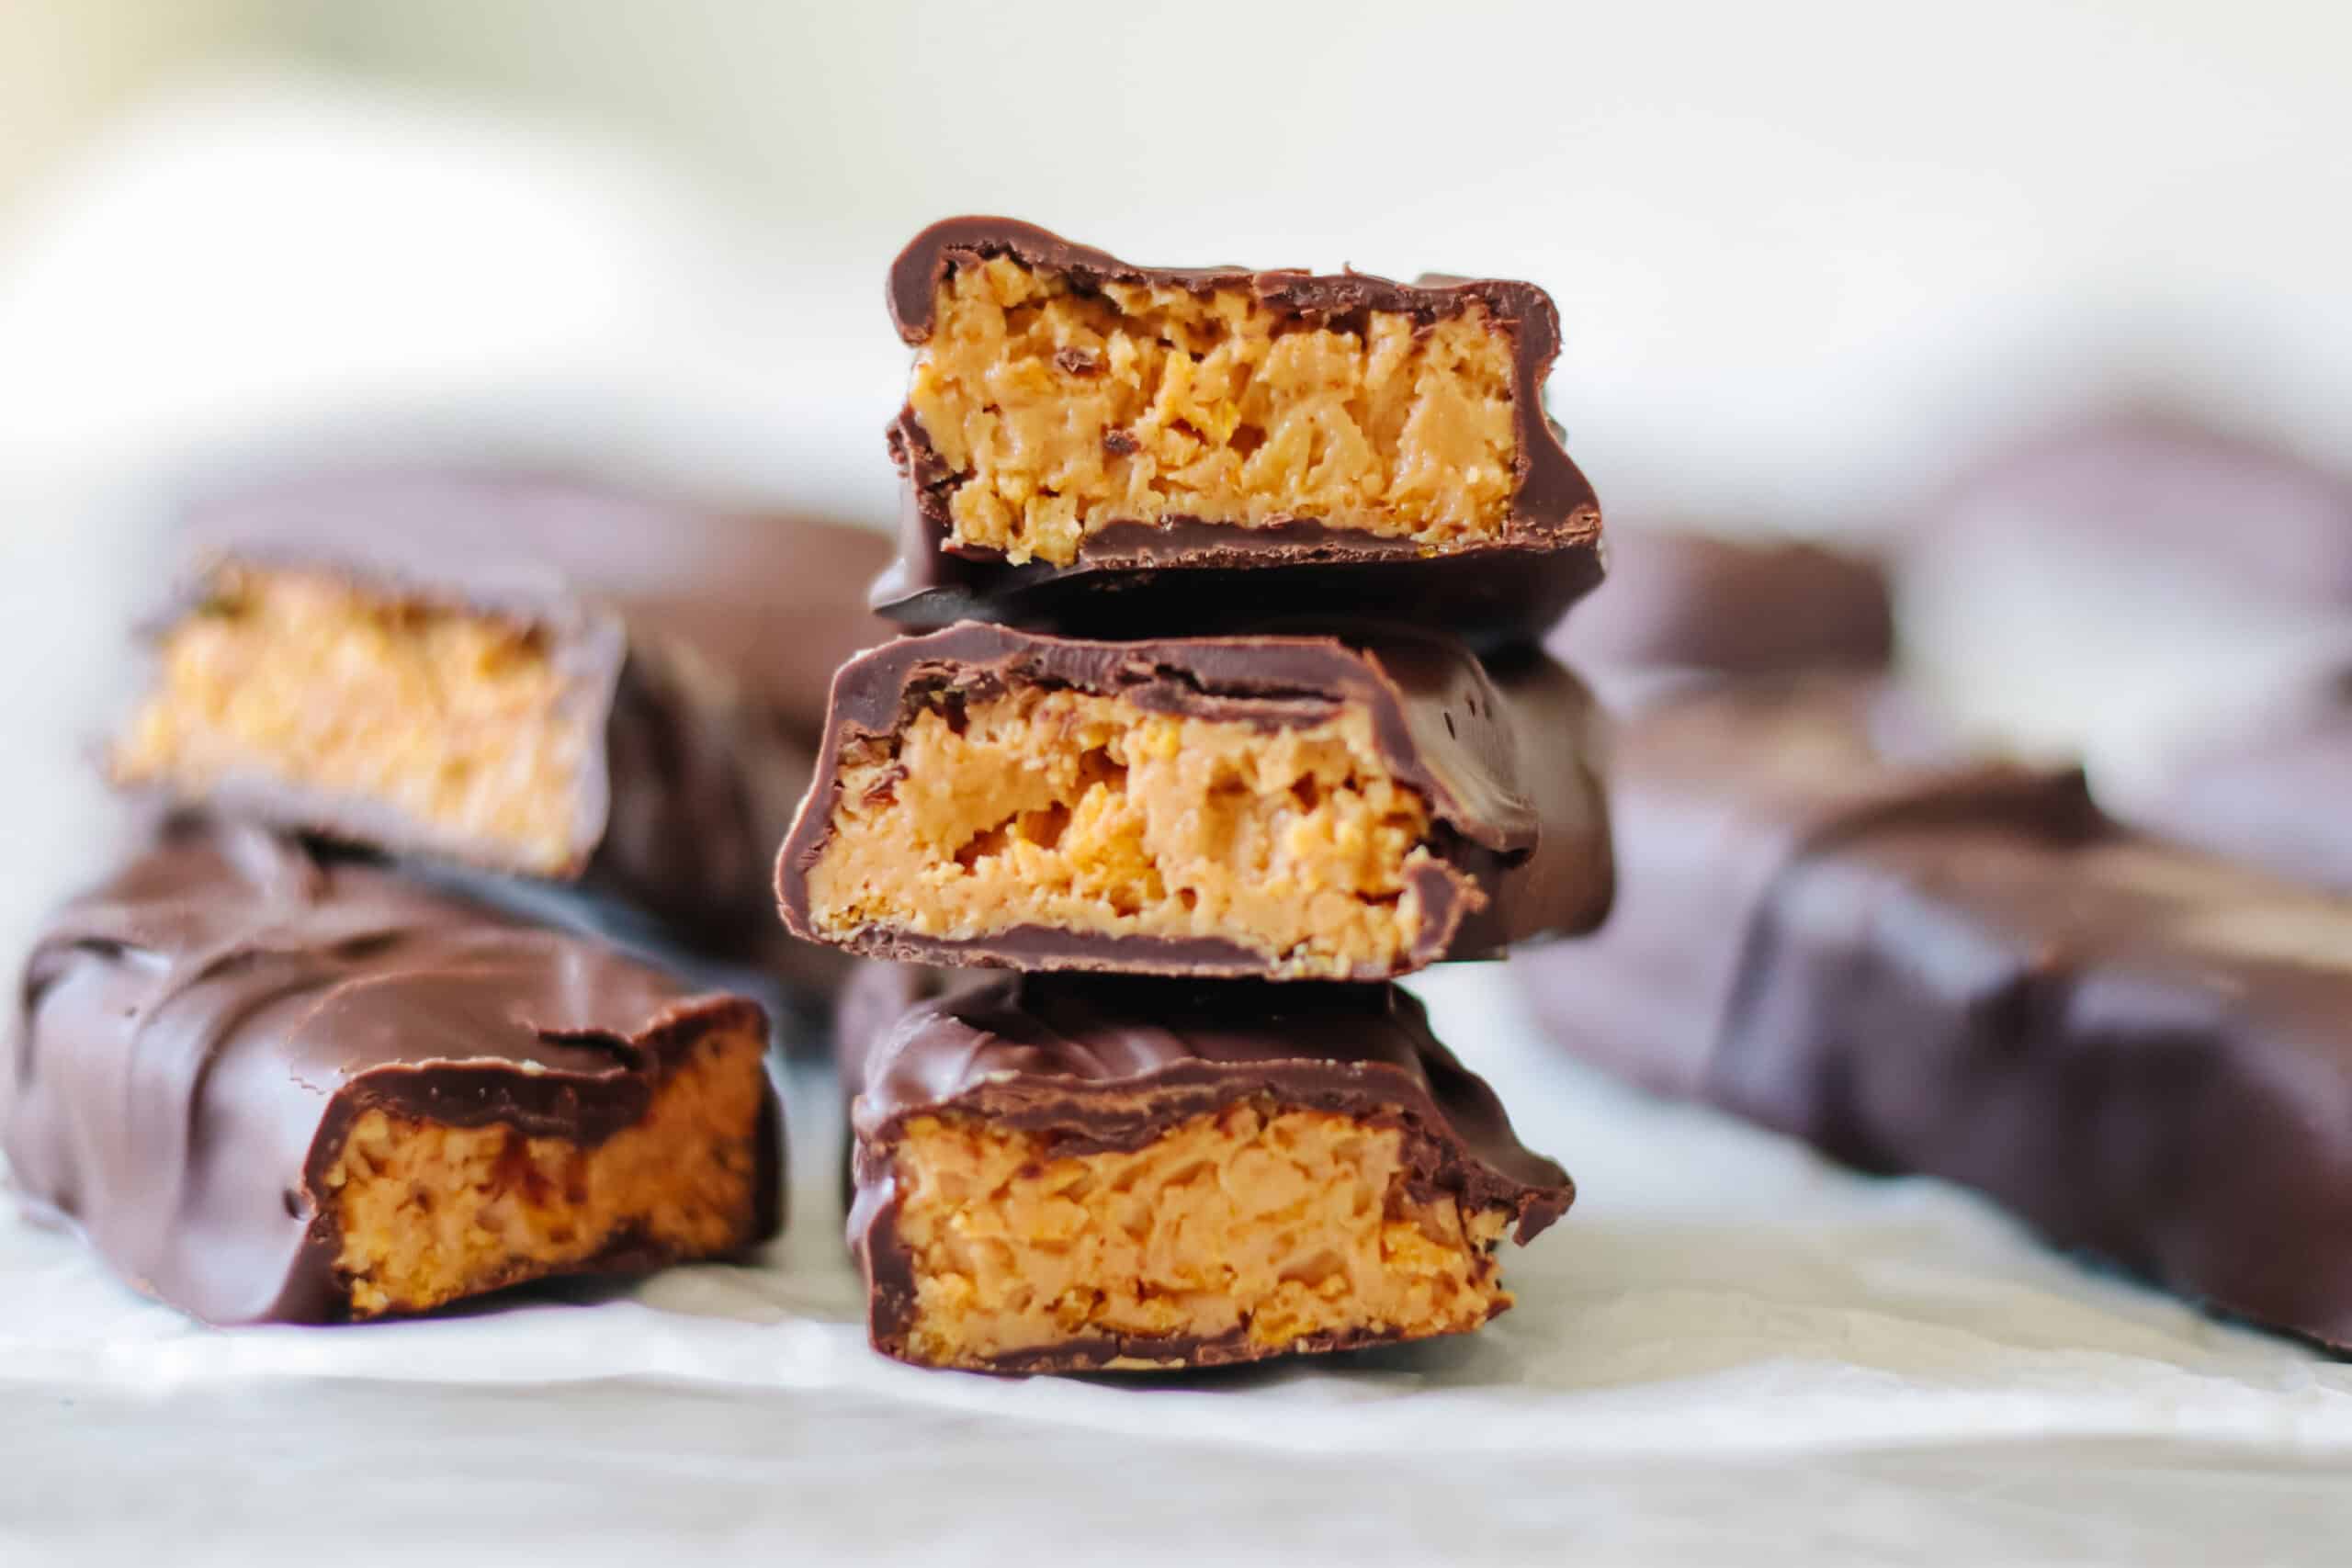
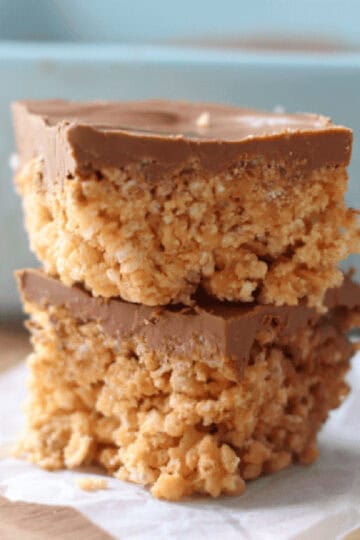
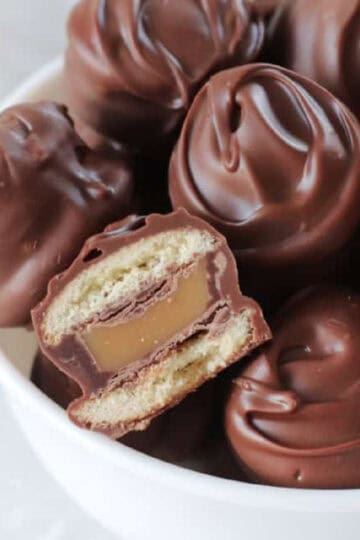
Butterfingers have been my favorite candy bars for years. I've even made copycat Butterfinger bars with candy corn with great results. The crispy texture and chocolate peanut butter combination simply can't be beat. For my cornflake Butterfinger bars, I used my peanut butter truffle recipe as a base for the crispy, peanut-buttery filling. If I had to decide which recipe more closely resembles Butterfingers, the candy corn recipe wins, but the corn flake version is easier and just as delicious!
Why I Like This Recipe
- Simple ingredients: cereal, peanut butter, sugar, and chocolate. Just 4 ingredients!
- Easy to customize: Use semisweet or milk chocolate, natural or traditional peanut butter, and experiment with how many cups of cornflakes you use for a crunchier or creamier texture.
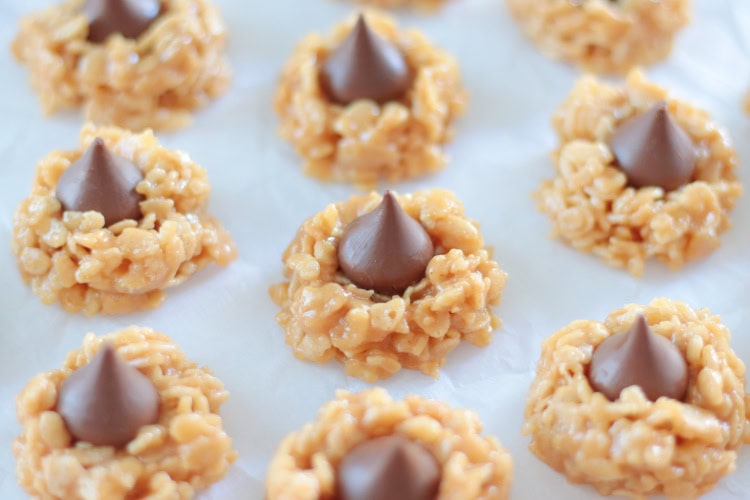
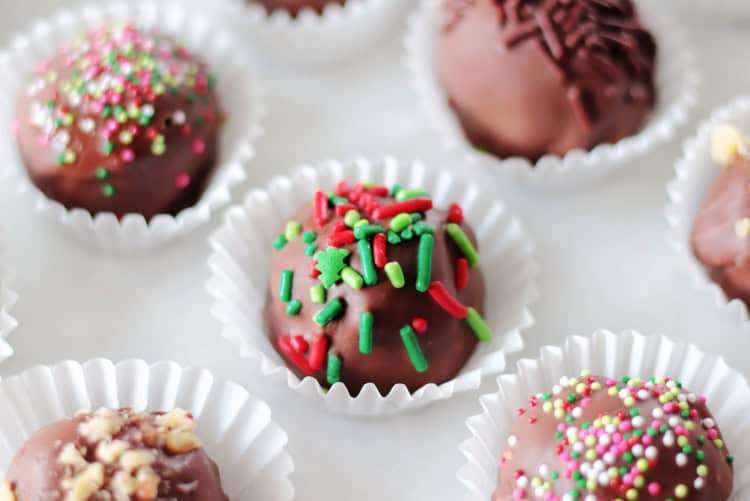
- Easy to shape. Cut into bars or scoop into balls for a truffle variation.
Tips and Tricks
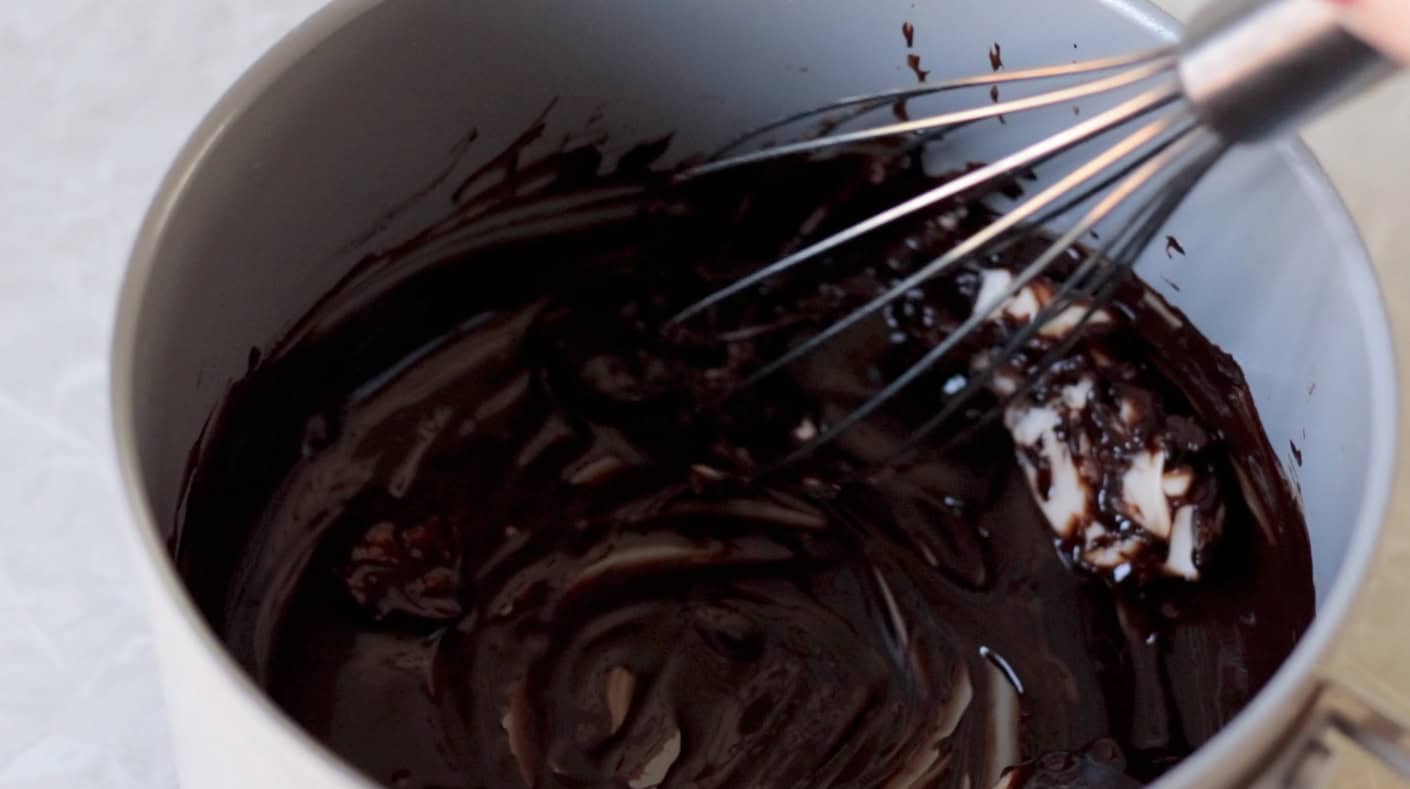
- Do not overheat the chocolate. I usually use my microwave to heat the chocolate chips for 60 seconds, then I stir and heat them in additional 15-20-second intervals until smooth and creamy. Every microwave is different. My advice is to go low and slow in short intervals.
Keep bars cold. The bars are easiest to dip into chocolate when frozen. They thaw quickly, so only have a few out at a time, leaving the rest in the freezer. - Store in the refrigerator. The chocolate will harden at room temperature or in the refrigerator. I like these best chilled, as it gives the filling the perfect texture.
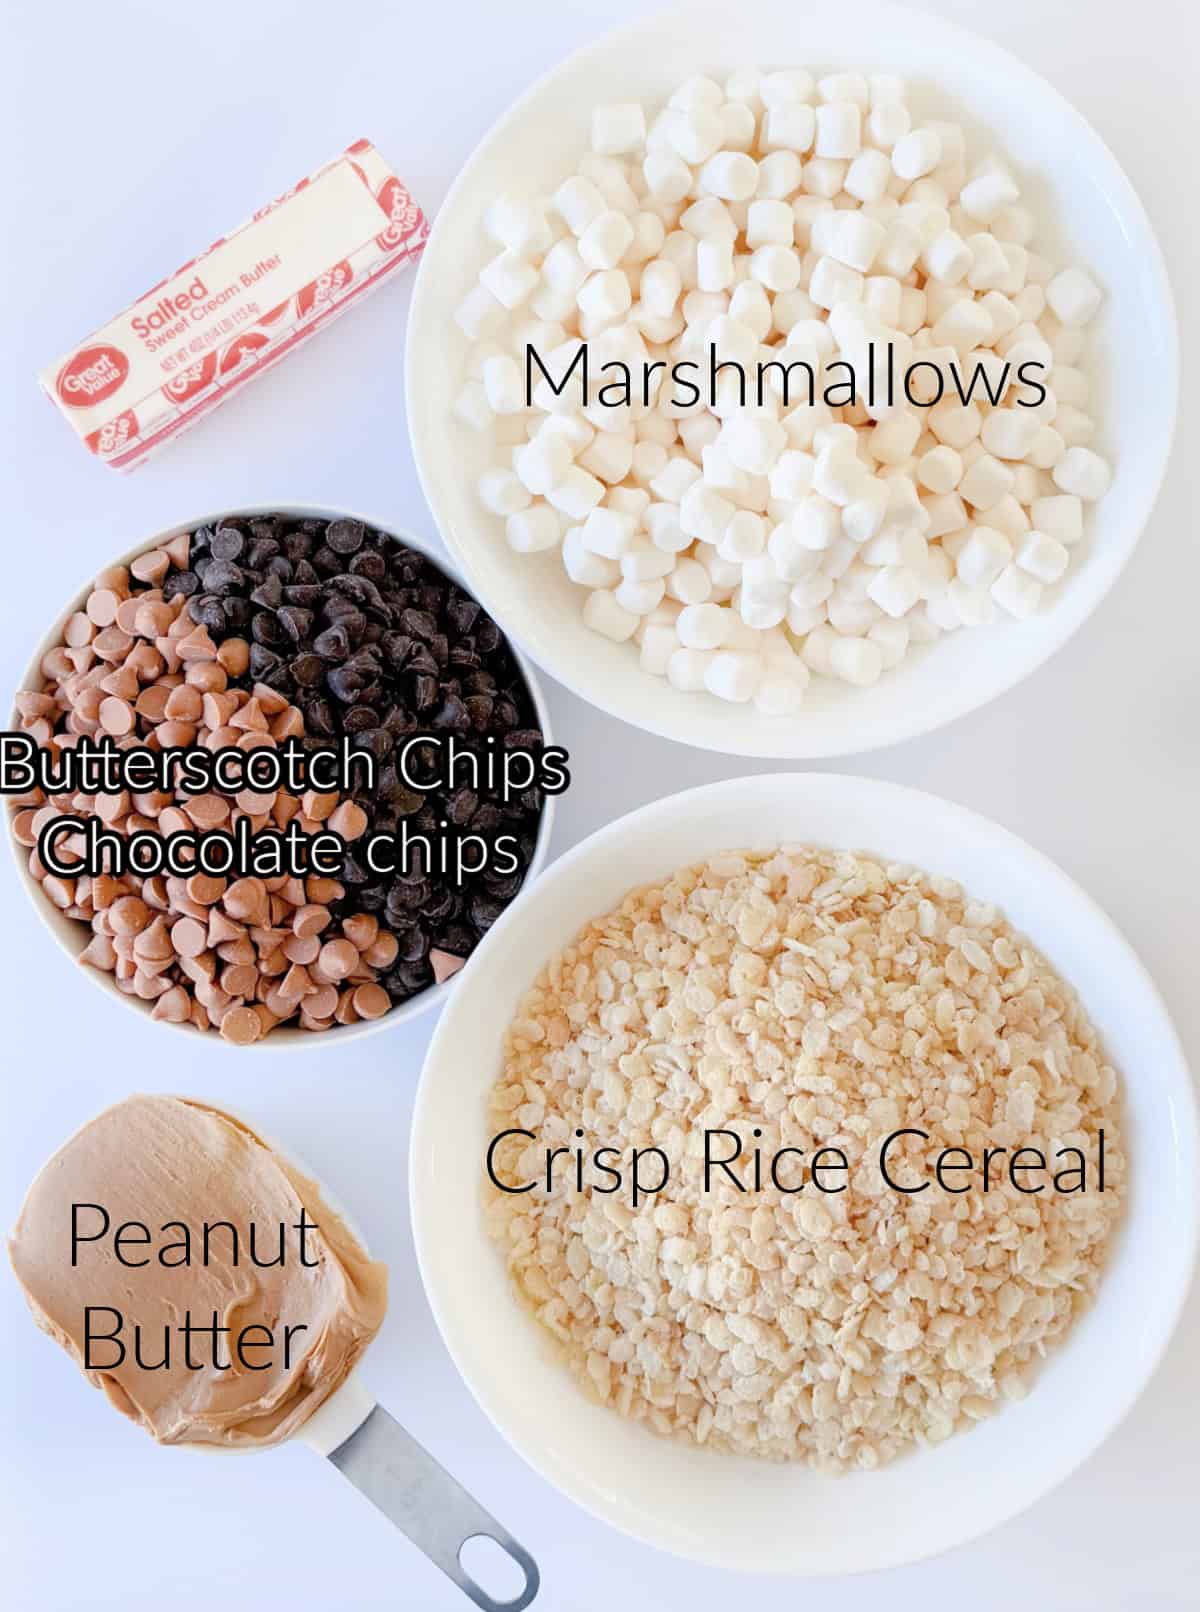
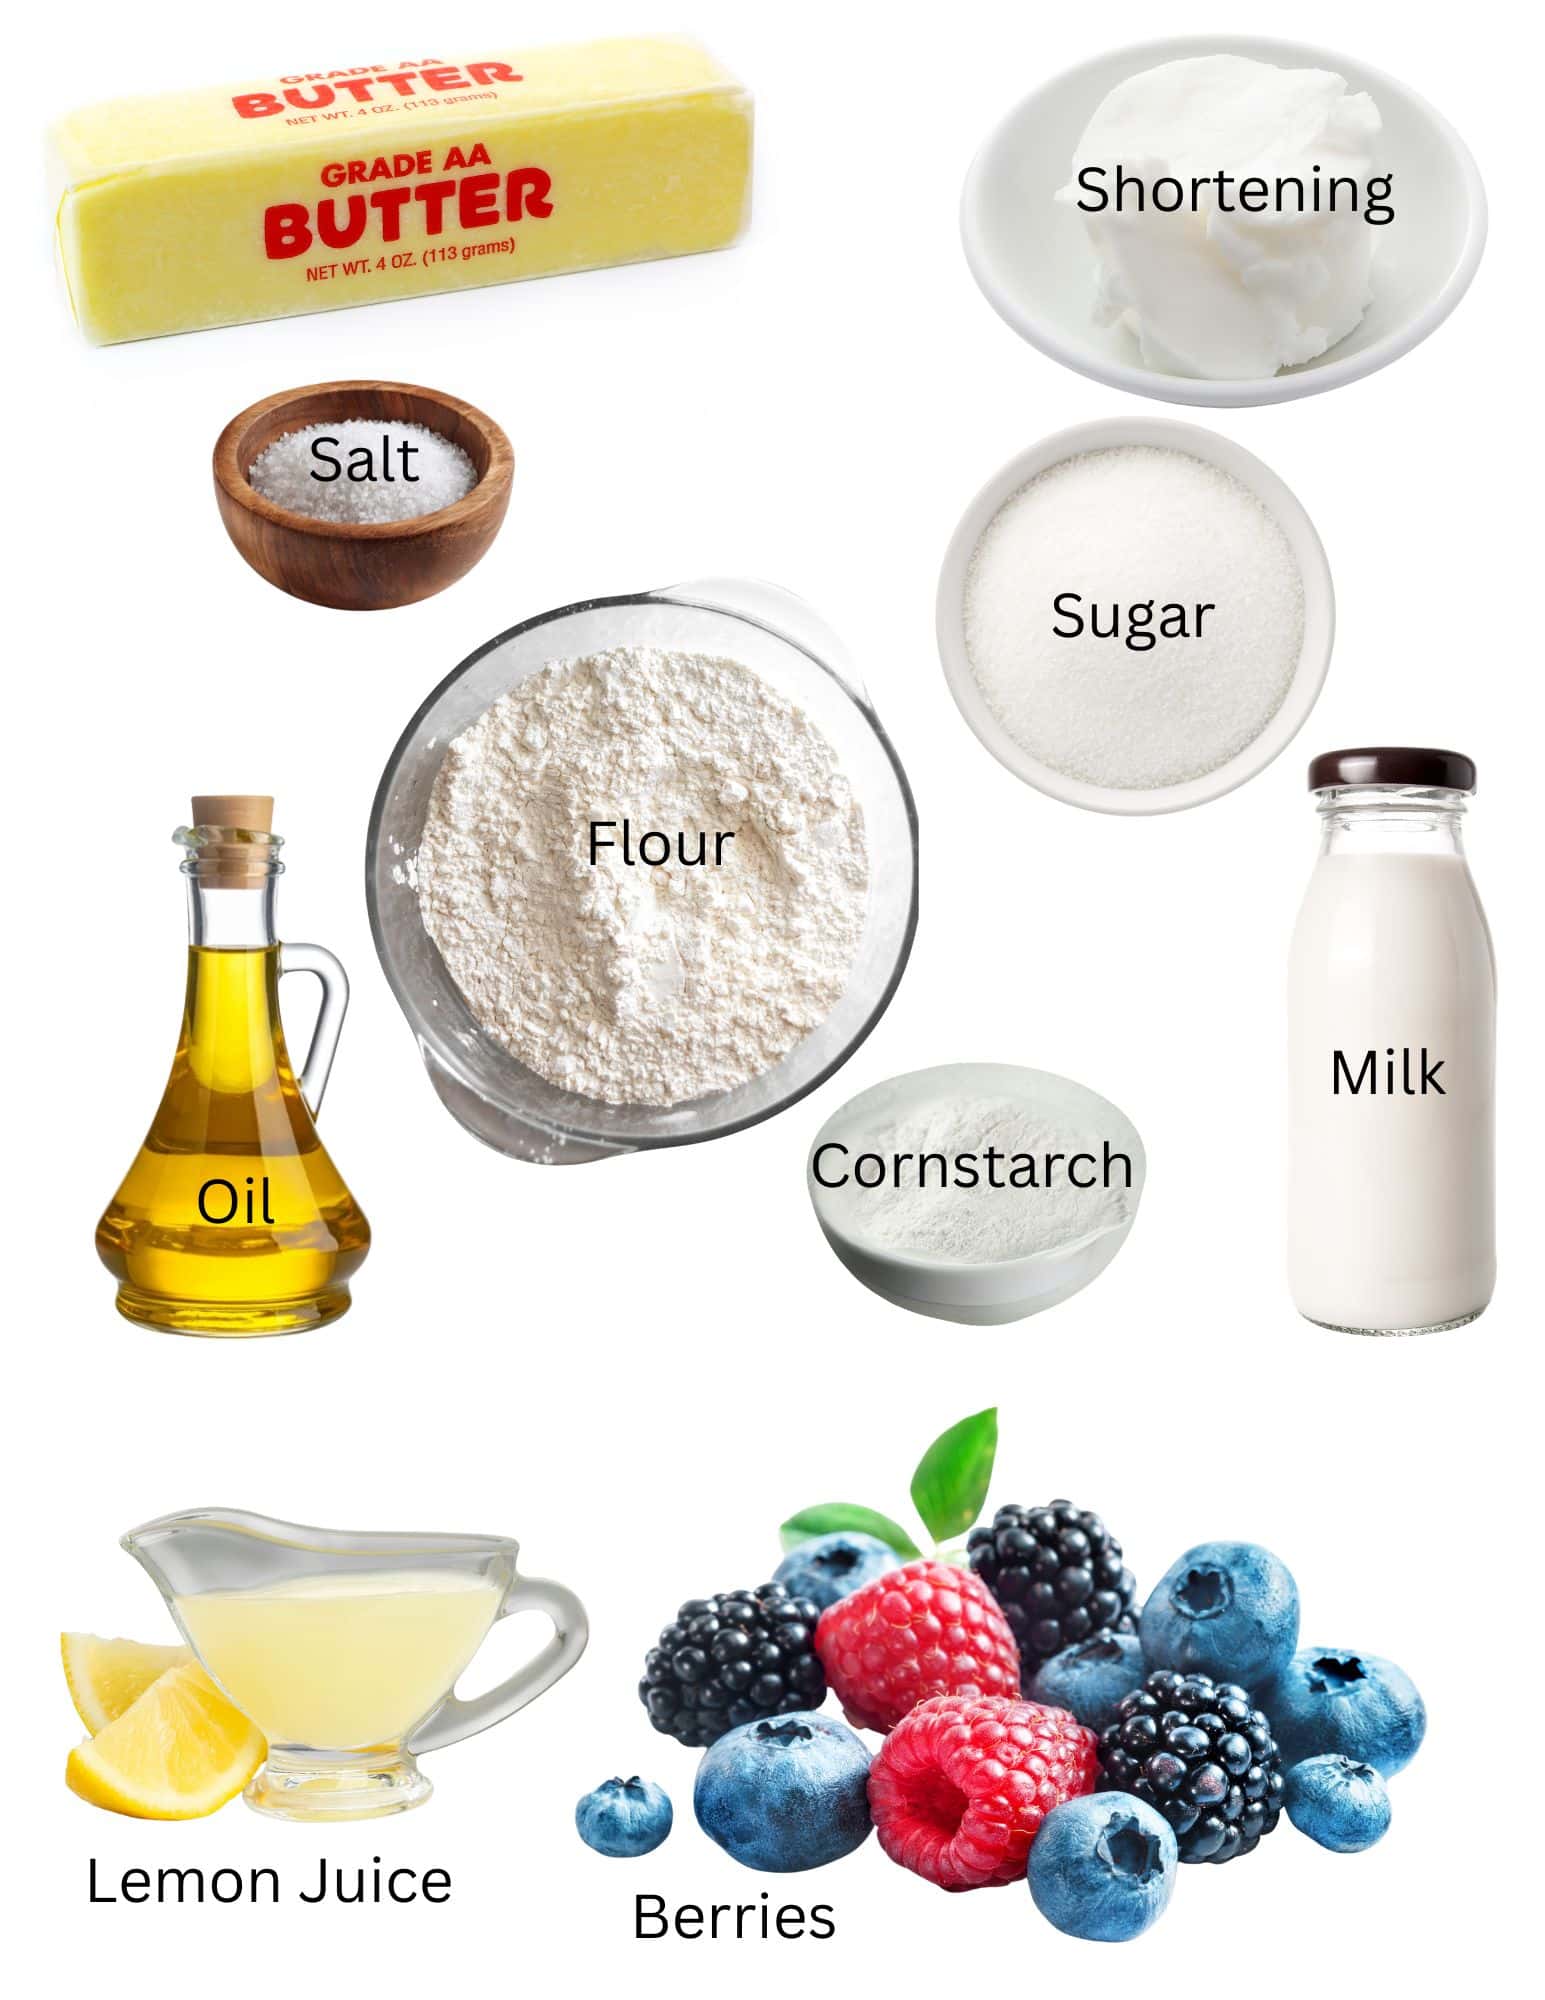
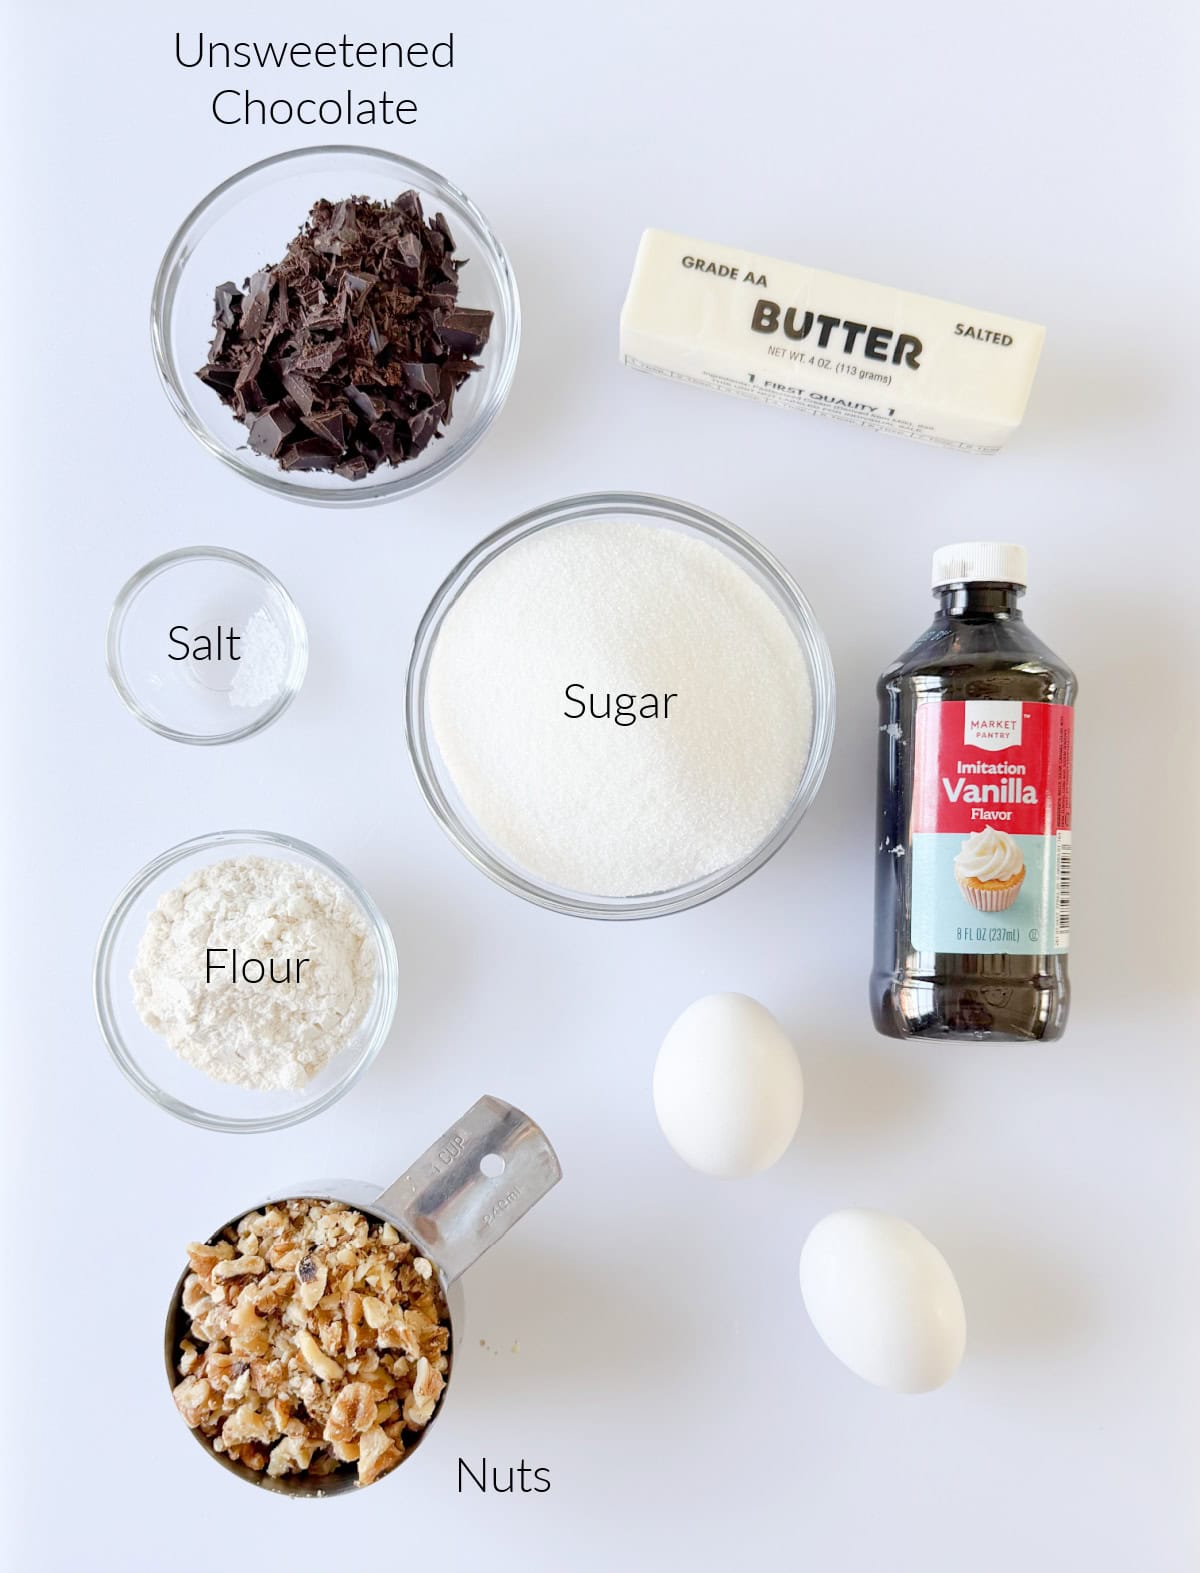
Ingredients
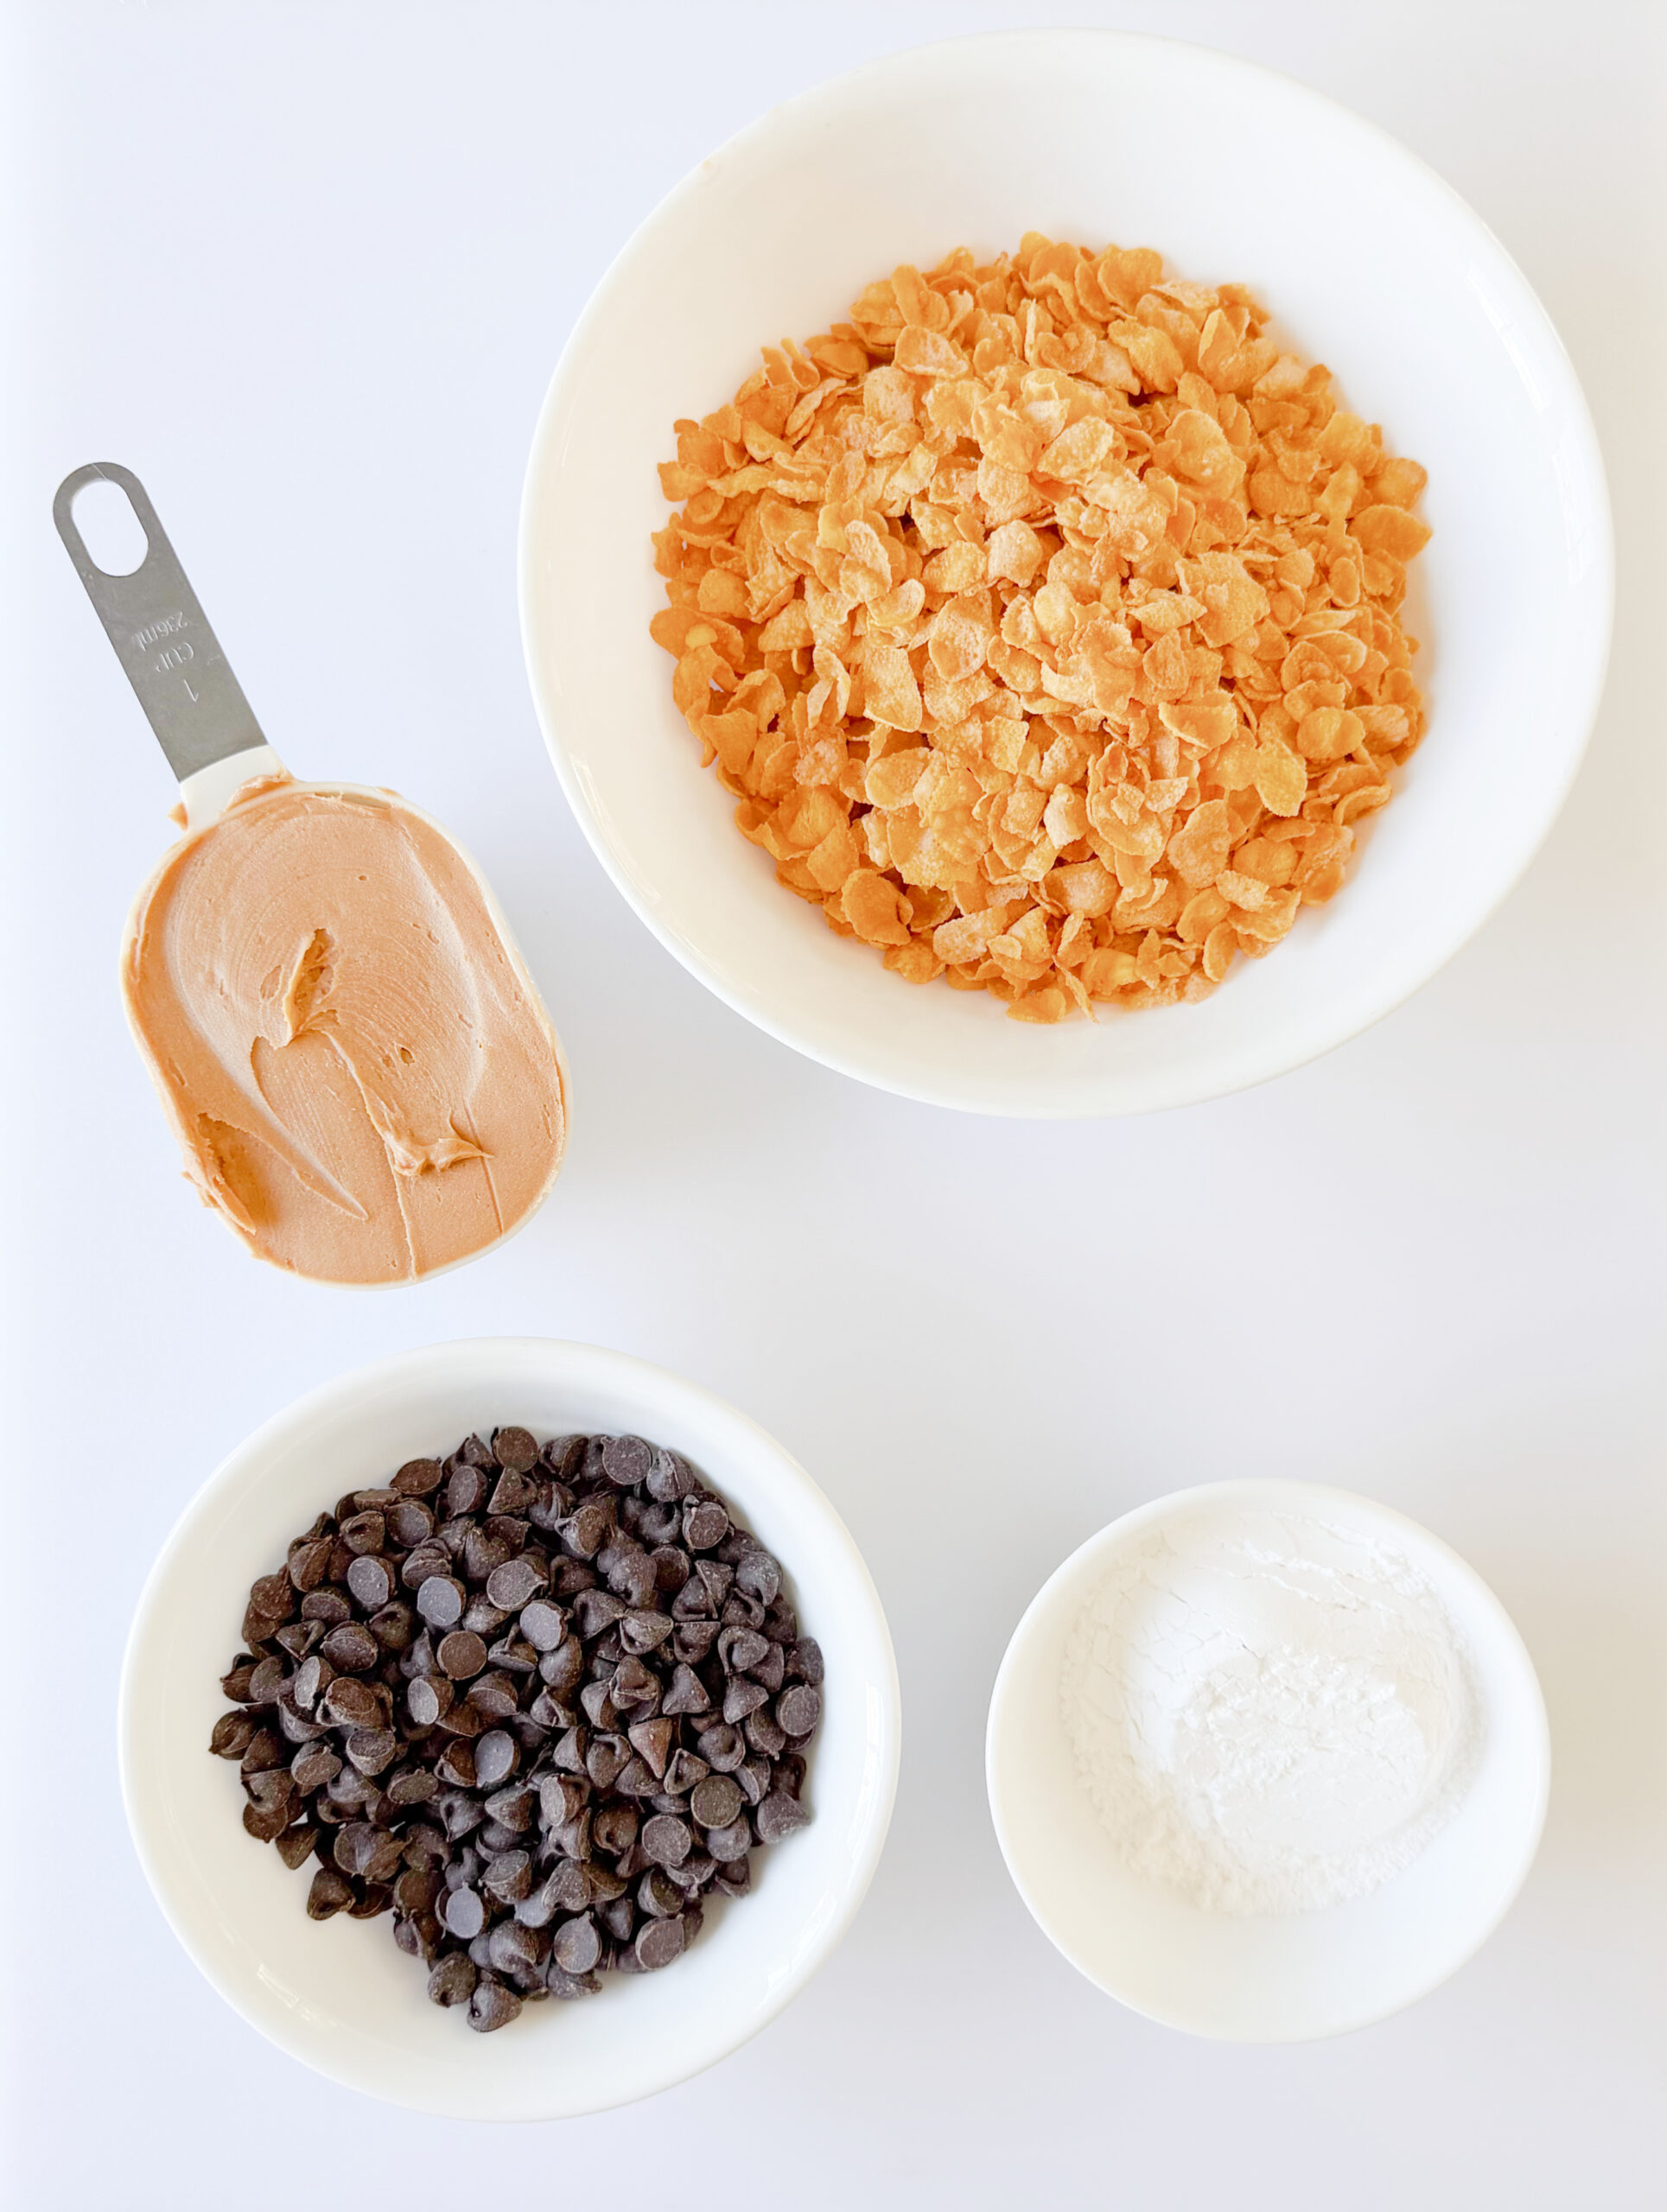
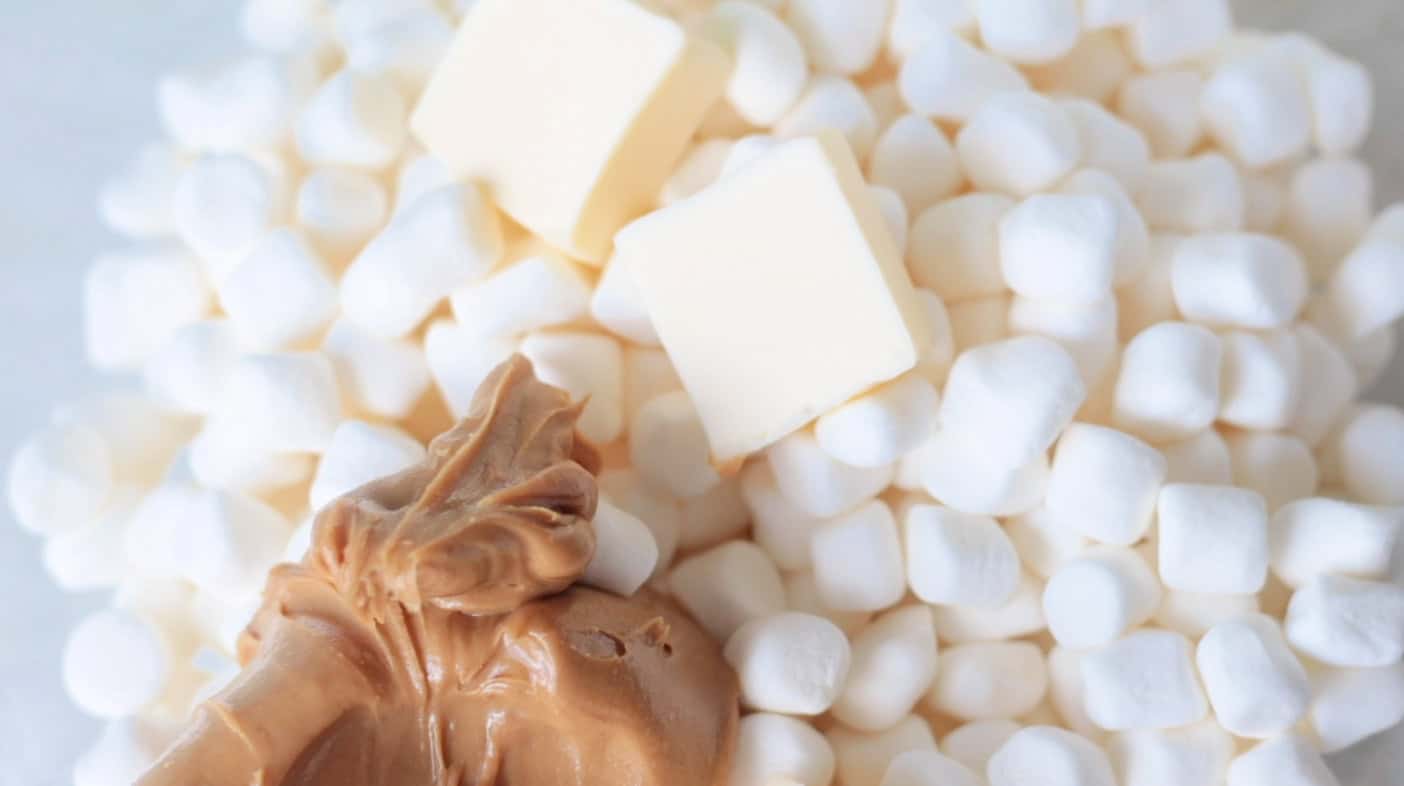
- Peanut butter: smooth or crunchy
- Powdered Sugar
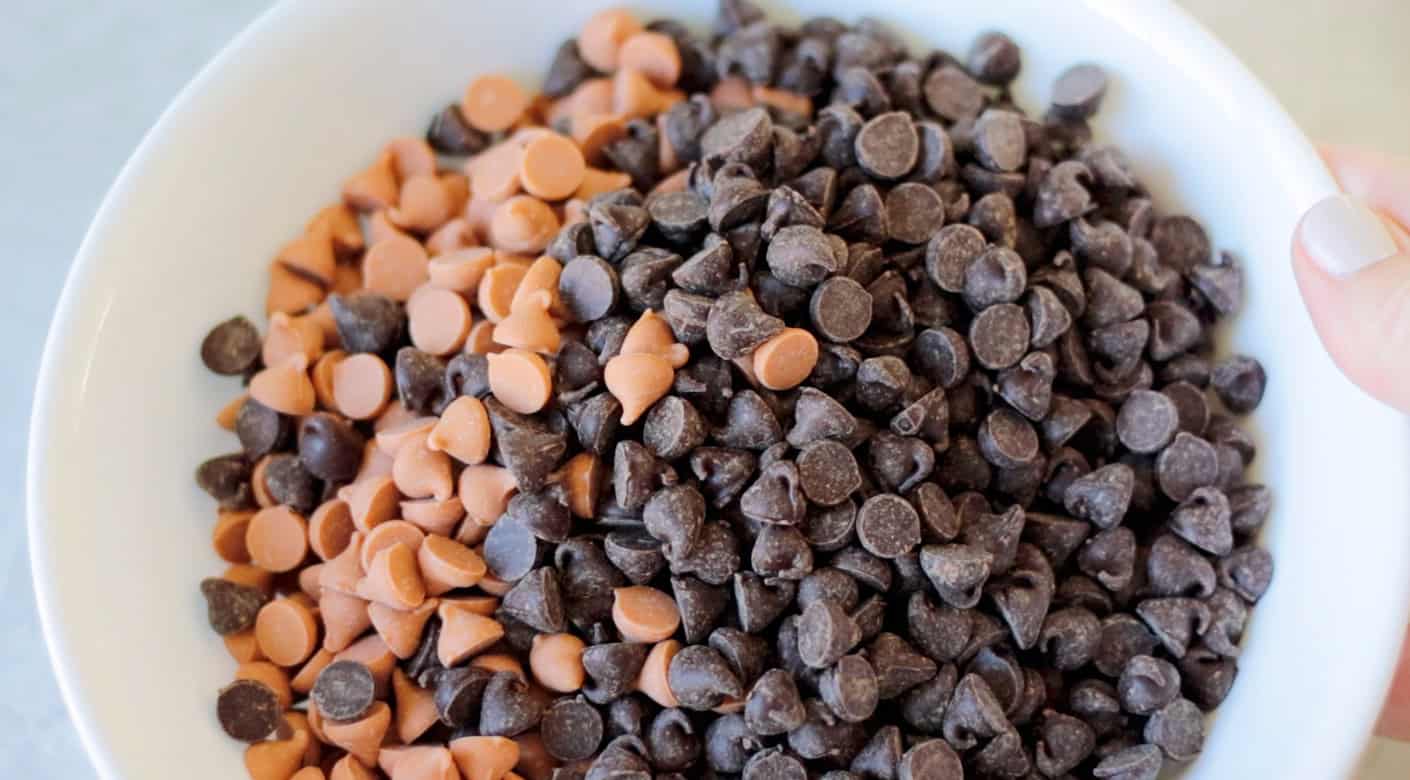
- Chocolate chips: I prefer milk chocolate, as it more closely resembles the flavor of Butterfingers, but you can use semisweet chocolate chips. You can also use chocolate almond bark or melting wafers.
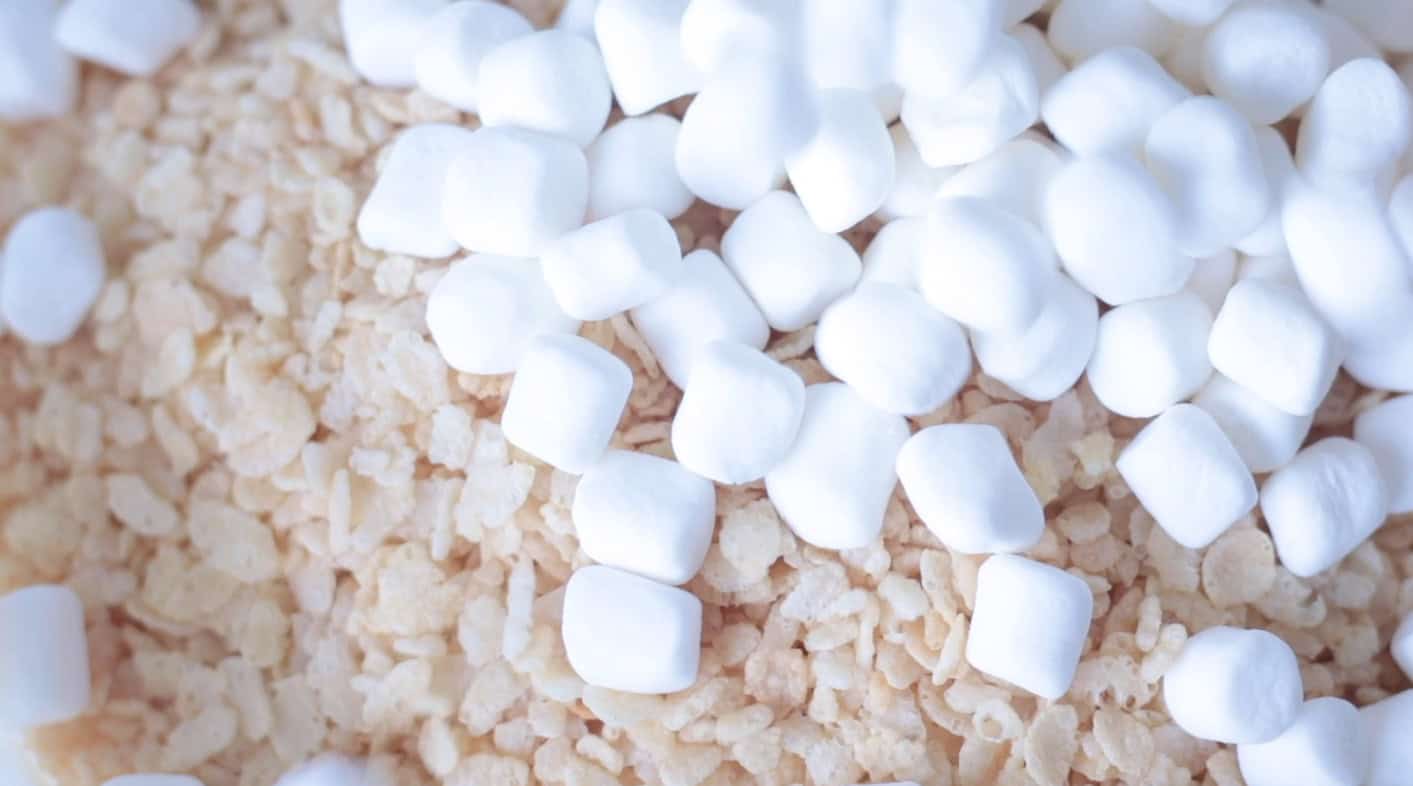
- Cornflakes: Crushed into crumbs.
See the recipe card for full information on ingredients and quantities.
How To Make Cornflake Butterfingers
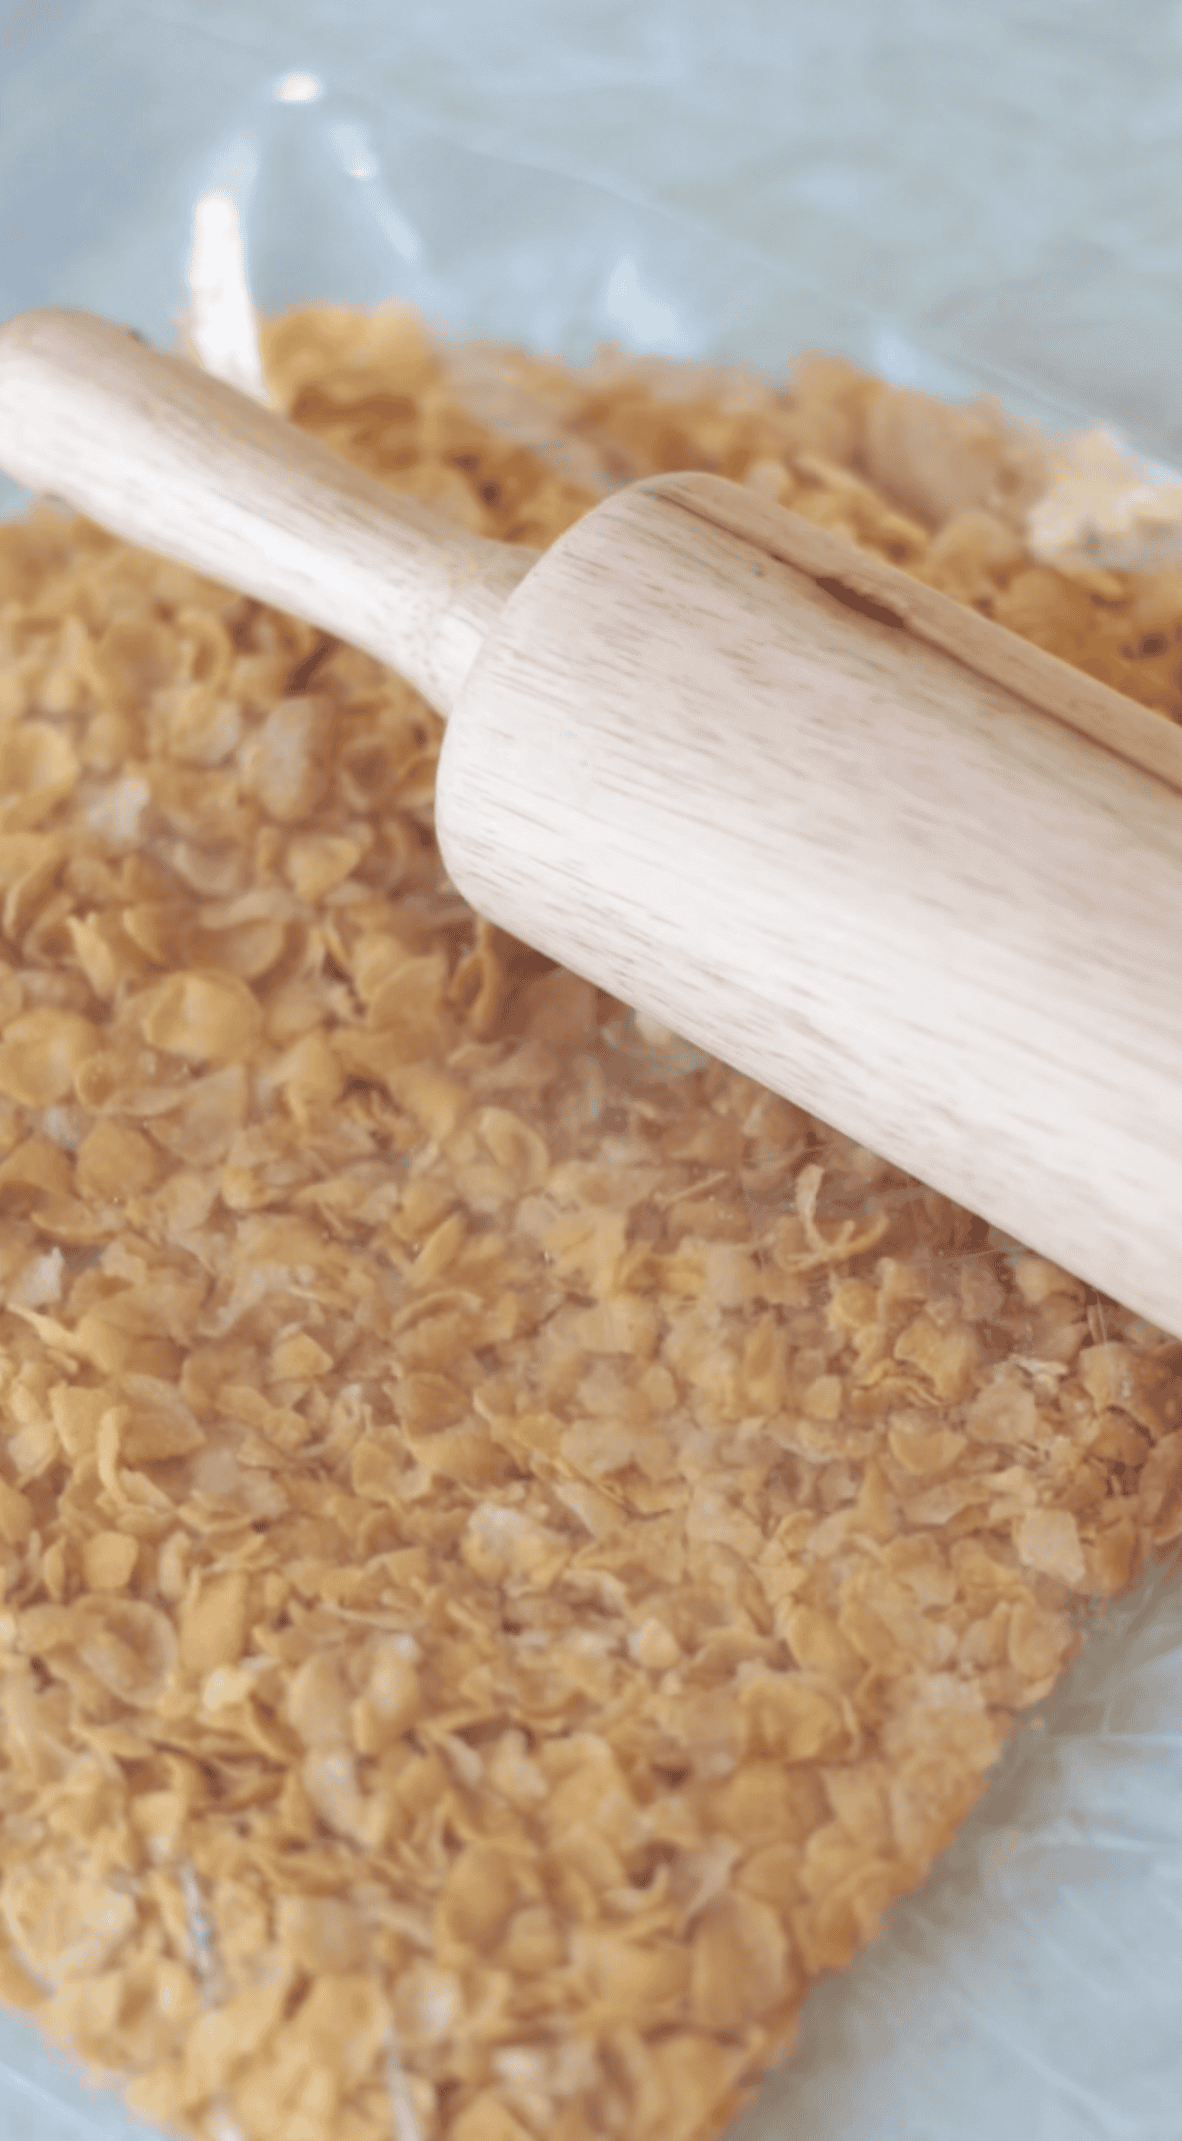
Step 1: Crush cornflakes with a rolling pin.
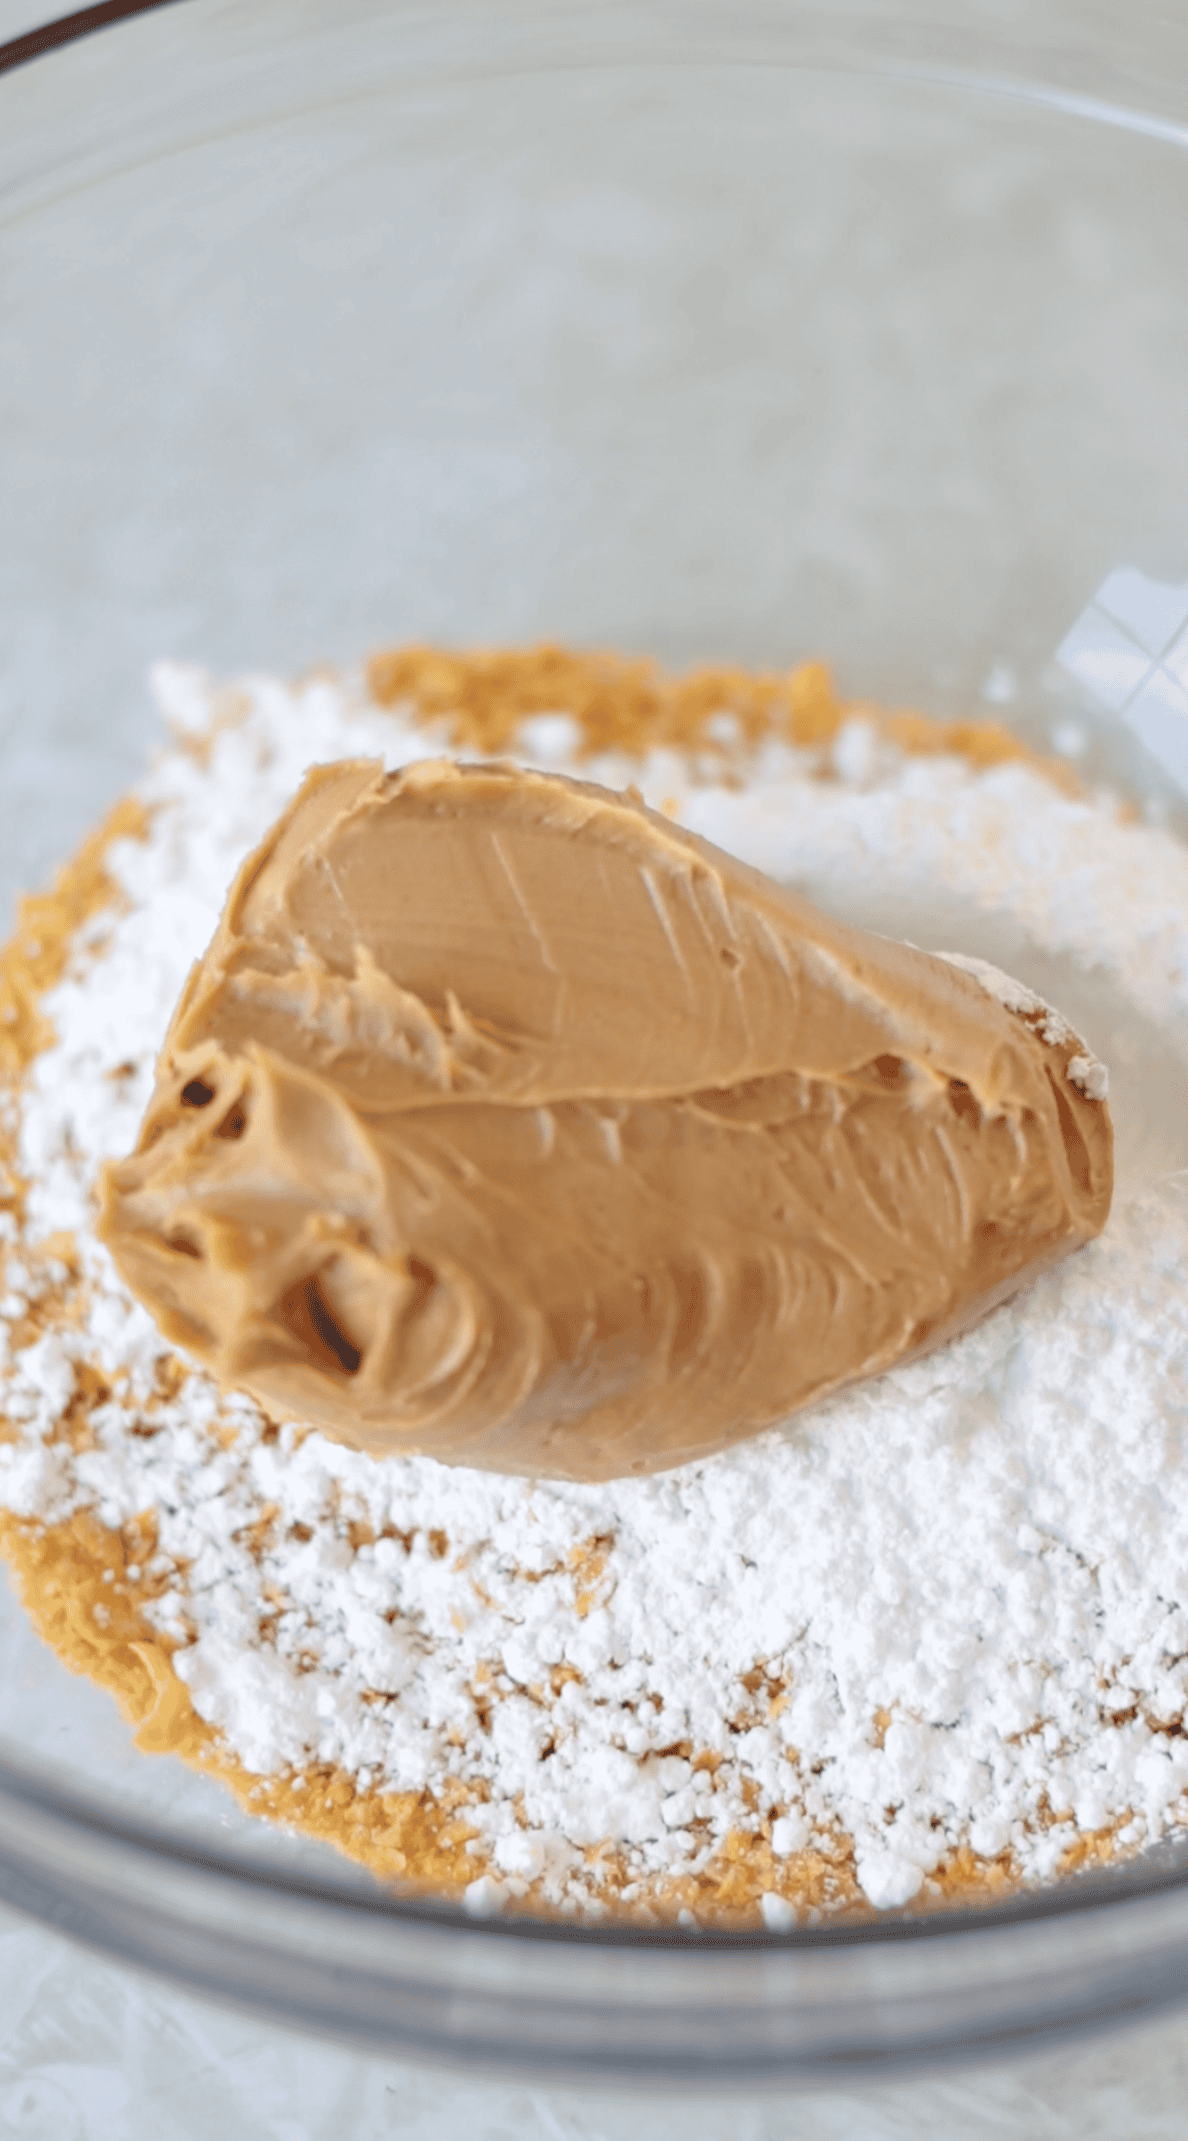
Step 2: Add peanut butter, cereal, and powdered sugar to a large mixing bowl.
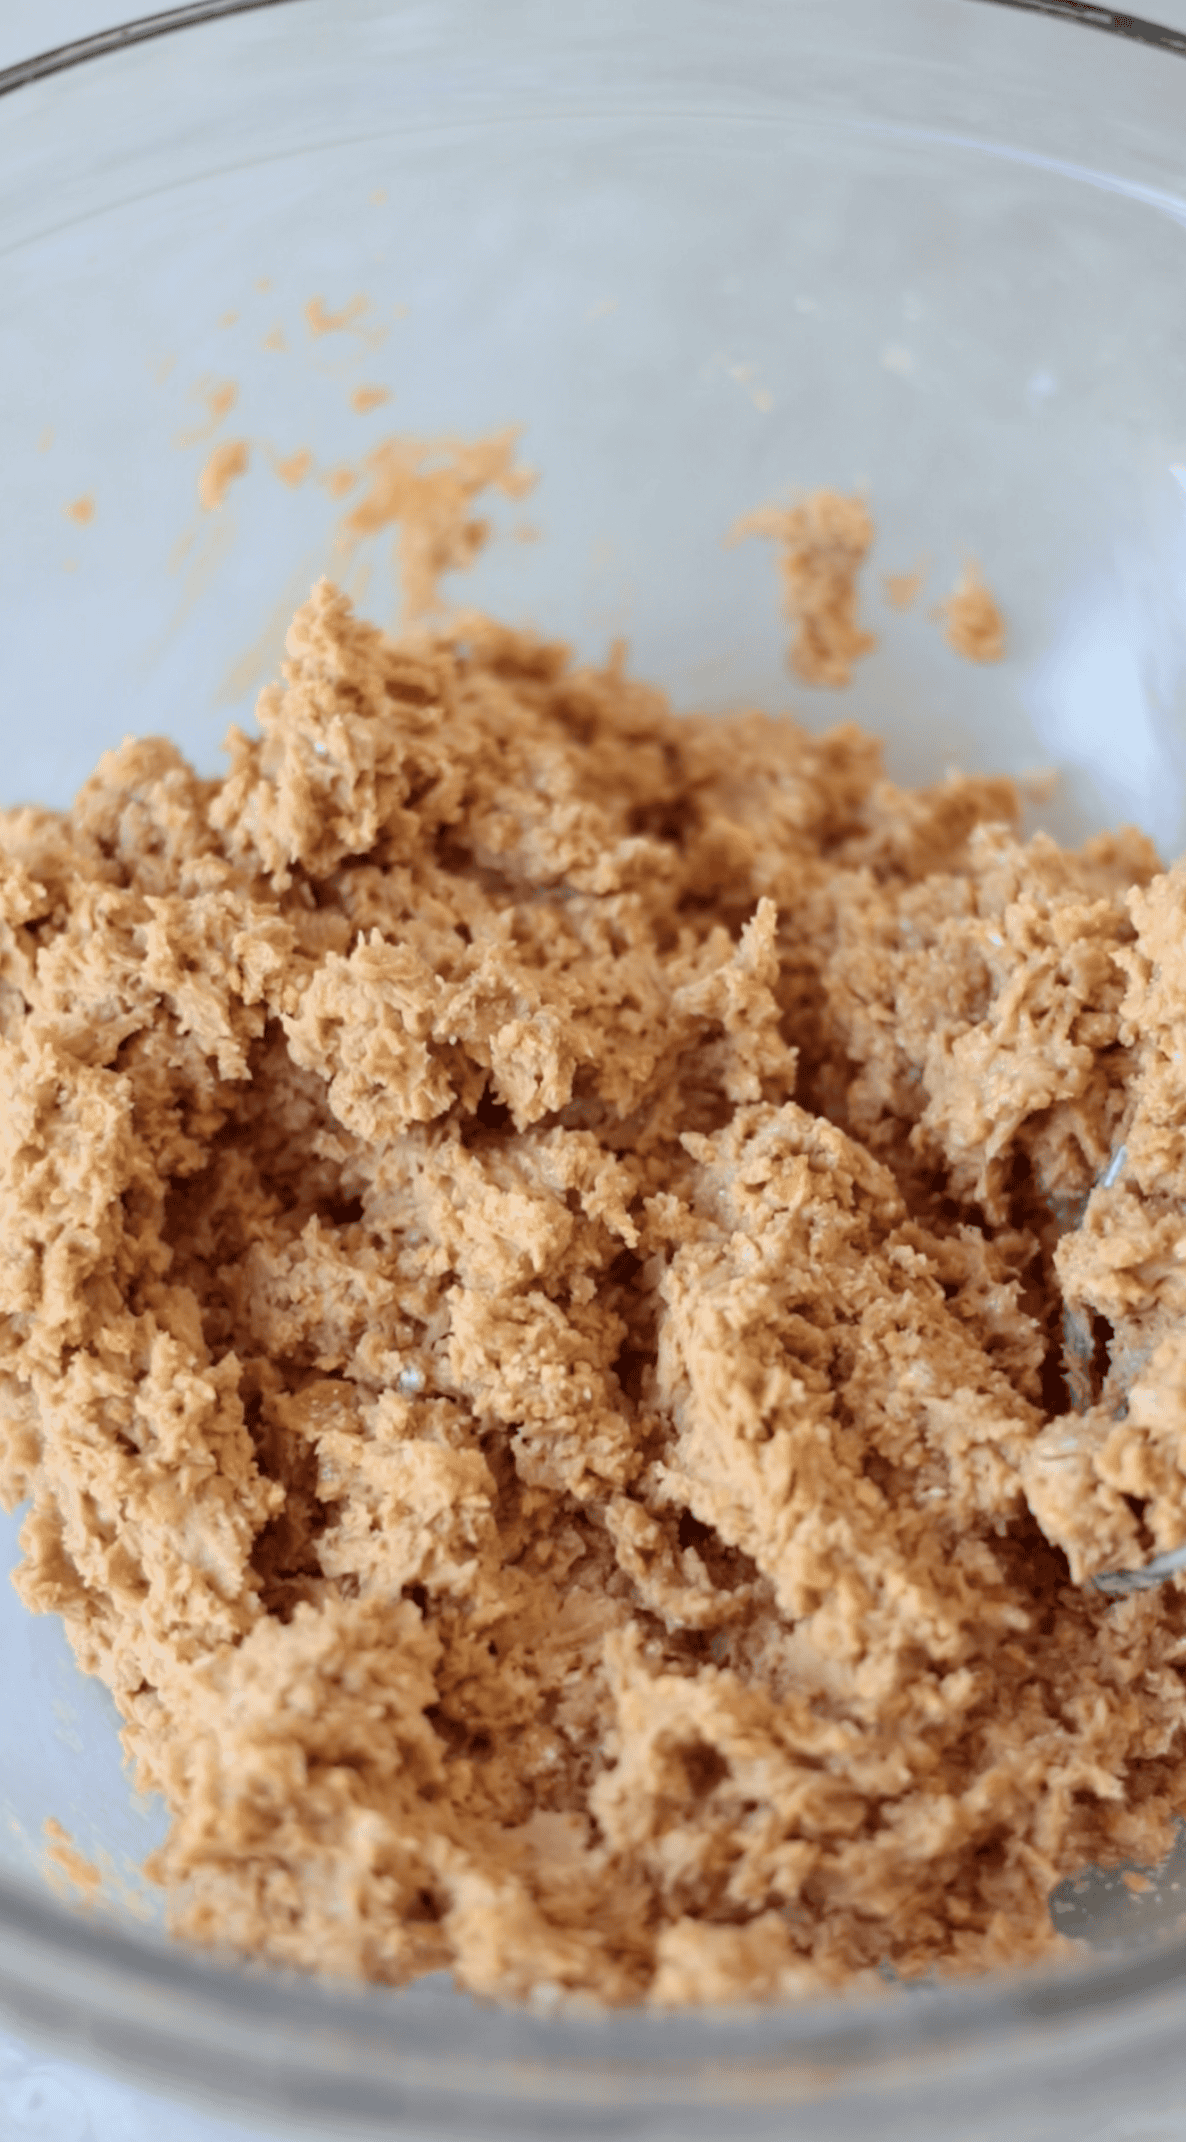
Step 3: Stir to combine. A stand mixer with a paddle attachment works great for this!
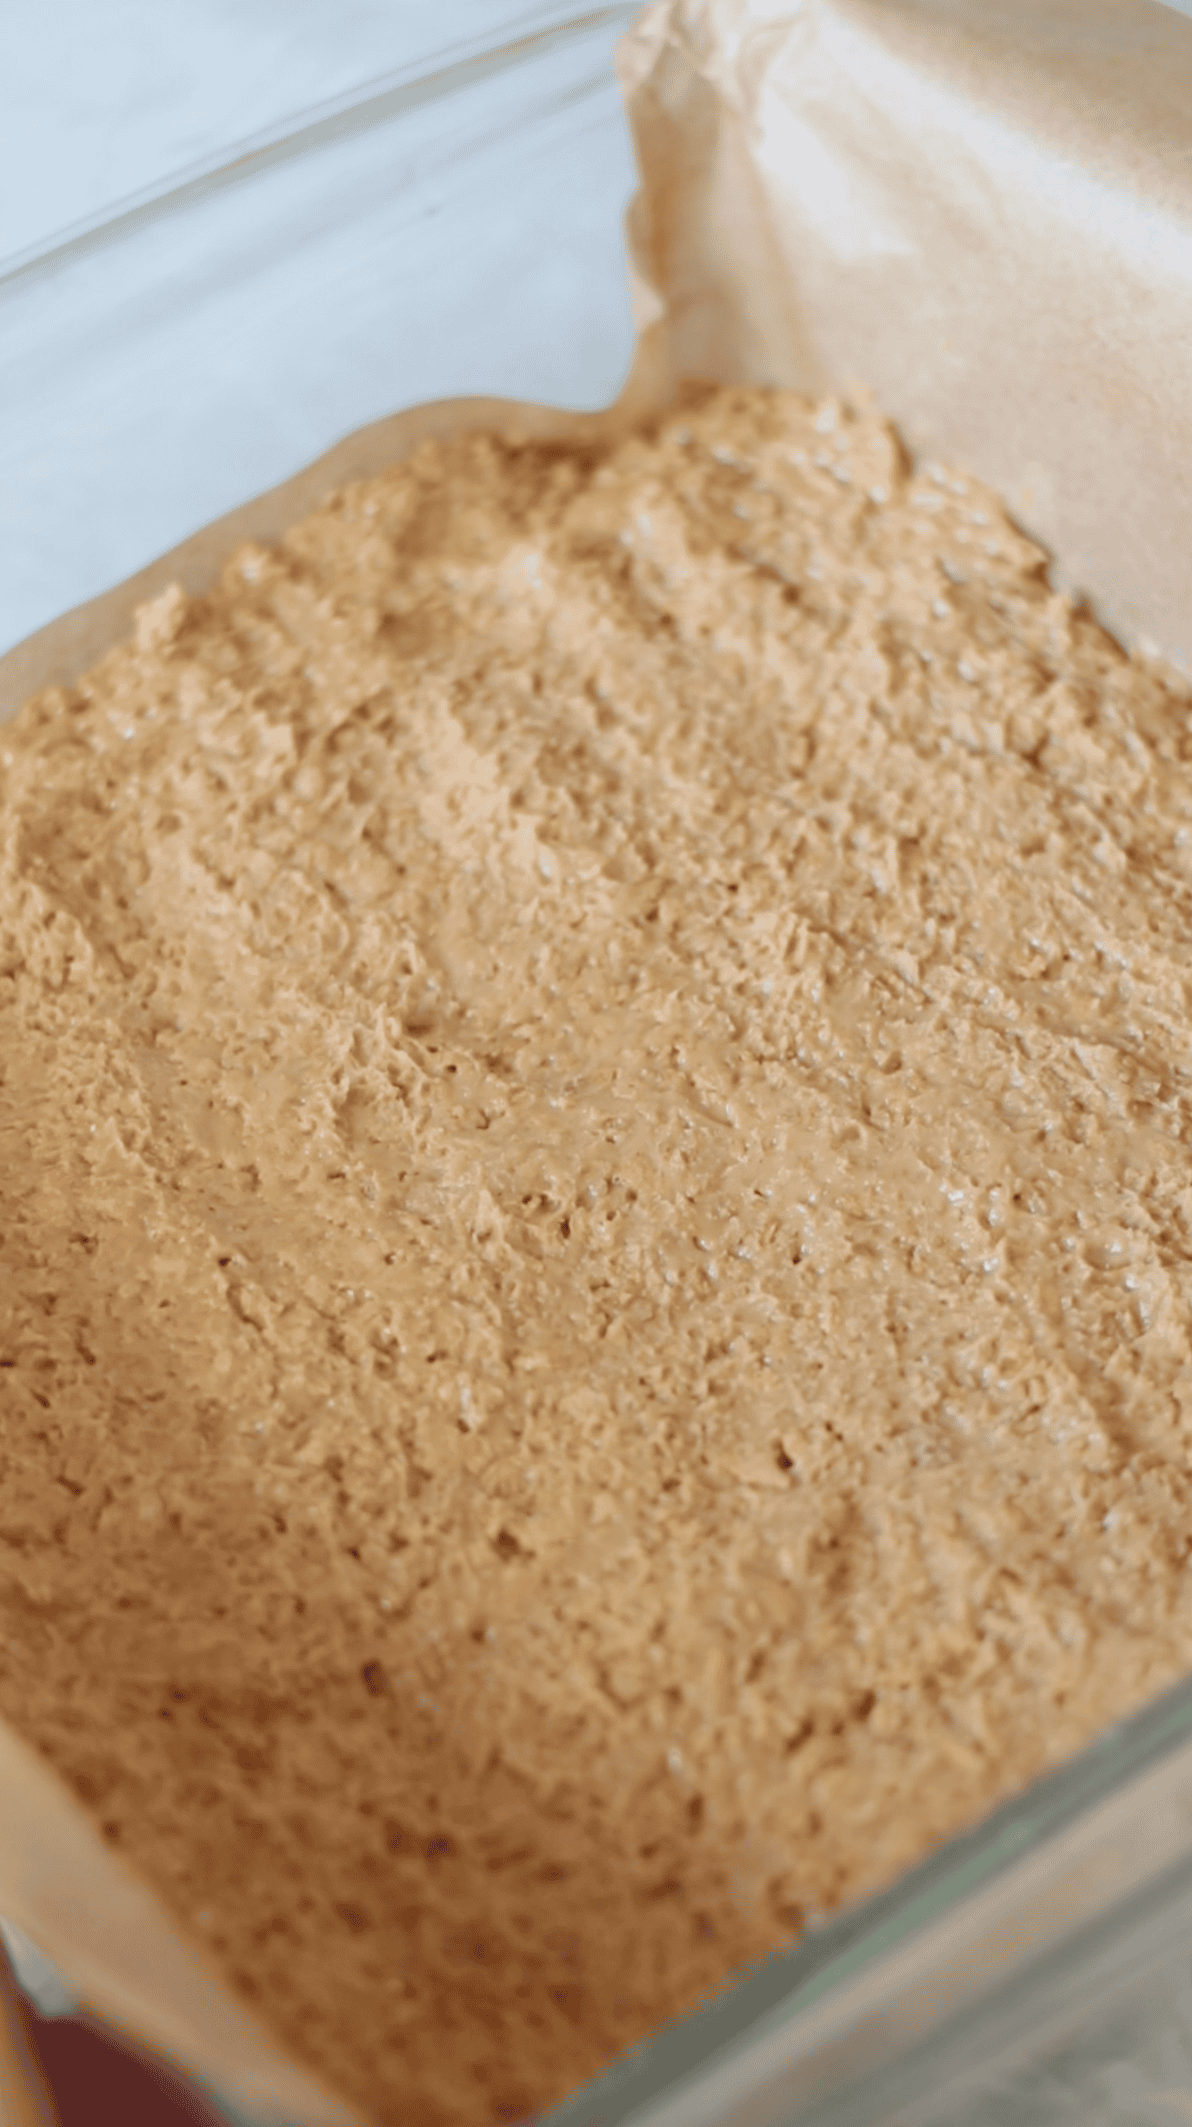
Step 4: Press the mixture into a buttered (or parchment-paper-lined) 8"x8" baking dish. If the mixture is sticky, spray your hands or spatula with nonstick spray before pressing the mixture into the pan.
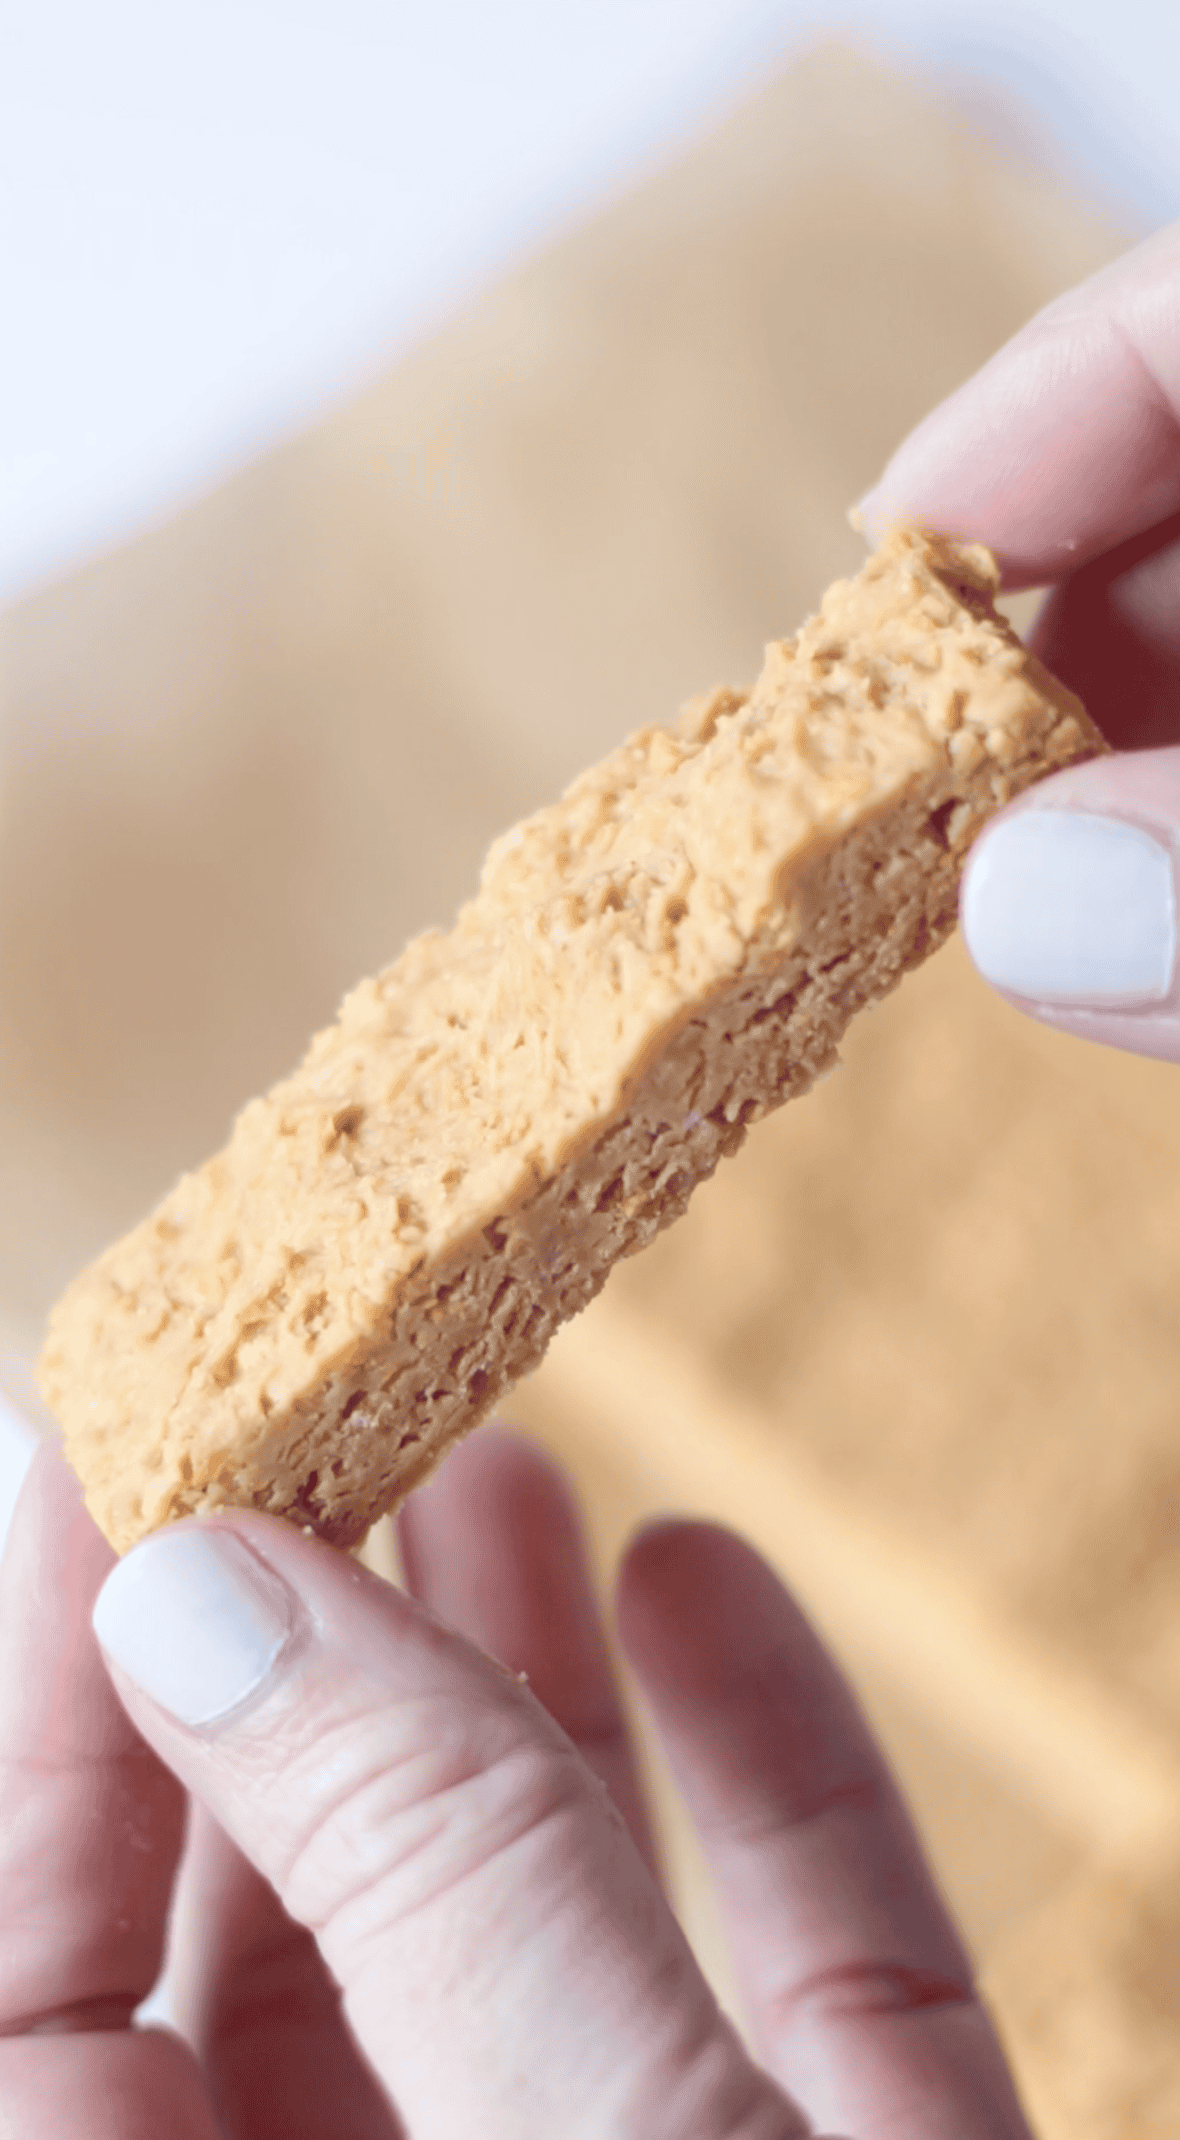
Step 5: Freeze for 3-4 hours, then cut into bars or squares.
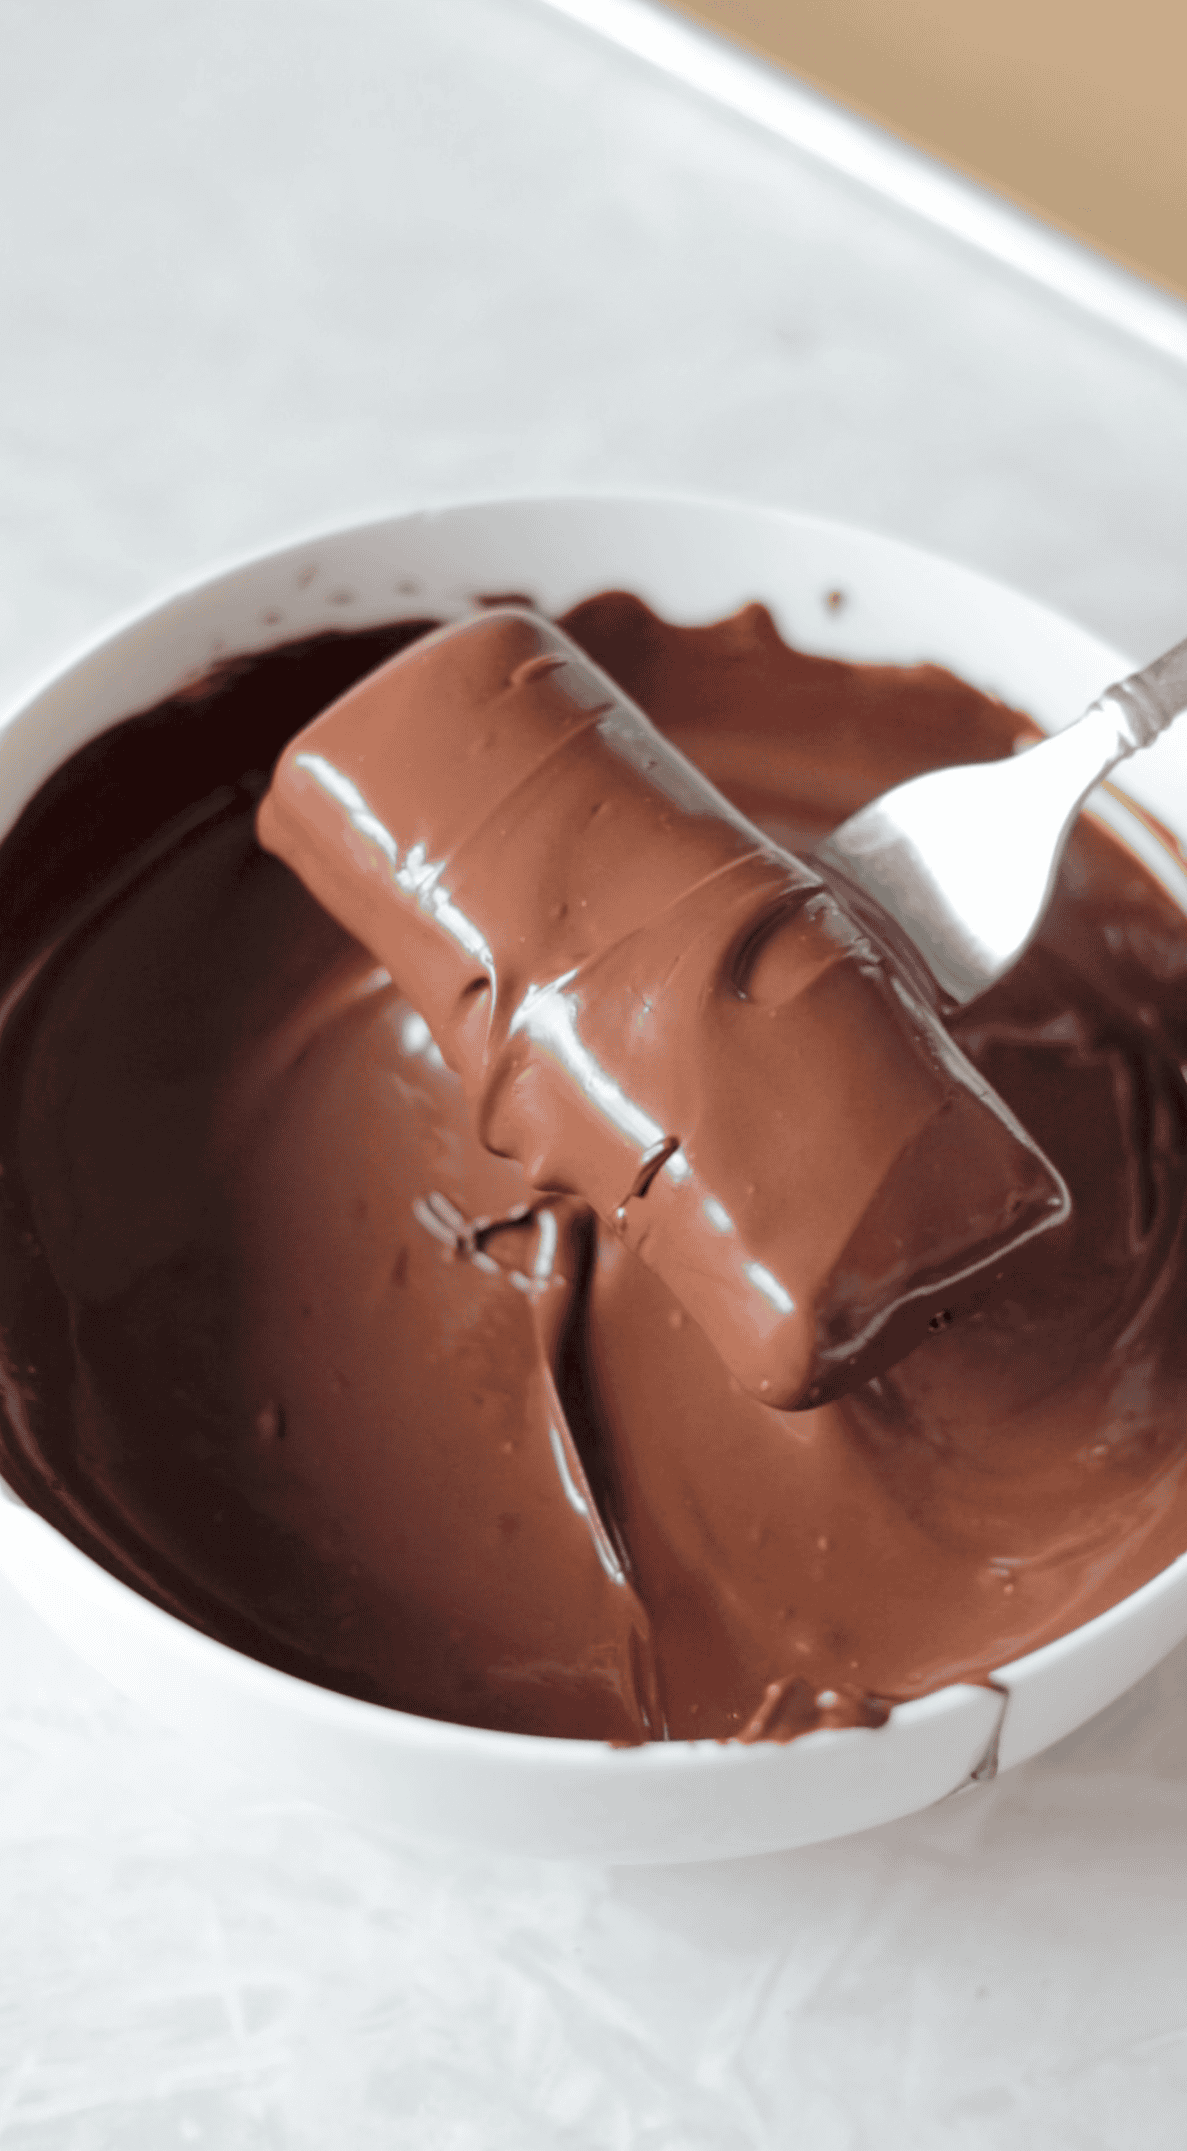
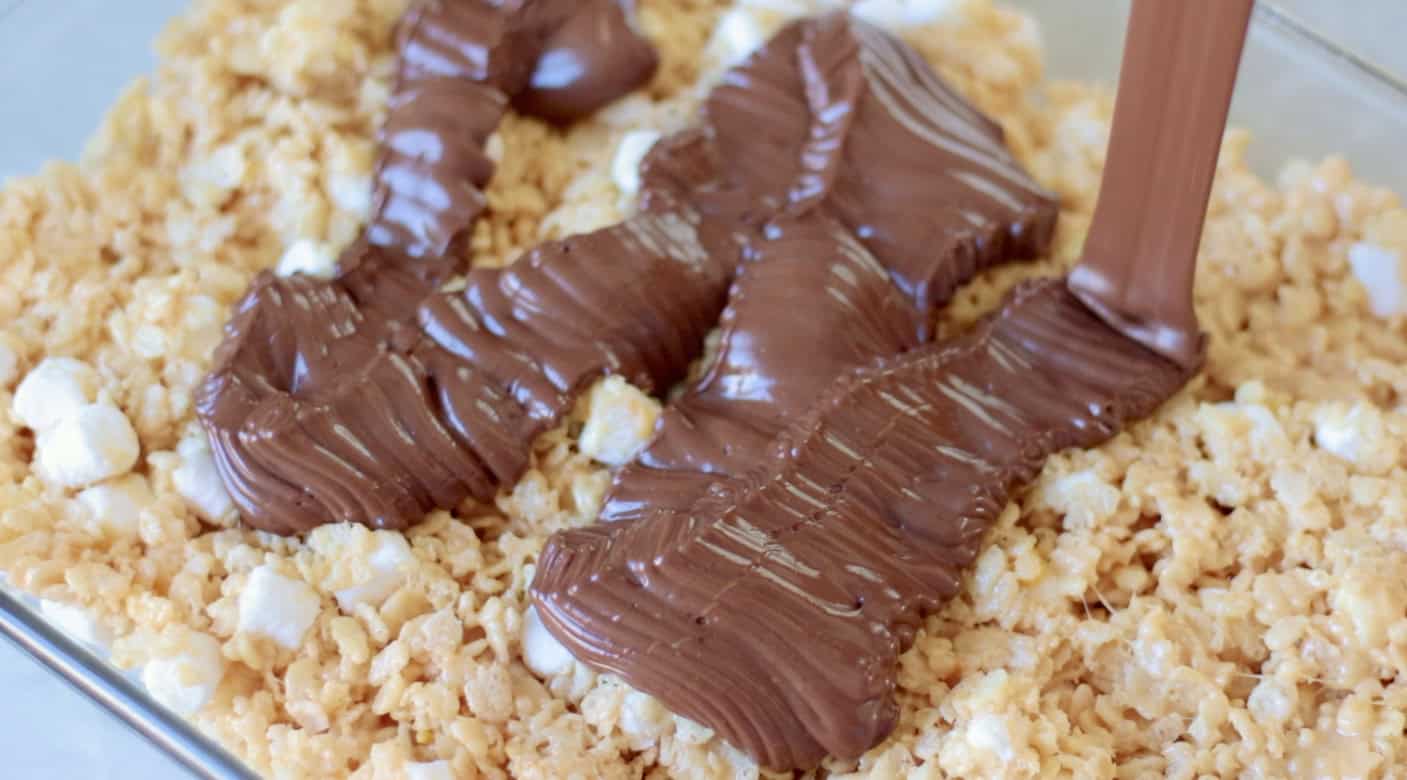
Step 6: Melt chocolate or almond bark in the microwave or double boiler. Quickly dip bars into chocolate, sliding the bottom of the fork across the side of the bowl to allow excess chocolate to drip off.
Note: The bars are easiest to dip into chocolate when frozen. They thaw quickly, so only have a few out at a time, leaving the rest in the freezer.
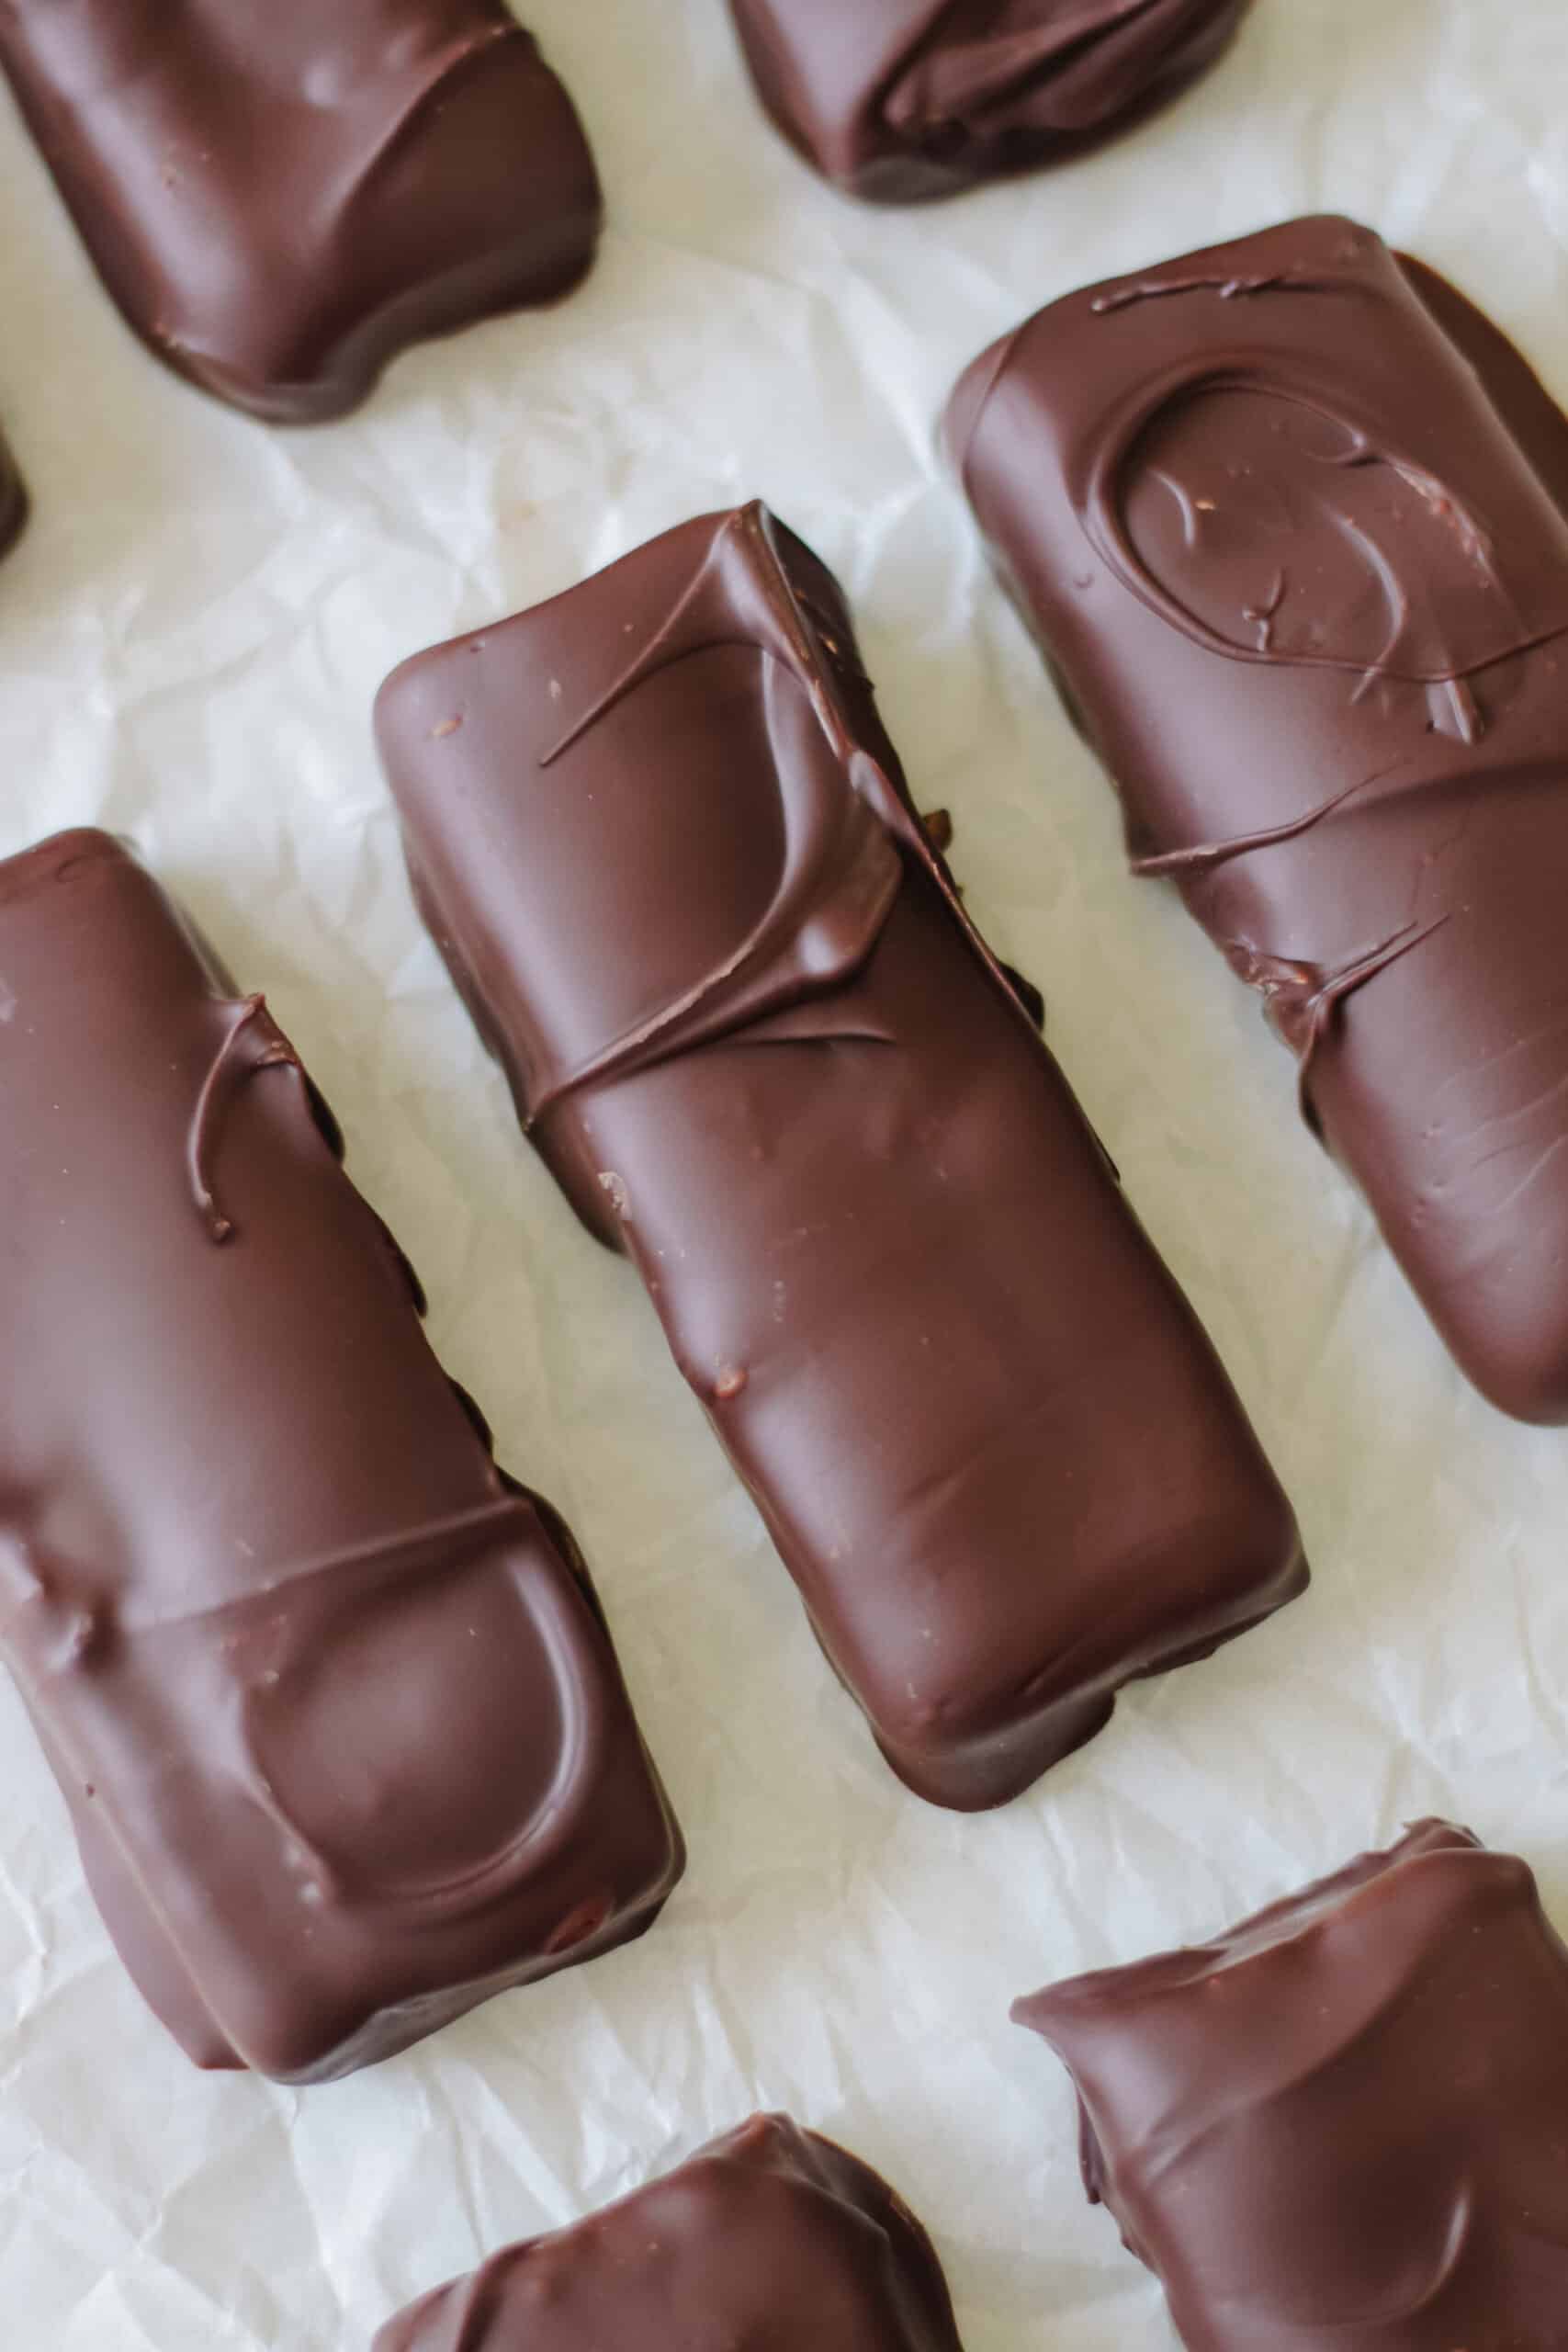
Step 7: Place dipped bars on parchment paper and chill until set.
Butterfinger FAQs
Chocolate melting wafers or almond bark are best for dipping as they easily melt down smoothly and are the perfect consistency. I like using chocolate chips as well. If the chocolate chips need to be thinned out, I add a small amount of coconut oil or shortening.
Store bars in an airtight container at room temperature or in the refrigerator for up to 2 weeks.
For this recipe, you can use natural peanut butter or processed.

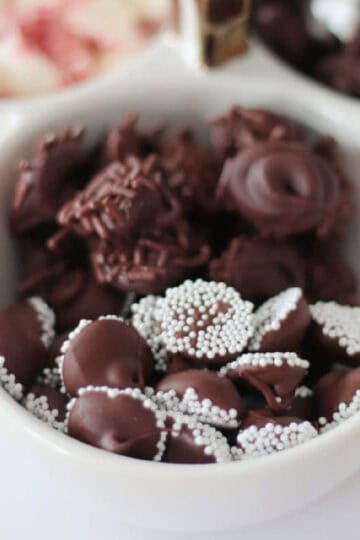
More Chocolate Candy Recipes

MADE THIS RECIPE AND LOVED IT? 💛 Please leave a STAR rating and COMMENT below! Post it to Facebook or Pinterest to easily share with friends!

Cornflake Butterfinger Bars
Ingredients
- 1 ½ cups peanut butter crunchy or creamy
- ½ cup powdered sugar
- 3 cups Cornflakes cereal
- 12 ounces chocolate chips or almond bark
Instructions
- Crush cornflakes with a rolling pin.
- Add peanut butter, cornflakes, and powdered sugar to a large mixing bowl.
- Stir to combine. A stand mixer with a paddle attachment works great for this!
- Press the mixture into a buttered (or parchment-paper-lined) 8"x8" baking dish. Note: If the mixture is sticky, spray your hands or spatula with nonstick spray before pressing the mixture into the pan.
- Freeze for 3-4 hours, then cut into bars or squares.
- Melt chocolate or almond bark in the microwave or double boiler. Use a fork to quickly dip the bars into chocolate, sliding the bottom of the fork along the side of the bowl to let excess chocolate drip off.Note: The bars are easiest to dip into chocolate when frozen. They thaw quickly, so only have a few out at a time, leaving the rest in the freezer.
- Place dipped bars on parchment paper and chill until set.
Video
Notes
Tips and Tricks
- Do not overheat the chocolate. I usually use my microwave to heat the chocolate chips for 60 seconds, then I stir and heat them in additional 15-20-second intervals until smooth and creamy. Every microwave is different. My advice is to go low and slow in short intervals.
Keep bars cold. The bars are easiest to dip into chocolate when frozen. They thaw quickly, so only have a few out at a time, leaving the rest in the freezer. - Store in the refrigerator. The chocolate will harden at room temperature or in the refrigerator. I like these best chilled, as it gives the filling the perfect texture.