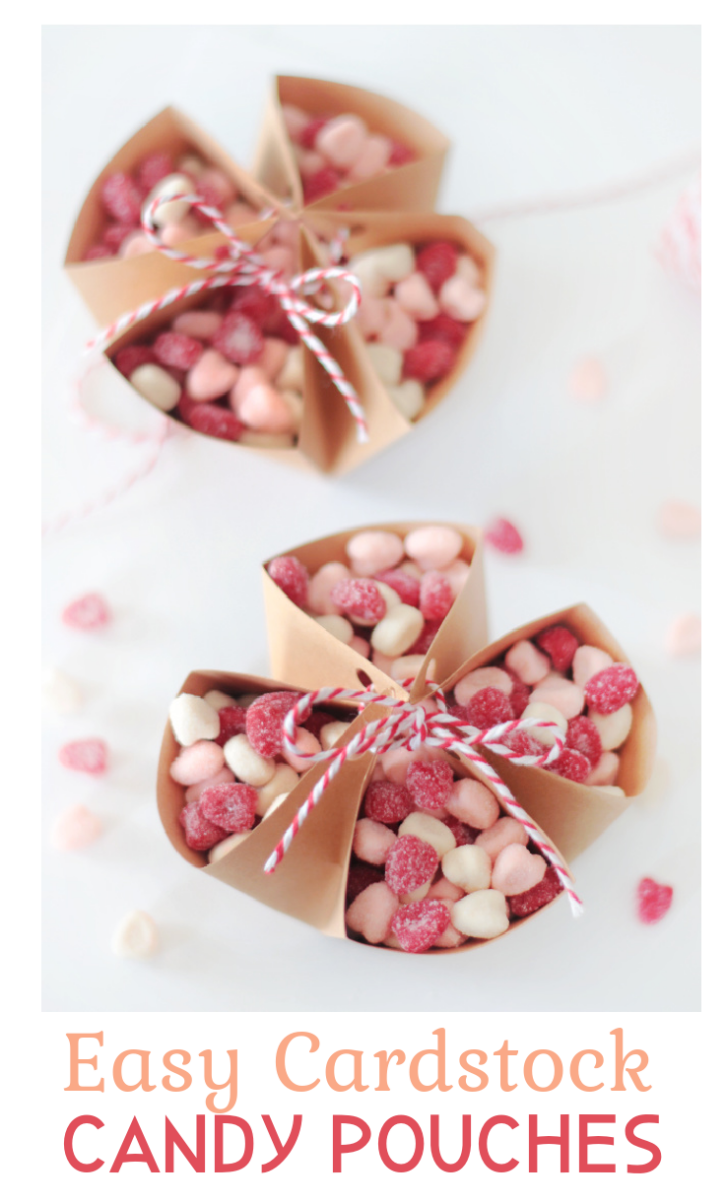
A quick and easy tied up cardstock candy pouch that you can make! No pattern or printable required! Fun to customize for different holidays and occasions.
You might also like our paper pocket fans and felt bunny candy pouches!
Watch our step by step video!
Tied Up Cardstock Candy Pouch

Supplies:
- 6"x6", 9"x9" or 12"x12" piece of paper
- straight edge
- ruler
- hole punch
- something to score the paper
- ribbon
Steps to Make Your Own Cardstock Candy Pouch
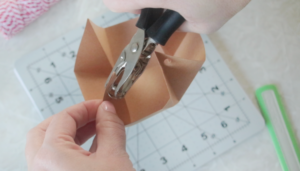
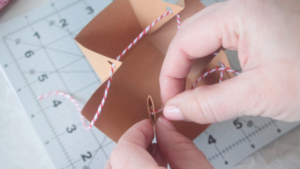
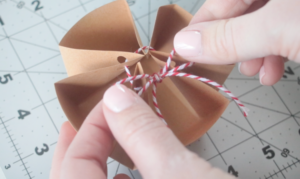
All that is required to make these pouches are a few scored lines and folds! Once your pouch has been folded, you'll hold punch the corners, lace with twine, and tie together!
Fill with candy or snacks.
This tutorial makes 1 (4") candy pouch.
Tied Up Cardstock Candy Pouch Tutorial
Inspired by Alderberry Hill.
Tied Up Cardstock Candy Pouches
Equipment
- paper cutter
- scoring tool
- Ruler
- hole punch
Materials
- 6"x6" cardstock
- ribbon or twine
Instructions
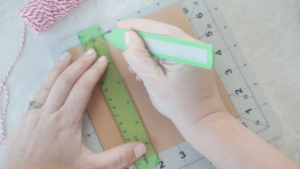
- Score the paper at 2″ and 4″ on both sides. This will create a 9 square grid.
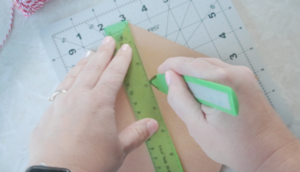
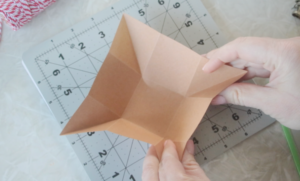
- Score the square in each corner (4 of them) diagonally starting at the outer corner and going towards the middle.
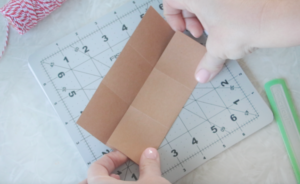
- Fold along scored lines.
- Fold the diagonal scored lines toward the center, pulling the folds in and creating 4 little pouches.
- Hole punch one hole on the center of each diagonal fold towards the tip.
- Lace ribbon or twine through the holes to bring the corners together.
- Tie ends of twine into a bow.
Video
Notes
Here is another candy box to make.


Jackie P says
Pinning this...looking for cute, little ways to hold things for a shower....this might work
Thanks bunches!
Jackie P
Linda says
Love this cute pocket for candy. Thanks for sharing. I love red hots. Best wishes, Linda
http://twosucculentsisters.blogspot.com
Lowri says
These look great - thanks for sharing. My kids will love these next time they get treats!
Lowri
http://papervinenz.blogspot.com
Lindy@Itsy Bitsy Paper says
How incredibly cute!! I hope you will link this project up to my I Heart Projects Party.
http://www.itsybitsypaperblog.com/2012/01/i-heart-projects-linky-party.html
LocalFunForKids says
That's such a cool idea. So simple and looks very festive too!
Lindsi B says
Found you on Skip to My Lou. Could you please share this with our readers for Fun Stuff Fridays? http://www.toysinthedryer.com/2012/01/fun-stuff-fridays-8.html
Melanie says
Adorable! Thanks for sharing!
Paula says
These are super cute and easy! We'd love to have you link up at our party...http://housewivesofriverton.blogspot.com/2012/01/one-year-blogaversary-and-new-linky.html
Laurel @ Ducks in a Row says
Thank you for sharing this - I have a bunch of piano students who need a little something this year!
Crafty Mischief says
These are so cute! I am so making some! Thank you for sharing! 🙂