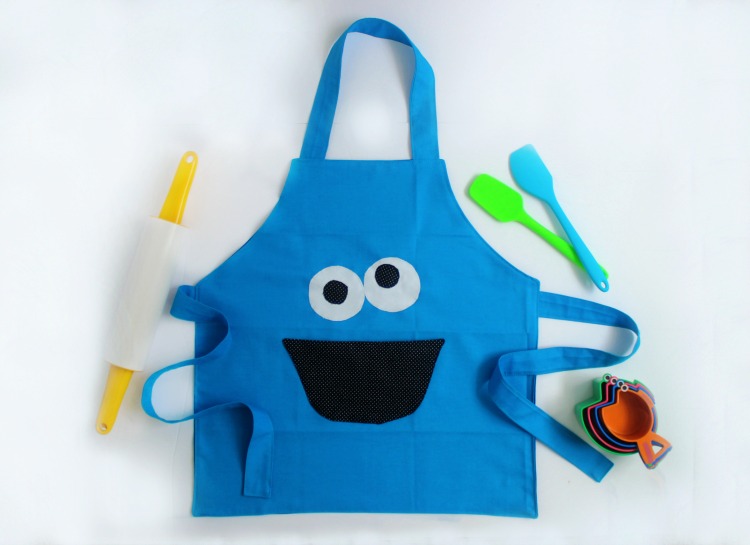
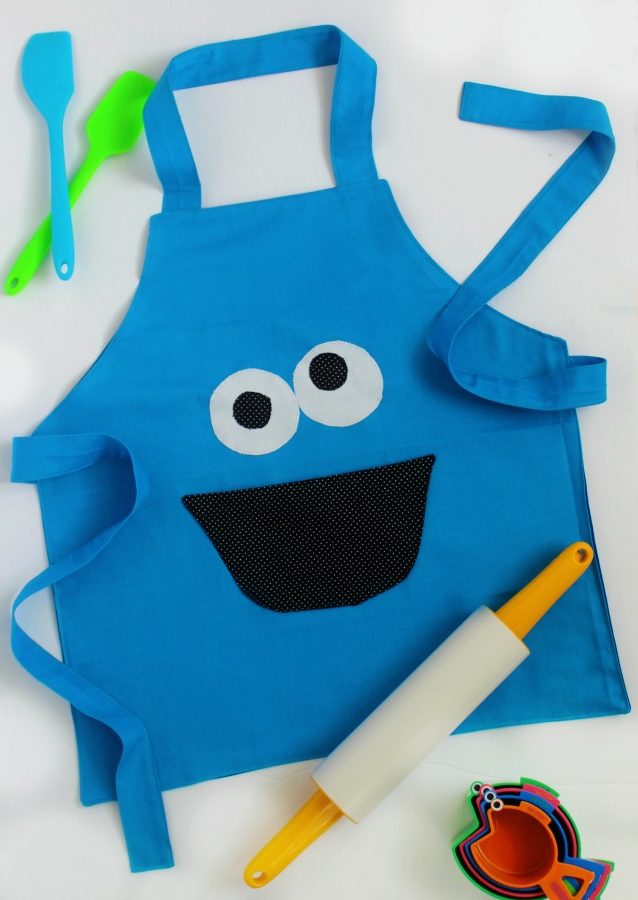
Make a Cookie Monster apron for a toddler using this quick and easy cookie monster toddler apron tutorial! There's even a pocket to keep a measuring spoon...or a cookie! It's Cookie Monster's mouth! Toddlers love helping in the kitchen. Make them a cute little apron to keep their clothes clean! It also doubles as a costume for dress-up time! This post contains affiliate links.
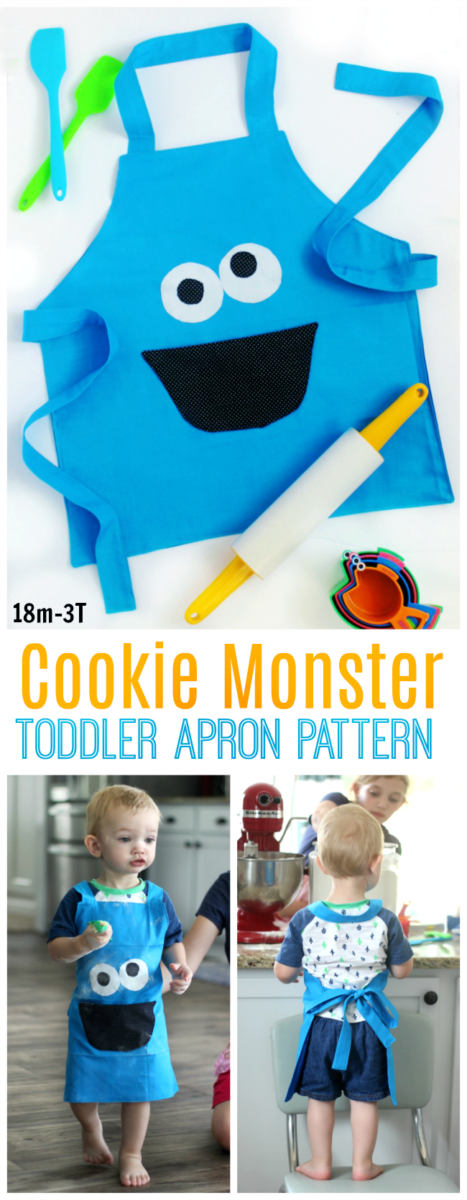
I went looking for red fabric to make an Elmo apron, but came up short. I did have some of this royal blue and it was a no brainer. Cookie Monster, OF COURSE. I had enough blue for the front, straps, and neck straps, but not for the back. Not a big deal, I just used a darker blue for the back. I also used black fabric with white polka dots for the mouth and eyes because, again, that is what I had.
Like always, I took photos along the way to share this toddler apron pattern with you and I'm glad that I did because I think it turned out pretty cute!
And check out the pocket...
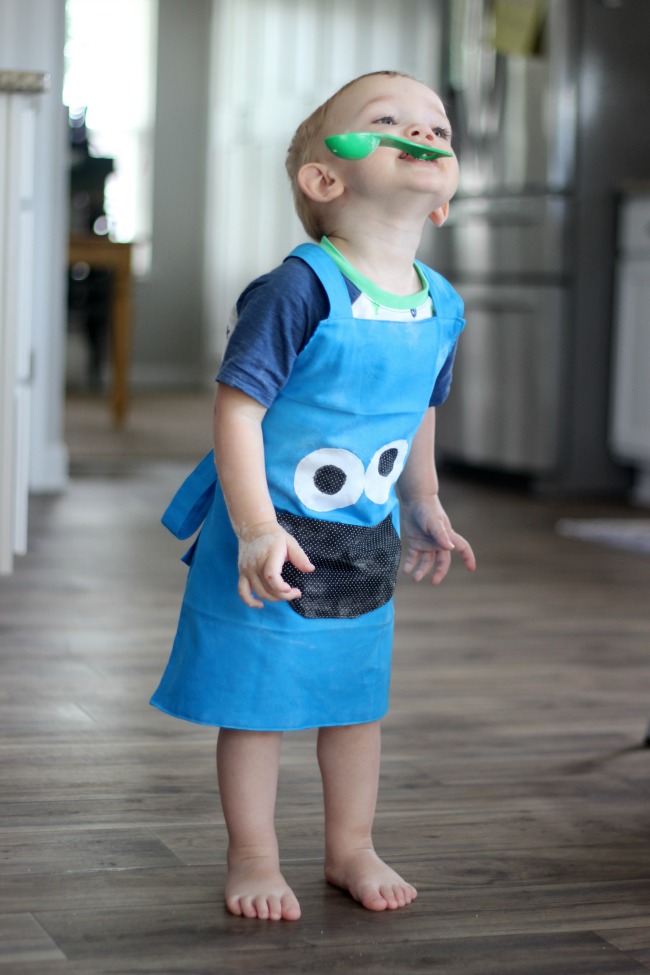
Mac instantly recognized Cookie Monster and giggled. He quickly got flour all over it and then went outside and climbed into his wading pool, fully clothed. Needless to say his Cookie Monster apron is all broken in!
2 other toddler aprons that you will LOVE!
Cookie Monster Toddler Apron tutorial
Time: 1 hour
Skill level: Beginner
Size: 18m-3T
Finished size: 15.5" width x 16.5" length
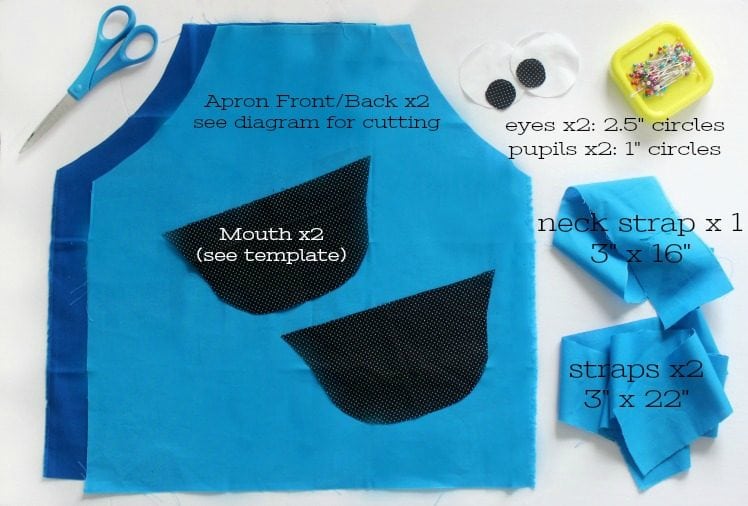
2 pieces of fabric that are 17" wide and 18" tall (apron front/back)
2 mouth pieces (pocket) cut from template
2 (2.5") circles for the eyes
2 (1") circles for the pupils
2 straps that are 3" wide and 22" tall
1 neck band that is 3" wide and 16" tall
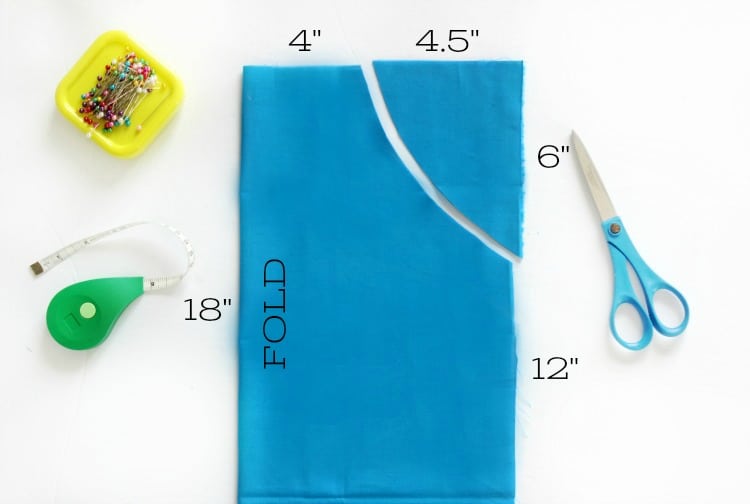
- To create the apron shape, fold the front piece in half. Mark 4" on the top and 6" on the side. Draw a curved line connecting the two markings and trim. Repeat for the back piece.
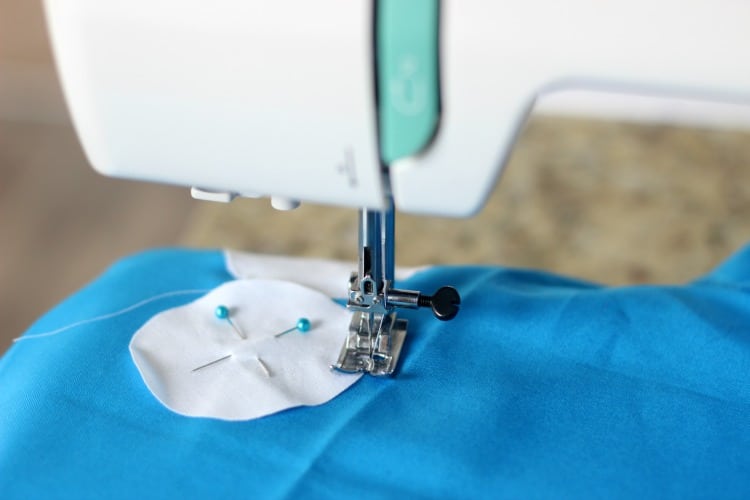
3. To make the pocket, stitch both mouth pieces together with the right sides of the fabric facing each other. Use a ¼" seam allowance. Leave a small opening along the bottom to turn it right side out.
4. Clip the corners and curves close to the seam, but do not clip the stitches.
5. Fold the opening edges closed and pin to keep it in place. Iron seams flat.
6. Place the pocket onto the apron front and pin into place. Top stitch around the sides and bottom, leaving the top of the pocket open.
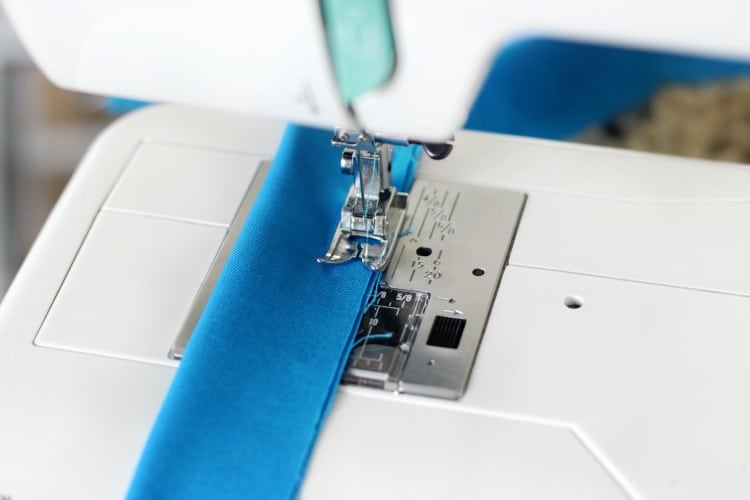
8. Stitch the side seam using a ¼" seam allowance.
9. Turn the neck band right side out and press. Leave the ends open and the edges raw. Top stitch using a ⅛" seam allowance on the sides (again, leaving the ends open).
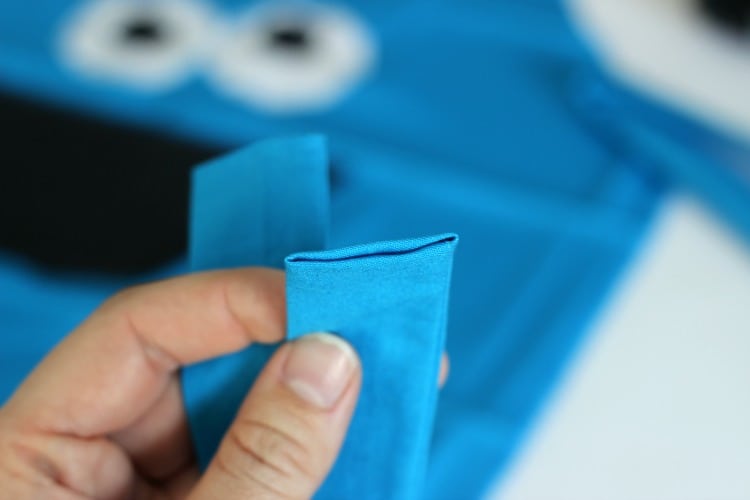
11. Fold one end over so that it has a finished edge. Repeat for the other strap.
12. Top stitch around all 3 finished sides, using a ⅛" seam allowance and leaving the other end open with a raw edge.
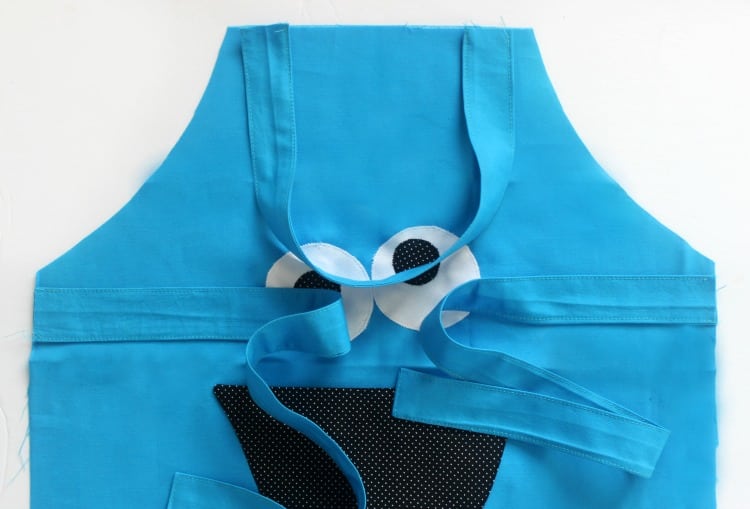
14. Place each strap ½" from the arm curve, lining up the end with the raw edge to the sides of the apron.
15. Lay the apron back on top of the apron front, with the right sides of the fabric facing each other. Pin to keep everything in place, making sure to pin the neck band and straps secure. Leave a small opening (4-5") open along the bottom to turn it right side out.
16. Stitch the front and back apron together using ¼" seam allowance. Clip corners and curves.
17. Turn right side out and iron seams flat. Fold the opening edges closed and pin in place.
18. Top stitch around the entire apron using a ⅛" seam allowance.
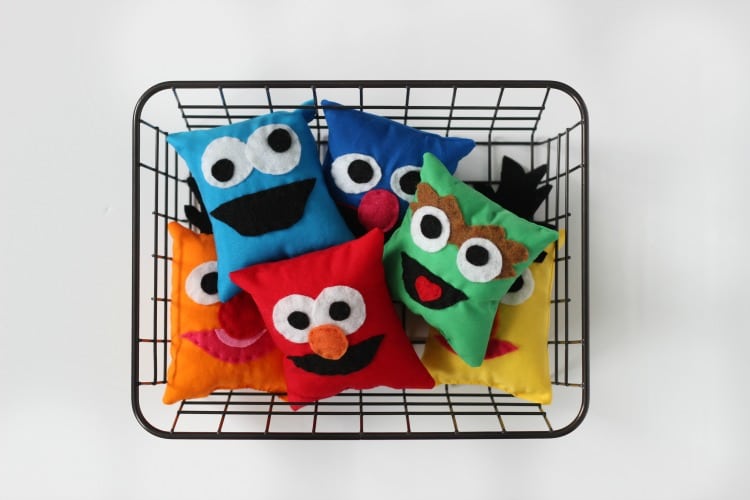
I'm thinking that an Oscar the Grouch apron would be hilarious. Or Grover? Grover is one of my favorites!
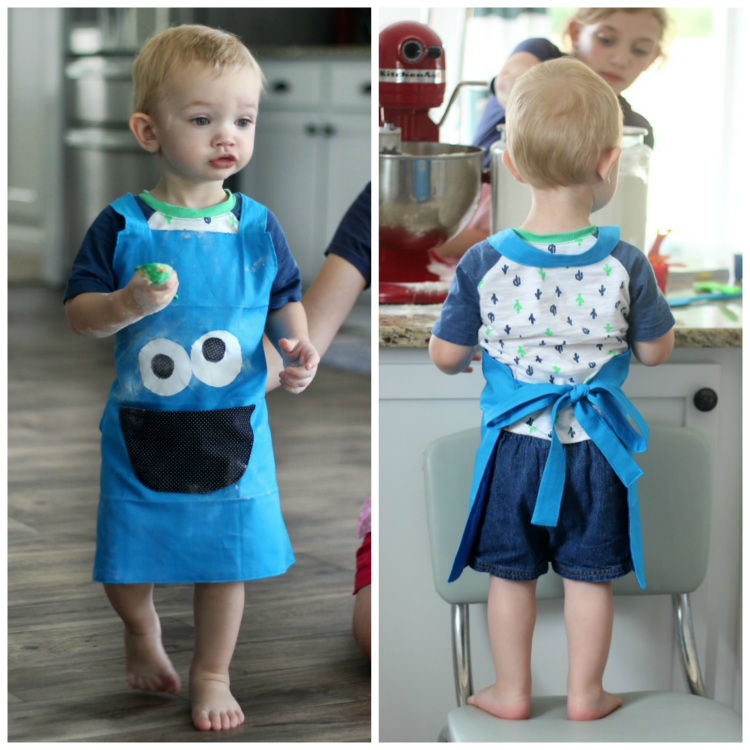
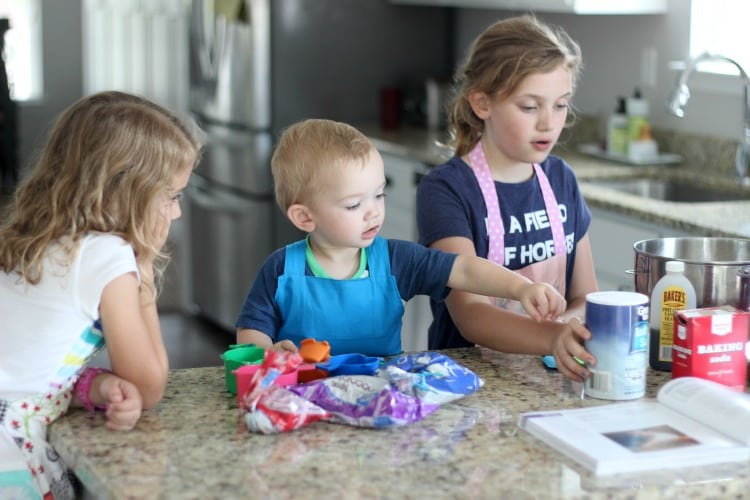
And if you really want to see him light up, ask him where Cookie Monster is when he is wearing his apron. He'll smile and point to his belly. 🙂




Louise Simmons says
It all looks and sounds good,
cindy Burns says
thanks so much..
cindy Burns says
do you have a templette mouth for Elmo pattern? thanks
Brandy says
Hi Cindy! I don't have an Elmo pattern, but I think you could just swap the colors and make a smaller mouth for Elmo and it'd work!
Katie says
Silly question... I find the Pocket Template for the pattern, but not the apron itself. Am I missing it?
Brandy says
Hi Katie! You aren't missing it! The main apron piece is just a rectangle. I share how to trim the corners for the shape. Since it was pretty basic the only pattern piece is the pocket. You just cut out two pieces that are 17" x 18". I should proabaly rename it "Cookie Monster Apron Tutorial".