
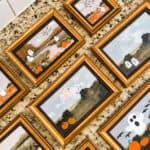
Turn an ordinary landscape painting into spooky Halloween art with this easy Halloween landscape painting! Add ghosts, pumpkins, bats, and other Halloween details to transform inexpensive framed artwork into unique Halloween decor. A fun project to do on your own or with friends at a Halloween painting party.
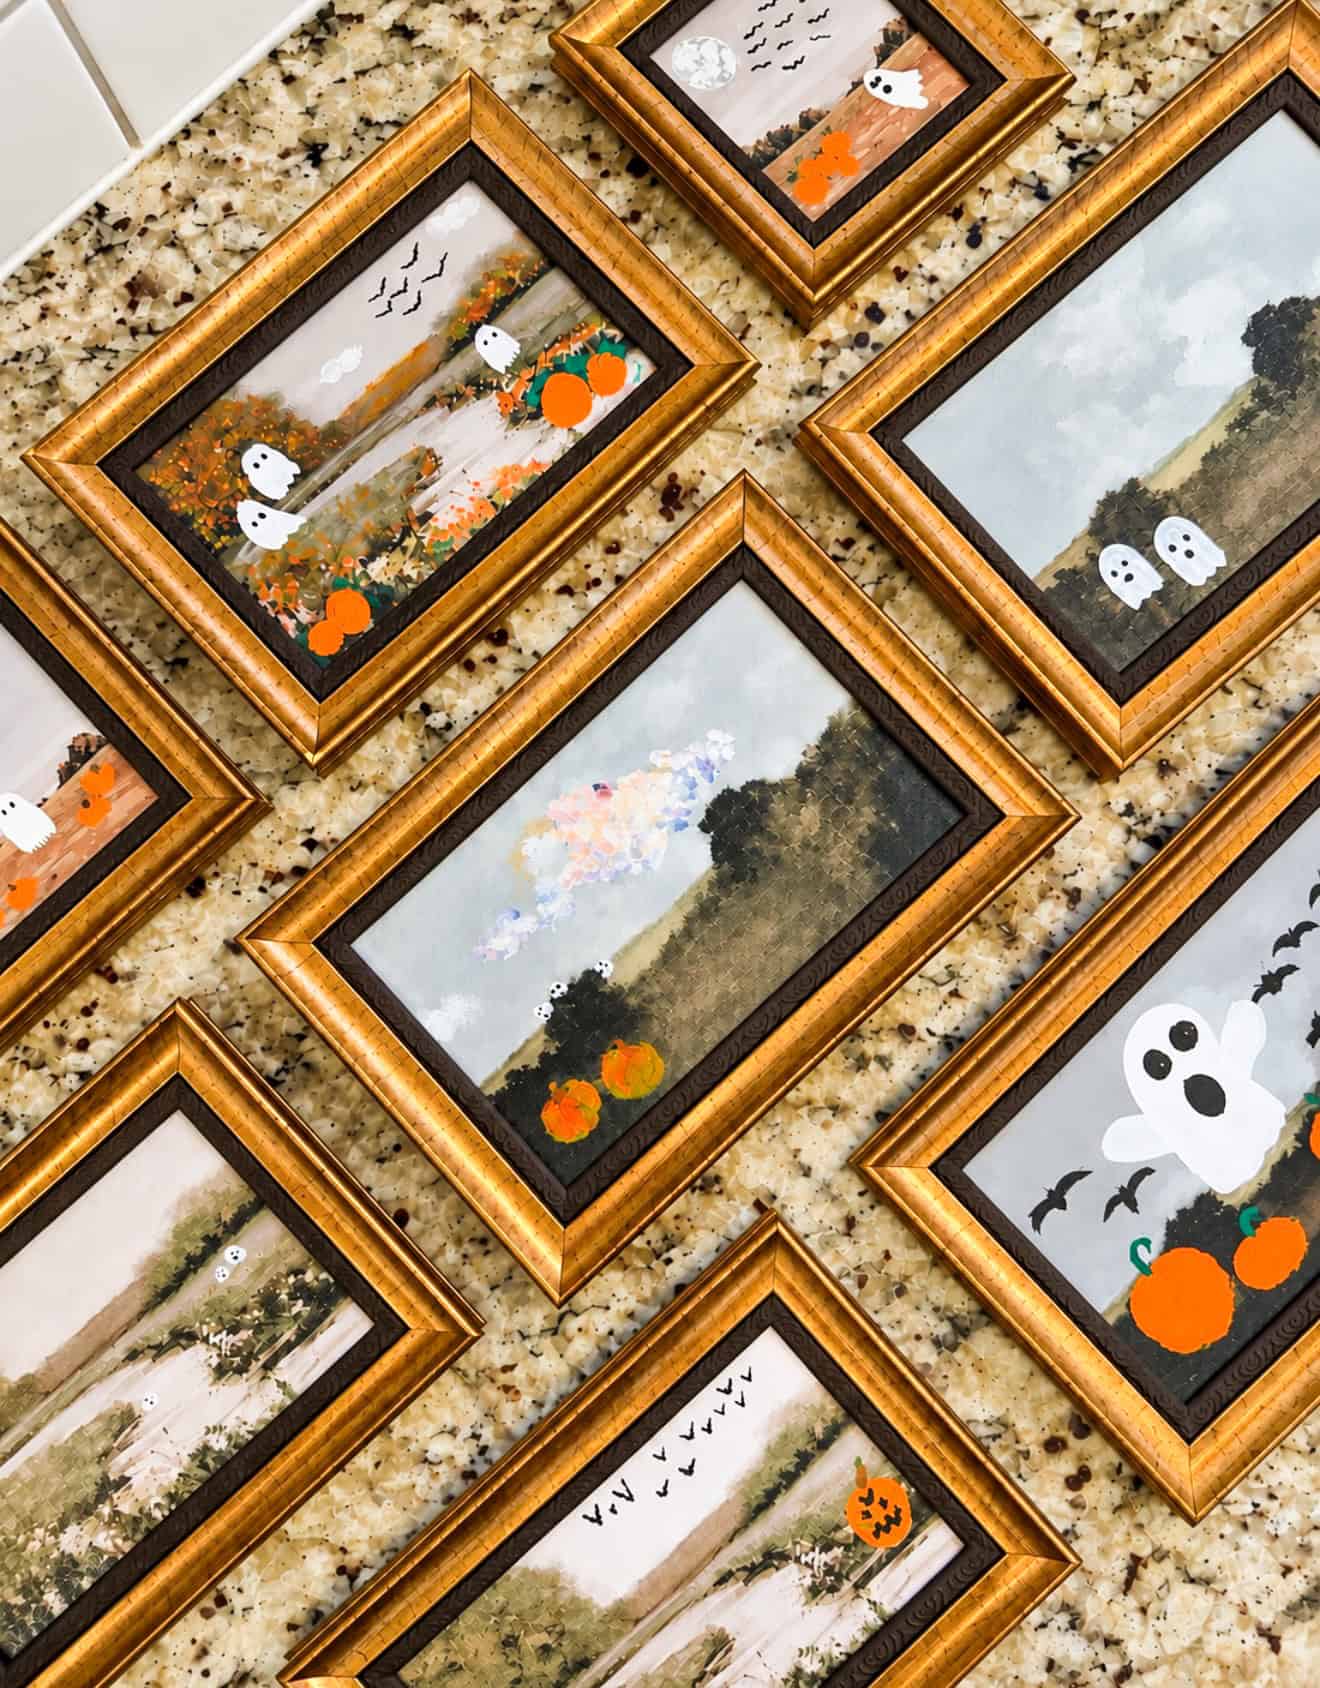
My daughter recently hosted a "Painting and Pasta" birthday party. It was so much fun! Each guest went home with a DIY Halloween landscape painting. The teens had a great time getting creative, I even saw one painting with Spiderman and a T-Rex! After painting we served dinner (pasta, salad, dinner rolls and cake). This party couldn't have been easier to plan.
The best part is that the original painting provides the background, so you don't have to create an entire scene from scratch---perfect for any skill level.
Why You'll Love This Halloween Painting Idea
- Easy for beginners. The landscape is already painted, so you only need to add simple Halloween details like ghosts, pumpkins, and bats.
- Inexpensive Halloween decor. I found framed landscape paintings at Walmart for a great price. You can also look for inexpensive artwork at thrift stores, yard sales, and discount retailers.
- Every painting is unique. Start with similar landscapes and create completely different designs by changing the placement, colors, and number of Halloween details.
- Perfect for a painting party. Invite friends over for a creative evening, put out the paint, and let everyone make their own Halloween artwork.
Jump to:
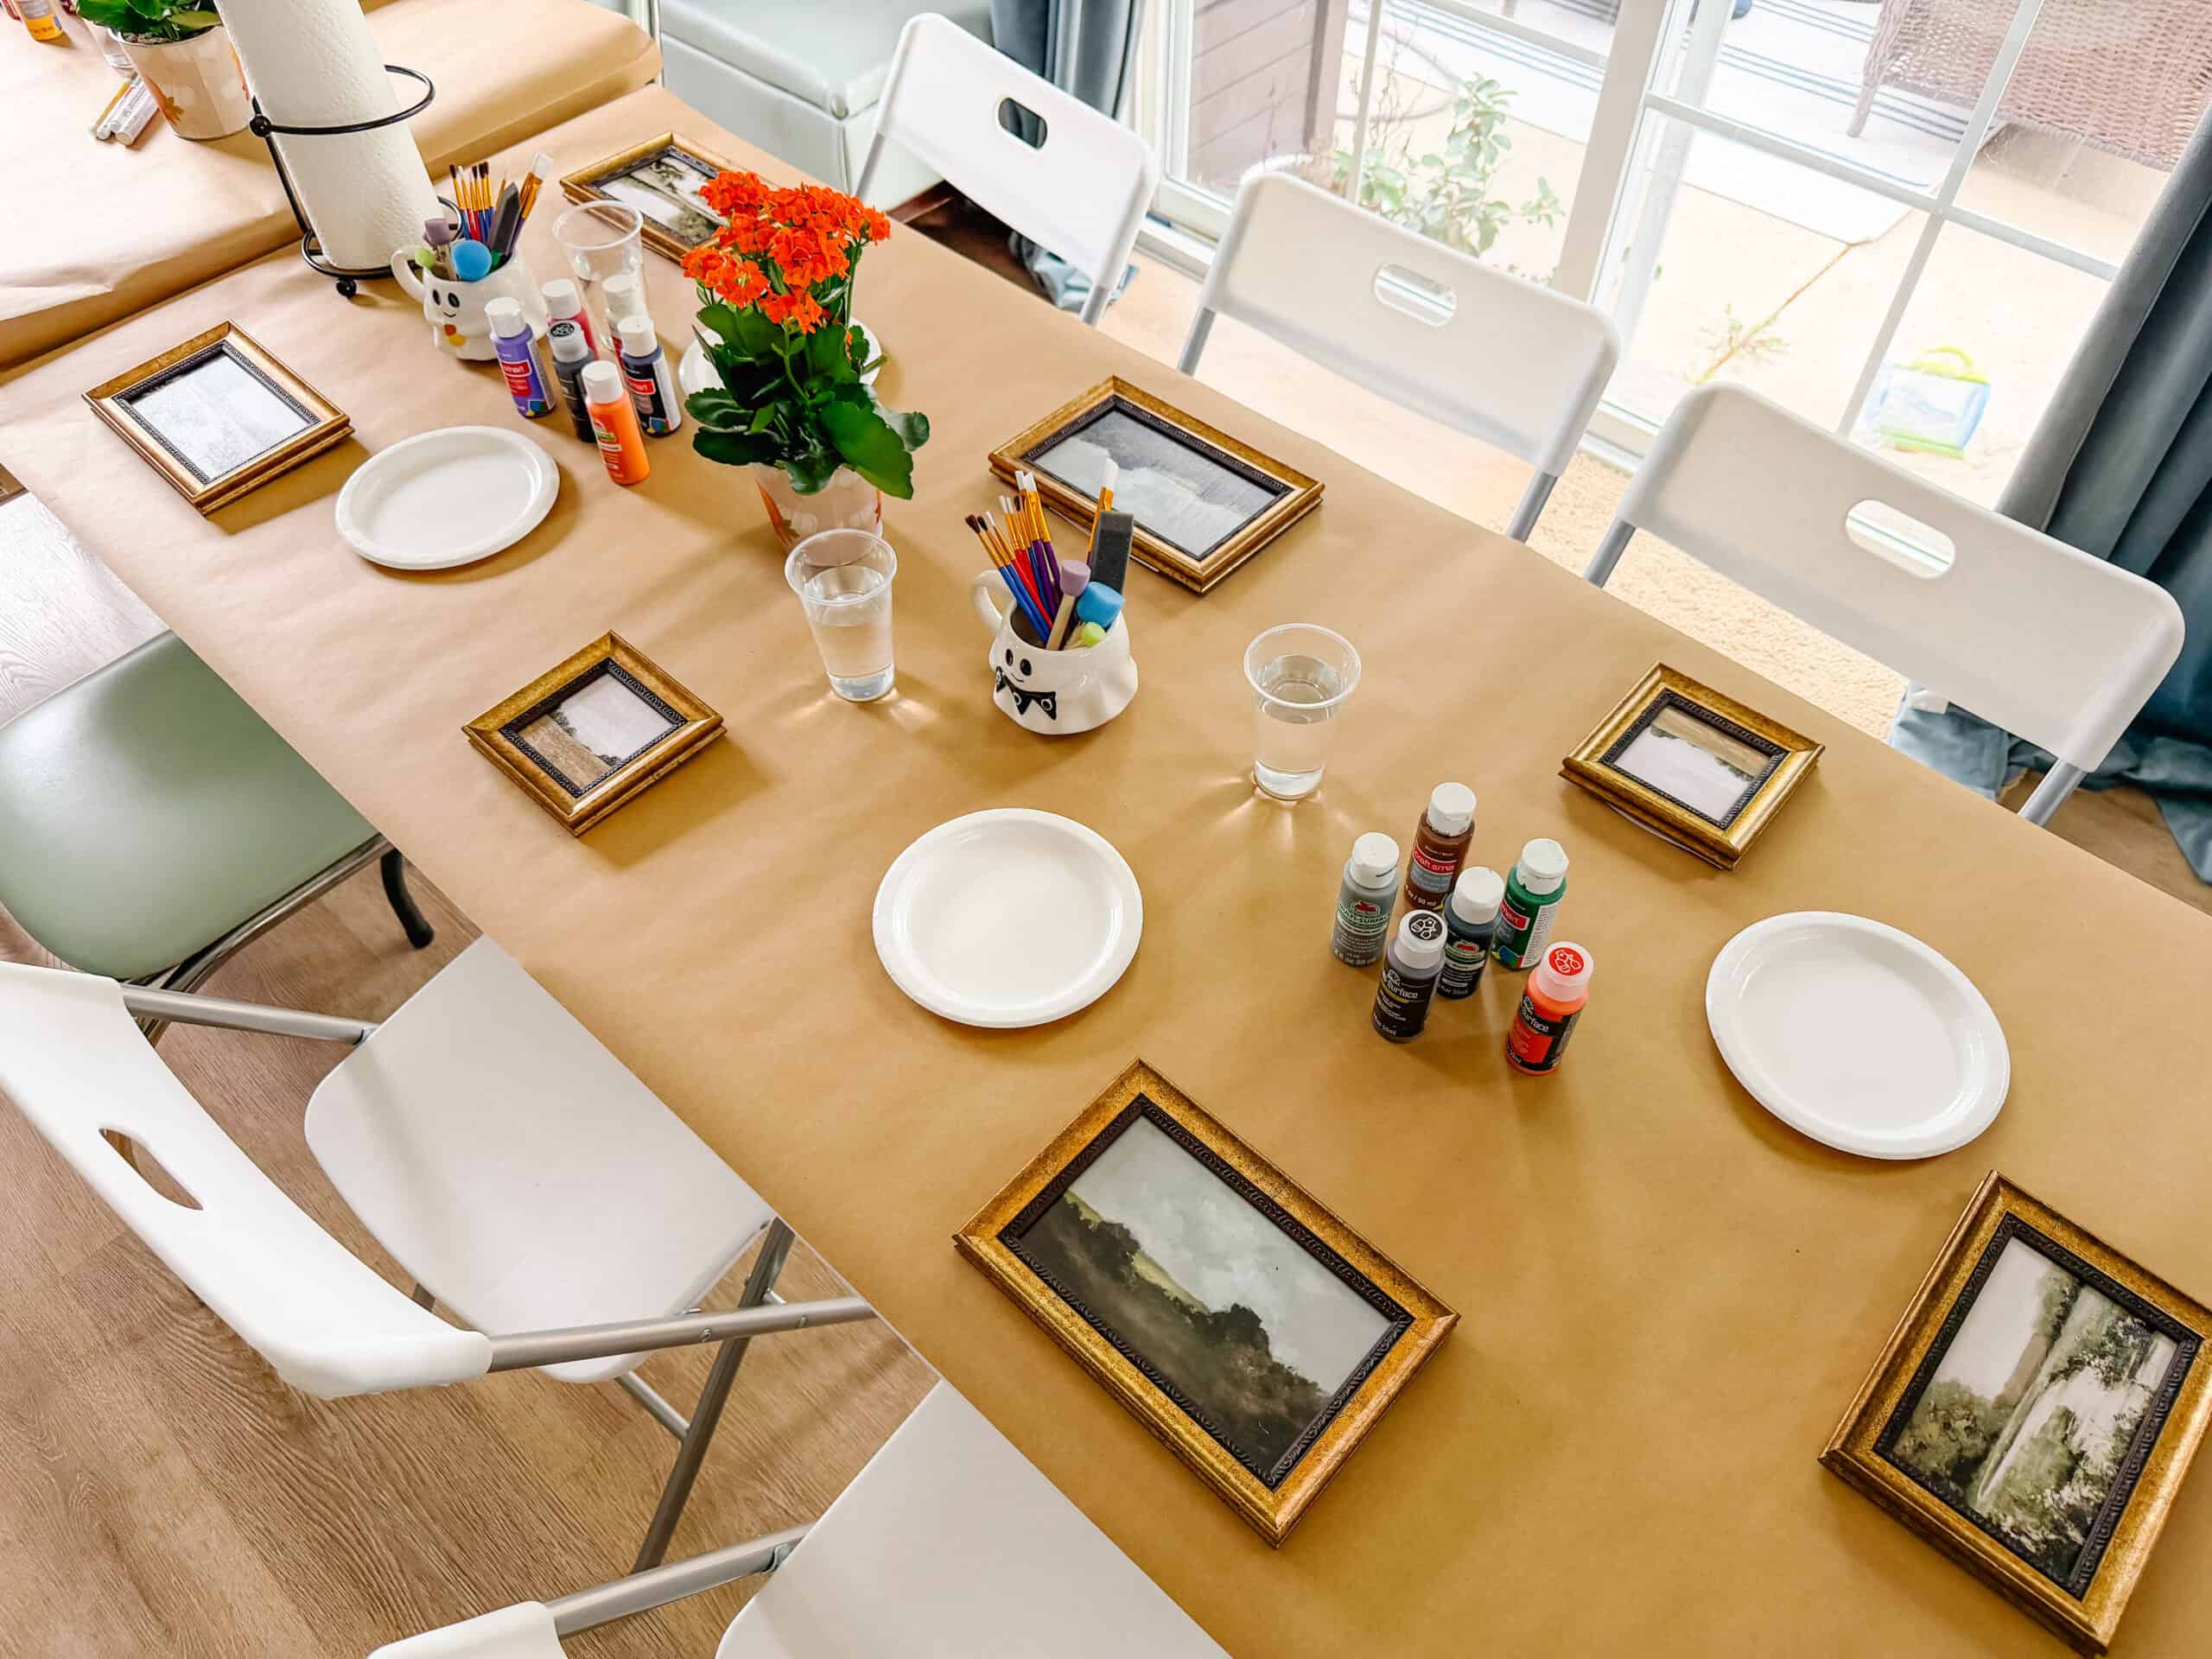
Tips and Tricks
- Choose a landscape with open space. Paintings with skies, fields, lakes, and trees provide plenty of places to add Halloween details. Look for a scene that gives you room to paint without needing to cover the entire original picture.
- Look for inexpensive framed paintings. Thrift stores, yard sales, and discount stores are also great places to find landscape artwork to transform. I purchased mine at Walmart, they come in sets of 3 for a great price.
- Remove the glass if necessary. Our paintings didn't have glass covering the artwork, so we painted directly on the surface. If your framed painting has glass over it, carefully remove the glass before painting so you can apply the acrylic craft paint directly to the artwork underneath.
- Start with simple shapes. Ghosts, pumpkins, and bats are easy to paint, even if you don't have much artistic experience. A few small details can completely change the look of a landscape.
- Use small brushes for details. Larger brushes are useful for broader areas of color, while small detail brushes make it easier to add ghost faces, pumpkin stems, and tiny bats.
- Let the paint dry. Allow the finished artwork to dry completely before handling or displaying it. Follow the paint manufacturer's instructions for drying and curing.
Supplies
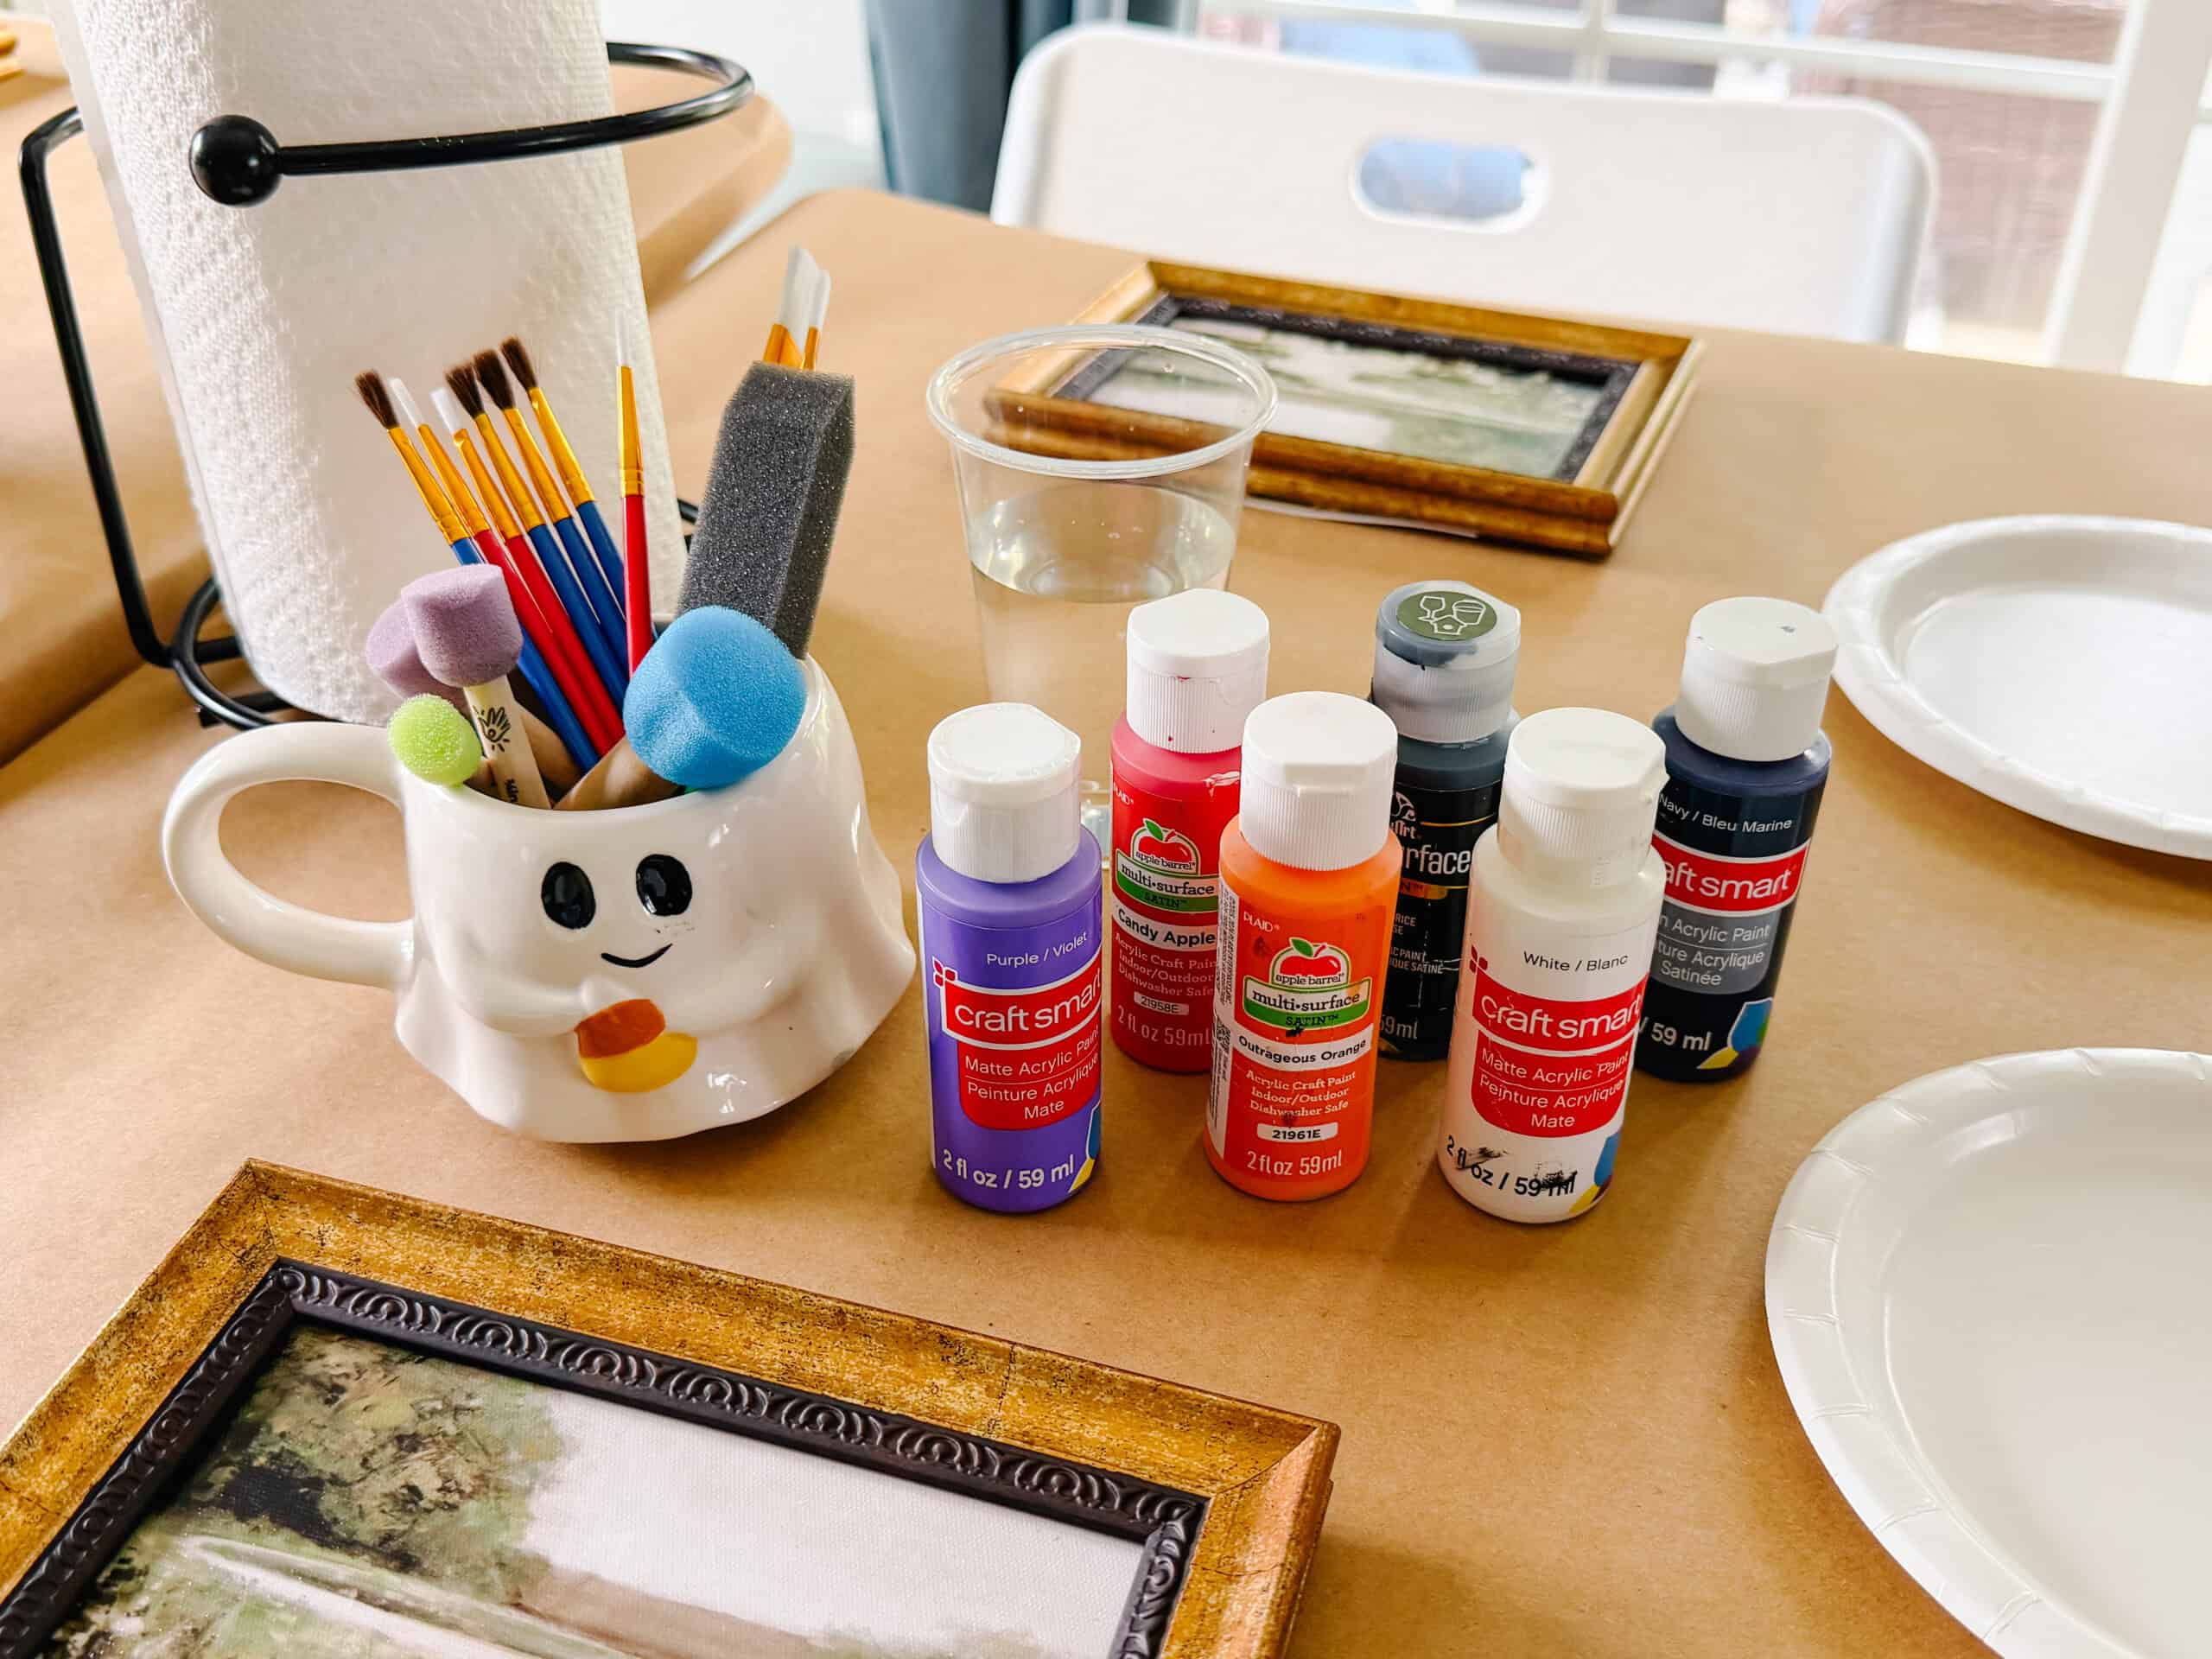
You only need a few basic supplies to make your own Halloween landscape painting.
- Framed landscape paintings: I love this set from Walmart.
- Acrylic craft paint in white, black, orange, green, and other colors
- Small paintbrushes in assorted sizes
- Sponge brushes: great for adding texture or blotting paint.
- Paper plates or paint palettes
- Cups of water for rinsing brushes
- Paper towels
- Acrylic paint markers: for fine details.
- Kraft paper or a disposable table covering
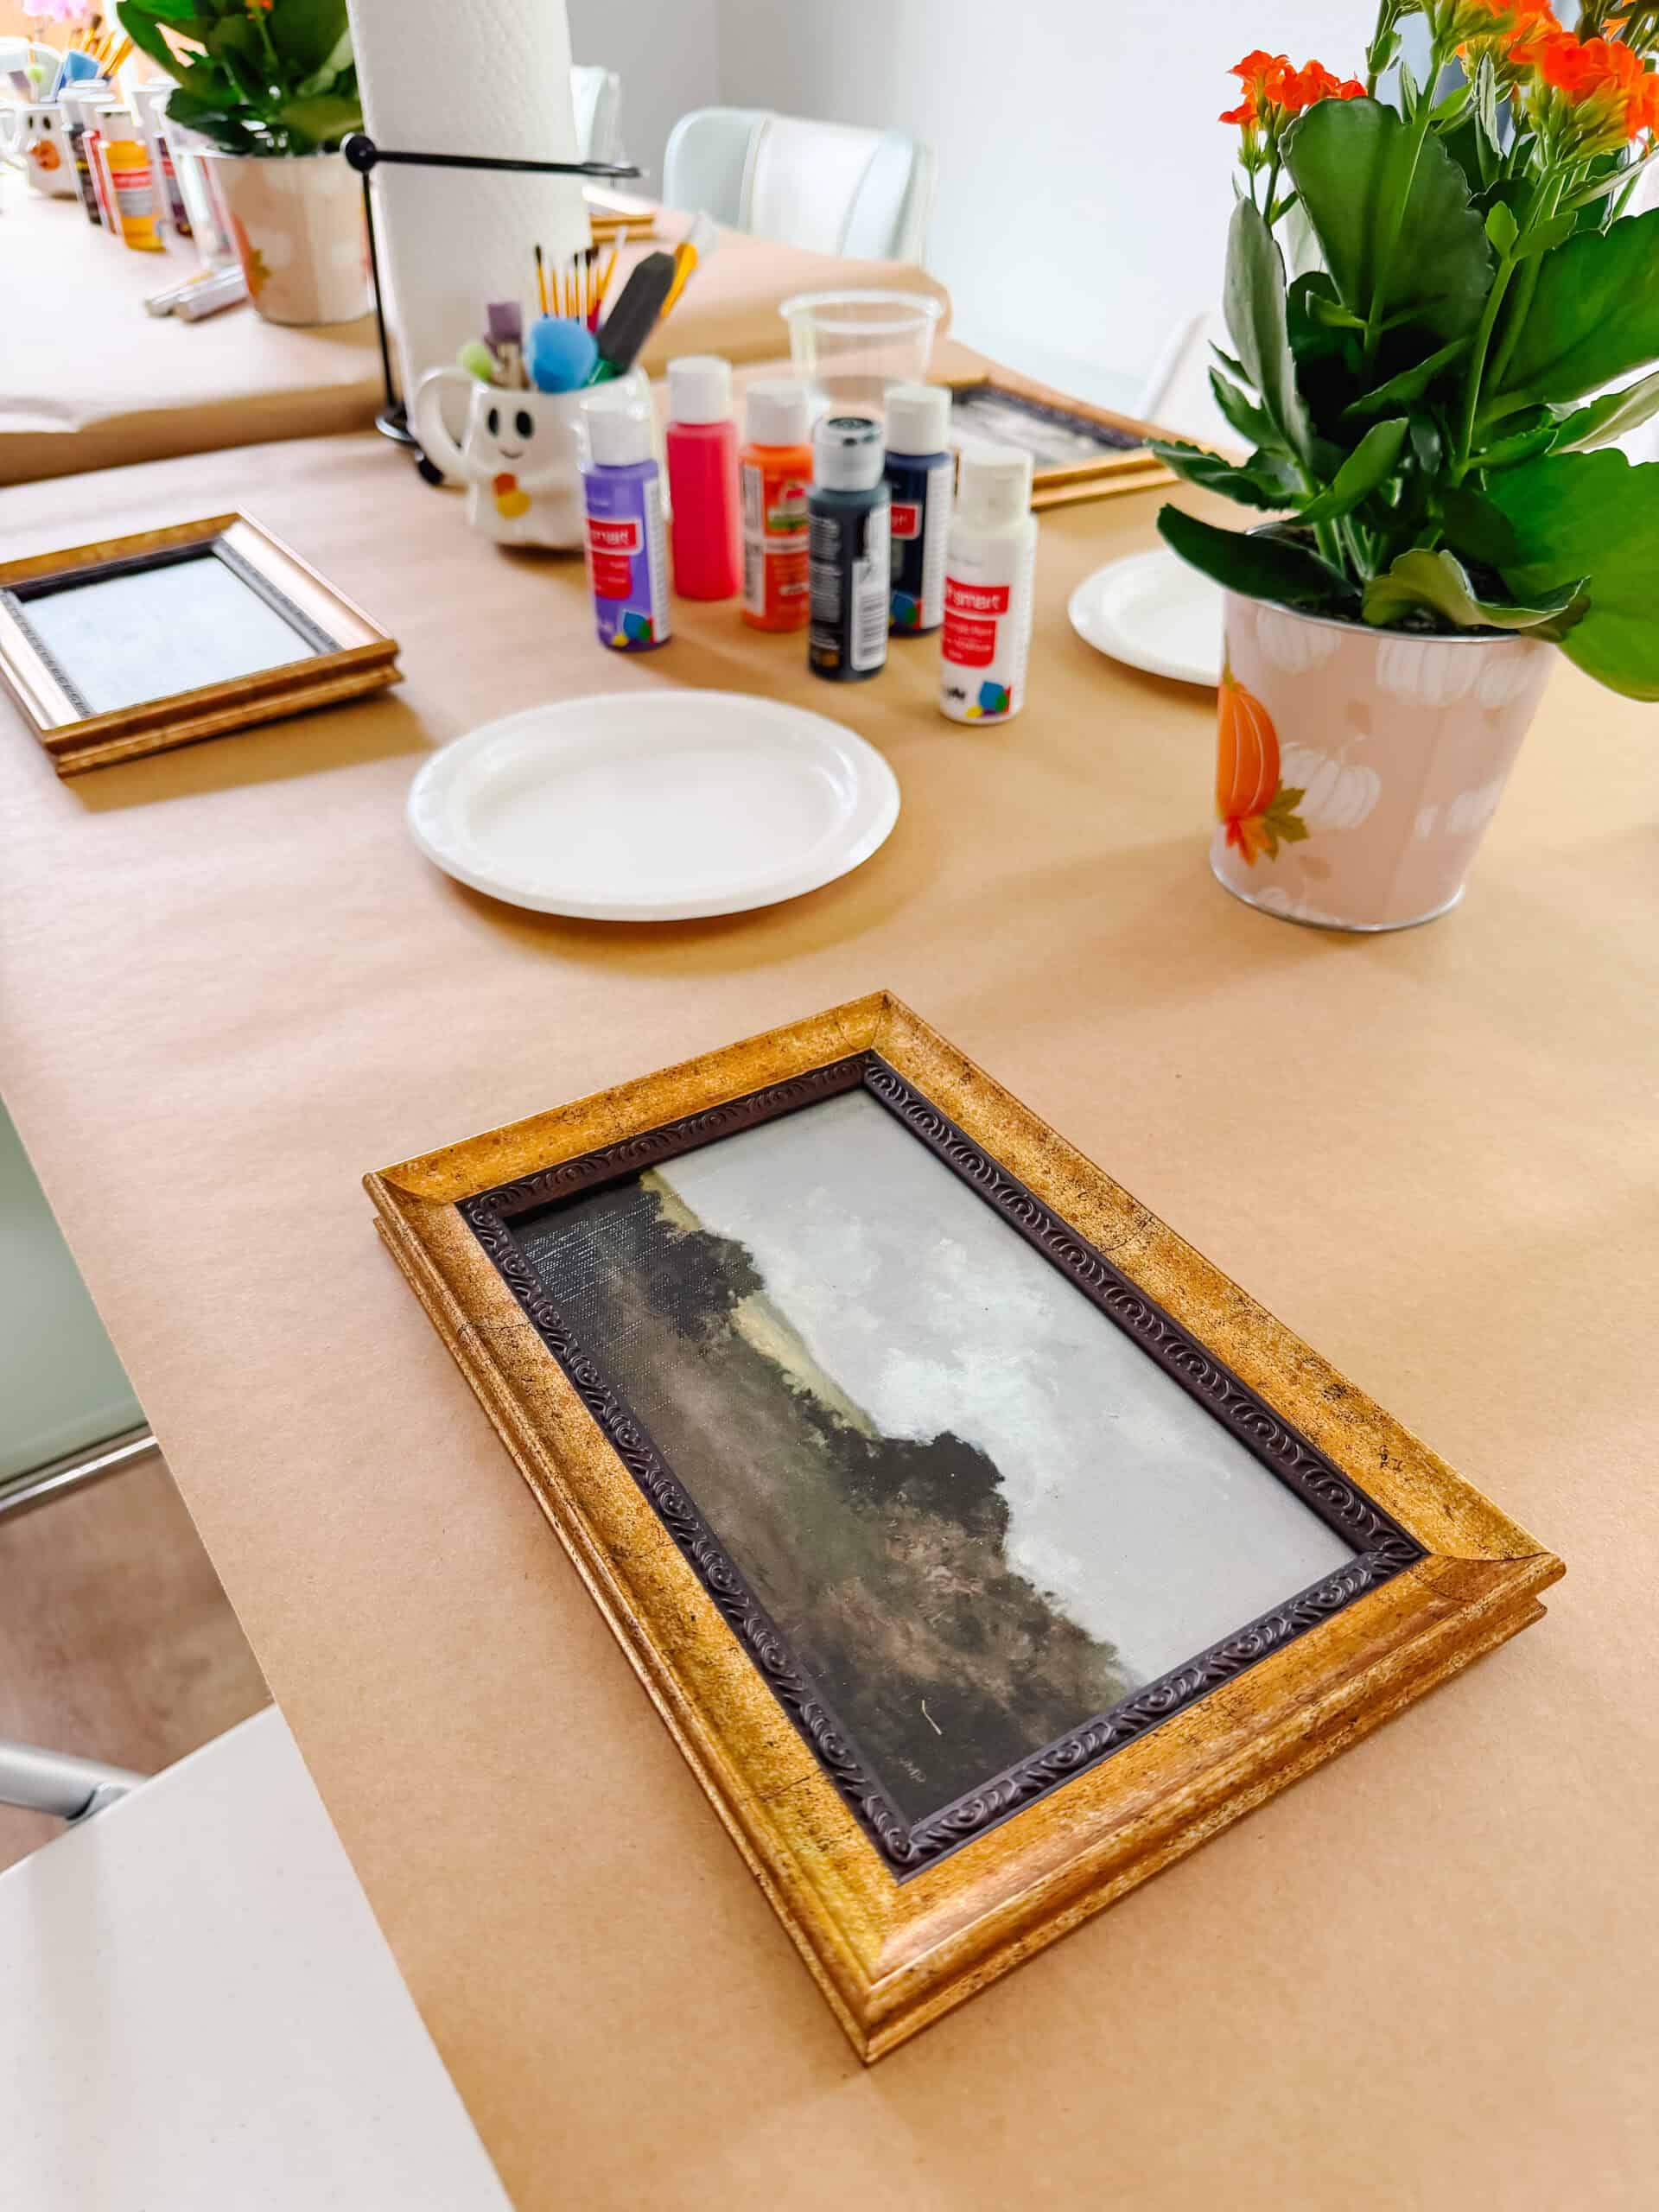
How to Make a DIY Halloween Landscape Painting
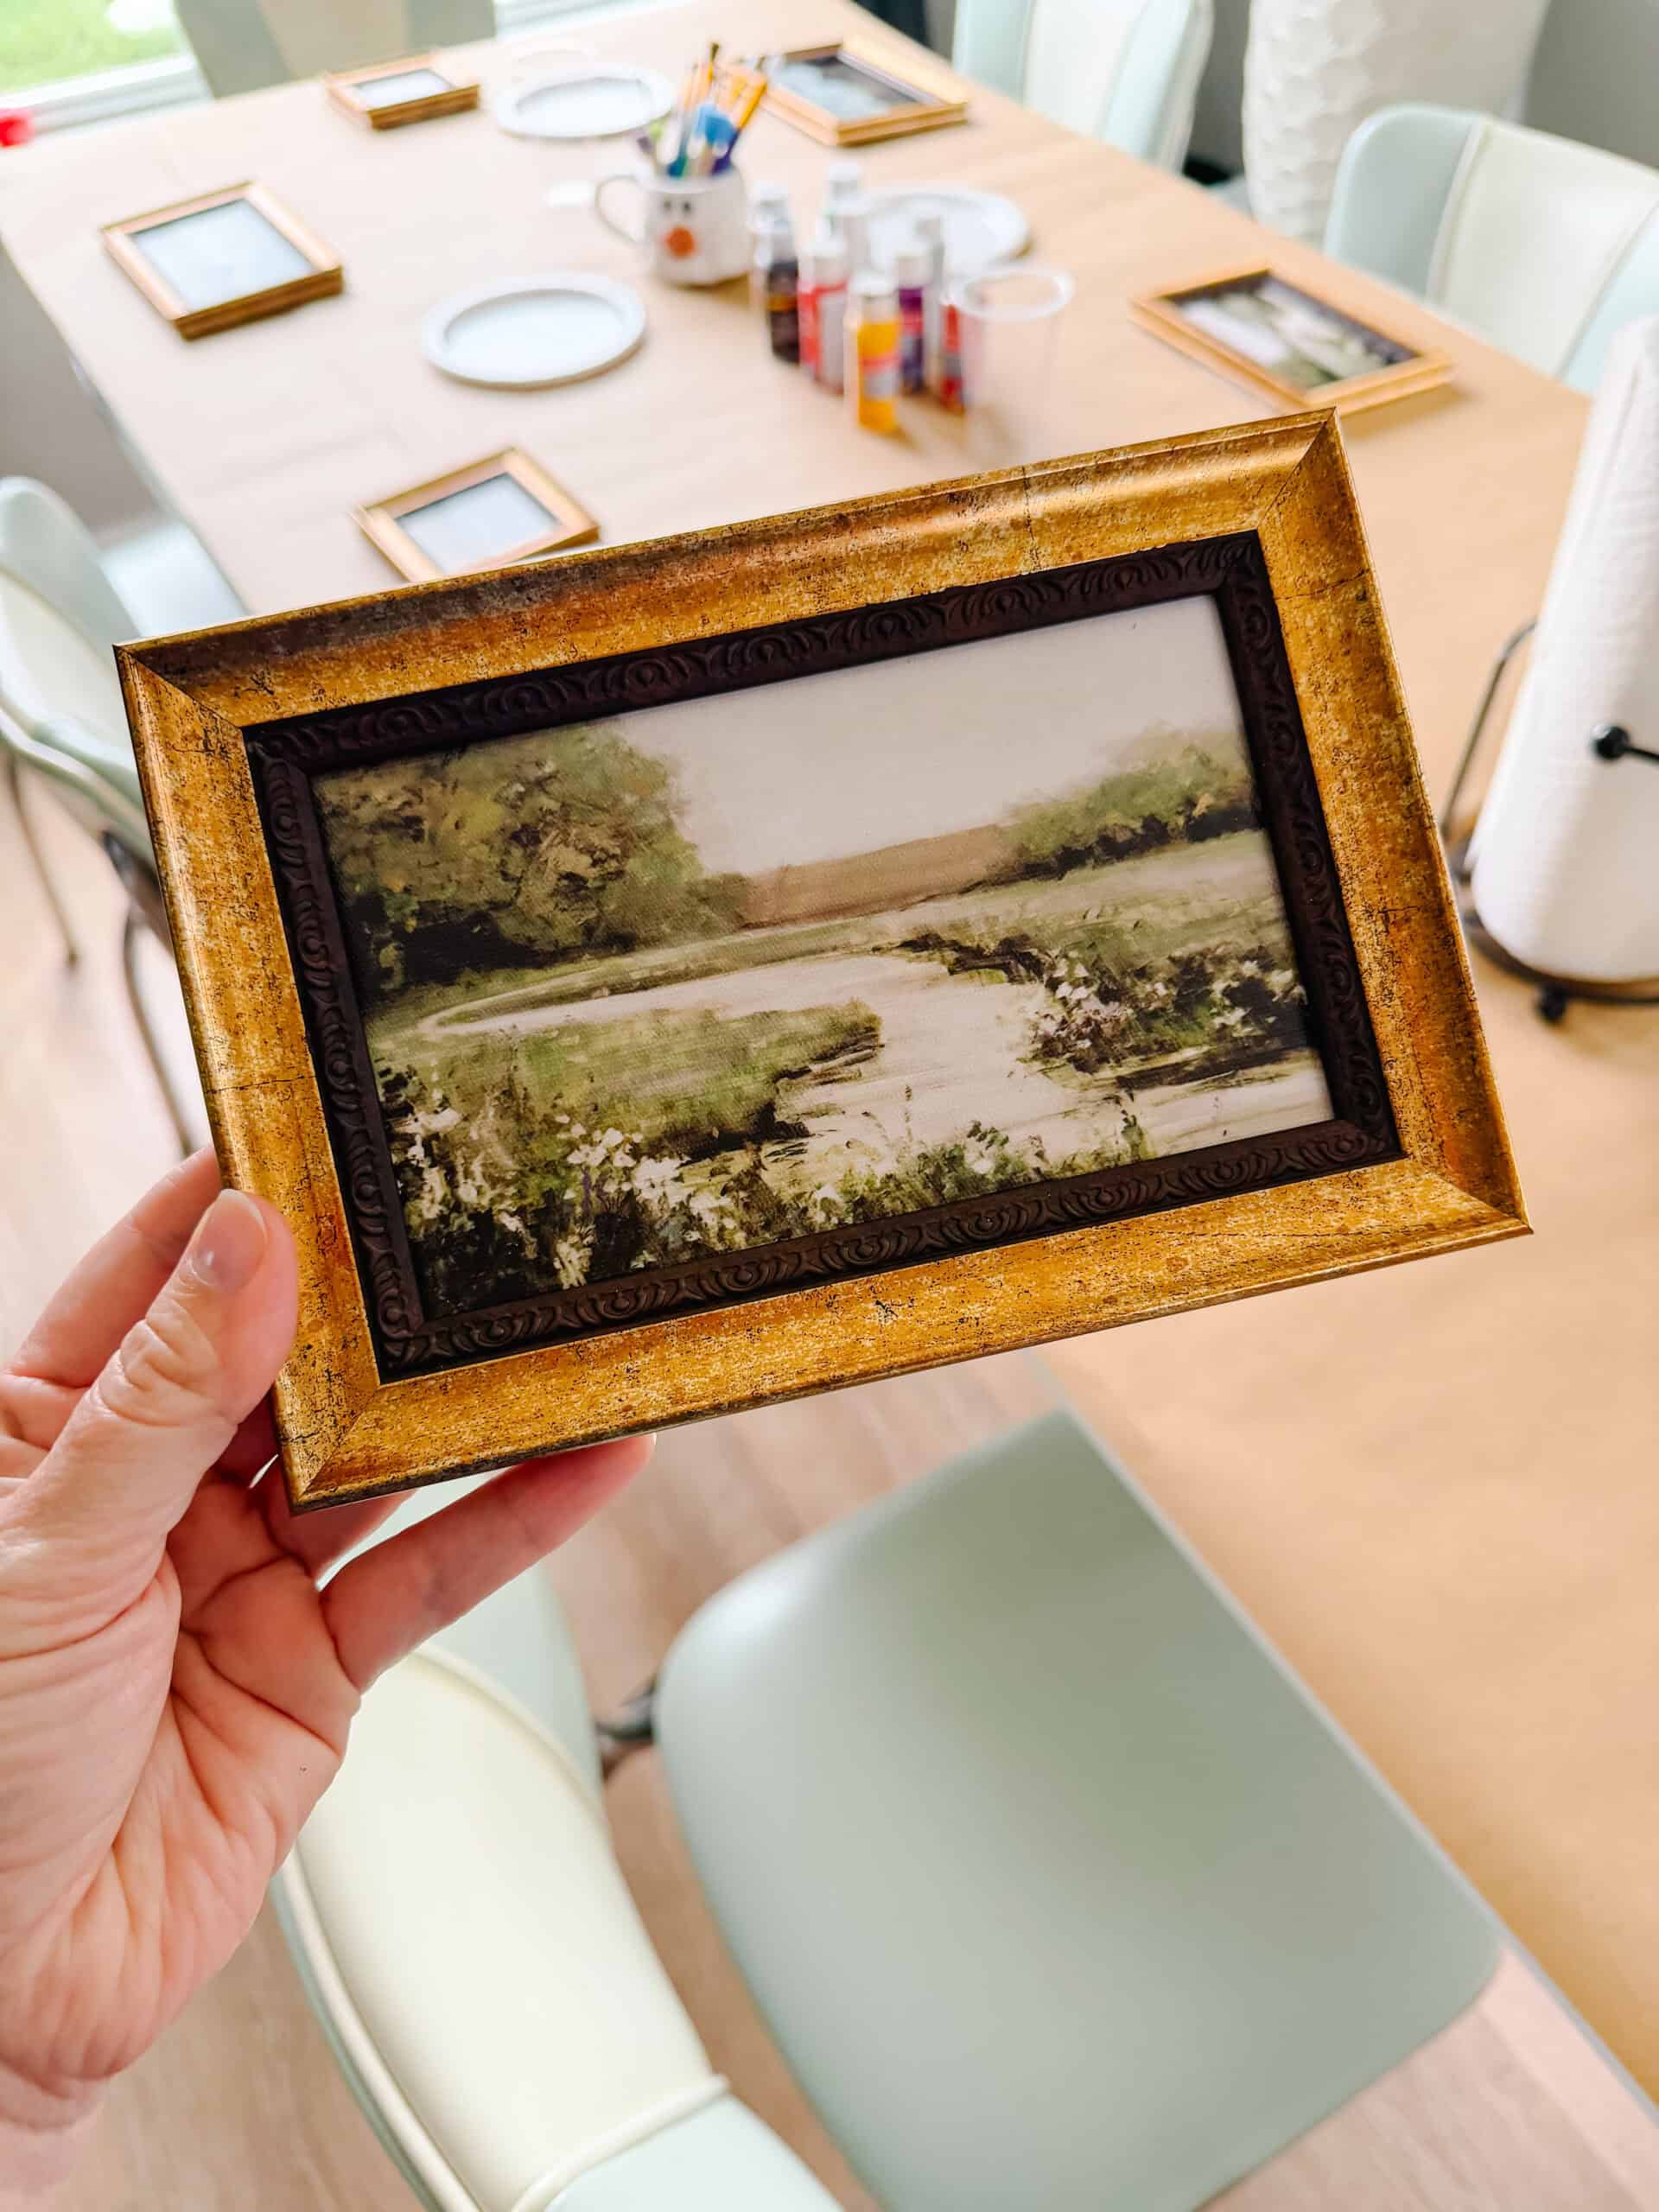
Step 1: Choose Your Landscape Painting.
Start with an inexpensive framed landscape painting.
If the painting is covered with glass, carefully remove the glass before starting. You want to paint directly on the artwork rather than on the glass.
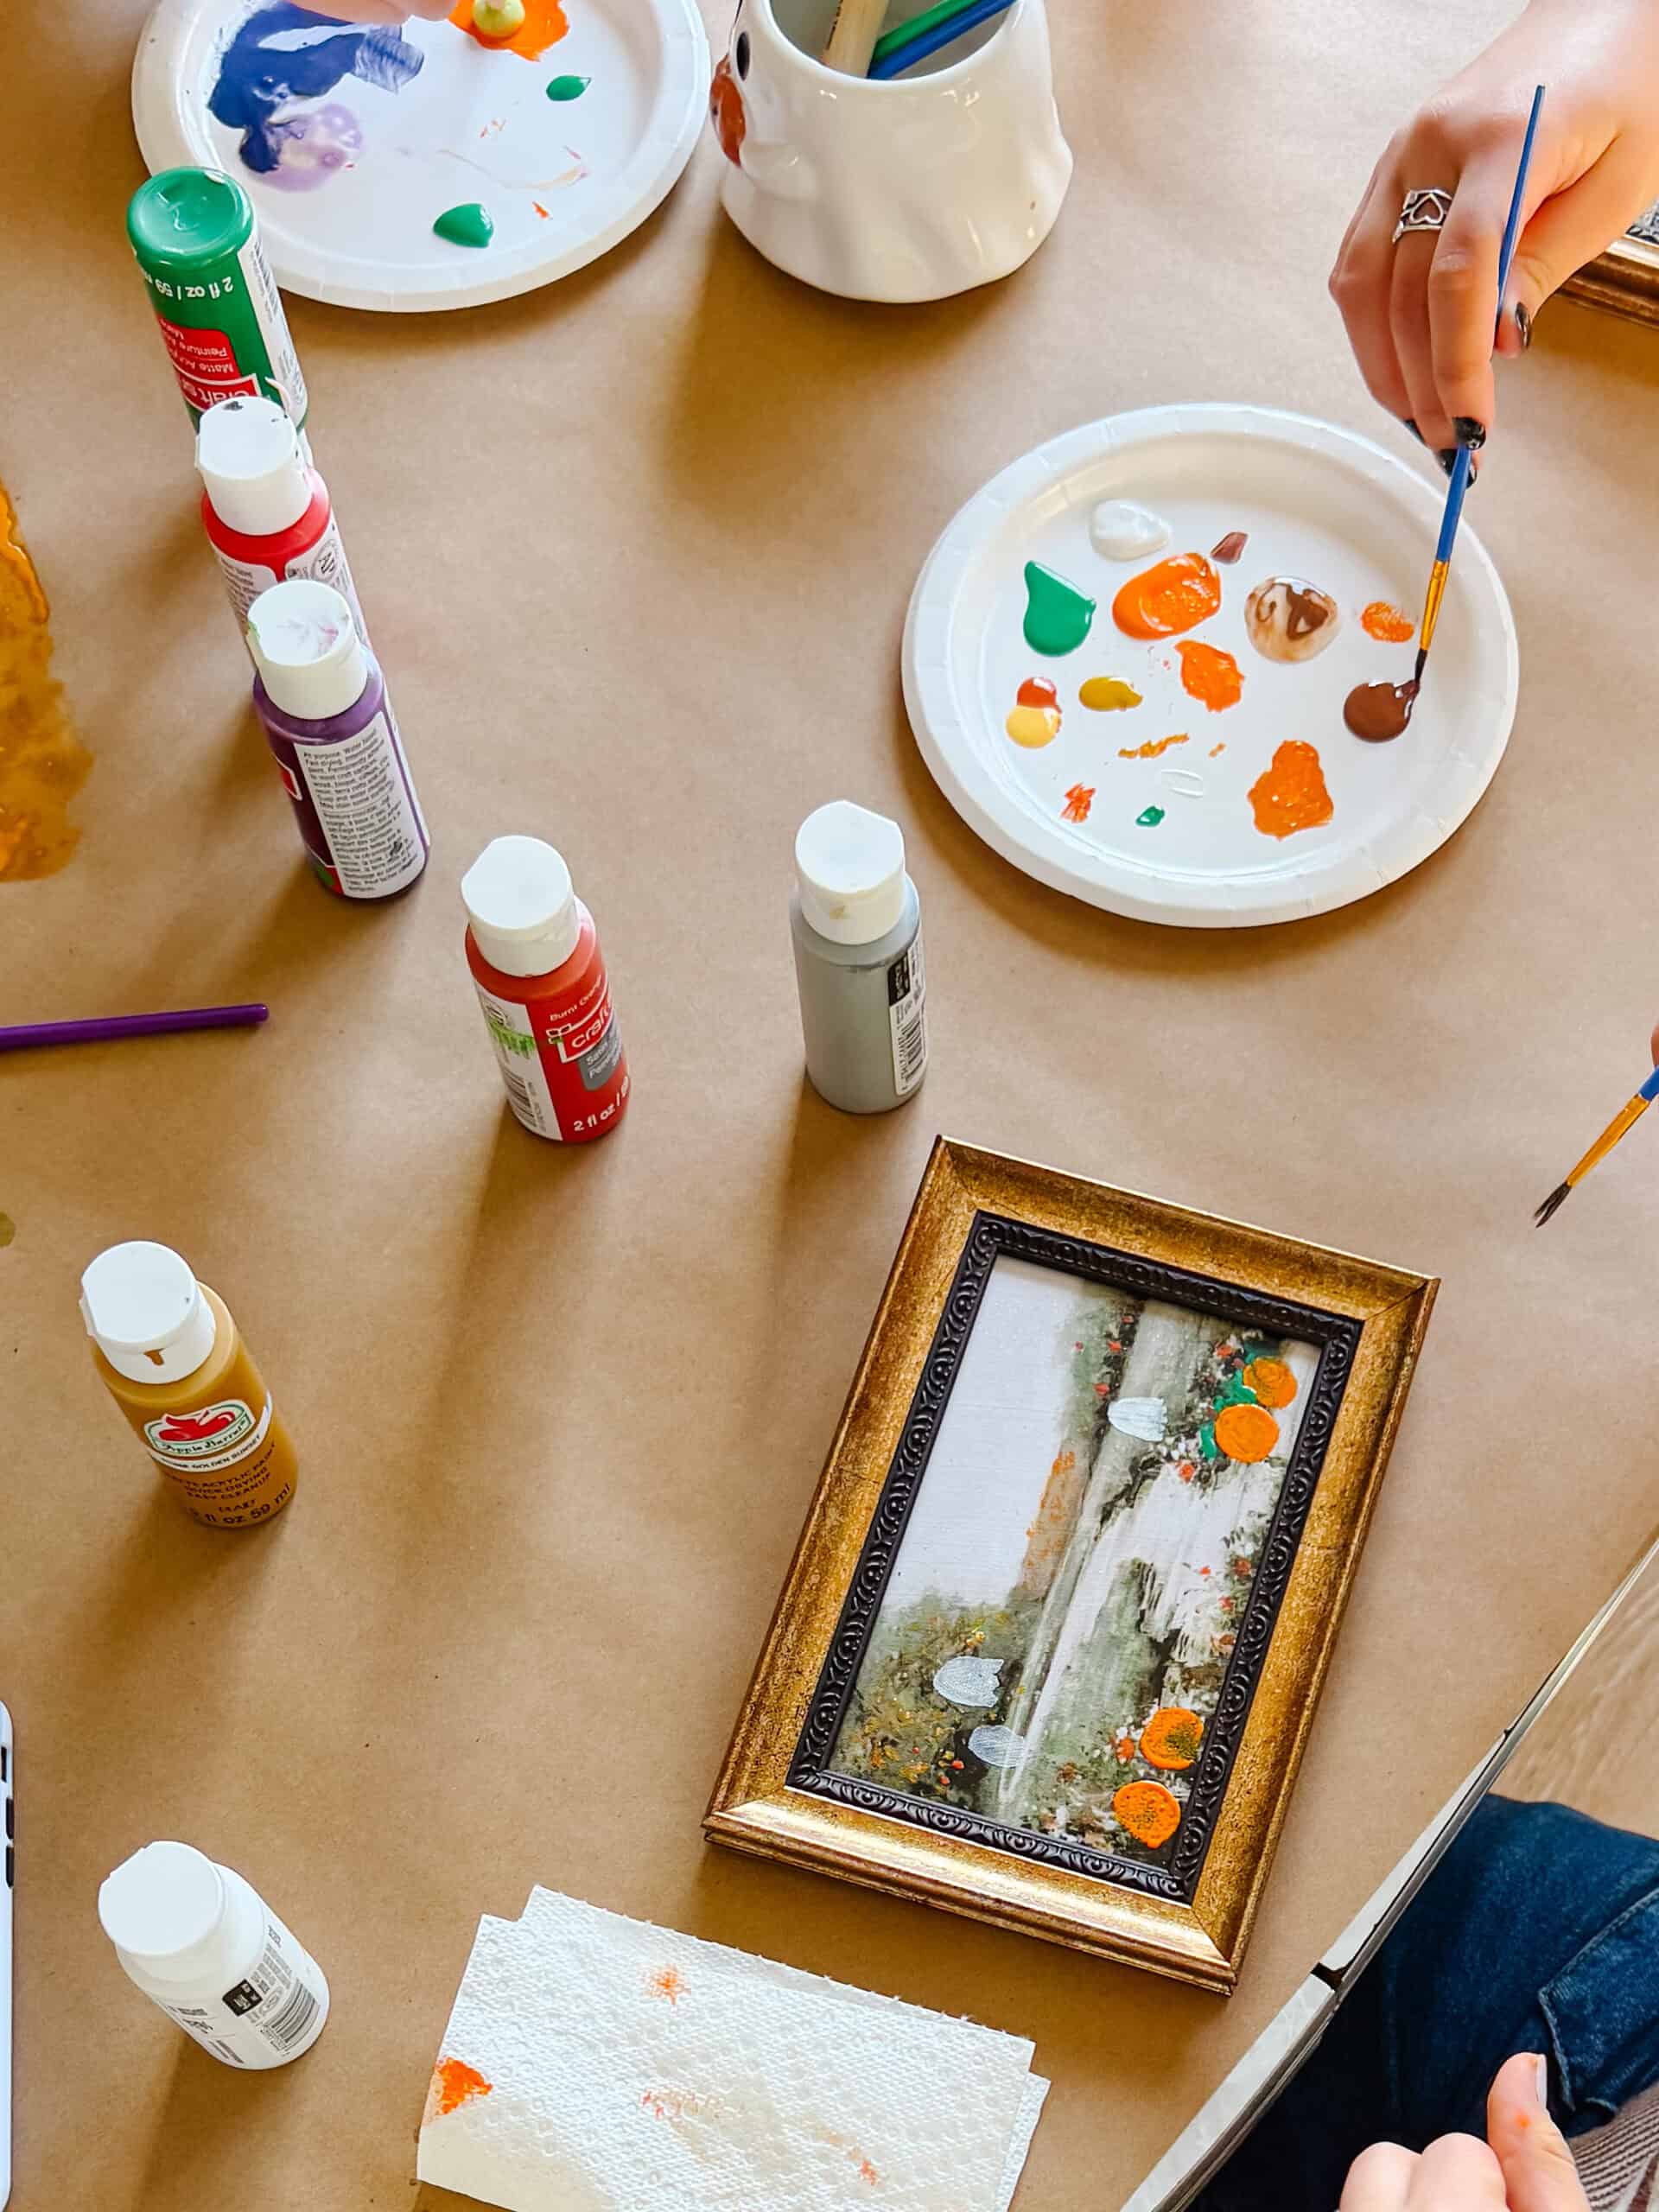
Step 2: Plan Your Halloween Design and Paint.
Look at the original scene and decide where you want to add your Halloween details.
You don't need to plan every detail before you start. Let the original painting inspire your design, and add elements as you go.
Step 6: Let the Painting Dry. Set the finished painting aside until the paint has dried completely. Follow the paint manufacturer's instructions for drying and curing before handling the artwork.
Once dry, display your Halloween landscape painting on a shelf, mantel, or wall. Each painting becomes a unique piece of Halloween decor that you can bring out year after year.
Halloween Landscape Painting Ideas
There are so many ways to customize this project. Use the original landscape as inspiration and choose a design that suits your style.
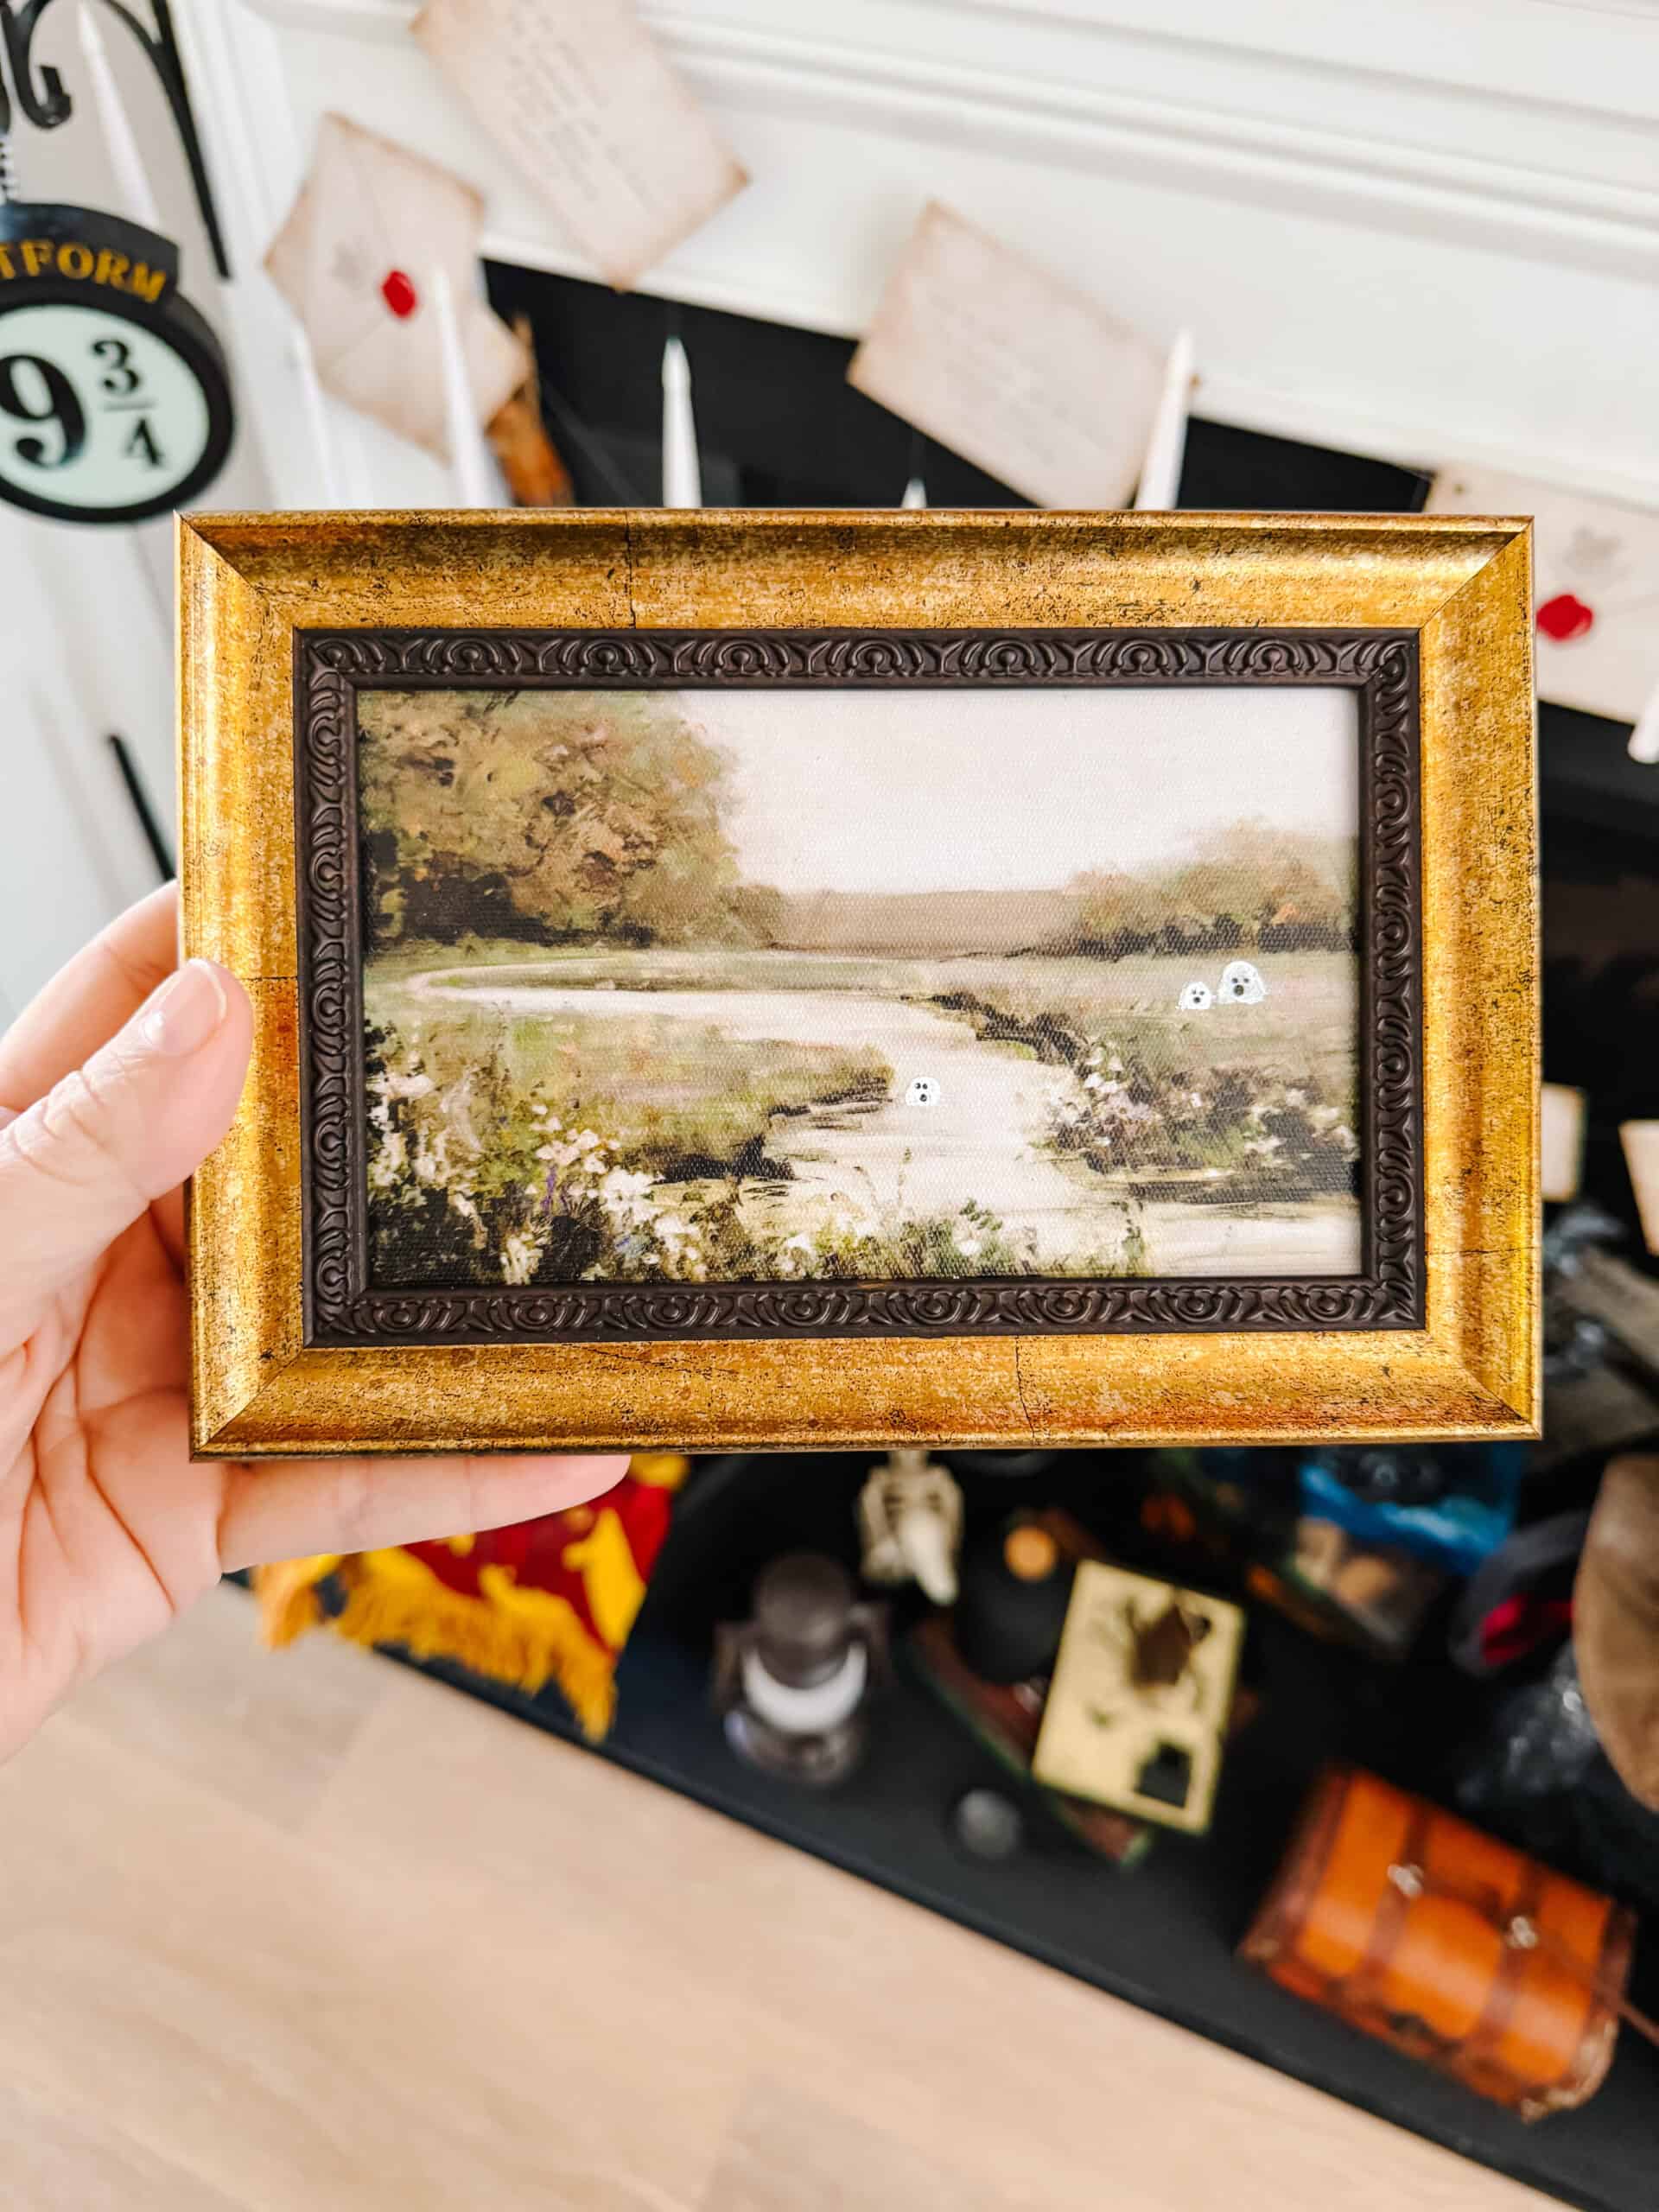
- Ghost landscape painting: Add several white ghosts with little black faces while leaving most of the original scenery visible.
- Pumpkin patch painting: Paint orange pumpkins along the bottom of the landscape, with green stems and vines.
- Spooky night landscape: Add a moon, black bats, and floating ghosts to create a Halloween night sky.
- Autumn Halloween painting: Bring out the fall colors with orange, yellow, and red accents, then add a few ghosts or jack-o'-lanterns.
- Haunted landscape painting: Add dark tree silhouettes, bats, and a moon for a spookier look. This works especially well with landscapes that already have a dramatic sky or wooded background.
You can make the design as simple or detailed as you like. The fun is seeing how a few painted additions can completely change an ordinary landscape.
Frequently Asked Questions
No! The original landscape provides the background, so you only need to add simple Halloween shapes. Ghosts, pumpkins, and bats are easy designs for beginners.
I found inexpensive framed landscape paintings at Walmart. Availability may vary, so thrift stores, yard sales, and discount retailers are good places to look for similar artwork.
Remove the glass before painting. Acrylic craft paint is best applied directly to a suitable artwork surface rather than ordinary glass. Carefully remove the glass from the frame before starting.
Acrylic craft paint is a convenient choice for adding Halloween details to a suitable painting surface. It comes in a variety of colors and works well for simple shapes like ghosts, pumpkins, and bats.
Absolutely! Some people may add just a few ghosts, while others might create a pumpkin patch or a spooky night scene. Even similar starting paintings can turn out completely different.
More Halloween Crafts To Make
MADE THIS CRAFT AND LOVED IT? 💛 Please leave a STAR rating and COMMENT below! Post it to Facebook or Pinterest to easily share with friends!
DIY Halloween Landscape Painting
Materials
- framed landscape painting
- acrylic craft paint and markers
- small paintbrushes in assorted sizes
- paper plate or paint palette
- cup of water
- paper towels
Instructions
- Prepare the painting: Choose an inexpensive framed landscape painting. If the artwork is covered with glass, carefully remove the glass before painting.
- Plan the design: Decide where to add ghosts, pumpkins, bats, or other Halloween details while allowing some of the original landscape to show through.
- Paint the ghosts: Use white acrylic paint to create rounded ghost shapes with wavy bottoms. Let the paint dry, then add black eyes and mouths with a small brush.
- Add pumpkins: Paint orange circles or ovals, add curved lines for pumpkin sections, and finish with small green or brown stems.
- Paint bats and other details: Use black paint to add bats, a moon, stars, or other spooky accents.
- Let the painting dry: Allow the paint to dry completely before handling or displaying the finished artwork.
Video
Notes
- Use inexpensive framed artwork from Walmart, thrift stores, yard sales, or discount stores.
- Drying time varies depending on the paint and how thickly it is applied.
- This is a fun project to make individually or as a Halloween painting party activity.


Leave a Reply