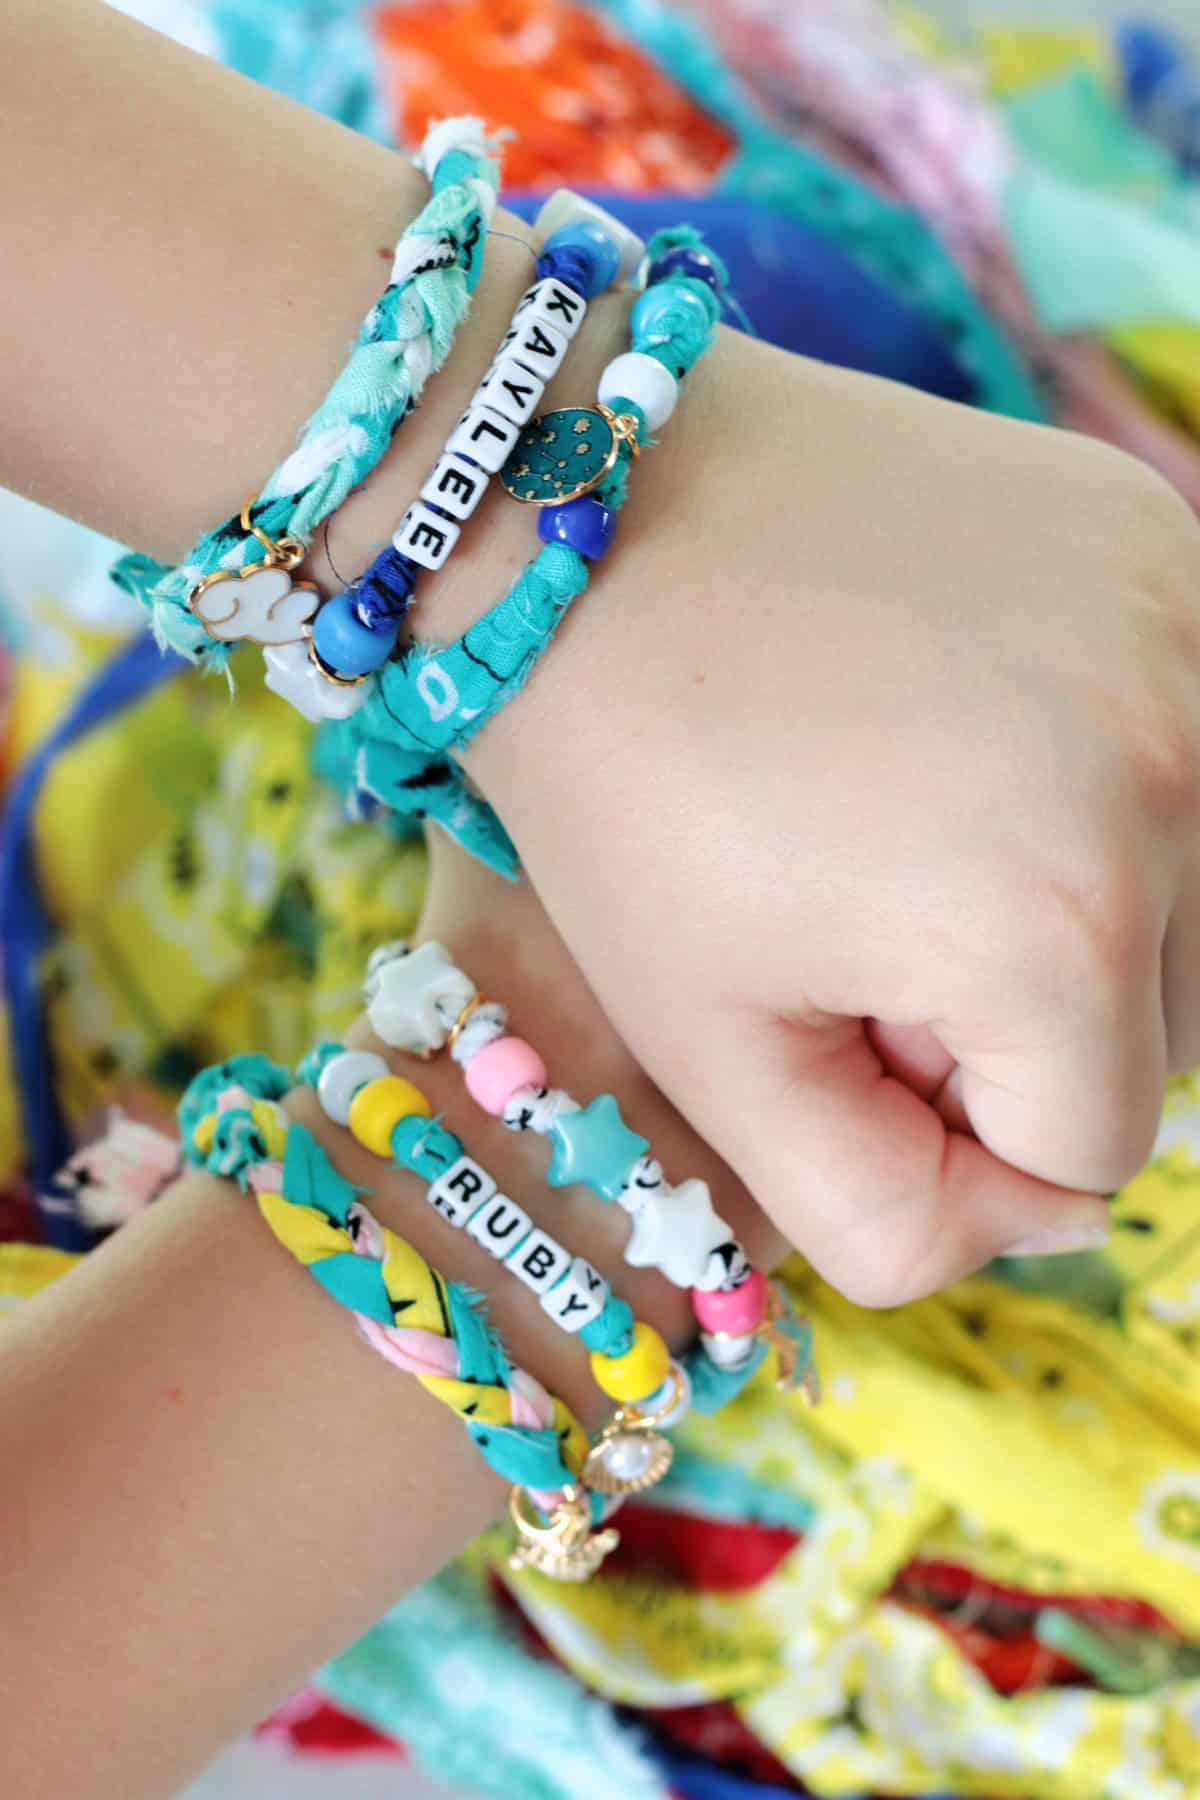
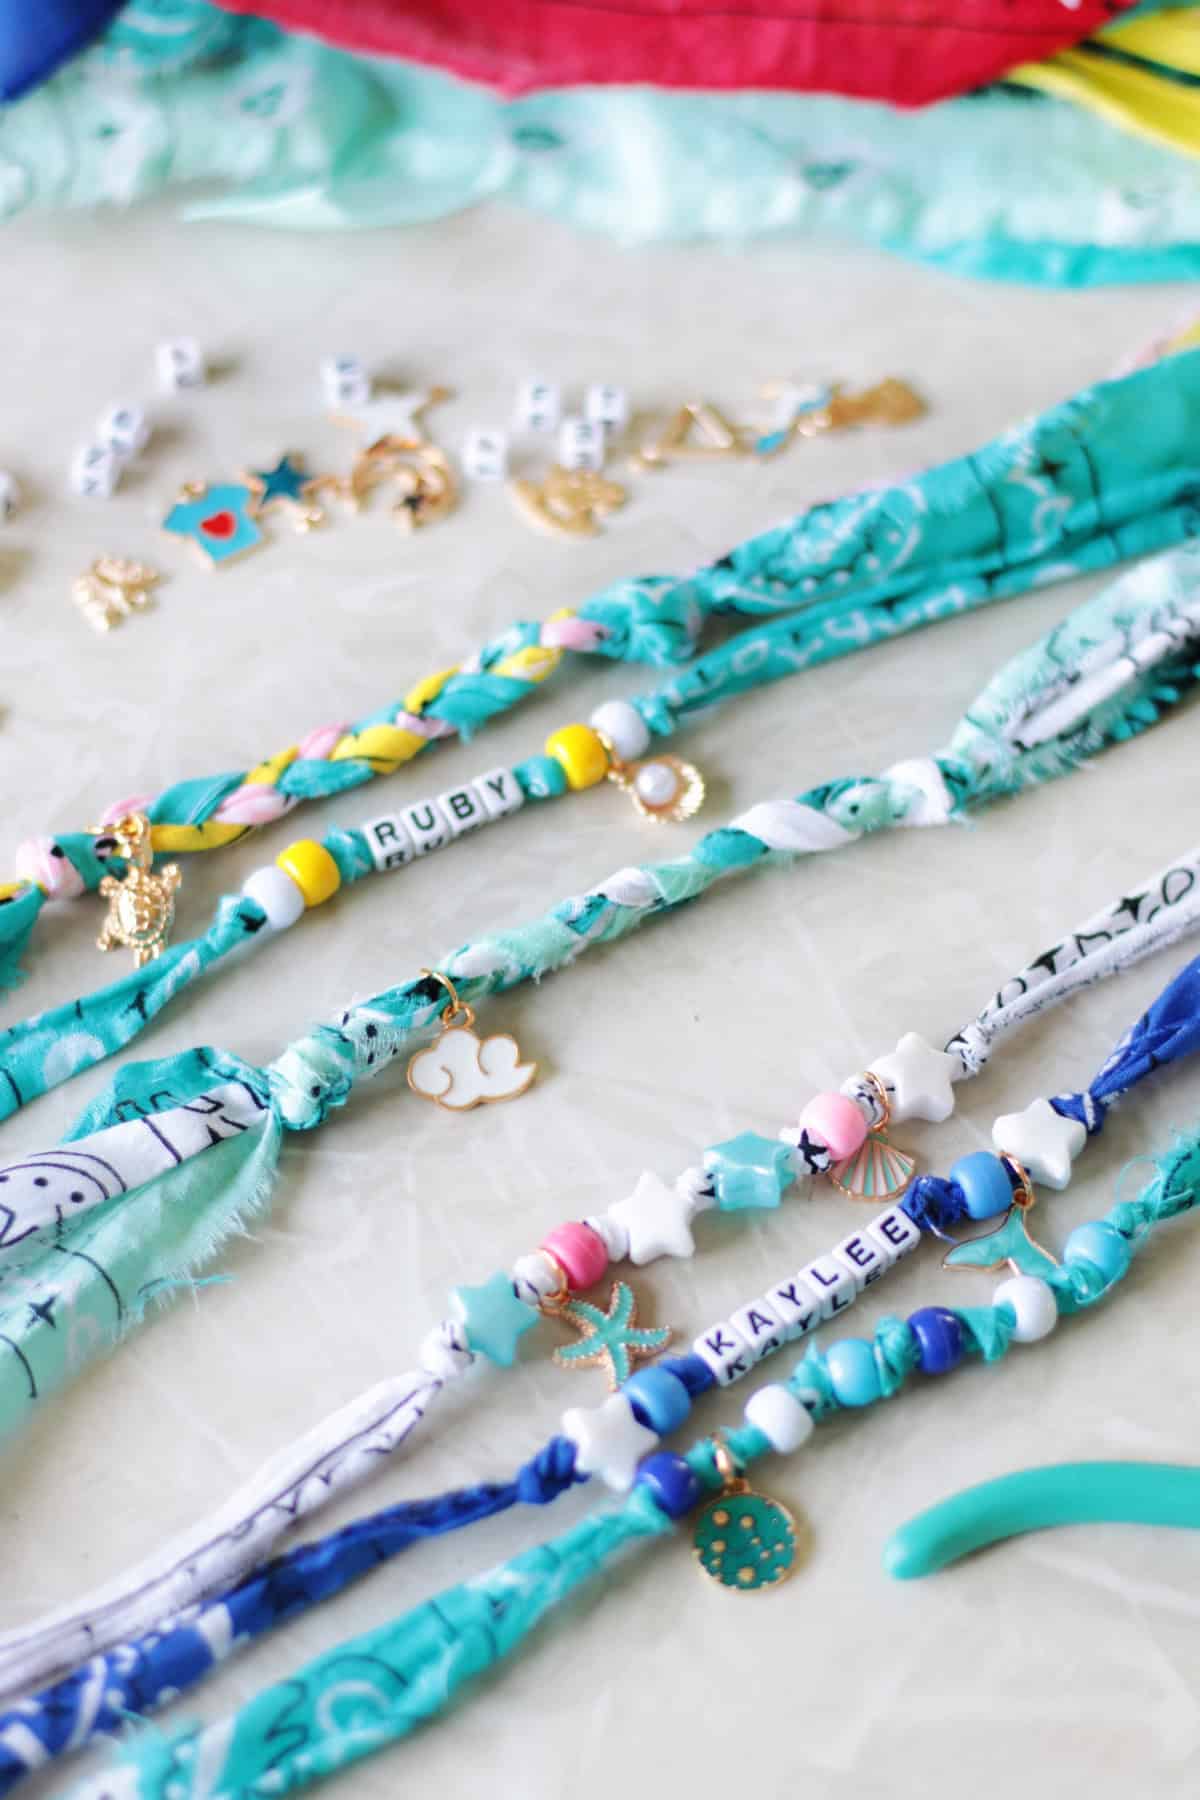
Darling bandana bracelets that come together in minutes! Add beads, charms, or anything you'd like, the perfect craft for teens!
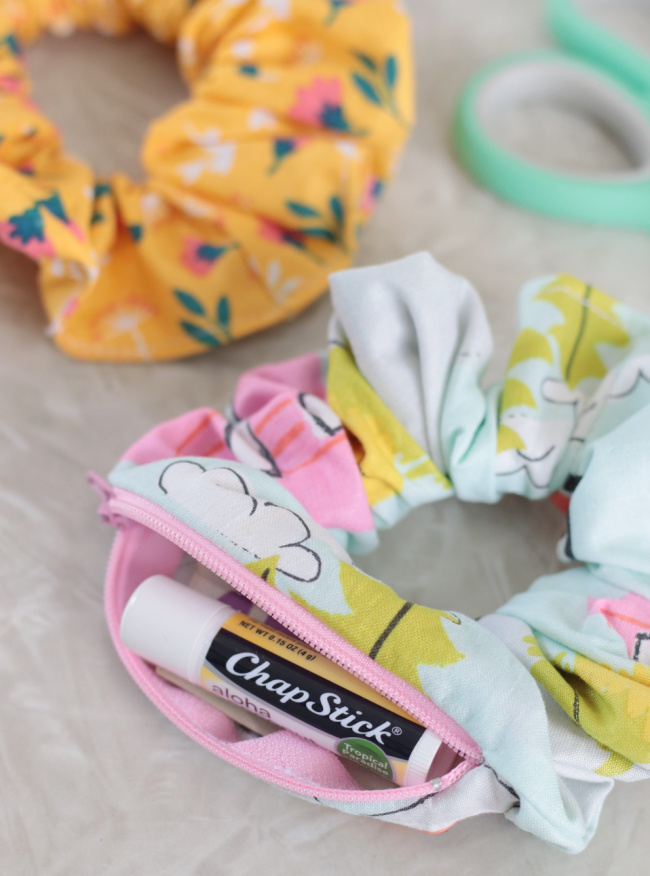
You might also like my bandana hair bows or bandana picnic quilt tutorial!
I've been the craft coordinator at our church summer camp for teen girls for the past 5 or so years, and it's one of my favorite things to do! You can find all of my YW Camp craft ideas on here, and I add new ones every year. This year, I stocked up on bandanas for the girls to make bandana hair bows and bandana bracelets. So fun and SO easy.
Why I Like This Craft
- Quick and easy – You can make a bracelet in just a few minutes, no jewelry making skills required.
- Budget-friendly: Make over a dozen bracelets from one bandana!
- No sewing required – Everything is tied together, making it beginner-friendly and accessible for all ages.
- Easy to customize – You can mix colors, patterns, beads, and charms to make custom bracelets.
- Great for groups – This is a fun activity for teens, camps, or girls’ nights because everyone can make their own unique bracelet stack.
Jump to:
Tips and Tricks
- Cut or rip into strips – Cutting gives you clean edges while assembling the bracelets. Cutting snips into the bandanas, then ripping, is faster. No matter what method you choose, the bracelets will eventually fray; it's normal!
- Thin strips – Thinner strips are easier to braid or add beads to. My strips were about 1”- 1.5".
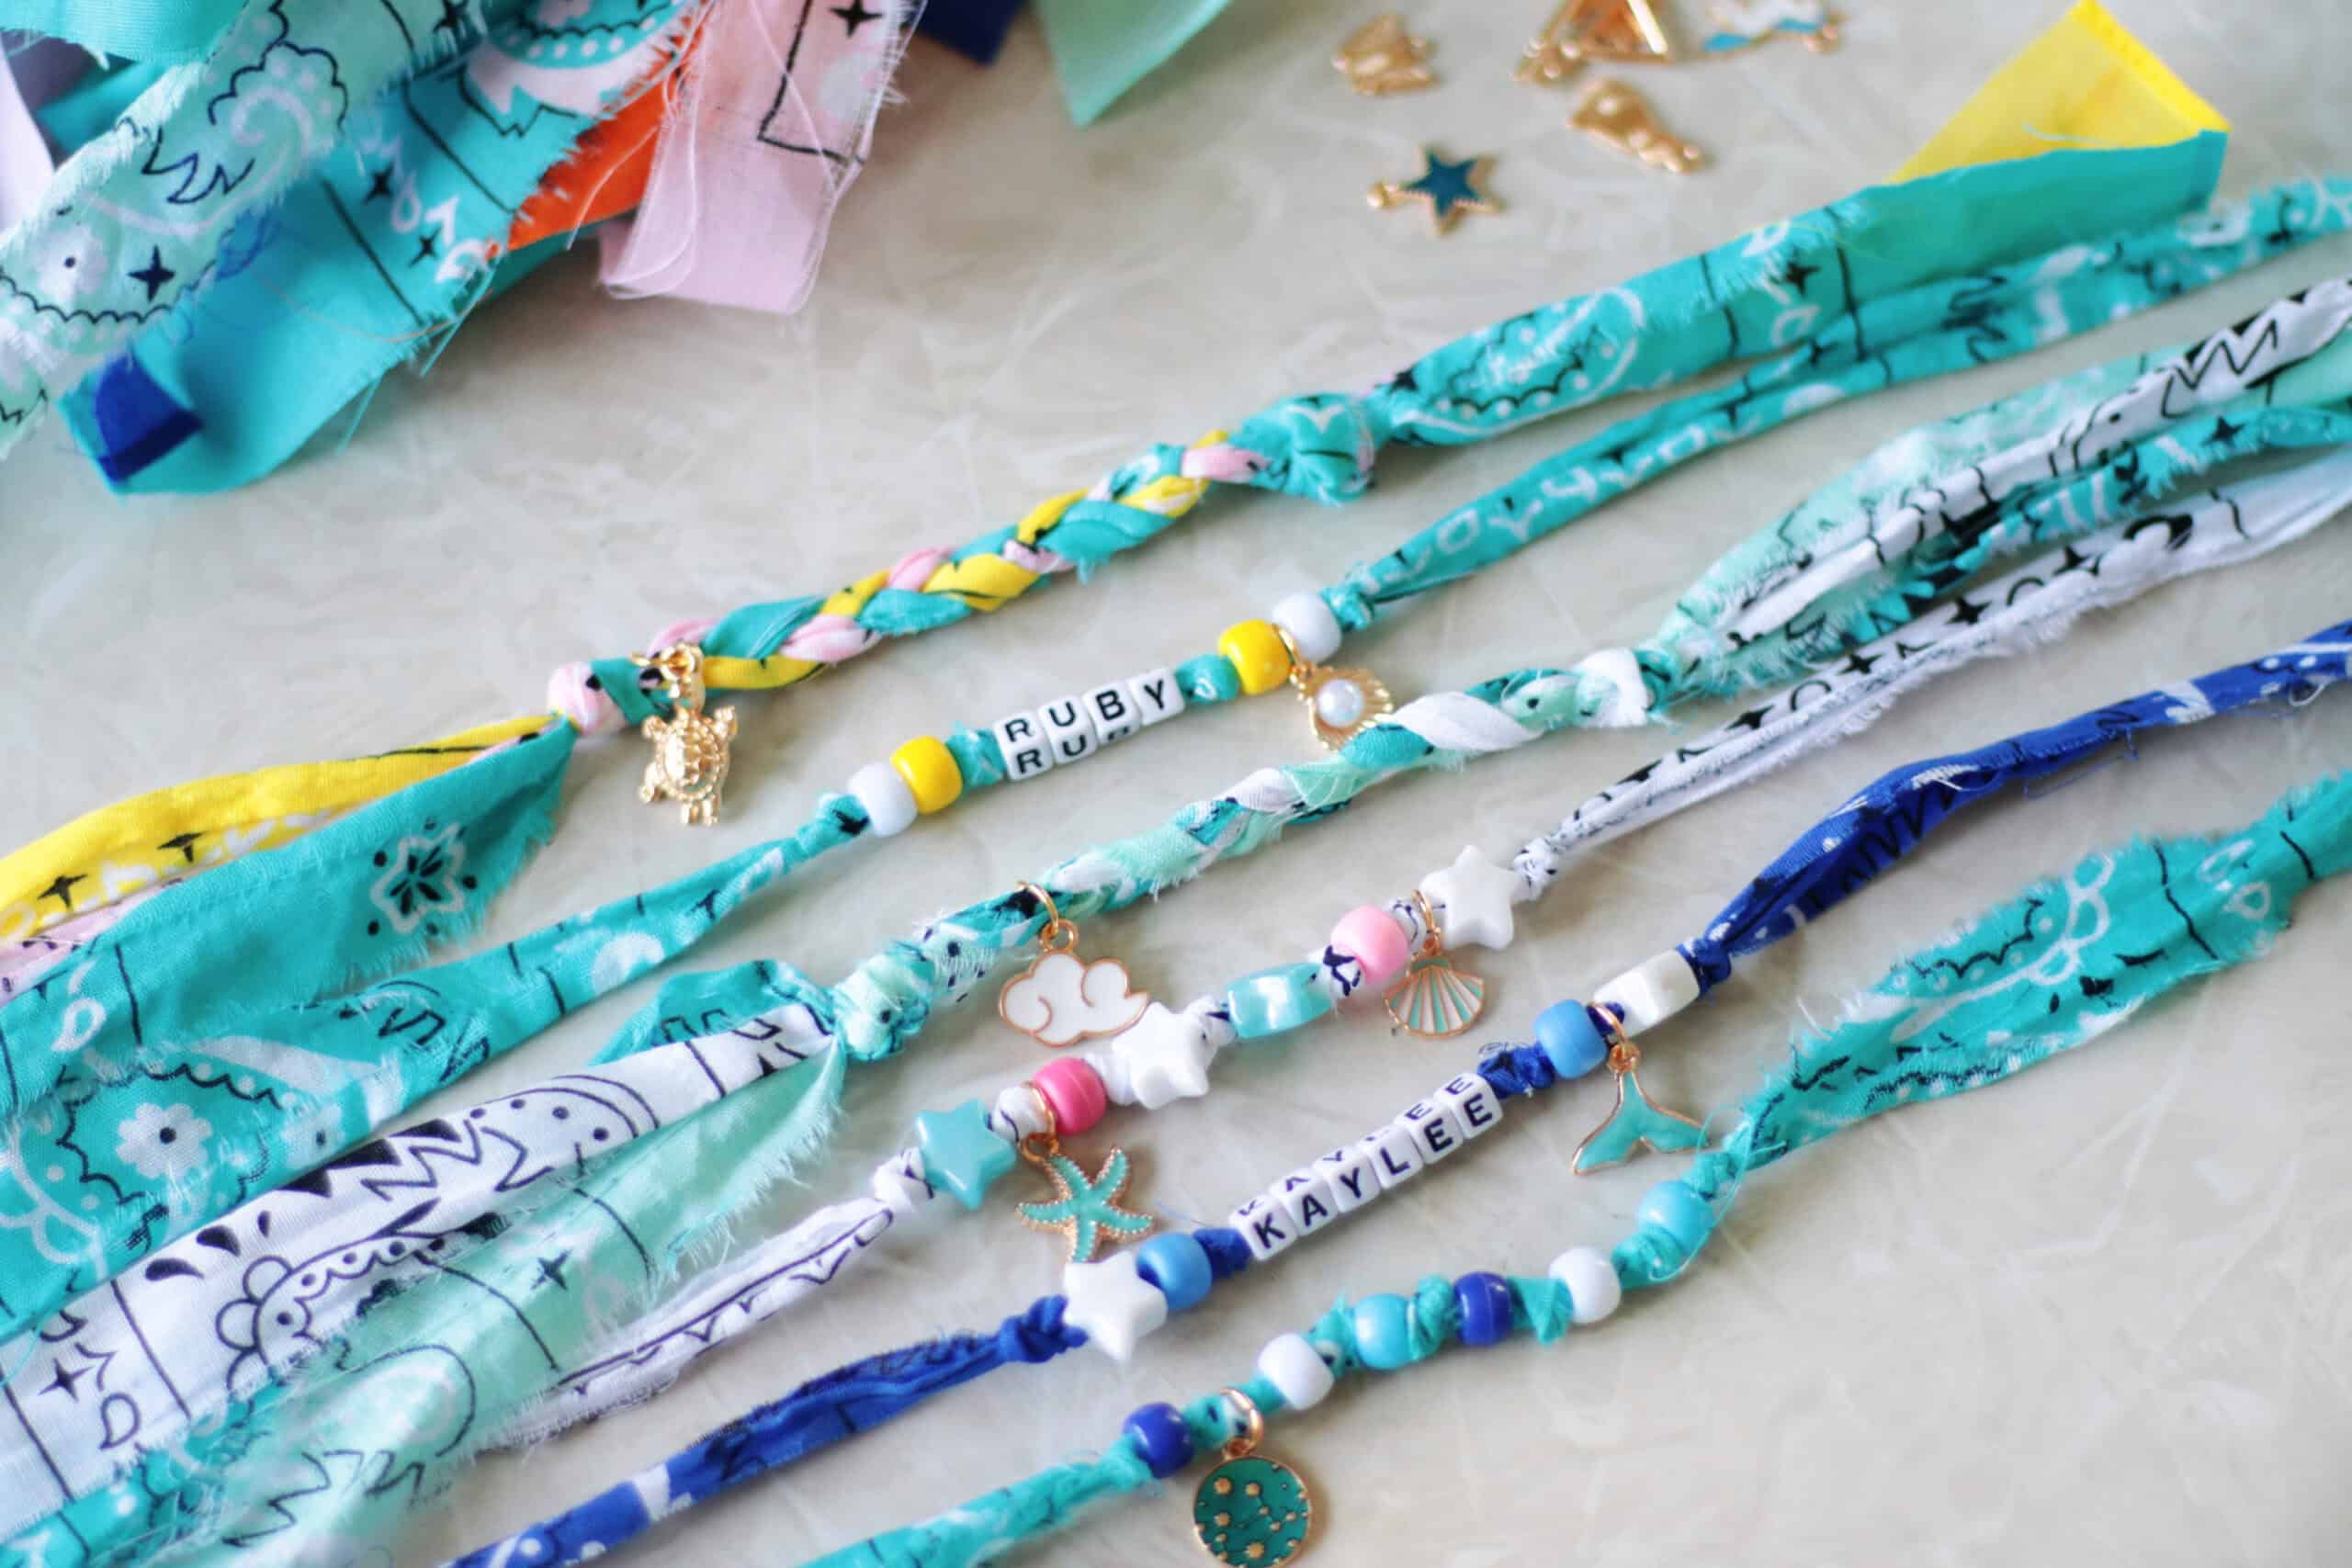
- Mix and match patterns – Layering two different bandana prints adds a fun, unique touch.
- Add beads or charms – Slide a few beads onto the fabric before tying for a more customized bracelet.
- Pre-cut strips for groups – If making these with kids or at an event, cutting the strips ahead of time makes everything go more smoothly.
Supplies
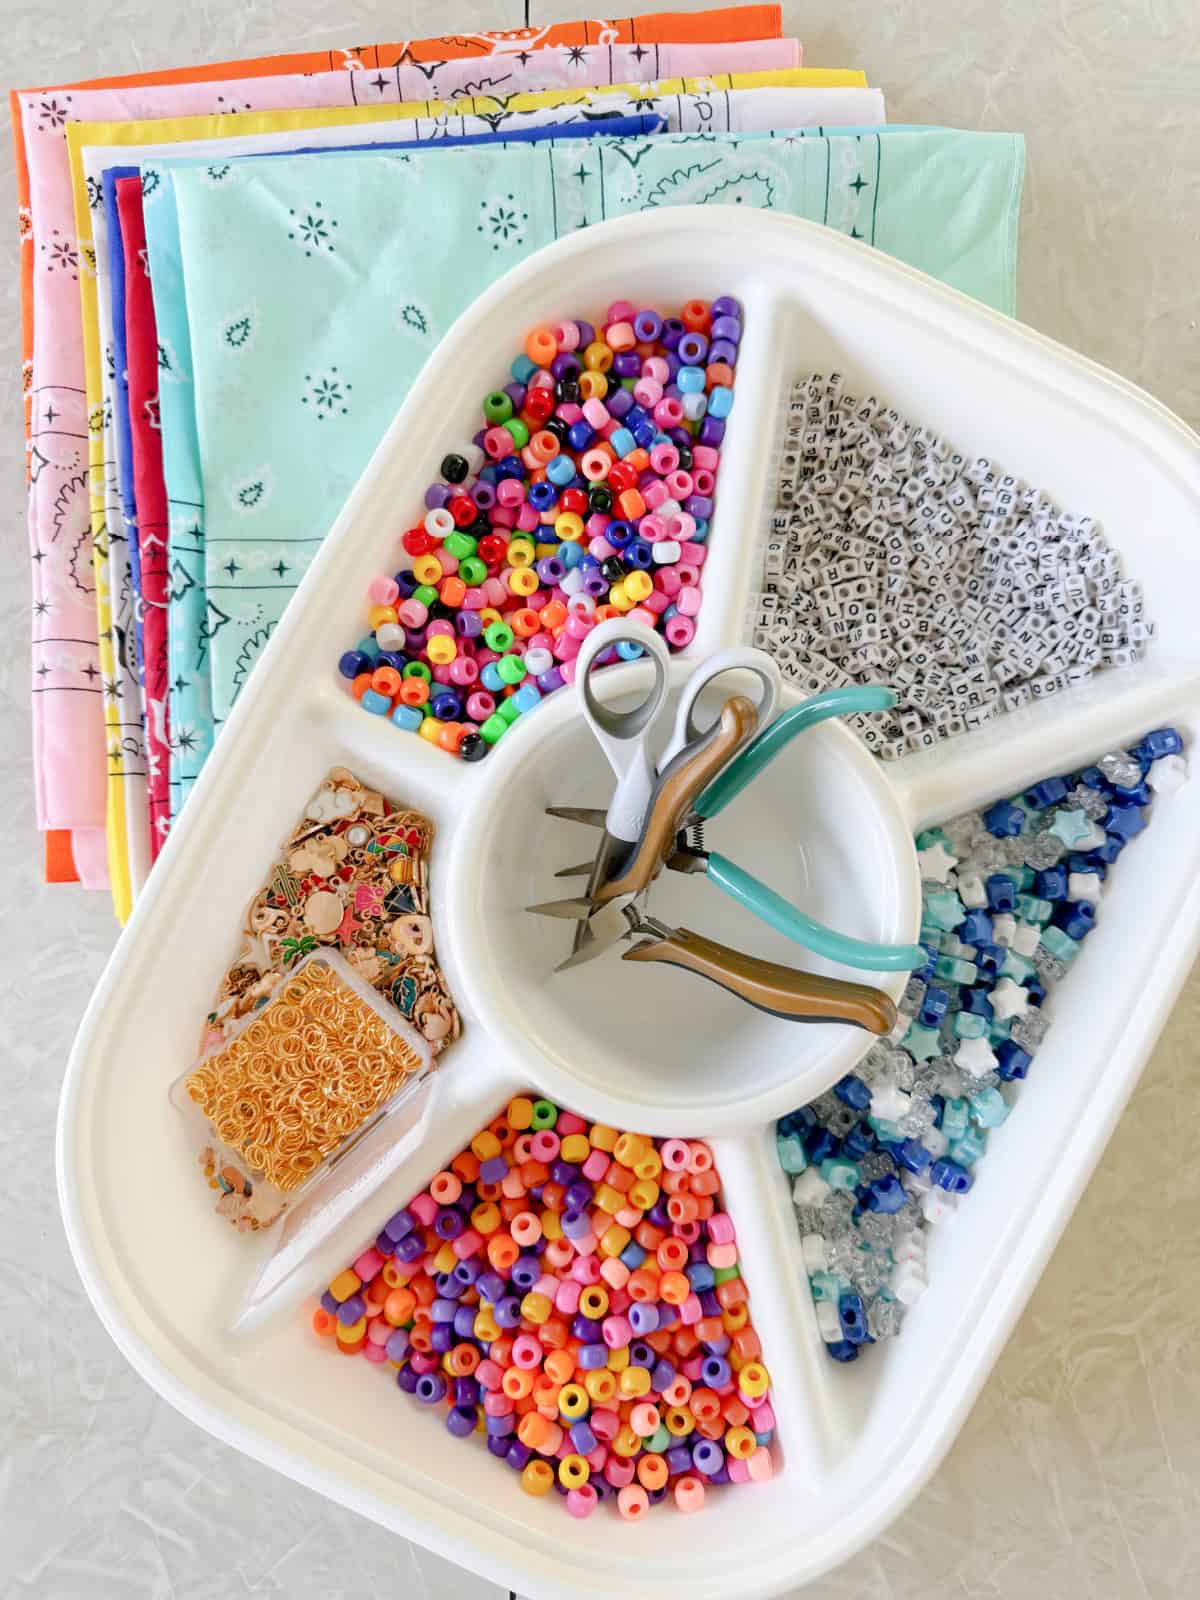
- Bandanas: I love this colorful collection of bandanas that I found on Amazon. You can find bandanas at just about any grocery store or craft store.
- Scissors: Use scissors to cut snips before ripping the bandanas into strips, or for cutting the bandanas into strips.
- Pony beads: Pony beads are colorful and easy to slide the bandana strips through because the hole is 4mm wide.
- Letter beads: I like using these 6mm square letter beads. They have a decent-sized hole (3.4mm).
- Charms: This is a nice variety of charms to add to the bracelets.
- Jump rings: You'll need 8mm jump rings to attach the charms.
- Jewelry pliers: Open and close the jump rings using jewelry pliers.
See the how-to card at the end of the post for full information on supplies and quantities.
How To Make Bandana Bracelets
Watch my step-by-step video for the best visual tutorial.
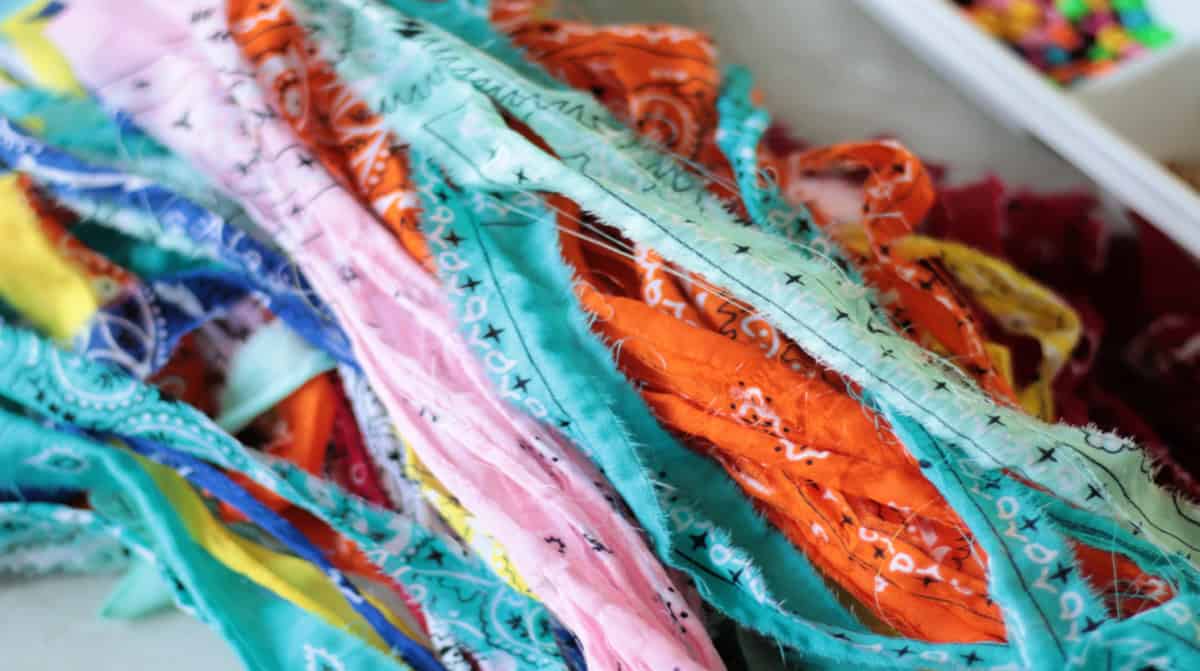
Prep: Cut or rip a bandana into strips. 1" - 1 ½" strips are ideal.
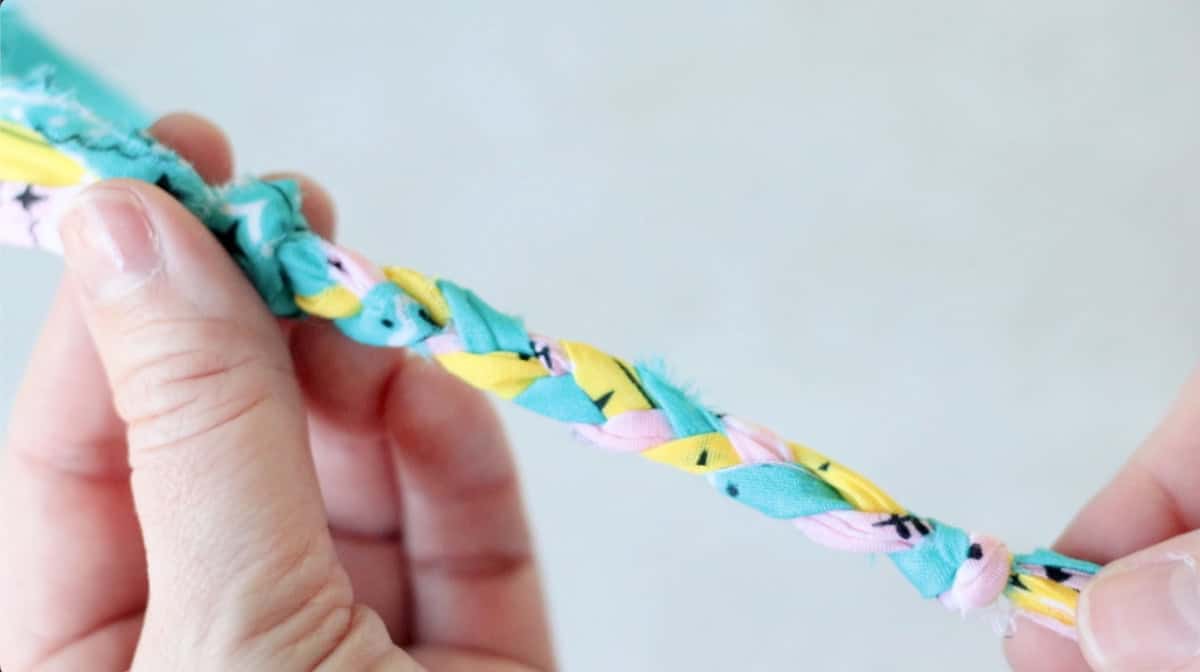
Braiding: If you want to make a braided bracelet, tie a knot at one end, braid to the desired length, and tie a knot at the other end.
I only braided the section that would go across the wrist, leaving the ends open. You can tie all of the ends behind the wrist, or cut off a couple, leaving two ends to tie.
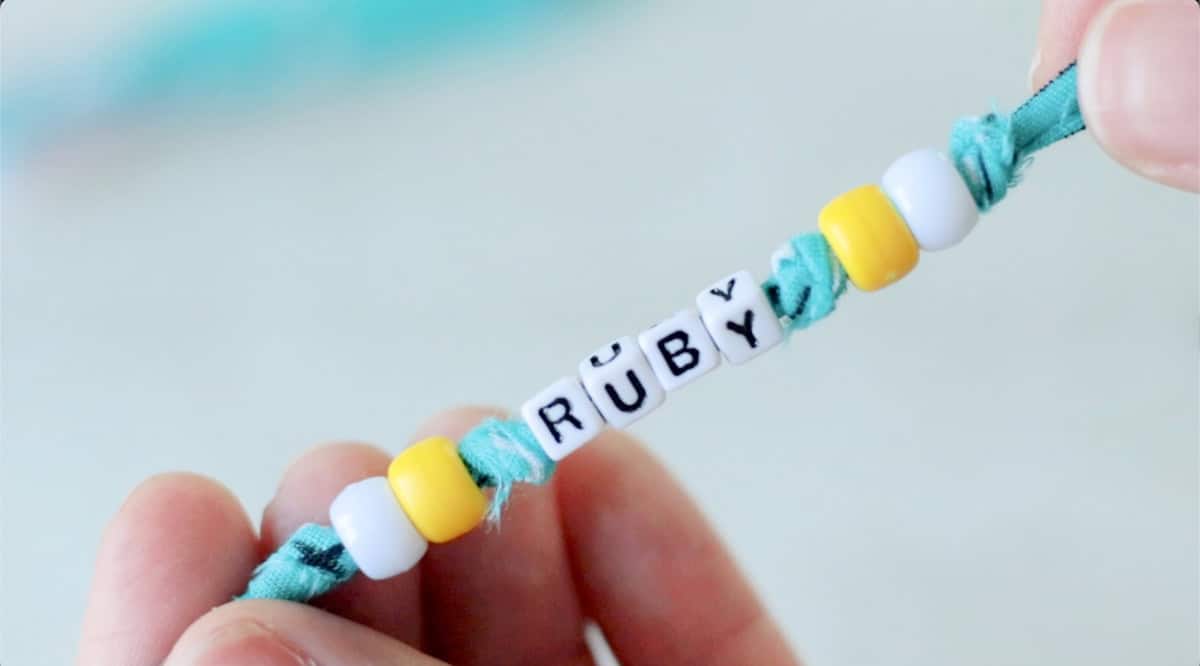
Beads: If you want to add beads, roll the end of the bandana into a skinny point, then string through beads. Make sure the bead hole is at least 3mm wide.
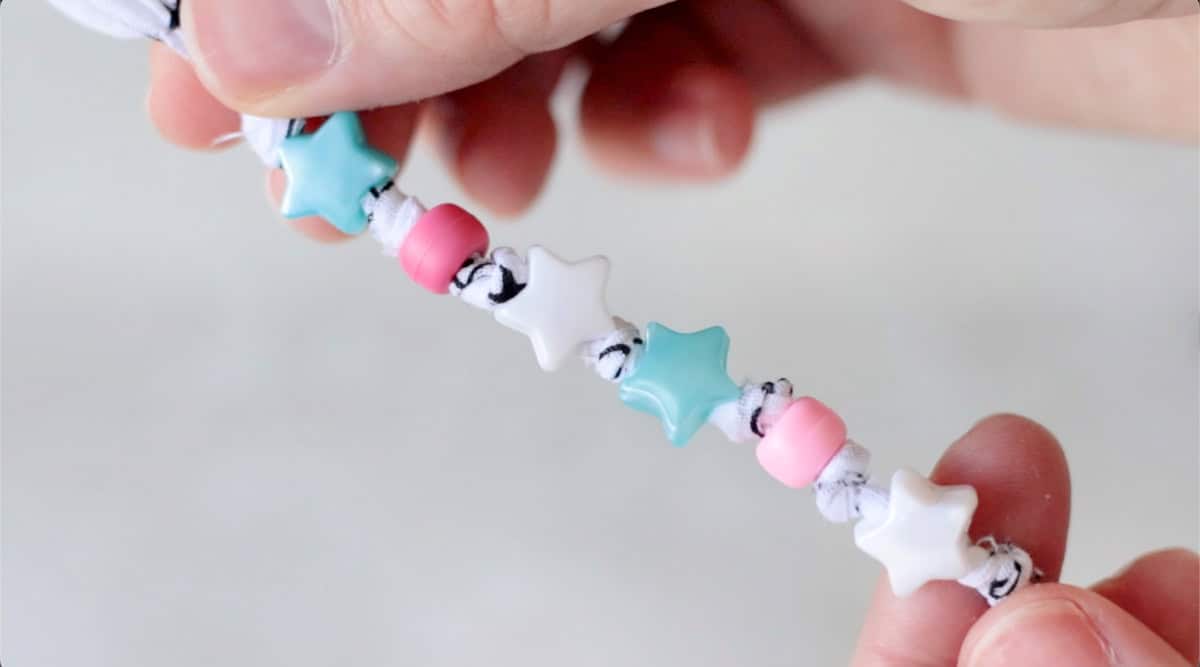
Knots: Add knots wherever you'd like to hold the beads in place.
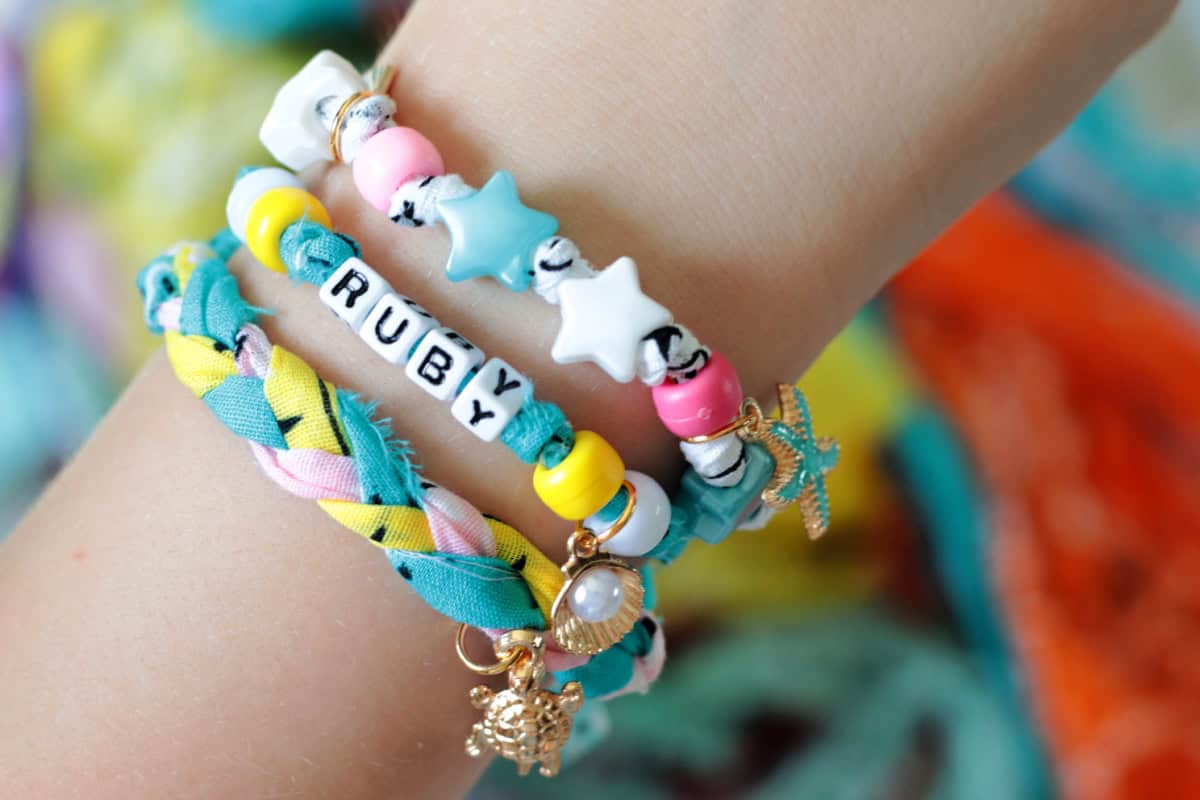
Charms: If you want to add charms, use jewelry pliers to open the jump ring, slide a charm onto it, then close the jump ring after attaching it to the bracelet.
Because the bracelets are tied on, you will need to untie them to remove them. You can also use a safety pin to secure the ends, making it easier to remove the bracelet.
Bandana Bracelets FAQs
You can use any size strip you'd like for different bracelet styles. My preferred thickness is 1" - 1 ½". This is a nice thickness for braiding and beading with pony and square letter beads.
Yes, this is a great beginner craft for kids since it’s simple, safe, and doesn’t require sewing. Adult supervision may be needed when cutting fabric.
Yes, bandana bracelets can be hand washed or machine washed on a gentle cycle. Air dry to maintain their shape.
Because they are tied on, you will need to untie them to remove them. You can also use a safety pin to secure the ends, making it easier to remove the bracelet.
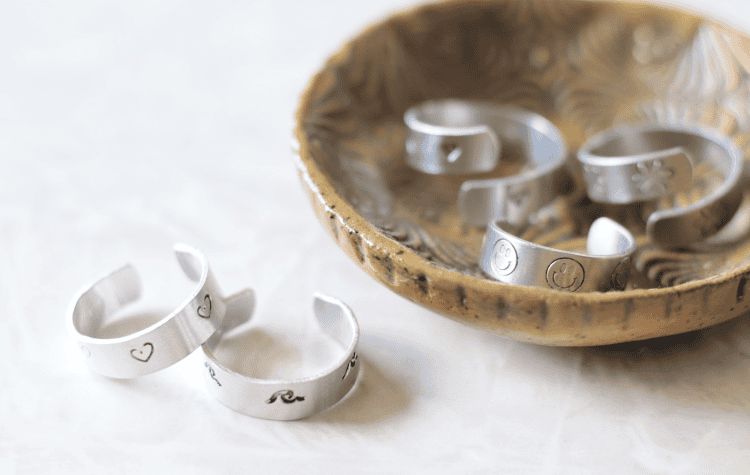
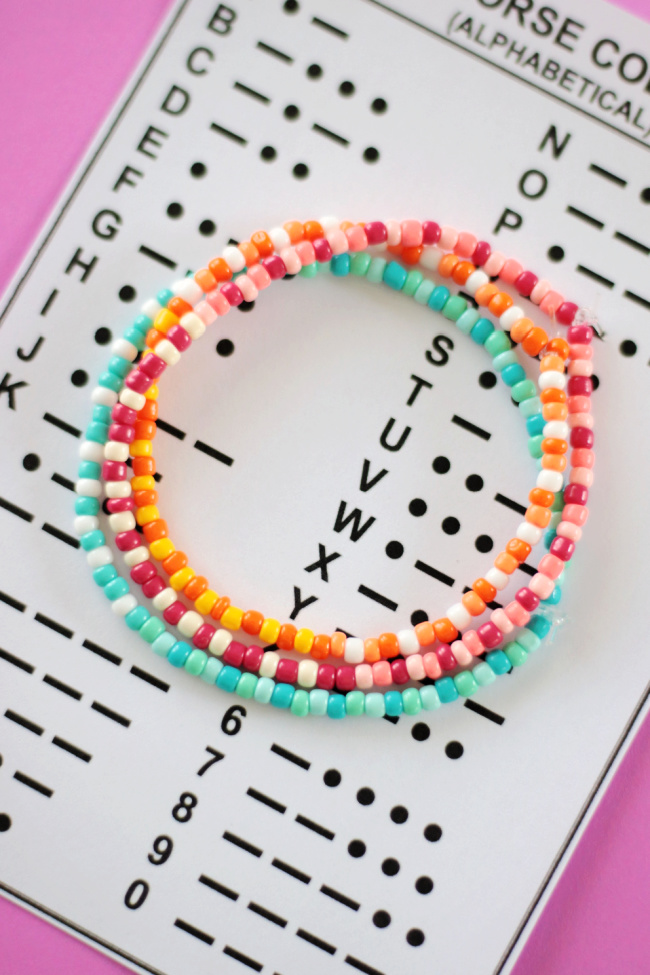
More Easy Crafts To Make

MADE THIS CRAFT AND LOVED IT? 💛 Please leave a STAR rating and COMMENT below! Post it to Facebook or Pinterest to easily share with friends!

Bandana Bracelets
Equipment
- jewelry pliers if using charms
Materials
- bandanas
- 6mm letter beads Holes in beads should be at least 3mm.
- pony beads
- charms
- 8mm jump rings If using charms
Instructions
- Cut or rip bandanas into strips about an inch wide.
- To make it easier to add beads, roll the end of one strip into a skinny point and slide it into a bead. Pony beads and letter beads with 3.4mm openings work great.
- If you want to add charms, use jewelry pliers to open the jump ring, slide a charm onto it, then close the jump ring after attaching it to the bracelet.
- Tie the finished bracelet onto your arm. The bandanas will fray; this is normal.


Leave a Reply