Step-by-step instructions for sewing a bandana tote bag. This easy sewing project makes a cute everyday bag.
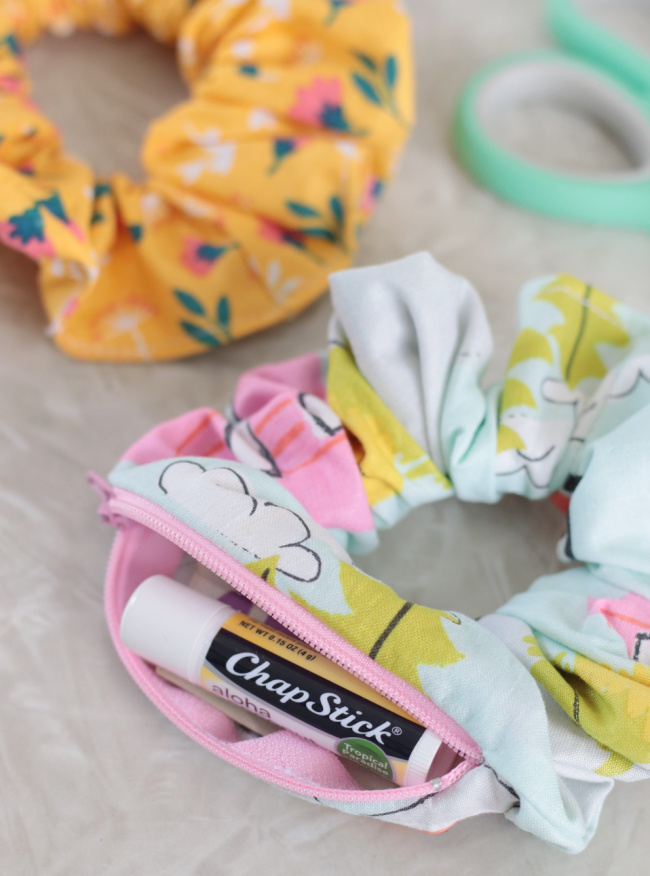
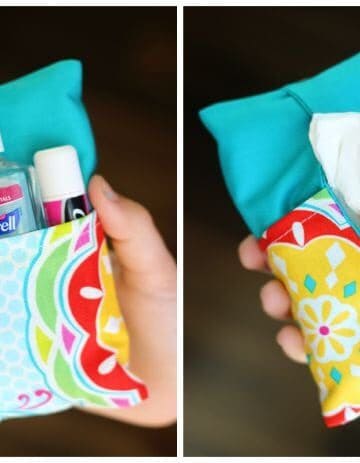
You might also like my bandana picnic quilt tutorial, bandana bracelets, or bandana hair bows.
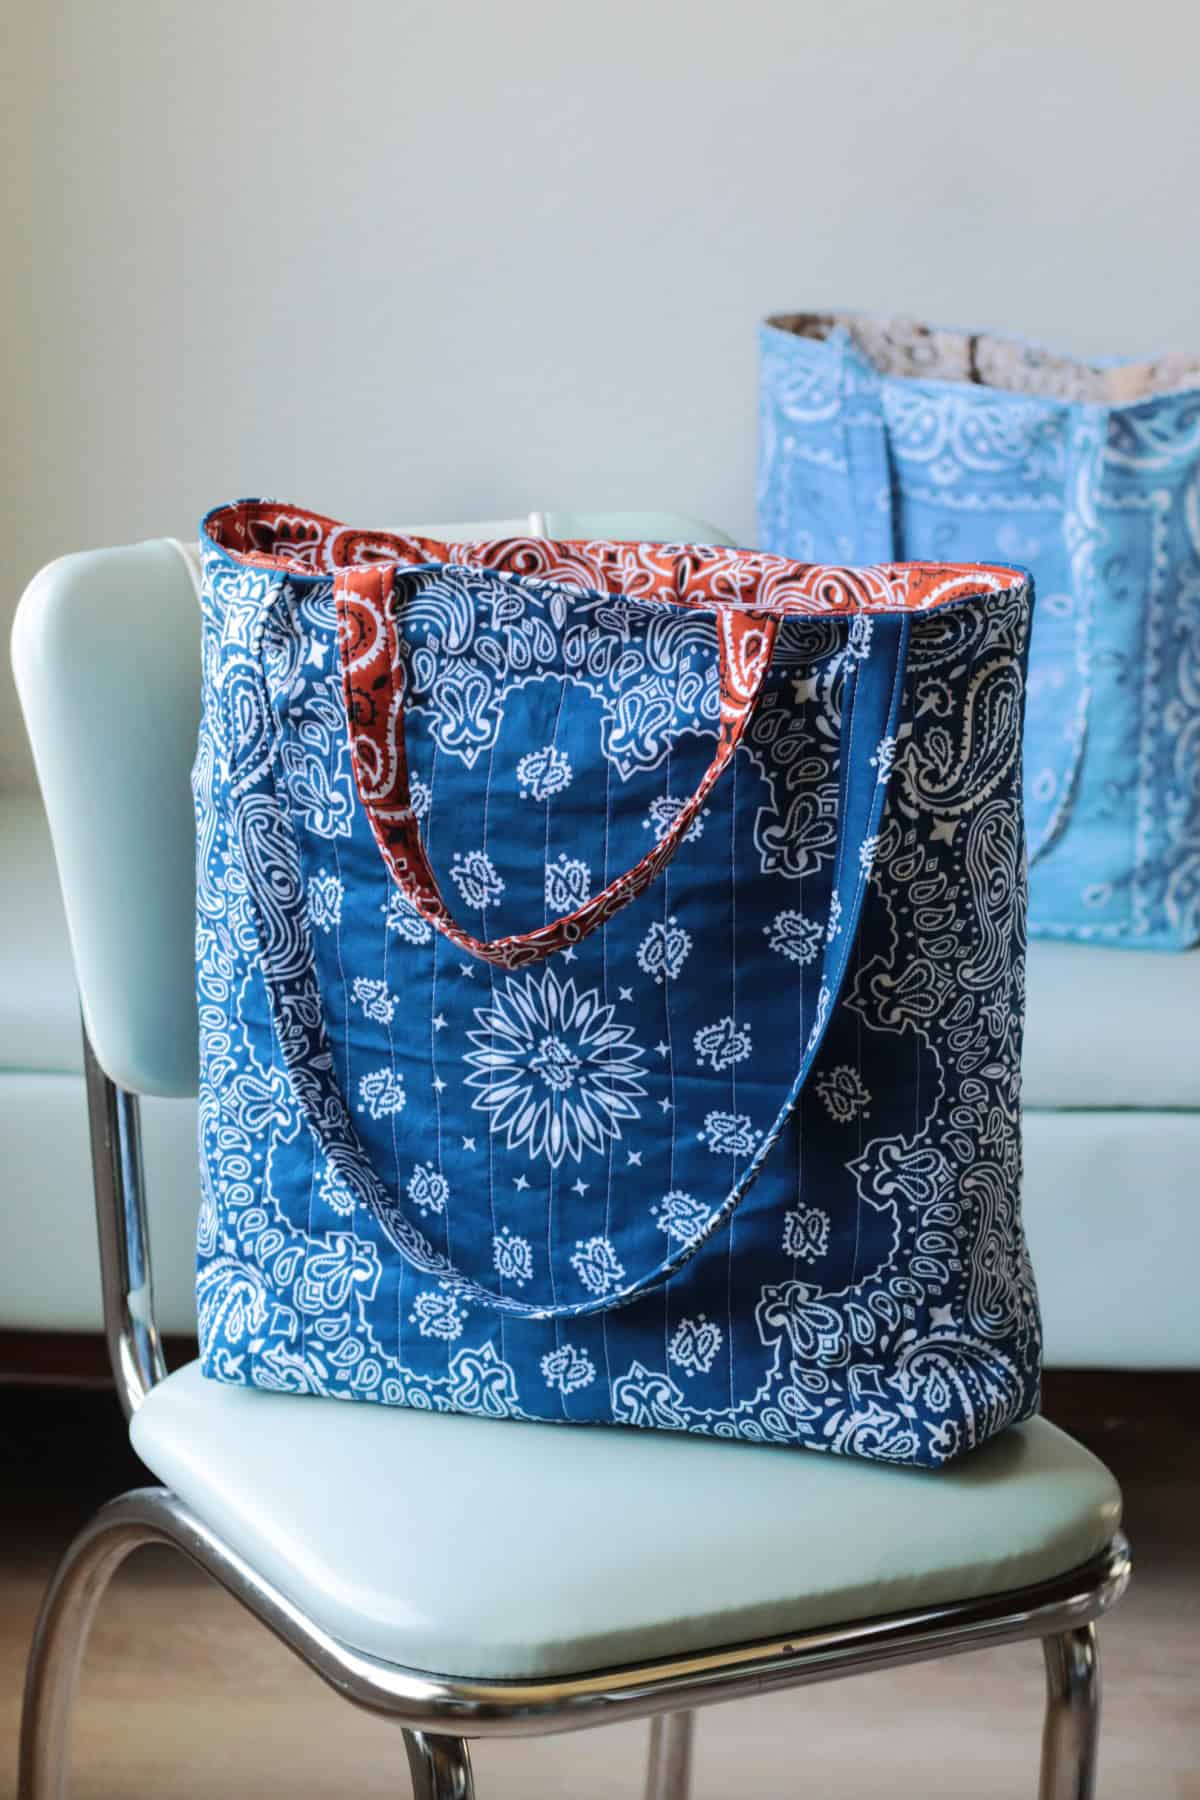
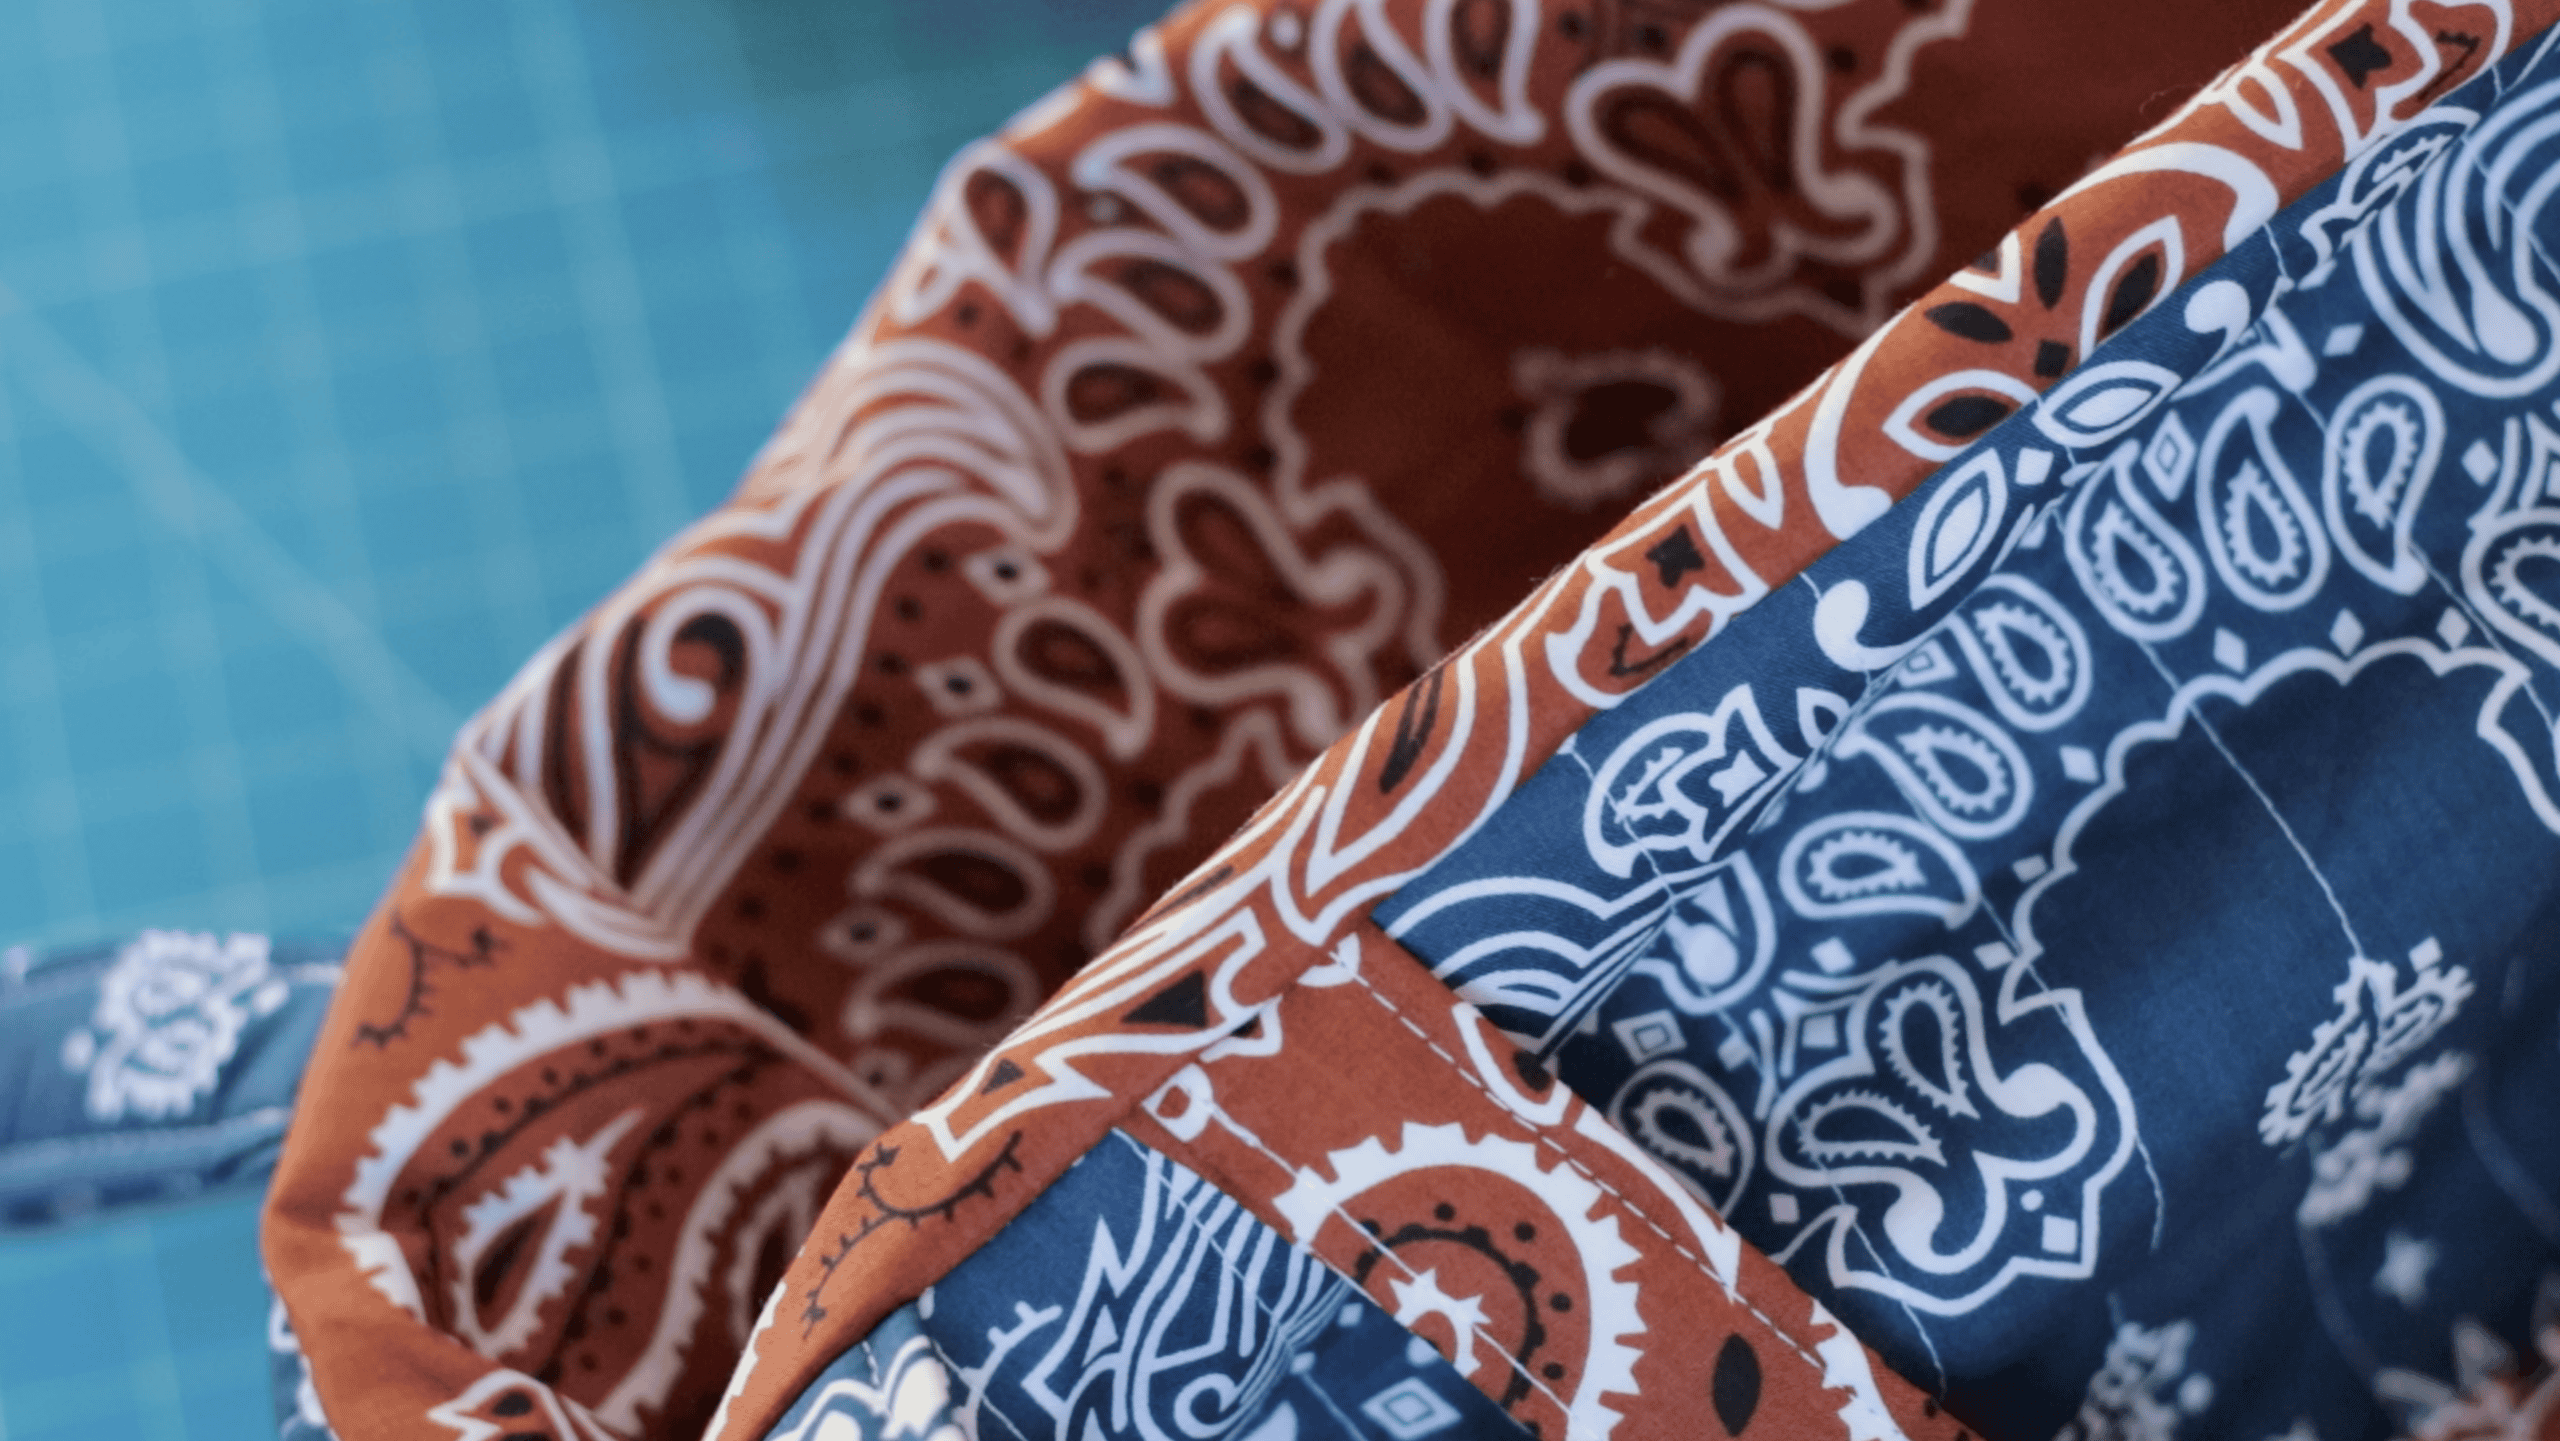
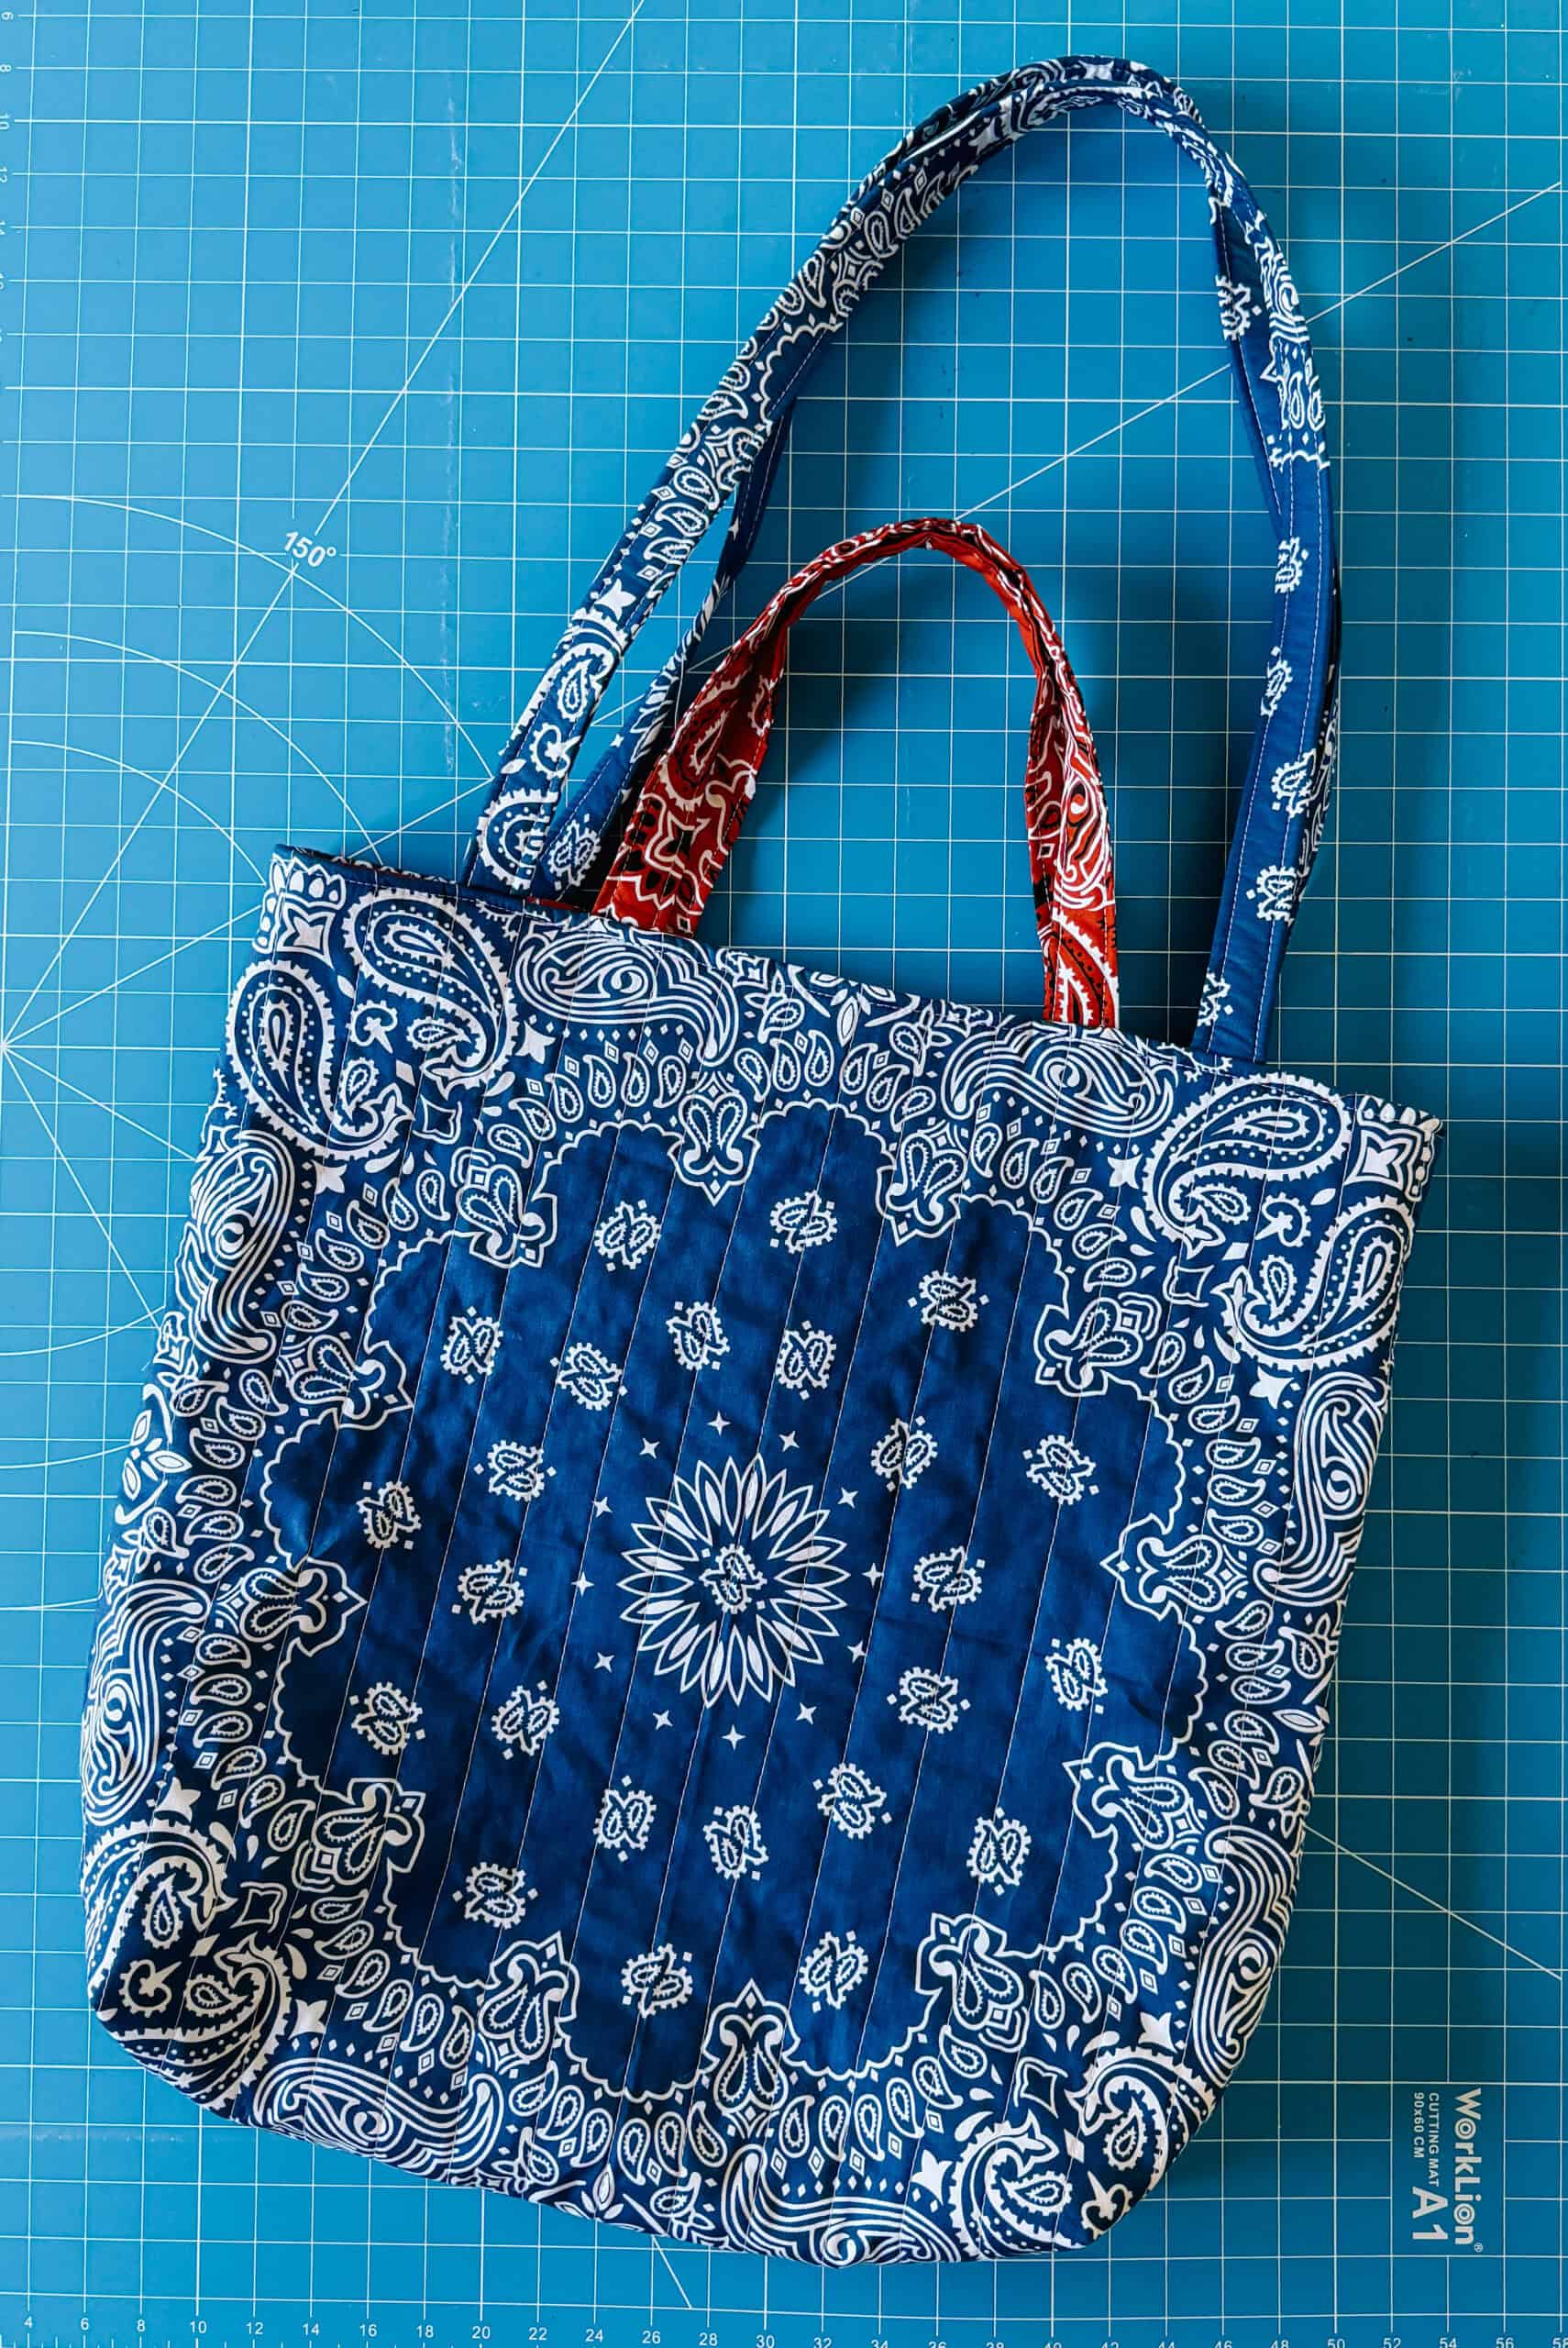
The hardest part about making a bandana tote bag is choosing what color bandanas to use! The color combinations are endless. With a pocket, two sturdy handle sizes, and a quilted exterior, this bag is high-quality at a low price.
Why I Like This Project
- Budget-friendly materials. Bandanas are affordable and easy to find. The navy and terracotta bandanas that I used are from Amazon.
- Quick to make. Finish this DIY tote bag in just an afternoon.
- Practical and useful. A sturdy tote you can use for errands, library trips, or everyday carry.
- Highly customizable design. Mix and match bandana colors and patterns for a unique look.
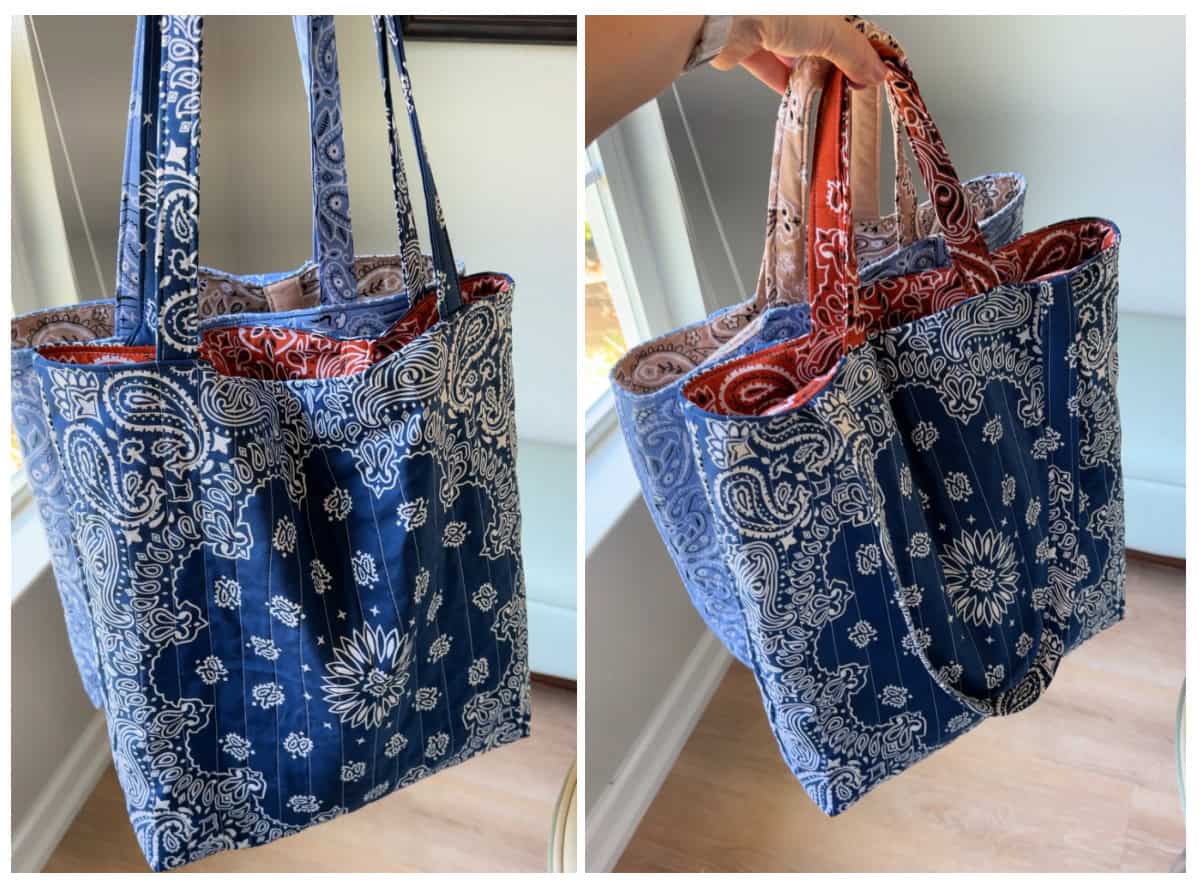
- Two sizes of handles. Use one size or both, like I did! Long handles for wearing over your shoulder and short handles for carrying in your hand. The handles can hang on the outside of the bag or be tucked inside the bag when not in use.
Jump to:
Tips and Tricks
- Press before cutting. Iron bandanas flat for more accurate measuring and a cleaner seam.
- Reinforce stress points. Backstitch at handles and corners for extra durability.
- Clip corners before turning. Reduces bulk and helps create sharper edges when finished.
- Topstitch for a polished look. Adds durability while giving your tote a more professional finish.
- Use pins or clips generously. Keeps fabric from shifting while sewing.
Supplies
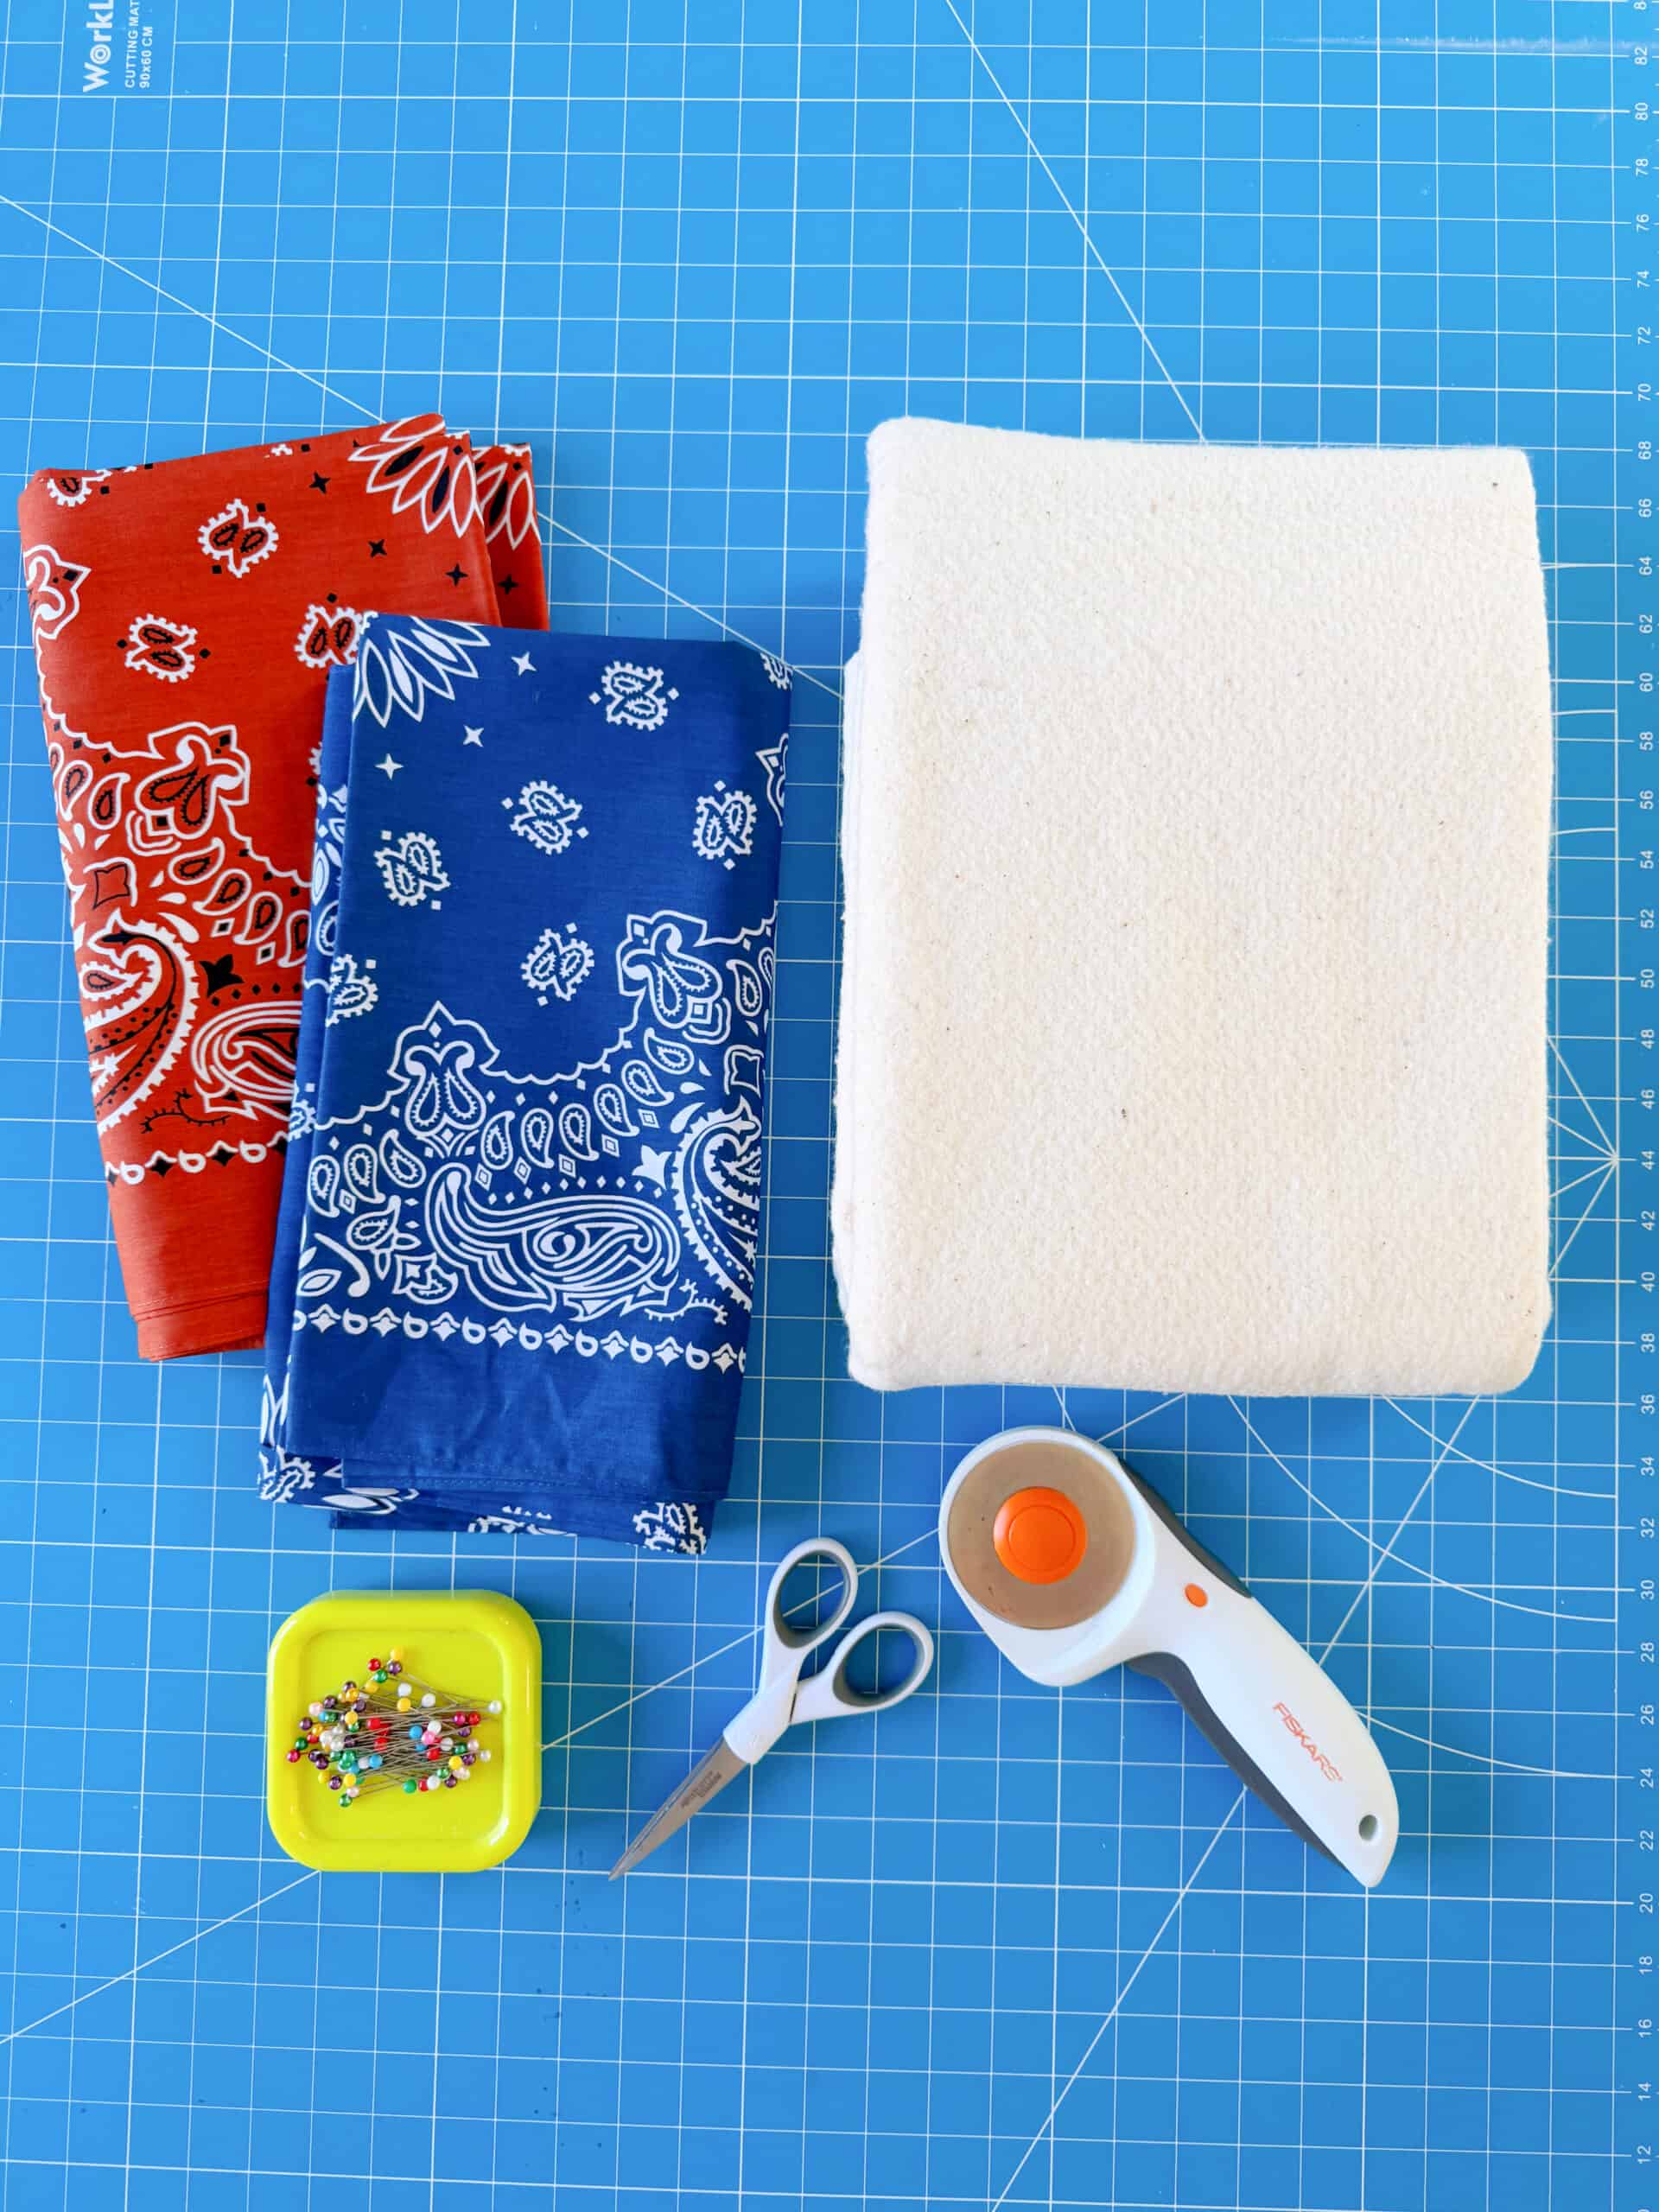
- 6 Bandanas: Any color you'd like. I used 2 colors. Bandanas typically come in 22". The navy and terracotta bandanas that I used are from Amazon.
- Batting: You'll need something to stabilize the bag. I like using cotton batting. It feels like felt and is a dream to sew with, perfect for quilting and adding stability to the bag handles.
- Sewing supplies: Scissors, pins, thread, sewing machine, iron, etc.
See the how-to card at the end of the post for full information on supplies and quantities.
How To Make a Bandana Tote Bag
- Seams: ⅜" unless otherwise noted. This is the measurement I get when I use my pressure foot as a guide.
- Top stitching: close to the edge of the fabric, about ⅛".
- The bandanas I used didn't have a right or wrong side; the fabric was the same on both sides, but I still noted the wrong and right sides for clarity in the sewing instructions.
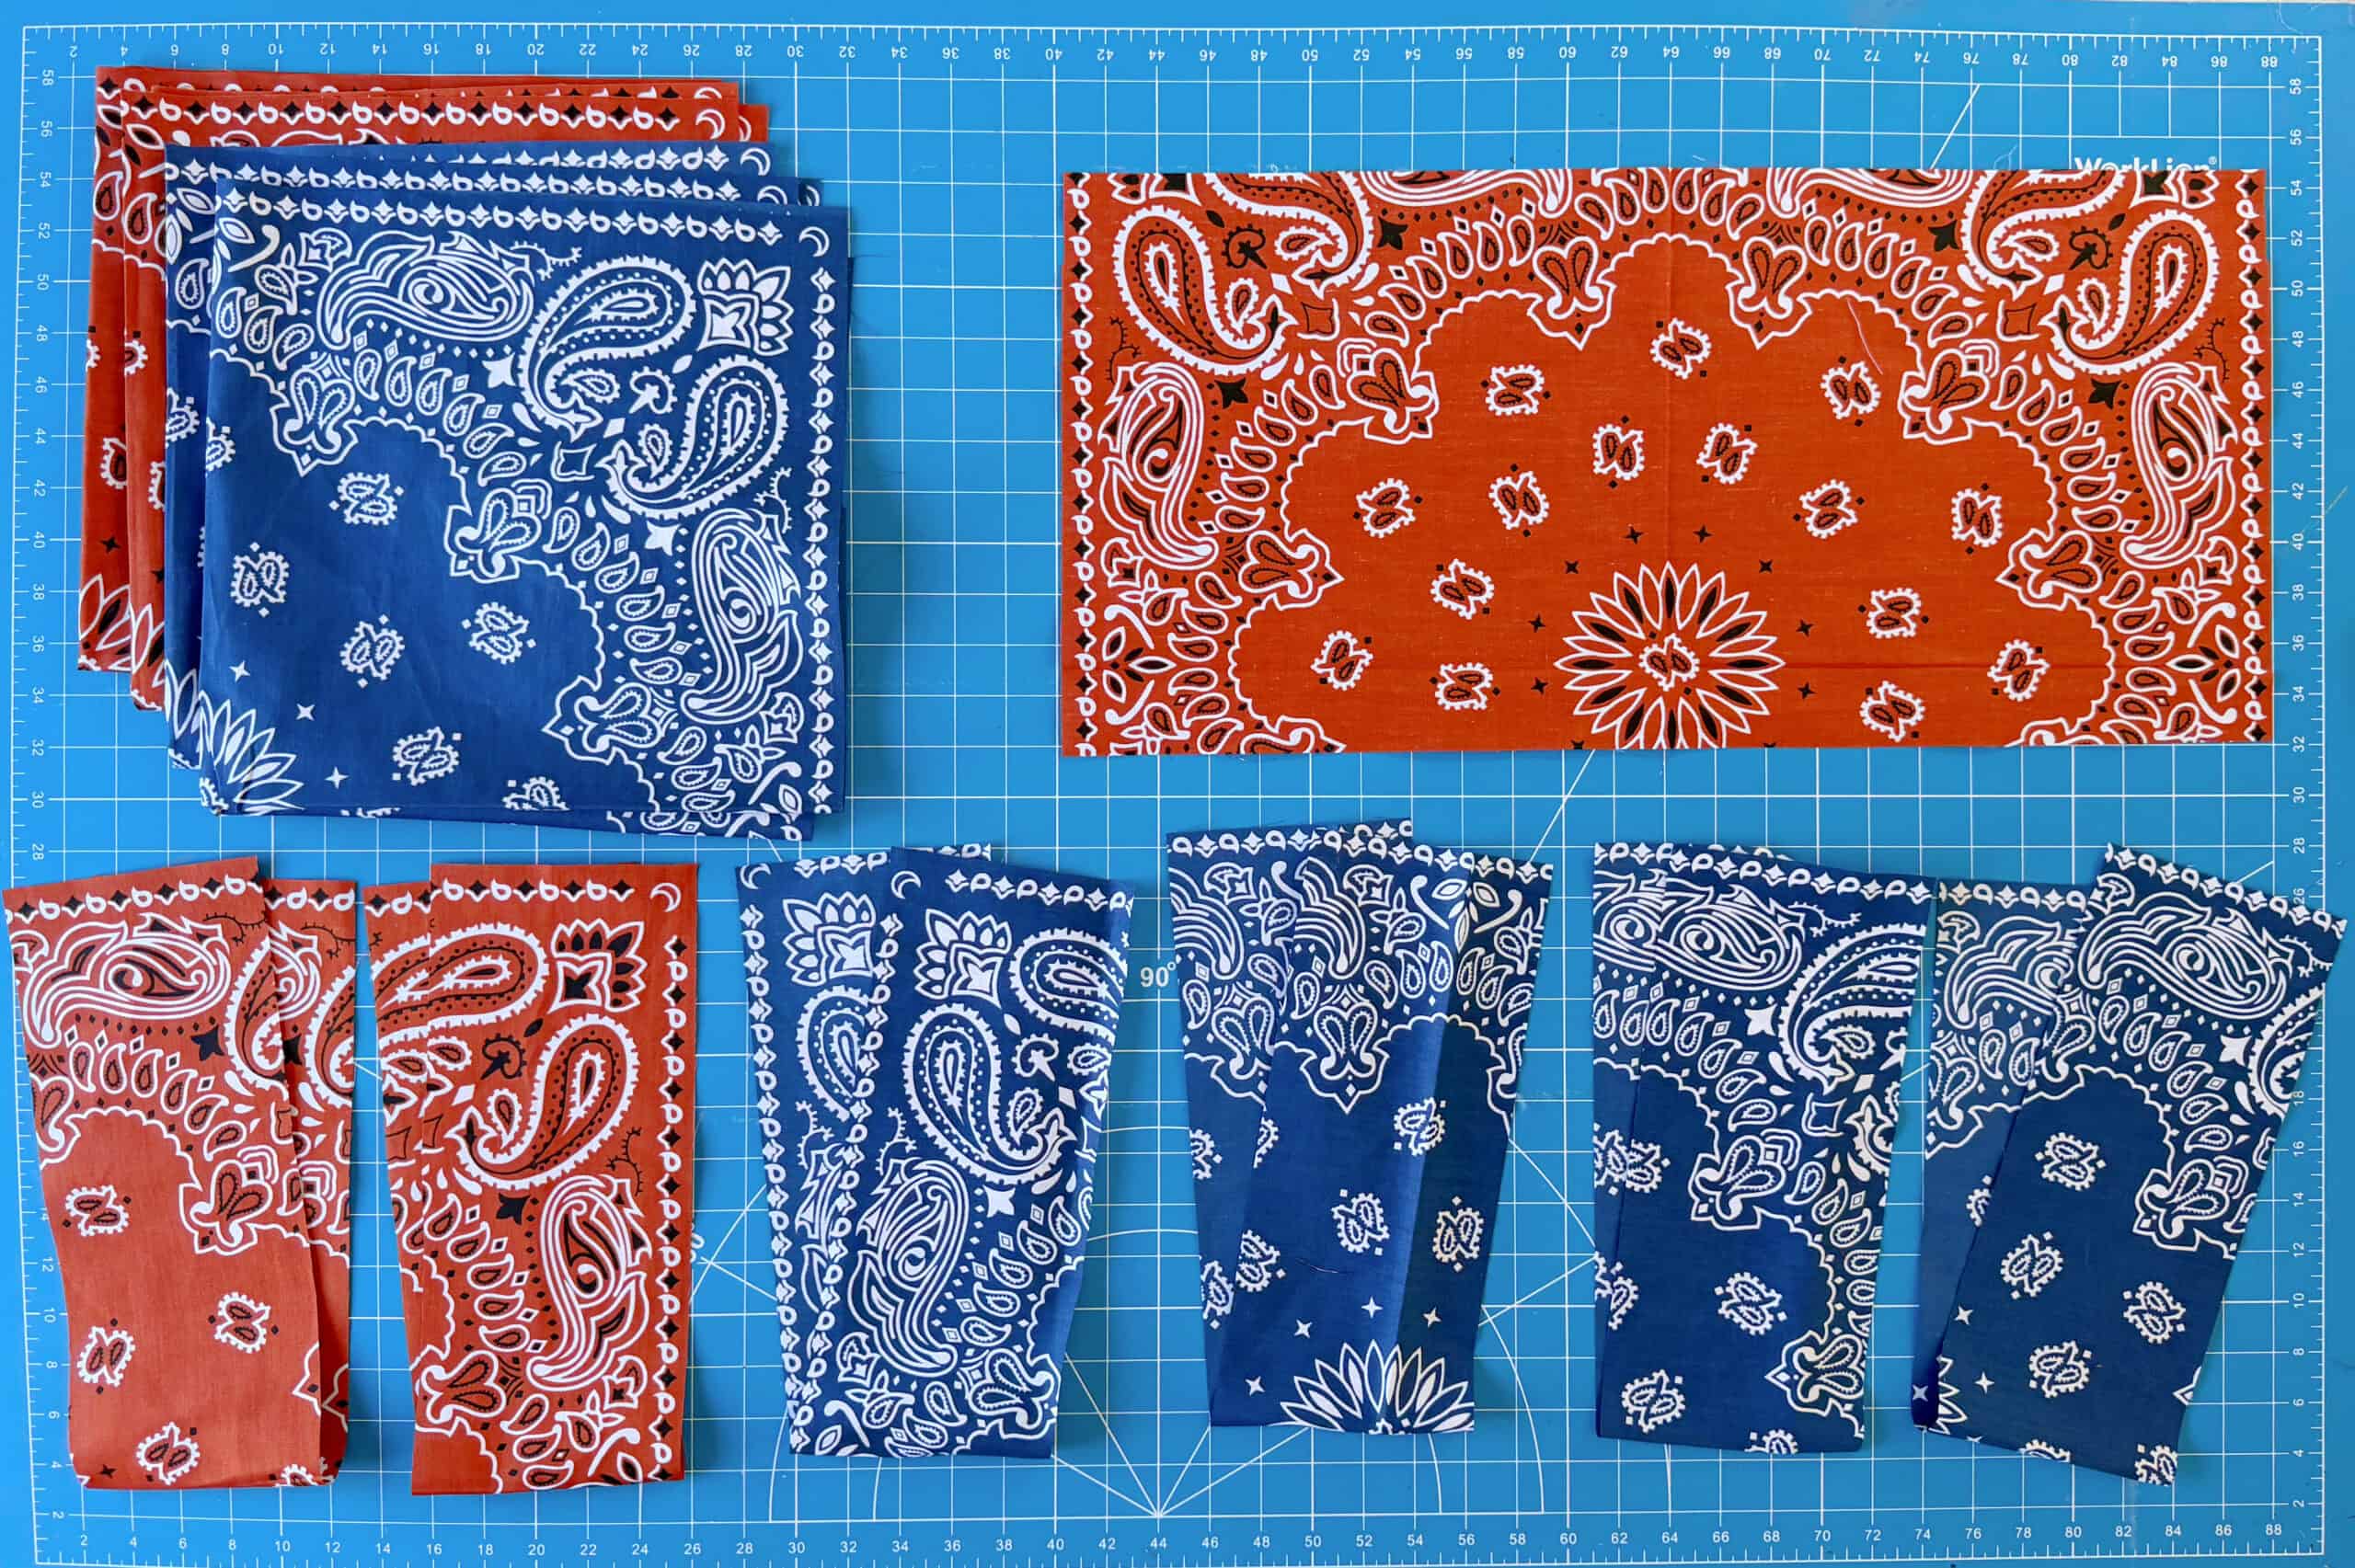
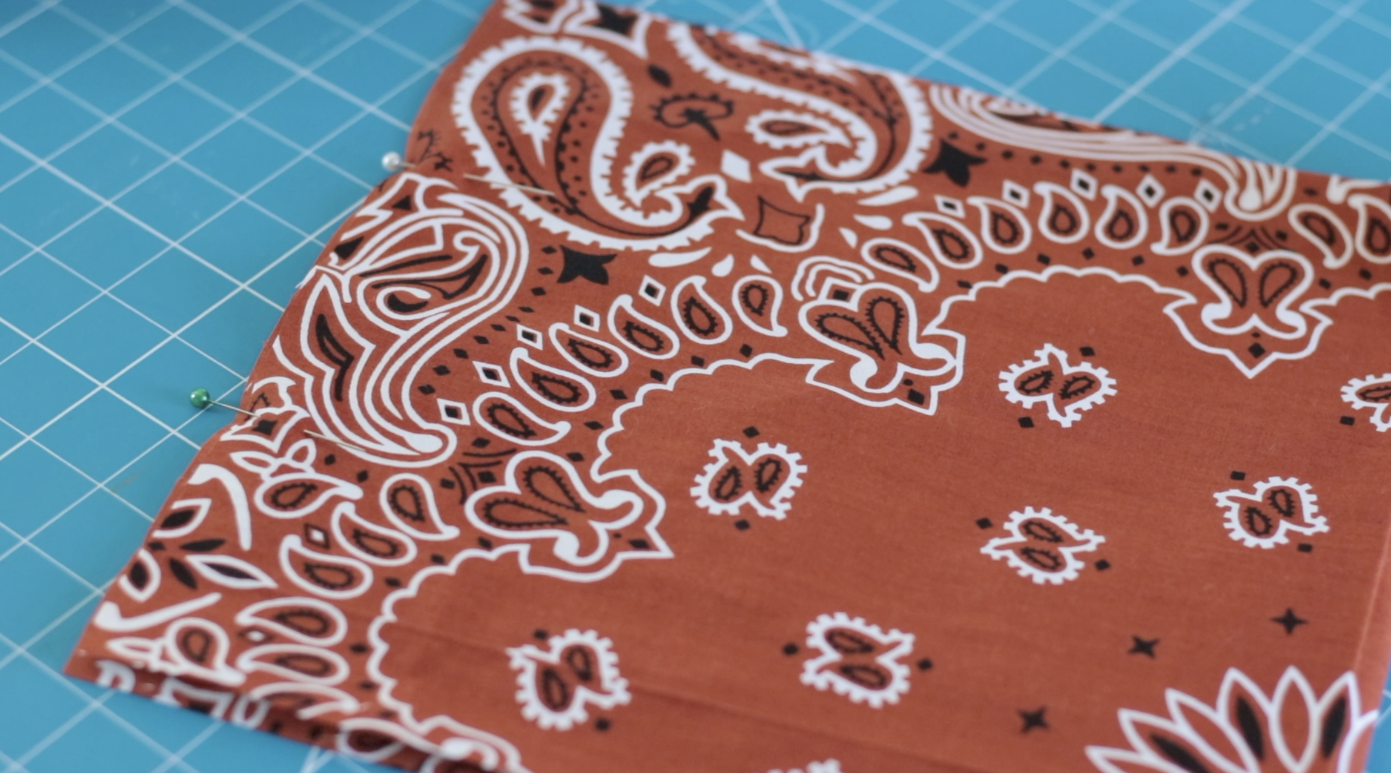
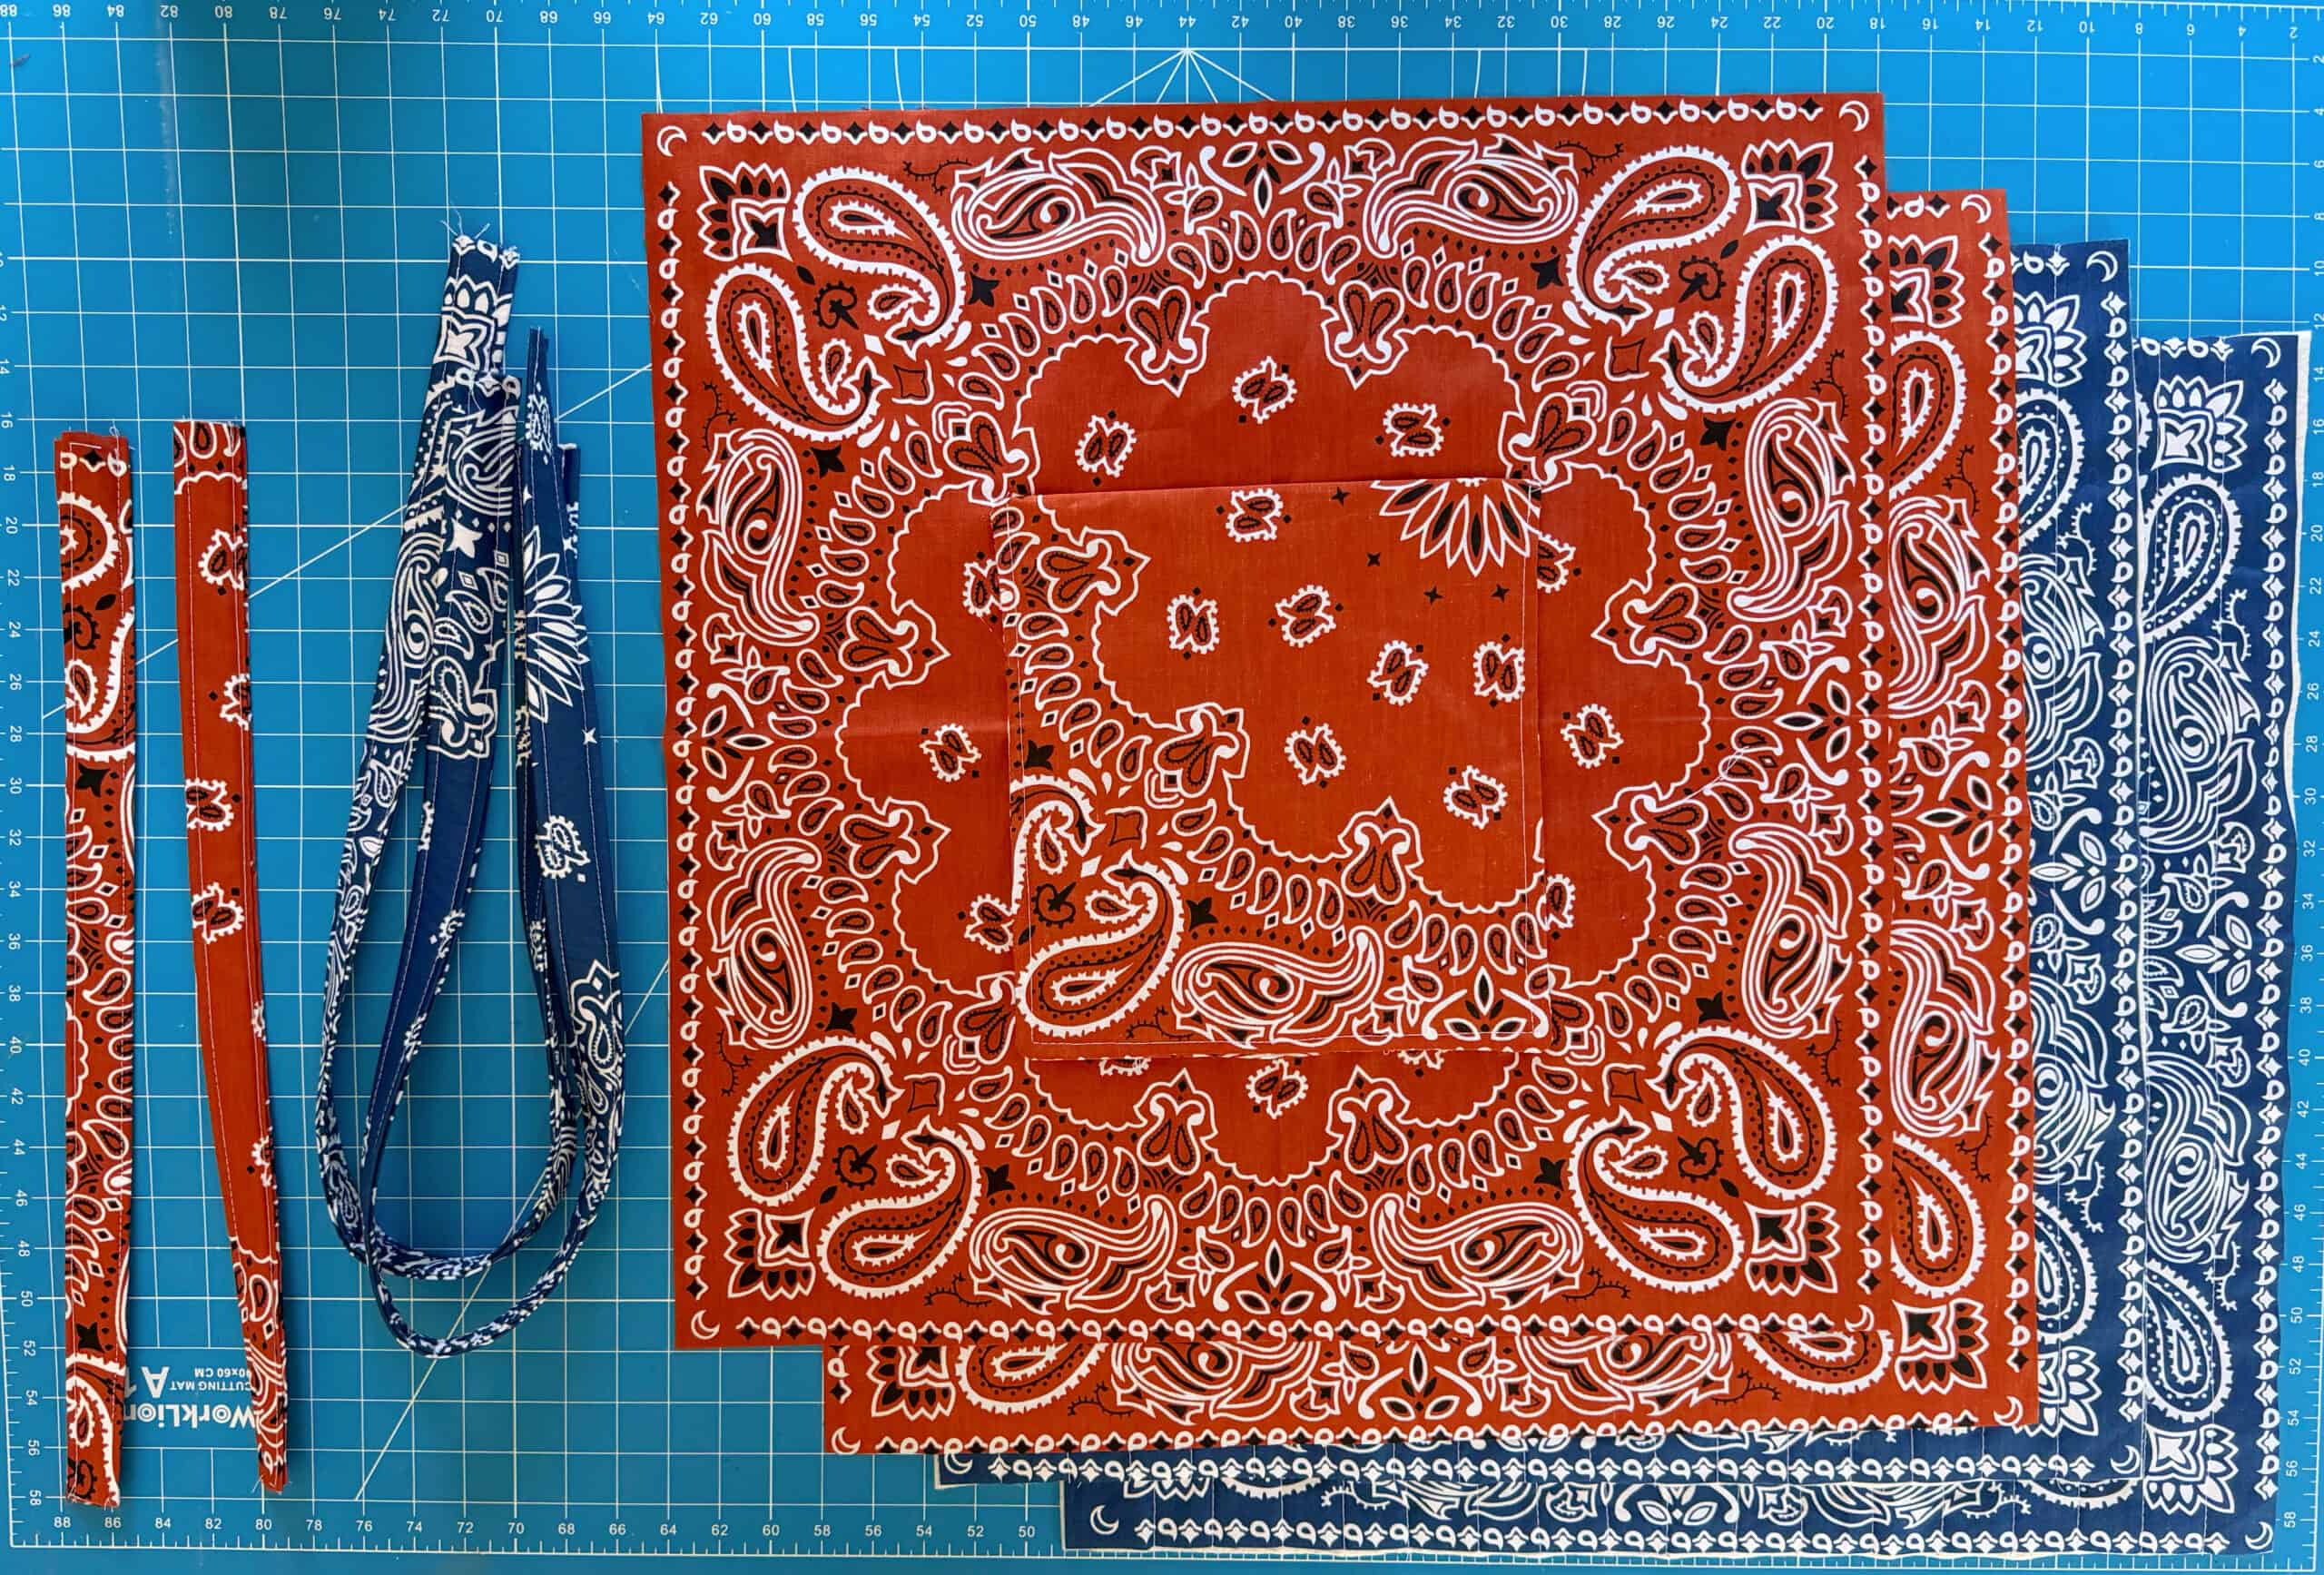
Step 1: Cut each of your 6 bandanas to 18" x18". Basically, you'll be trimming the border off of each side, but measure to ensure uniformity. Set 4 bandanas aside: 2 for the outer part of the bag and 2 for the lining.
You'll have 2 bandanas left. Use one to cut a 9"x18" rectangle for an inside pocket and 2 (4"x16") strips for the short handles.
Now you have 1 bandana left. Cut 4 (4"x18") strips for the long handles.
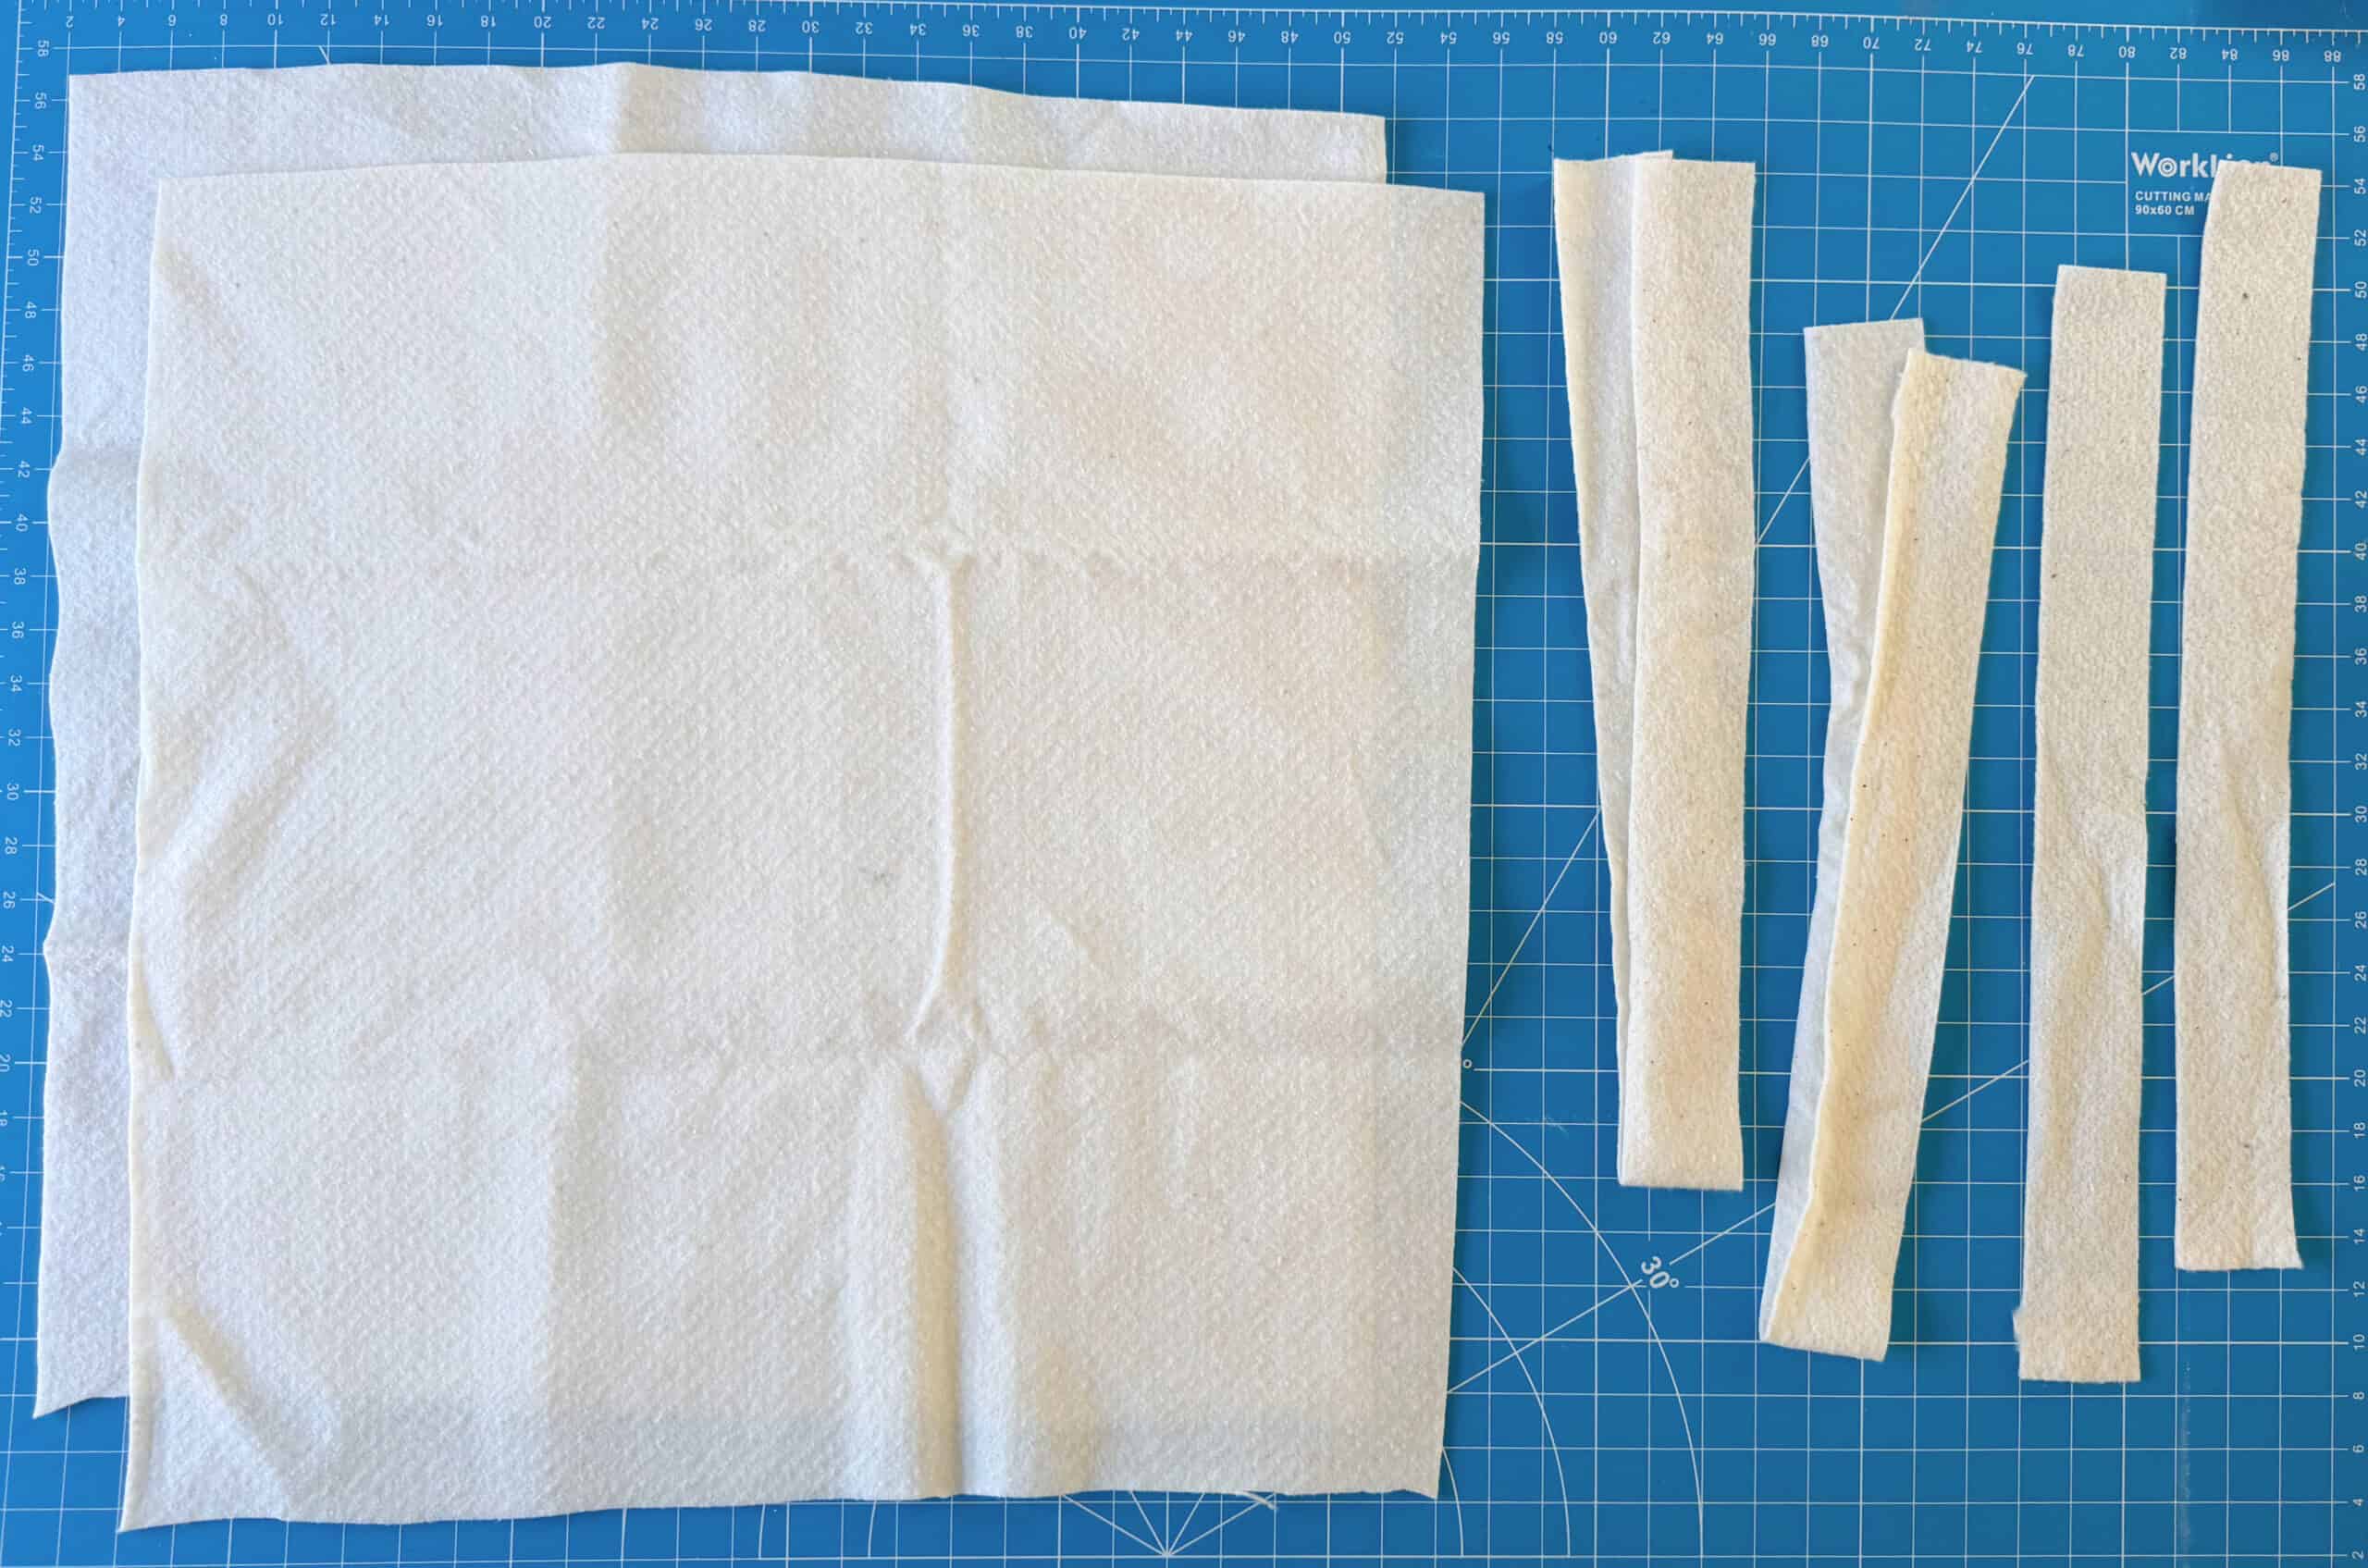
Step 2: Cut 2 large squares of batting using one of the outer bandanas as a pattern. Cut 2 (1 ¾" x 16") strips of batting to reinforce the short handles and 2 (1 ¾" x 30") strips of batting to reinforce the long handles.
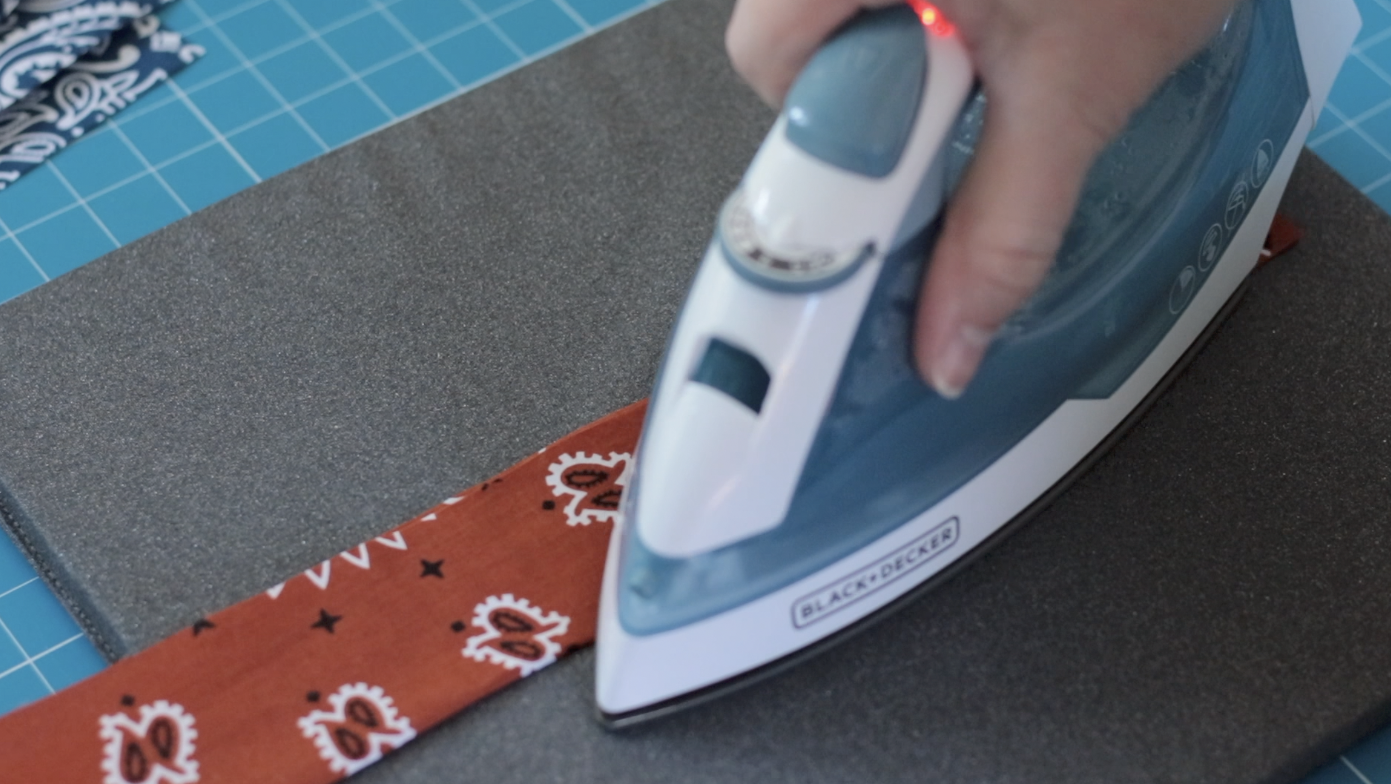
Step 3: Fold each short handle piece in half and press with an iron. There will not be a line down the middle.
Step 4: Fold each outer edge towards the center and press with an iron.
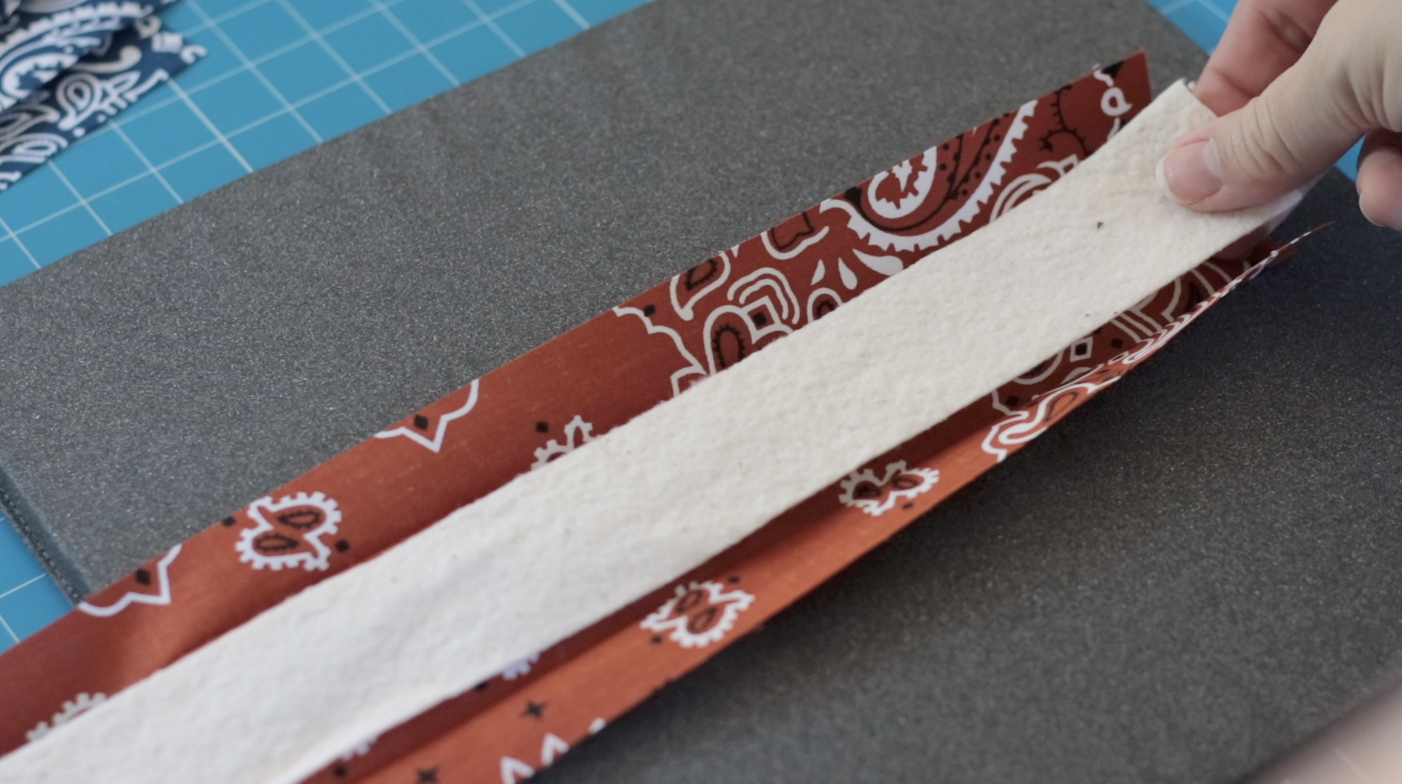
Step 5: Open the fabric, and you'll have a 2" area in the center. Place one of the short (16") batting strips in that area. Fold the edges over and iron.
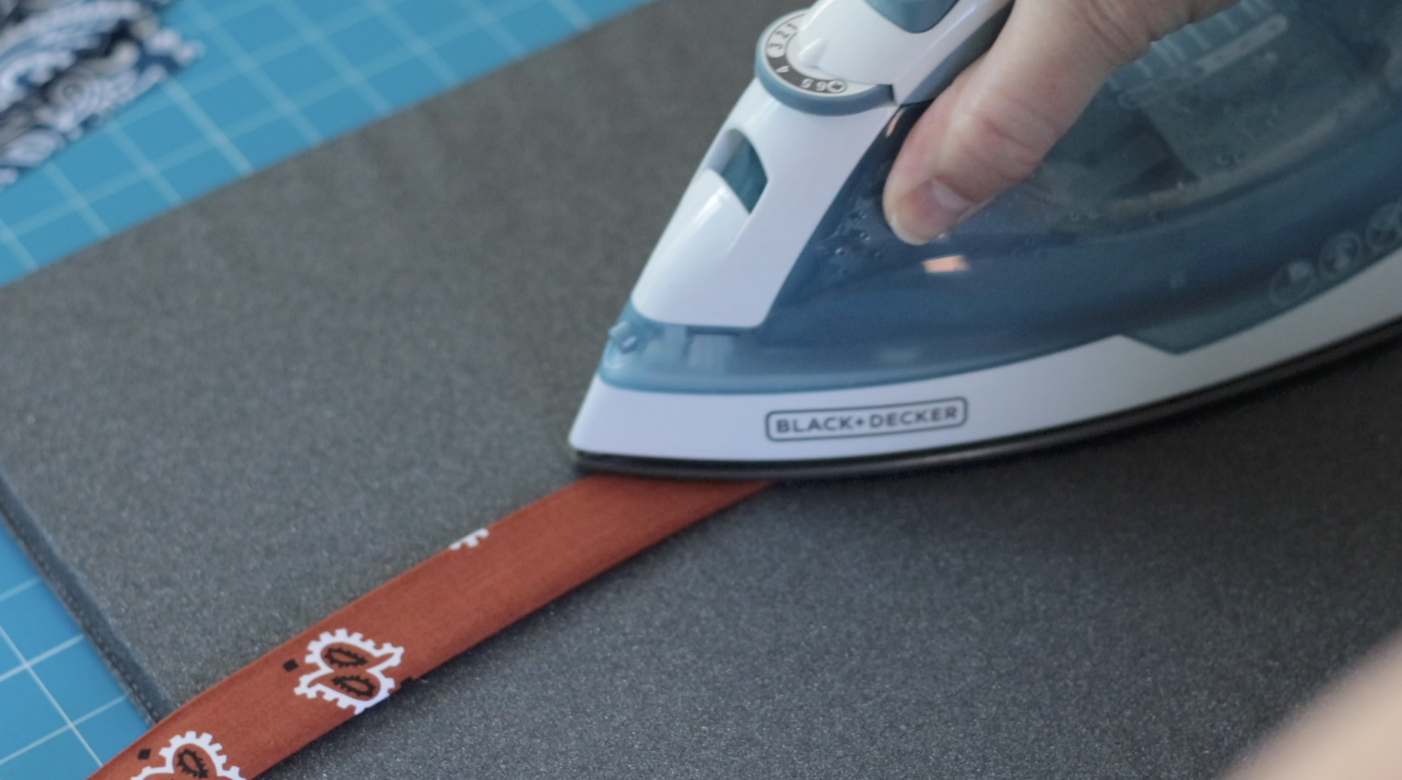
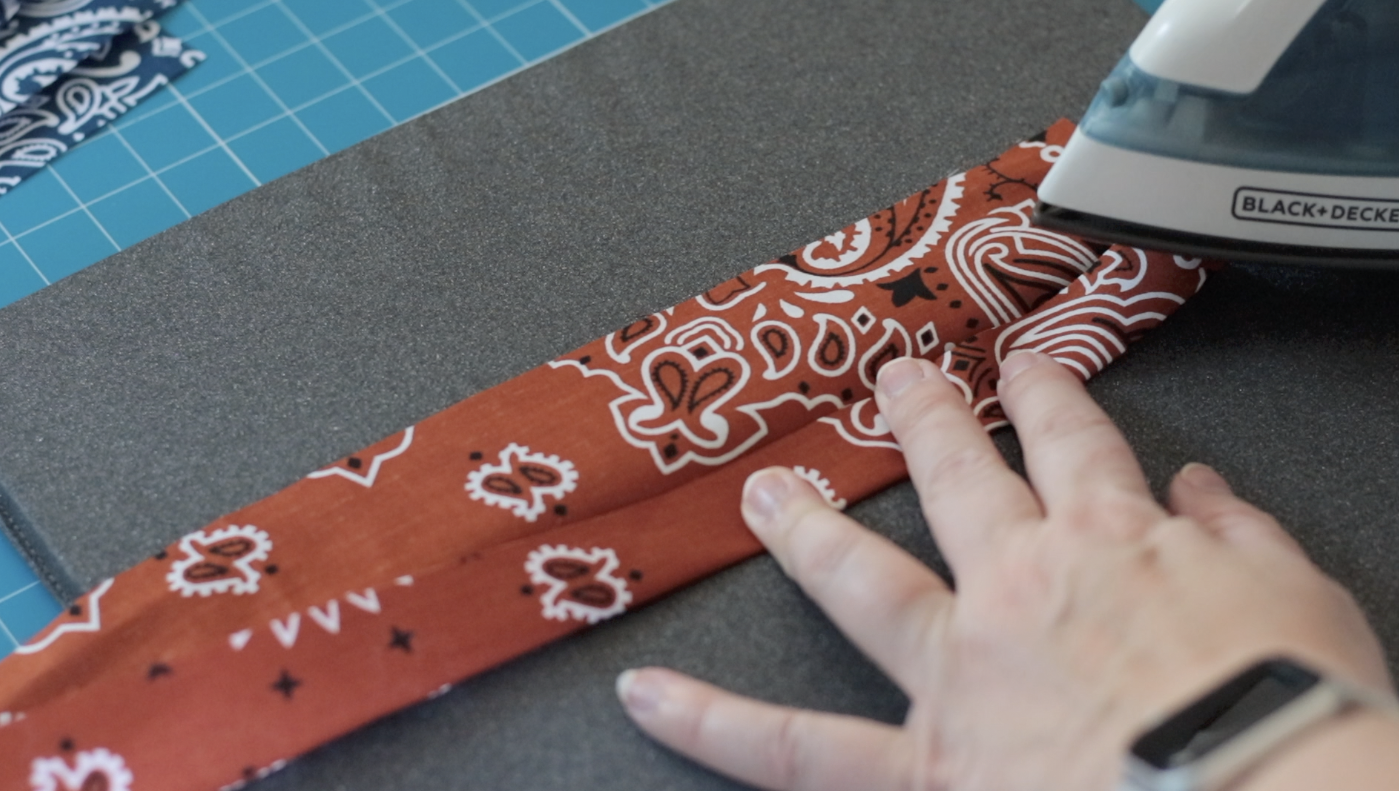
Step 6: Fold the strap in half one more time and iron.
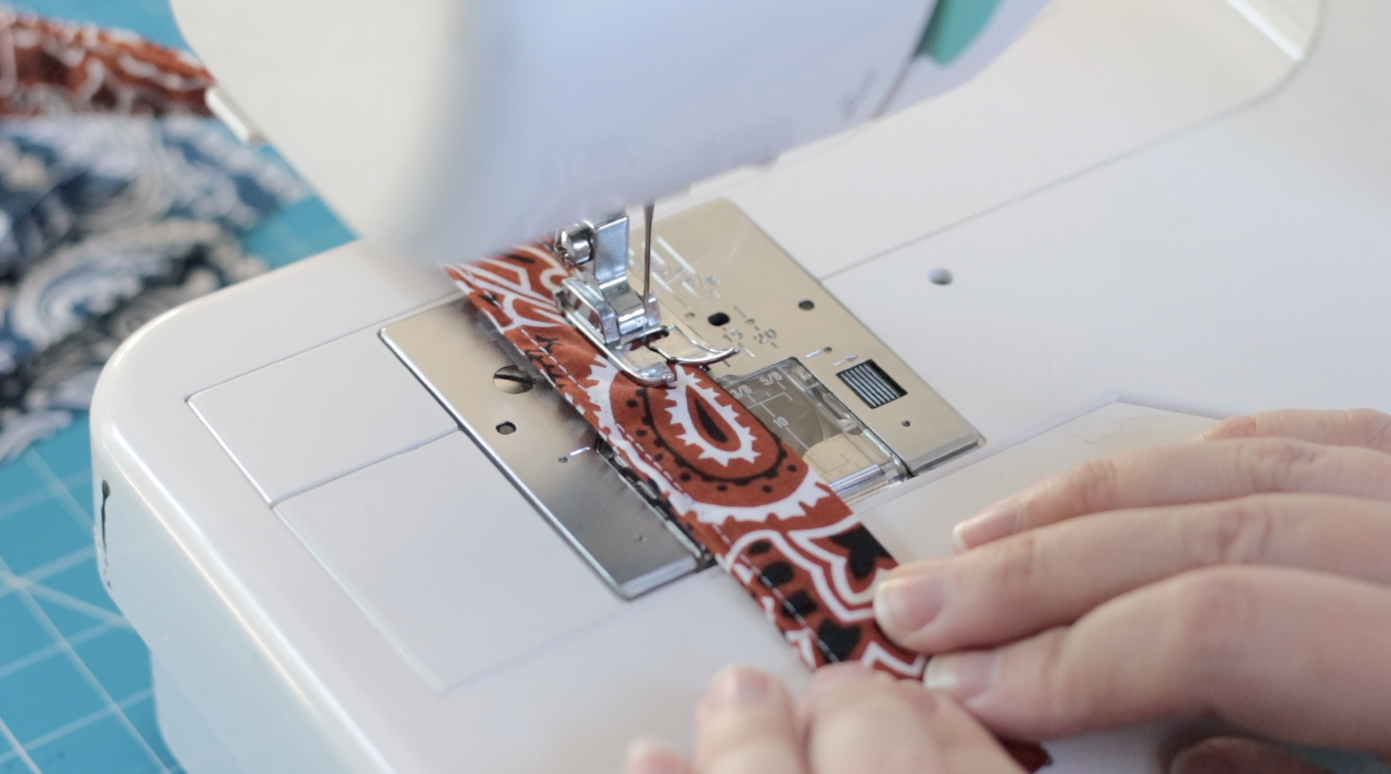
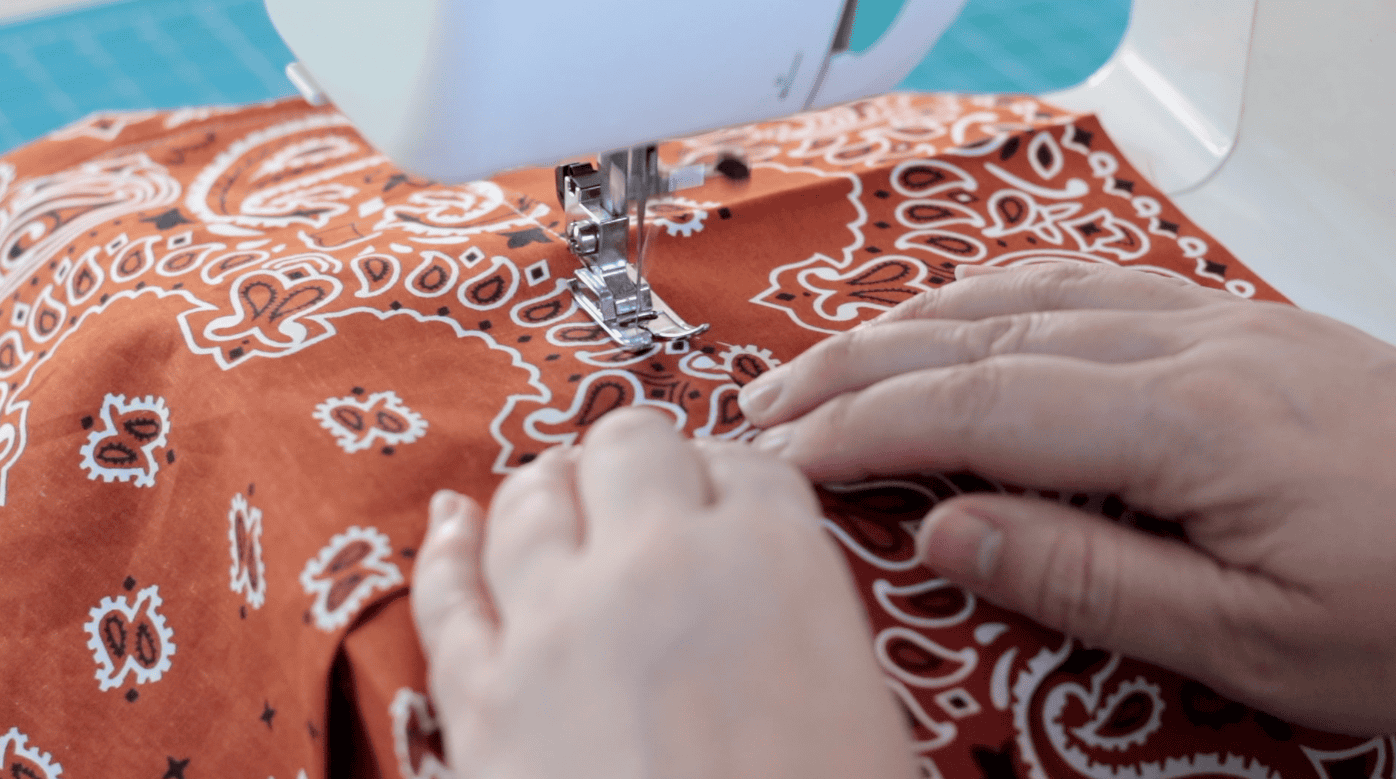
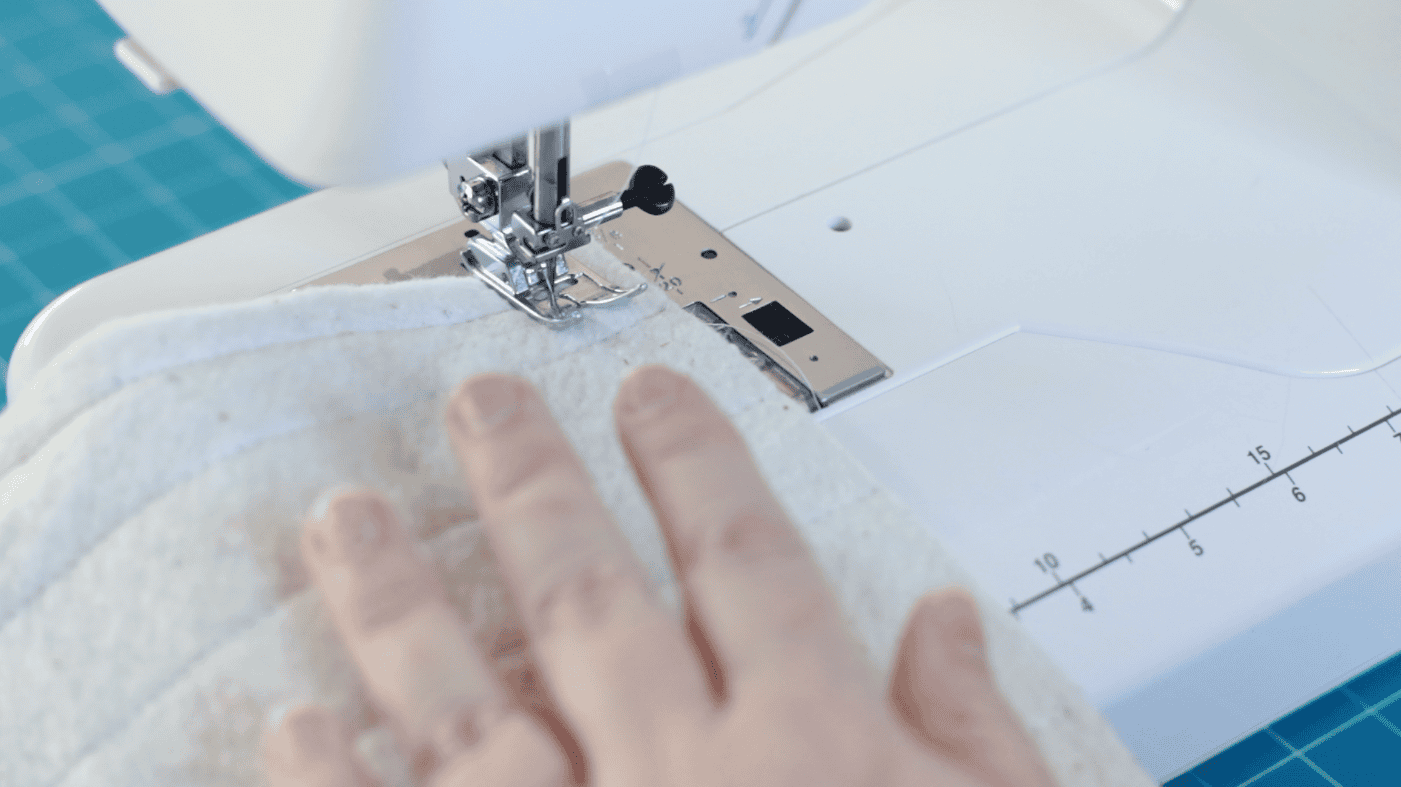
Step 7: Stitch close to the edge to finish the seam. Topstitch the other side so the sides match.
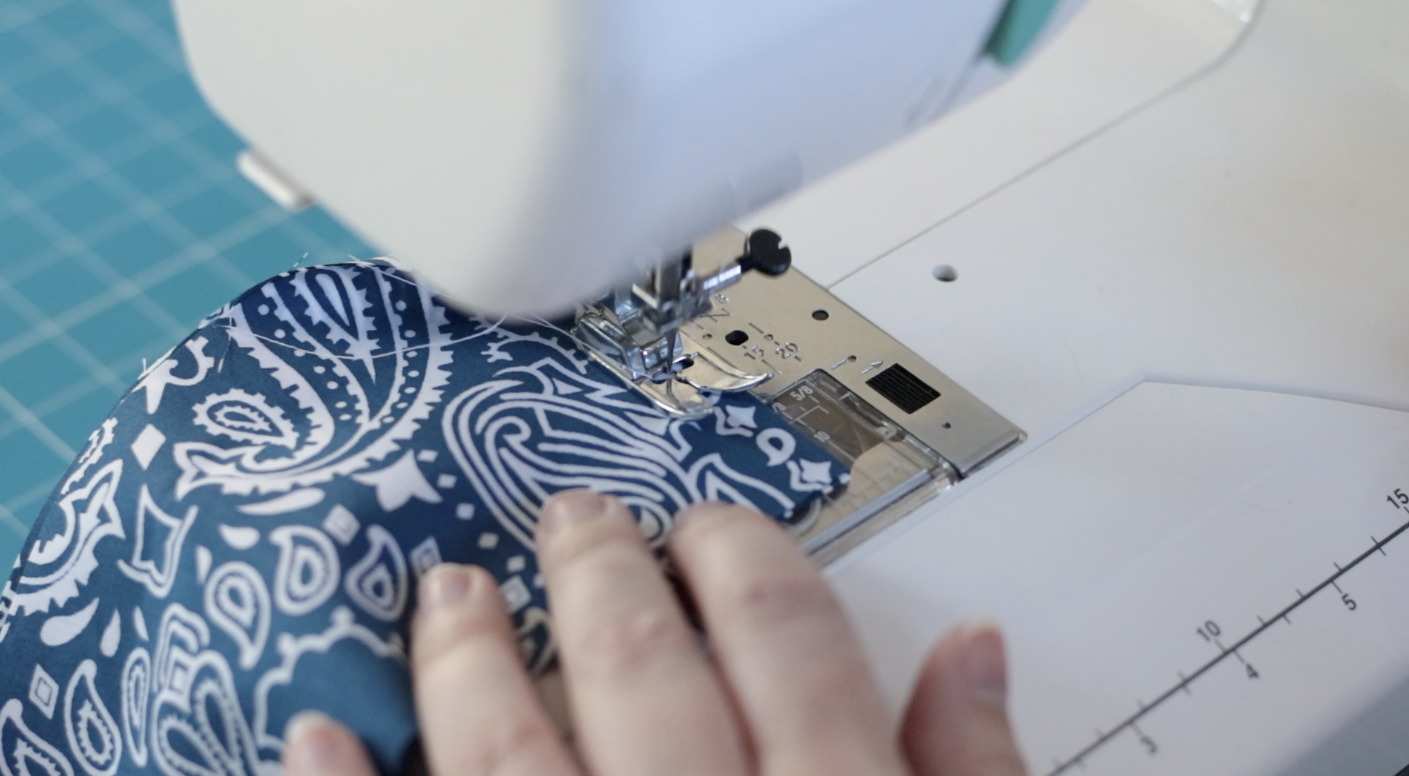
Step 8: To make the long handles, sew two of the (4"x18") strips together to form one long strip. Repeat for the remaining two strips.
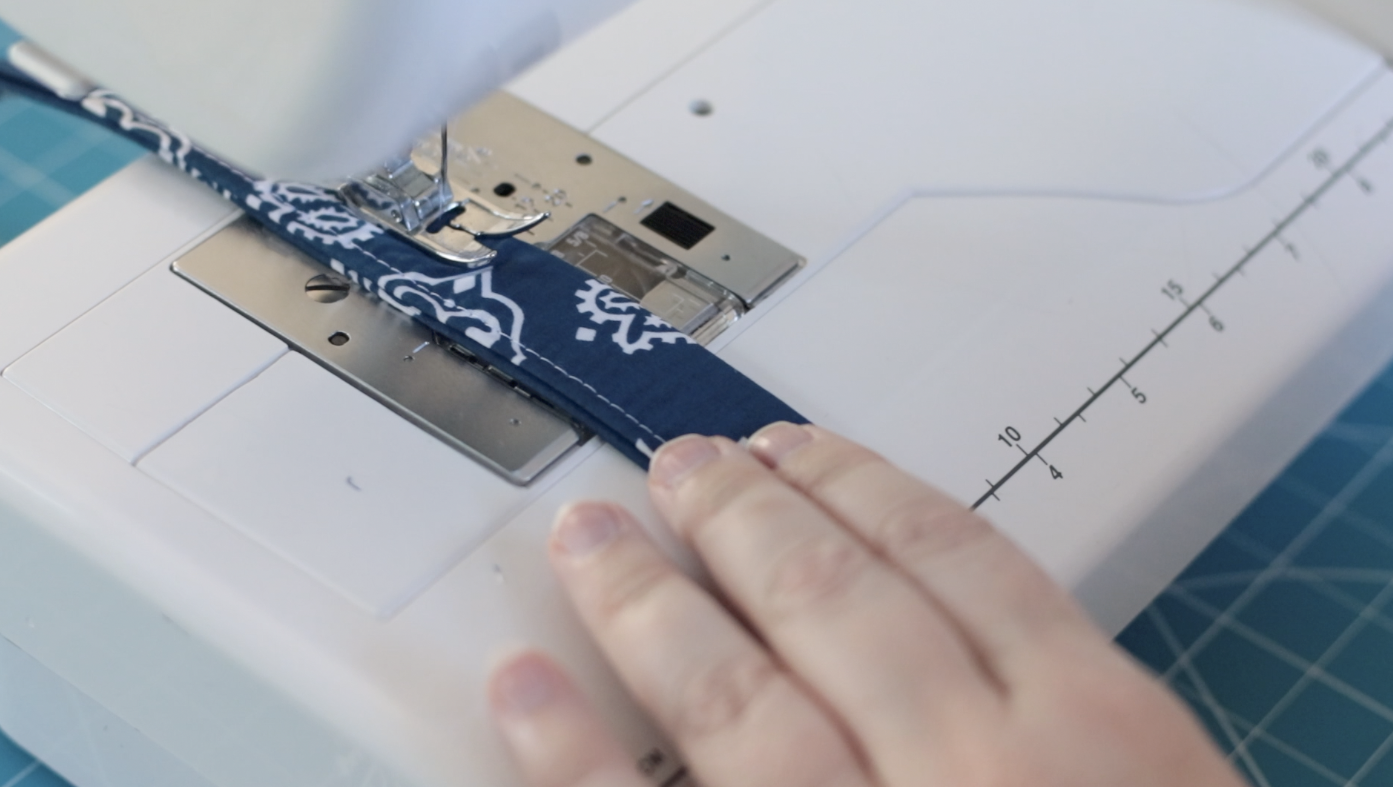
Step 9: Repeat steps 3-7 to finish the long handles. Decide what length you'd like your long straps to be. I trimmed mine to 30", but you can go shorter or leave them as is.
Step 10: Fold the pocket rectangle in half to form a 9" x9" square with right sides together. Stitch around the top and sides, leaving a 4-5" opening to turn right-side out.
Step 11: Trim corners, then turn the pocket right-side out and iron flat. Fold over the edges of the opening that you used to turn the pocket right-side out.
Step 12: Pin the pocket to the center of one of the lining bandanas, with the unfinished opening on the bottom.
Step 13: Sew around the sides and bottom to attach the pocket to the lining (this will also close off the opening you left in step 10).

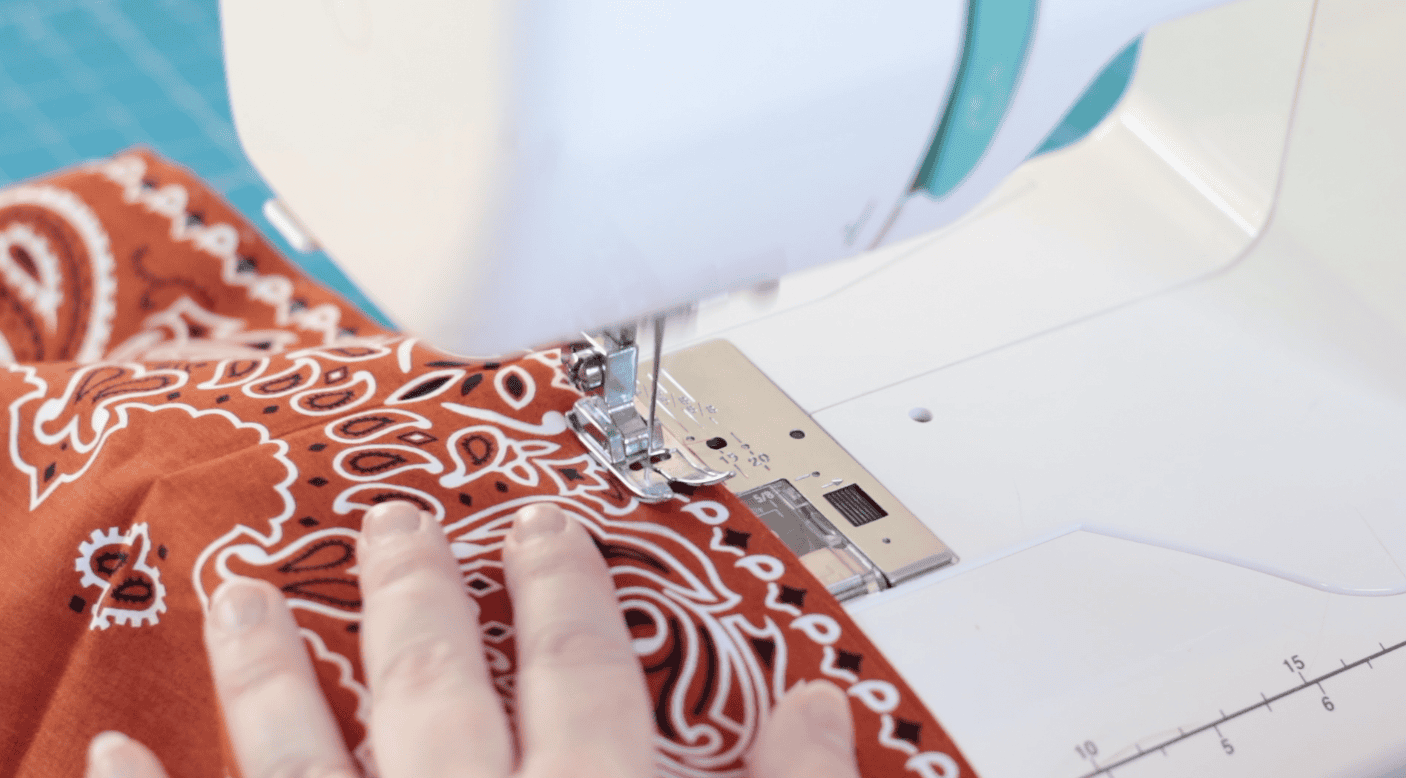
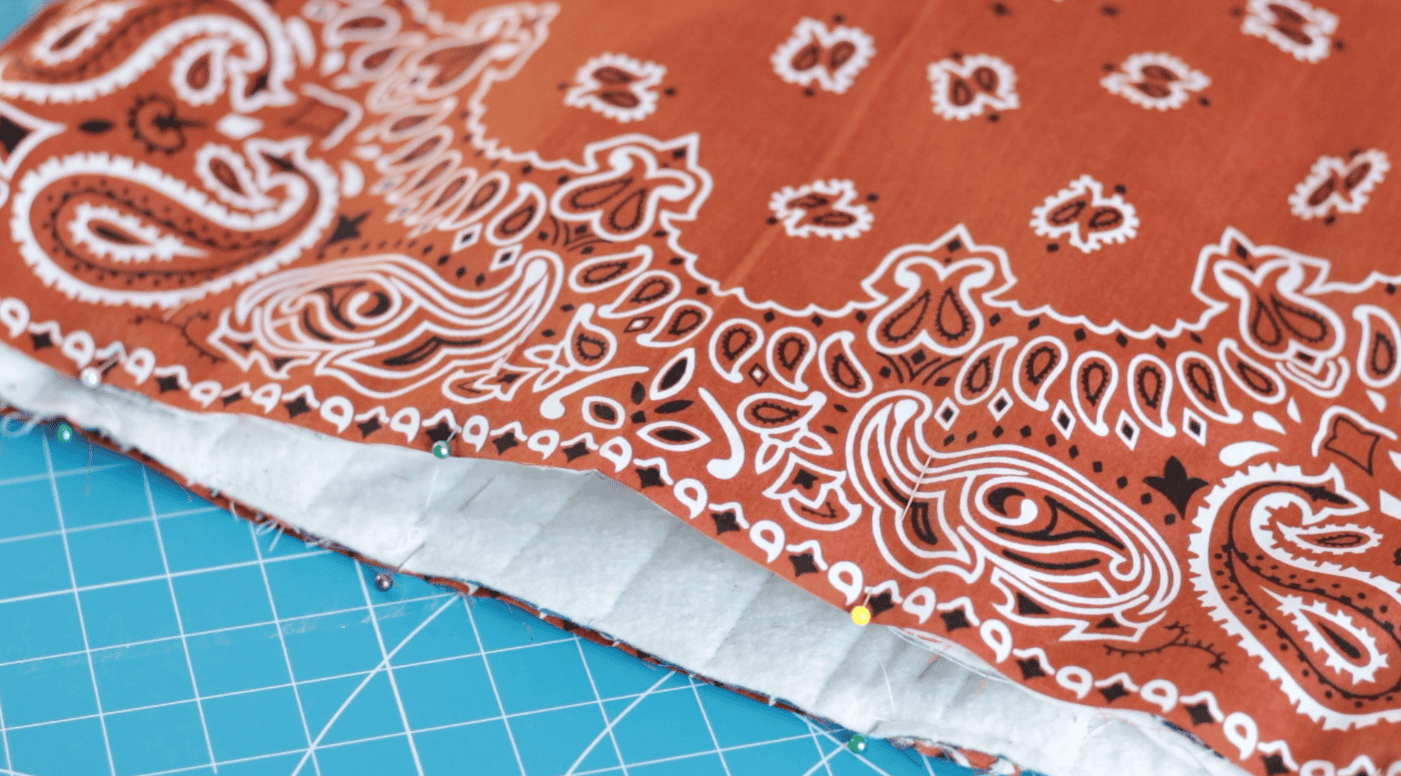
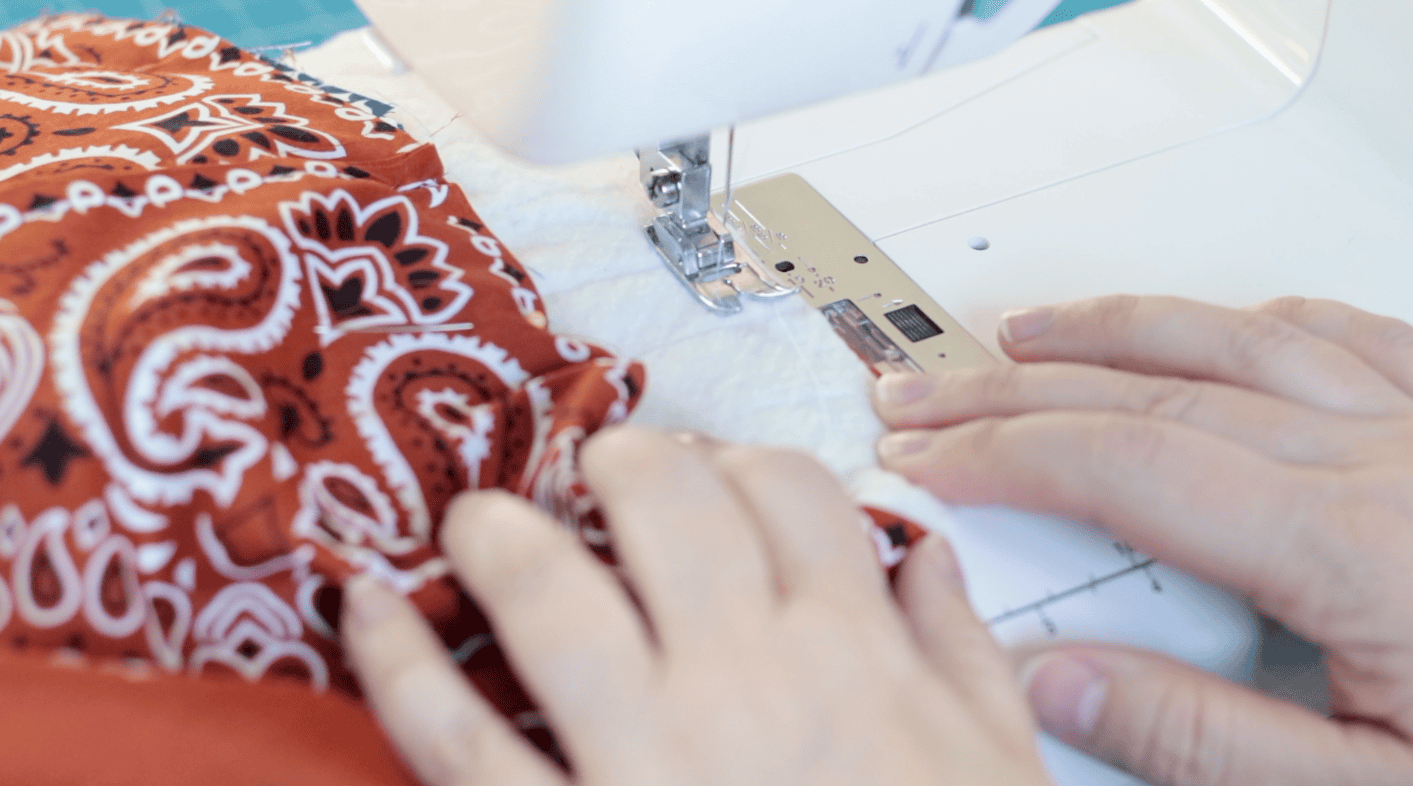
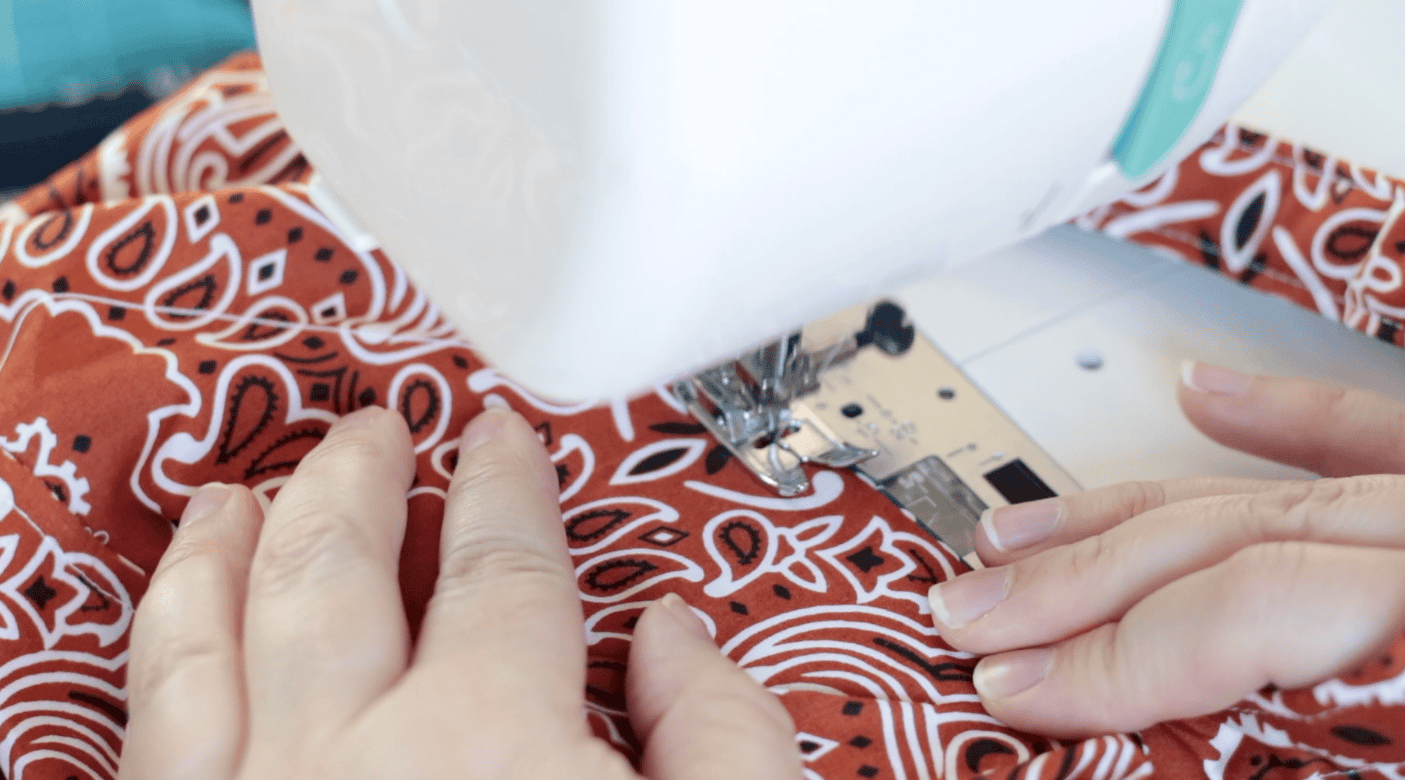
Step 14: To quilt the outside of the bag, place one of the outer bandanas on top of a large square of batting. Sew vertical lines, spaced out 1" to quilt the bandana and batting. You can mark the sewing lines with tailor's chalk, a white sewing pencil, or simply pin the starting and stopping points, as I did.
Note: If using chalk to mark the lines instead of pins, it is helpful to pin or clip the batting to the fabric to hold it in place while you sew.
Step 15: Make sure you have the following pieces: 2 short handles, 2 long handles, 2 lining bandanas (one with a pocket sewn in the center), and 2 quilted outer bandanas.
Step 16: Sew the two quilted bandanas together with right sides facing. Stitch the sides and bottom.
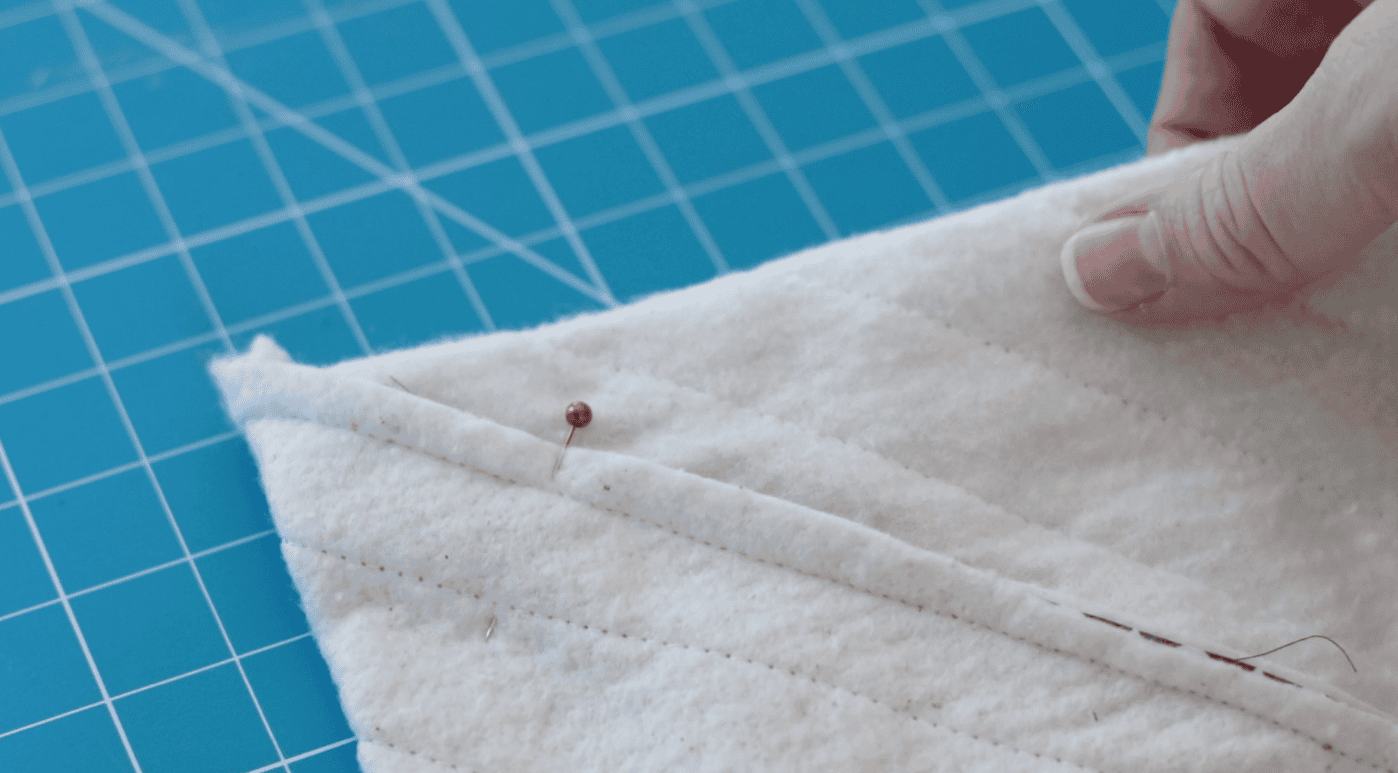
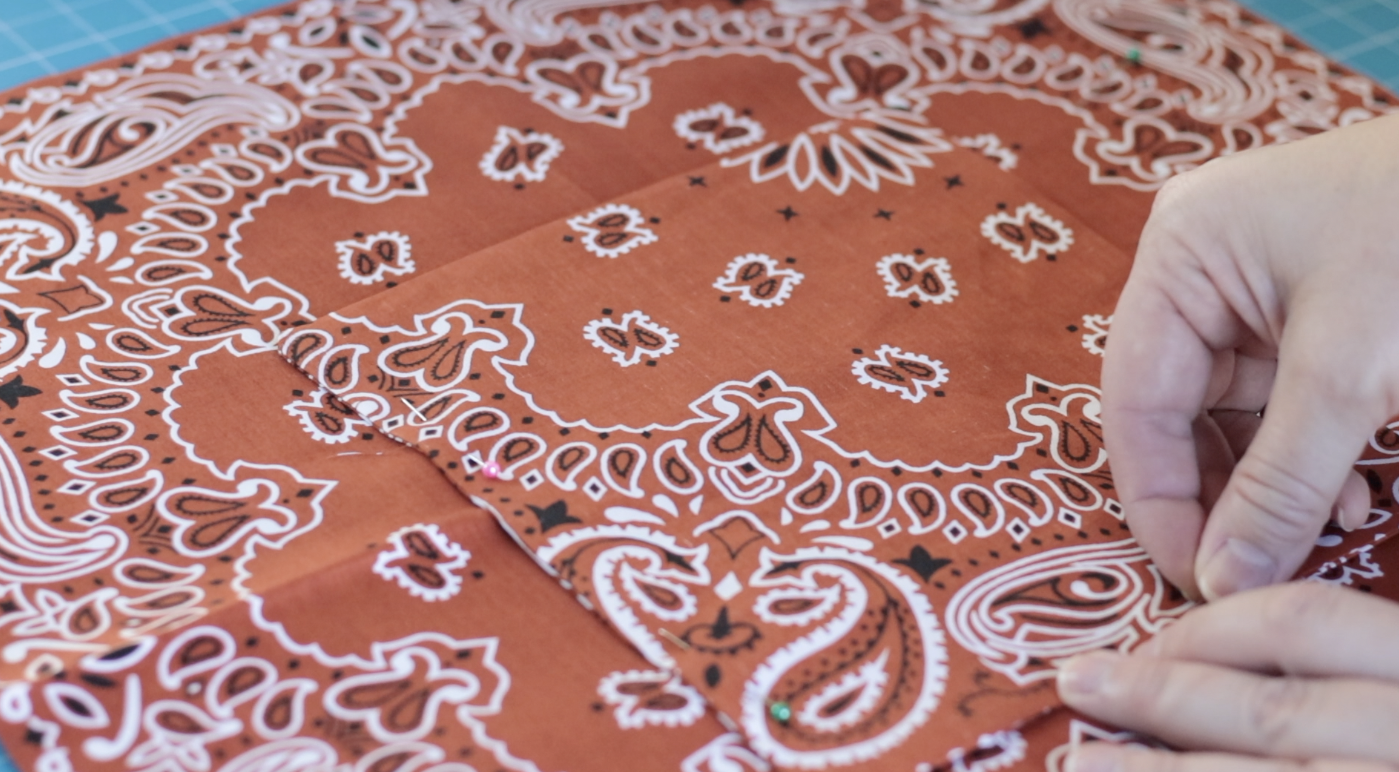
Step 17: Boxing the corners gives your bag more shape. To do this, keep the bag inside out and bring one of the bottom corners to a point (triangle), with the center seam at the center. Measure 2" down and mark it with a pin.
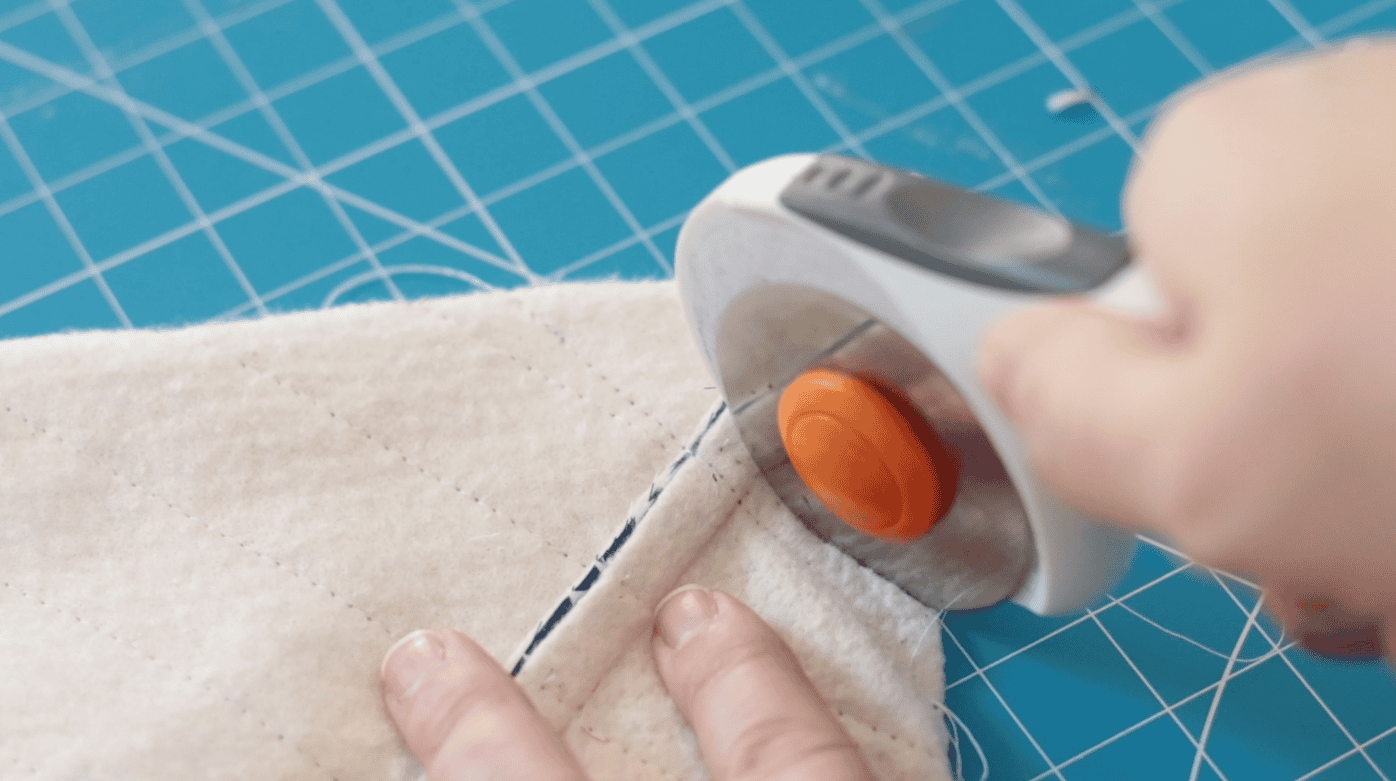
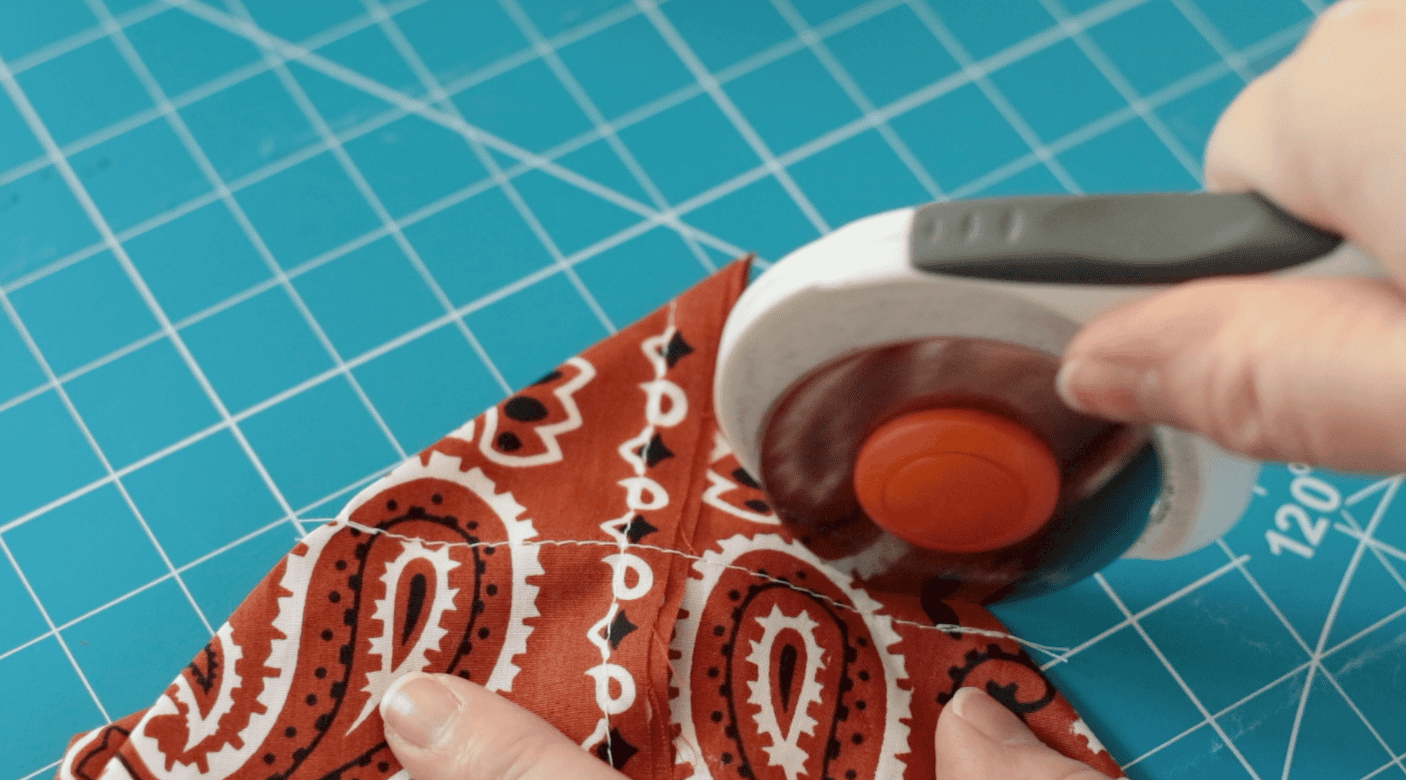
Step 18: Sew across at the 2" mark to create a triangle. Trim off excess fabric.
Repeat this process with the other corner.
Step 19: Sew the two lining bandanas together with right sides facing. Stitch the sides and bottom, MAKING SURE to leave a 6" opening in one of the sides to turn the bag right-side out later. Leave the top open.
Step 20: Box the corners of the lining by repeating steps 17 and 18.
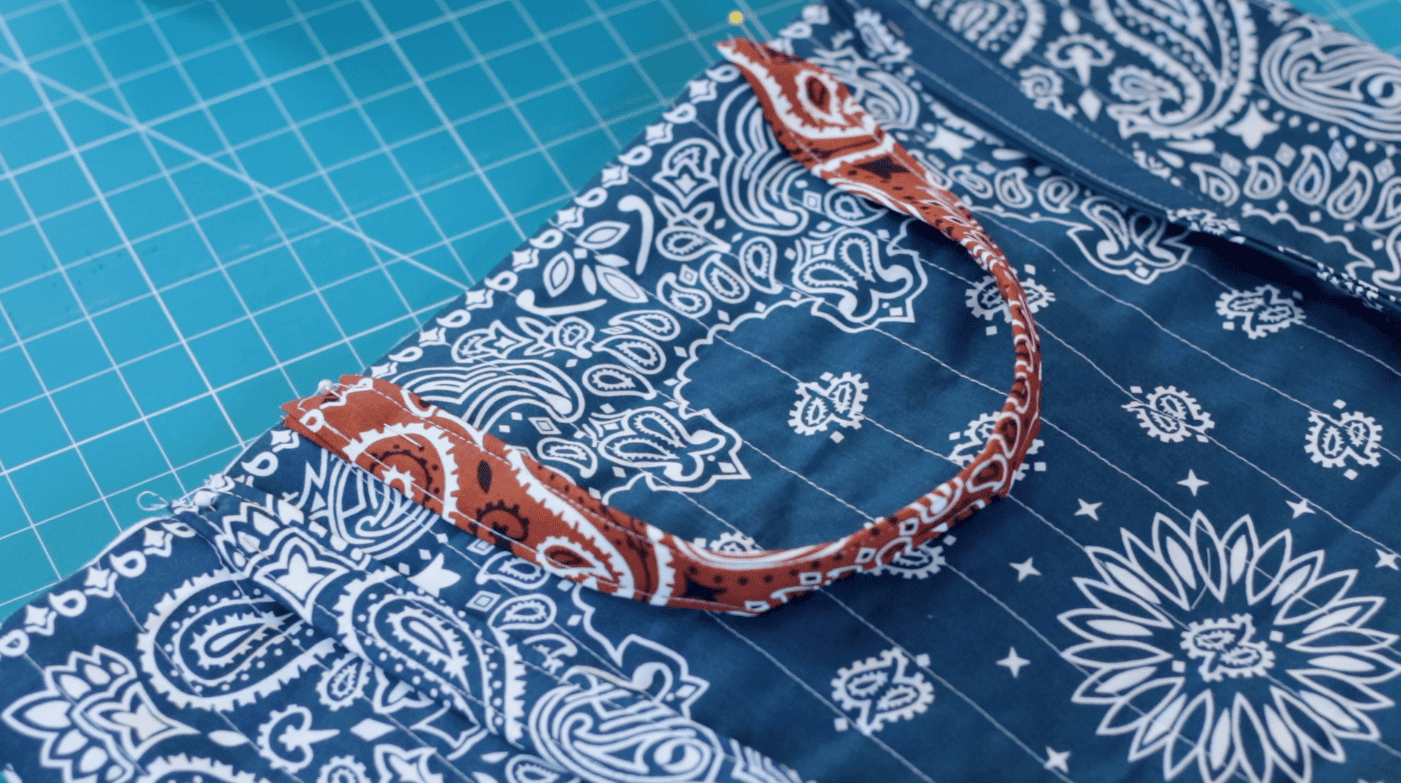
Step 21: Pin the handles to the outside of the bag. The short handles should be pinned 5" from the edge, and the long handles pinned 3" from the edge of the bag.
Do this on both sides of the bag with one short handle and one long handle on each side.
Step 22: Stitch the handles to the bag CLOSE to the edge of the fabric. This will hold them in place while you assemble the bag.
Step 23: To finish the bag, the outer part should be right-side out, and the lining should be inside-out (seams on the outside).
Place the outer part inside the lining, matching the side seams. Pin along the top to hold everything in place.
You should only see batting when you look into the bag and should only see the wrong side of the lining on the outside.
Step 24: Sew along the top edge of the bag using a ⅜" seam allowance.
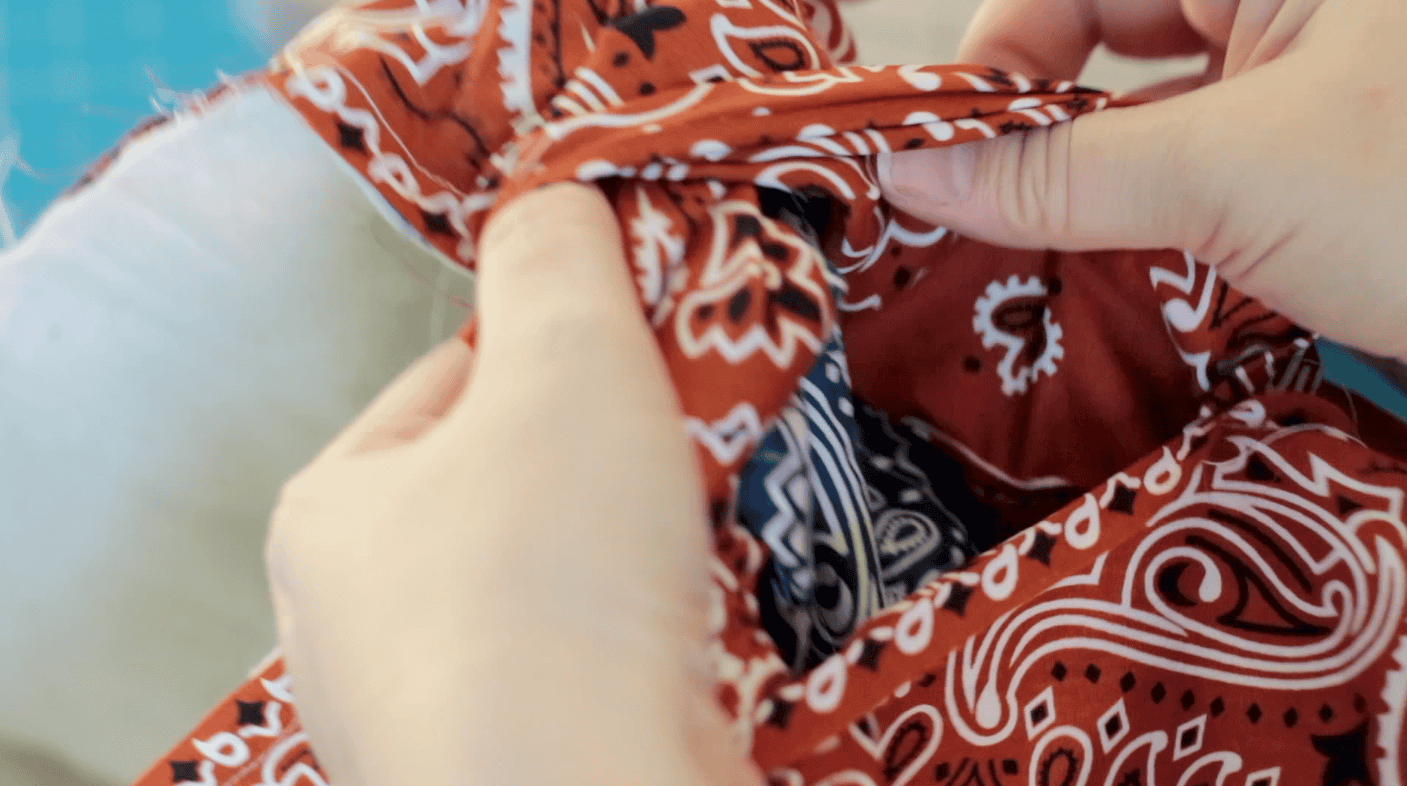
Step 25: Turn the bag right side out through the opening you left in the lining.
Fold the edges of the opening closed and stitch it closed using the sewing machine or by hand.
Step 26: Shove the lining into the bag.
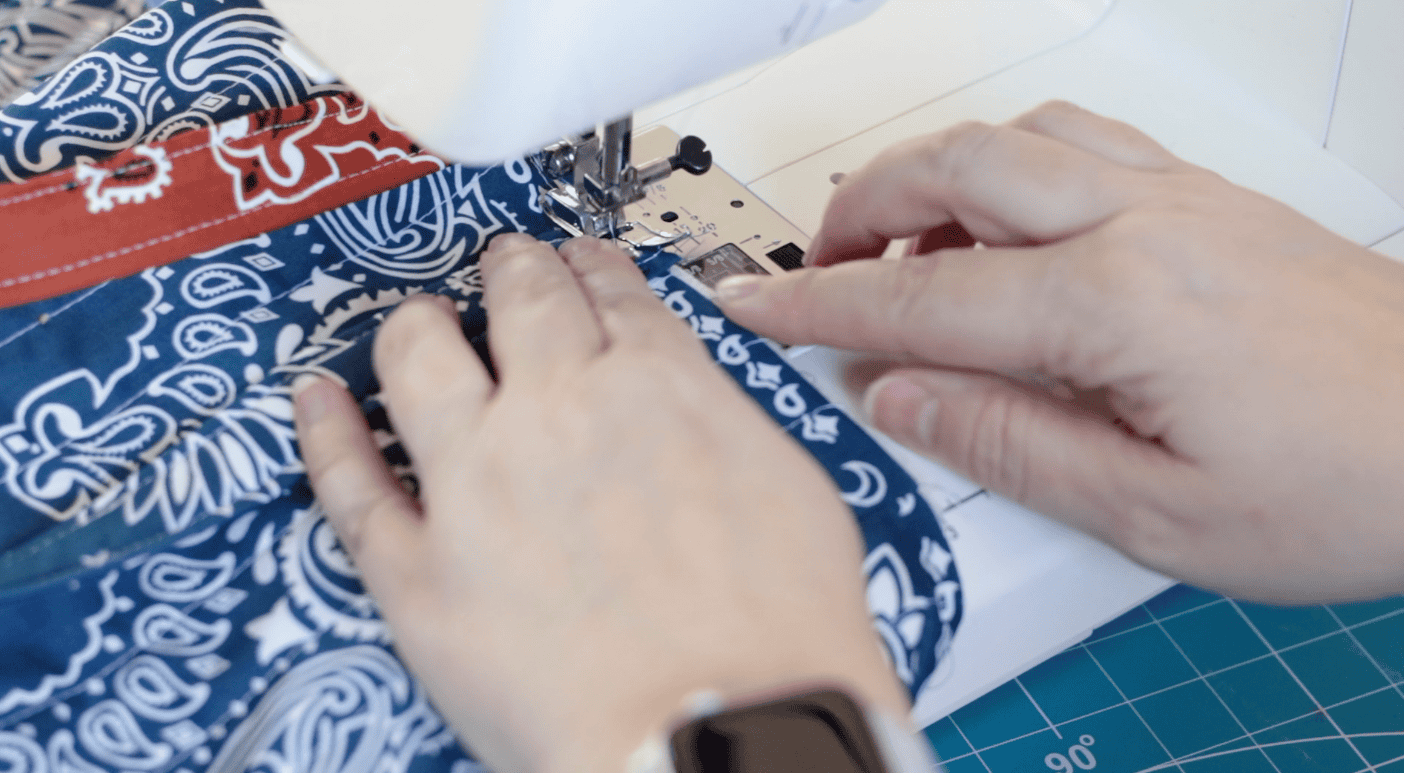
Step 27: Smooth everything out, then topstitch around the top of the bag to reinforce the handles and give the bag a polished look.
Bandana Bag FAQs
Standard cotton bandanas work best because they are durable, easy to sew, and hold their shape well.
Most people can complete this project in about an hour to an hour and a half, depending on sewing experience.
This bag measures approximately 16" x 16" x 4" with both 6" and 13" straps. For a bigger bag, leave the bandanas at 22" x 22" instead of cutting them down to 18".
It’s great for errands, grocery runs, books, beach trips, or as a lightweight everyday carry bag.
More Sewing Projects To Make

MADE THIS CRAFT AND LOVED IT? 💛 Please leave a STAR rating and COMMENT below! Post it to Facebook or Pinterest to easily share with friends!

Bandana Tote Bag
Equipment
- measuring tape
- sewing pins
- sewing machine and thread
- iron and ironing board
Materials
- 6 22" bandanas
- natural cotton batting or stabilizer
Instructions
- Cut each of your 6 bandanas to 18" x18". Basically, you'll be trimming the border off of each side, but measure to ensure uniformity. Set 4 bandanas aside: 2 for the outer part of the bag and 2 for the lining.You'll have 2 bandanas left. Use one to cut a 9"x18" rectangle for an inside pocket and 2 (4"x16") strips for the short handles.Now you have 1 bandana left. Cut 4 (4"x18") strips for the long handles.
- Cut 2 large squares of batting using one of the outer bandanas as a pattern. Cut 2 (1 ¾" x 16") strips of batting to reinforce the short handles and 2 (1 ¾" x 30") strips of batting to reinforce the long handles.
- Fold each short handle piece in half and press with an iron. There will not be a line down the middle.
- Fold each outer edge towards the center and press with an iron.
- Open the fabric, and you'll have a 2" area in the center. Place one of the short batting strips in that area. Fold the edges over and iron.
- Fold the strap in half one more time and iron.
- Stitch close to the edge to finish that seam. Topstitch the other side so the sides match.
- To make the long handles, sew two of the (4"x18") strips together to form one long strip. Repeat for the remaining two strips.
- Repeat steps 3-7 to finish the long handles. Decide what length you'd like your long straps to be. I trimmed mine to 30", but you can go shorter or leave them as is.
- Fold the pocket rectangle in half to form a 9" x9" square. Stitch around the top and sides, leaving a 4-5" opening to turn right-side out.
- Trim corners, then turn the pocket right-side out and iron flat. Fold over the edges of the opening that you used to turn the pocket right-side out.
- Pin the pocket to the center of one of the lining bandanas, with the unfinished opening on the bottom.
- Sew around the sides and bottom to attach the pocket to the lining (this will also close off the opening you left in step 10).
- To quilt the outside of the bag, place one of the outer bandanas on top of a large square of batting. Sew vertical lines, spaced out 1" to quilt the bandana and batting. You can mark the sewing lines with tailor's chalk, a white sewing pencil, or simply pin the starting and stopping points, as I did.Note: If using chalk to mark the lines instead of pins, it is helpful to pin or clip the batting to the fabric to hold it in place while you sew.
- Make sure you have the following pieces: 2 short handles, 2 long handles, 2 lining bandanas (one with a pocket sewn in the center), and 2 quilted outer bandanas.
- Sew the two quilted bandanas together with right sides facing. Stitch the sides and bottom.
- Boxing the corners gives your bag more shape. To do this, bring one of the bottom corners to a point (triangle) with the center seam in the center. Measure 2" down and mark it with a pin.
- Sew across at the 2" mark to create a triangle. Trim off excess fabric.Repeat this process with the other corner.
- Sew the two lining bandanas together with right sides facing. Stitch the sides and bottom, MAKING SURE to leave a 6" opening in one of the sides to turn the bag right-side out later.
- Box the corners of the lining by repeating steps 17 and 18.
- Pin the handles to the outside of the bag. The short handles should be pinned 5" from the edge, and the long handles pinned 3" from the edge of the bag.Do this on both sides of the bag with one short handle and one long handle on each side.
- Stitch the handles to the bag CLOSE to the edge of the fabric. This will hold them in place while you assemble the bag.
- To finish the bag, the outer part should be right-side out, and the lining should be inside-out.Place the outer part inside the lining, matching the side seams. Pin along the top to hold everything in place.You should only see batting when you look into the bag, and should only see the wrong side of the lining on the outside.
- Sew along the top edge of the bag using a ⅜" seam allowance.
- Turn the bag right side out through the opening you left in the lining.Fold the edges of the opening closed and stitch it closed using the sewing machine or by hand.
- Shove the lining into the bag and smooth everything out.
- Topstitch around the top of the bag to reinforce the handles and give the bag a polished look.


normasbathbody says
Cute!
Cindy says
Great tutorial!
Brandy says
Thank you!