
A T-shirt quilt is a fun way to preserve favorite shirts. This project makes a twin-size quilt that is perfect for a college dorm room or guest room.
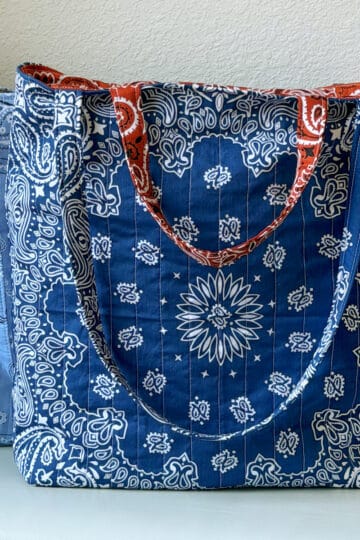
You might also like my quilted bandana tote bag tutorial or bandana picnic quilt tutorial.
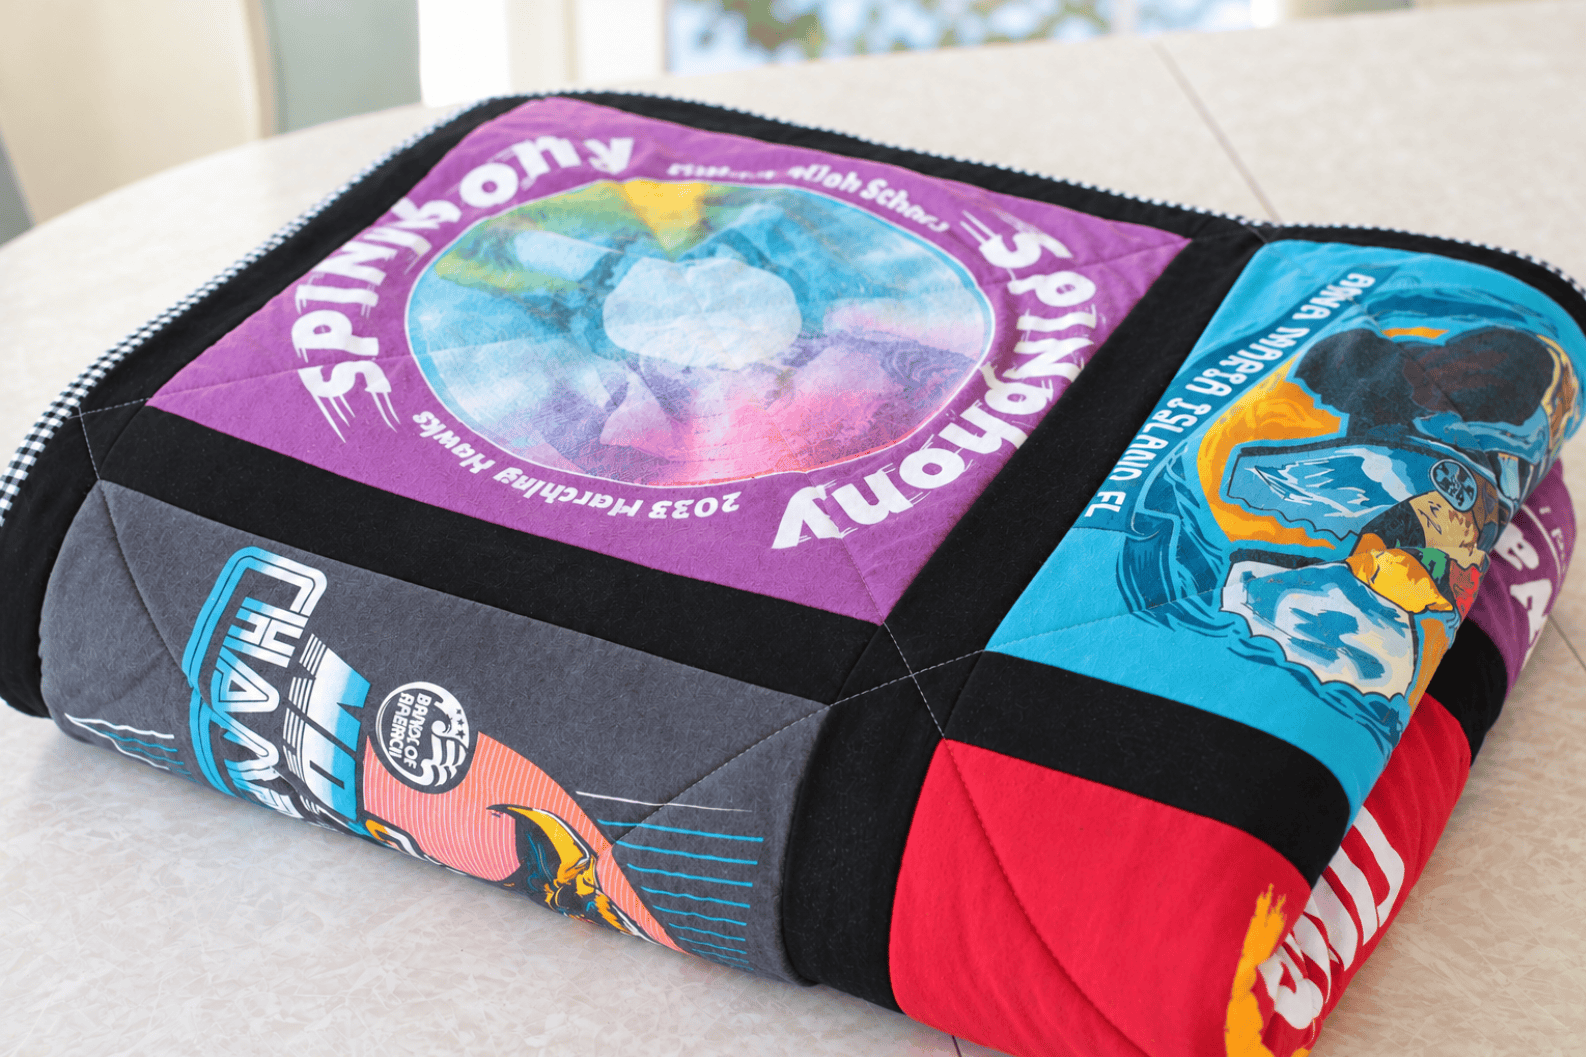
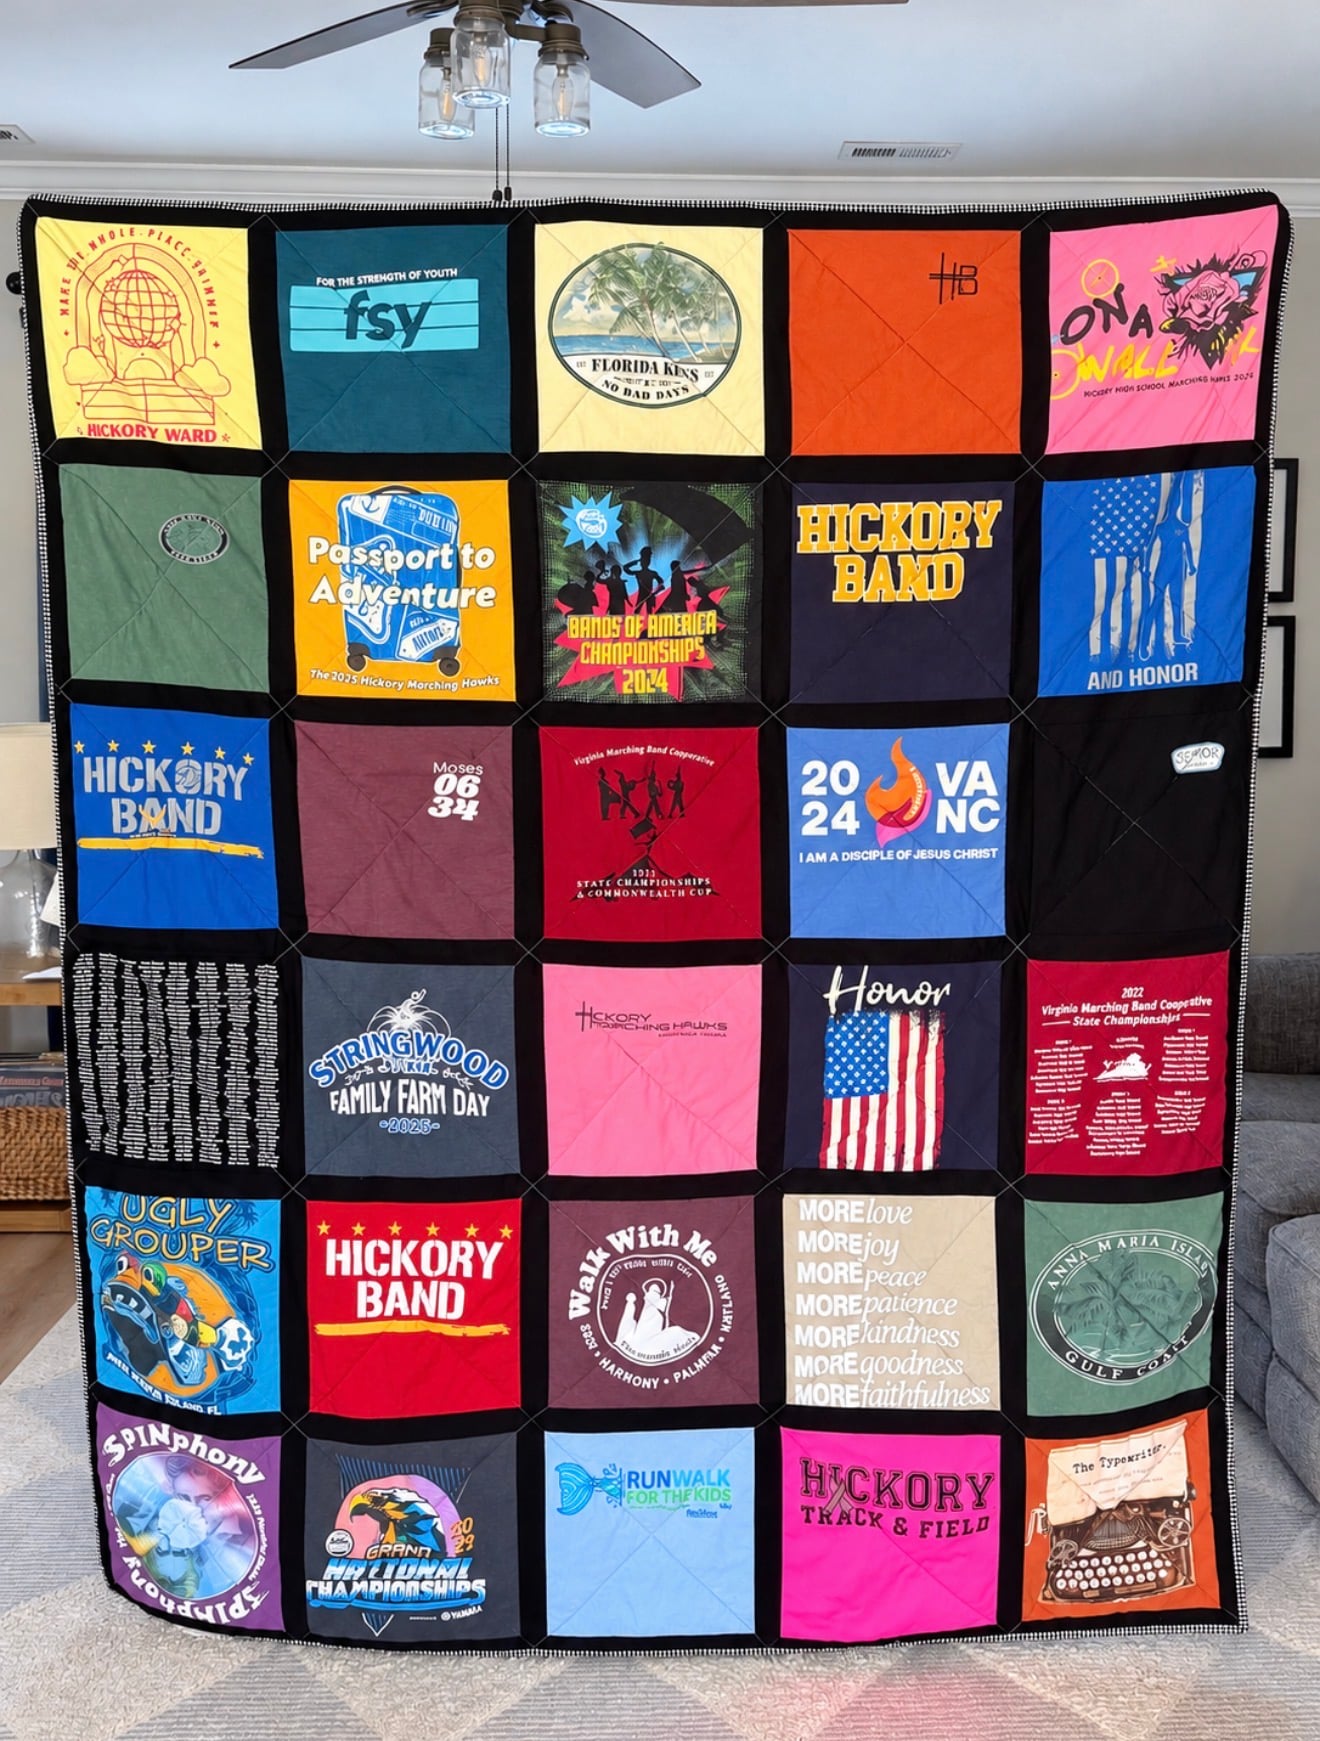
I made this twin T-shirt quilt for my daughter after she graduated from high school filled with shirts from marching band, youth camp, track, and family vacations!
Making a T-shirt quilt takes some time, but the process is manageable when you break it into steps. In this guide, I’ll walk you through how I made this twin quilt, from choosing the shirts to adding the backing, quilting, and binding.
Why Make a T-Shirt Quilt?
- Preserve special memories. T-shirts from high school, sports teams, concerts, clubs, vacations, and other milestones can become a keepsake quilt.
- Give old shirts a new purpose. Instead of letting favorite shirts sit unused, you can turn them into something practical.
- Customize the design. Choose which shirts to include, how to arrange the blocks, and whether to add sashing between them.
- Make a meaningful graduation gift. A T-shirt quilt is especially thoughtful for a high school graduate.
- Make a twin-size quilt. This layout creates a twin quilt that can be used on a standard twin bed or taken to college.
- Save money compared with having one made. My goal was to make this quilt for less than $100 by doing the work myself and using supplies I already had when possible. I priced out custom T-shirt quilts and saved $200 by making one myself.
Jump to:
Tips for Making a T-Shirt Quilt
- Prewash fabrics. Normally I don't pre-wash fabric when making a quilt, but because the t-shirts have been washed many times (and are preshrunk), it is important to pre-shrink the other fabrics prior to quilting so that they don't shrink unevenly or pull on the fabric during washing and drying the quilt for the first time.
- Choose lightweight interfacing. Lightweight or sheer-weight interfacing helps stabilize stretchy shirts without adding unnecessary bulk.
- Follow the interfacing directions. Different products have different pressing requirements. Always follow the manufacturer’s temperature, timing, and steam recommendations.
- Trim after applying the interfacing. Leaving the shirts a little larger during the interfacing step gives you room to trim clean, uniform blocks afterward.
- Take a layout photo. It’s easy to forget the order of the blocks once you start sewing. A photo is a simple way to keep everything organized.
- Use consistent seam allowances. Consistent ¼” seams help the blocks and sashing line up and keep the finished quilt top square.
- Measure the assembled quilt top. Use the actual measurements when cutting long sashing strips, borders, and backing fabric.
- Keep the layers smooth. Spend time smoothing the backing, batting, and quilt top before basting. Wrinkles and shifting layers are much harder to fix once quilting has begun.
- Start with simple quilting. Straight lines or an X through each block can secure the layers without requiring an elaborate design.
Supplies
- T-shirts: 30 blocks arranged in 5 columns and 6 rows. Use 30 shirts if you use one side of each shirt, 15 shirts if you use both the front and back of each shirt, or a combination that gives you 30 usable blocks.
- Lightweight or sheer-weight fusible interfacing: I used a combination of Pellon P44F and Pellon 906F interfacing because those were the products I had on hand. Choose a lightweight or sheer-weight fusible interfacing suitable for knit fabric.
- Rotary cutter and cutting mat: Helpful for cutting straight, consistent edges.
- Quilting ruler: A large ruler makes it easier to trim the blocks to the same size.
- Sewing machine and thread: For assembling the blocks, rows, and quilt top.
- Iron and ironing board: Needed to apply the fusible interfacing.
- Cotton batting: Cotton batting that is thin and sturdy is easiest to quilt with a standard sewing machine. You'll need a 72” × 90” (twin) piece of batting.
- Backing fabric: You'll need 6 yards of fabric for the backing. Flannel makes a soft, cozy backing. Cotton quilting fabric is another good option. You can also use a large sheet if the fabric is suitable and large enough for the quilt.
- Basting spray or safety pins: To hold the quilt layers together while quilting.
- Sashing and border fabric: 2 yards of cotton fabric to cut 2” wide strips for the sashing and border. I used about 1 ½ yards, but I always buy a little extra fabric just incase.
- Binding fabric: You’ll need approximately 1 yard of cotton fabric for binding.
- Walking foot: Optional, but very helpful when quilting multiple layers on a home sewing machine. I never quilt without mine.
- Embroidery floss, quilt thread, or yarn and a large-eyed needle: Optional, if you prefer to tie the quilt instead of machine quilting it.
How to Make a T-Shirt Quilt
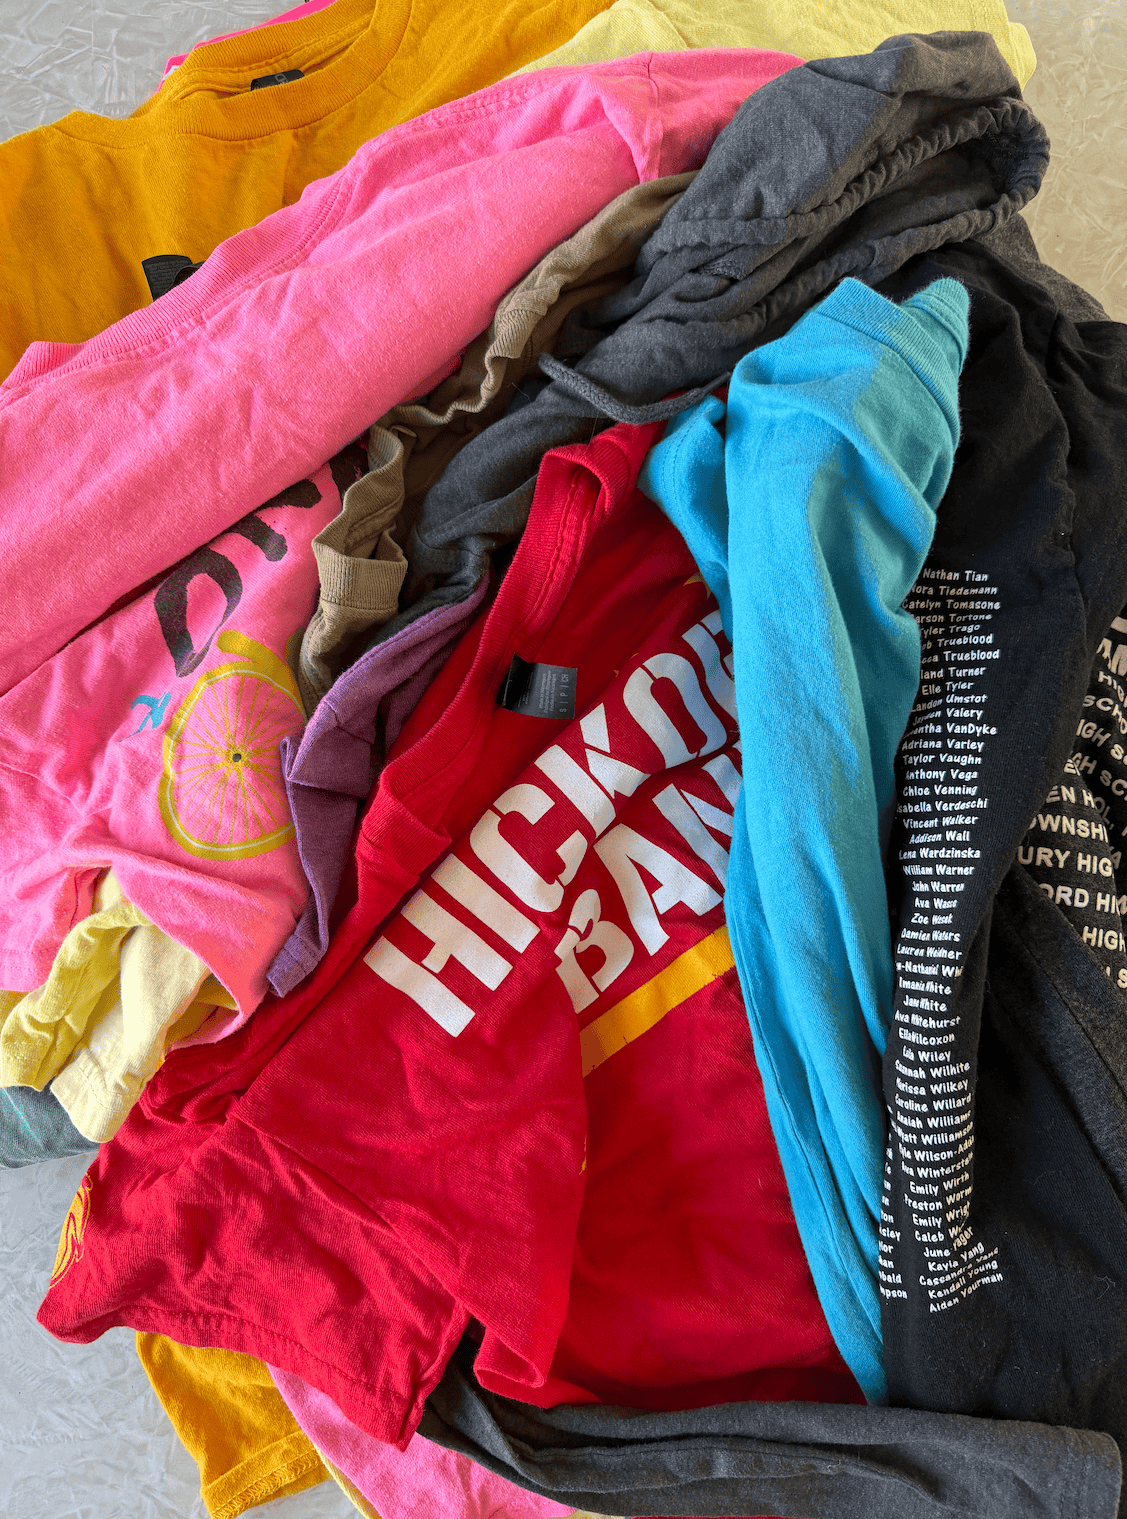
Step 1: Choose the T-shirts. For this twin-size quilt, plan for 30 blocks arranged in 5 columns and 6 rows.
You can make a smaller or larger quilt by changing the number of blocks, but this 5-by-6 layout is designed for a twin quilt.
Before cutting, lay out the shirts and decide which designs to include. Arrange them in different combinations until the colors and graphics look balanced.
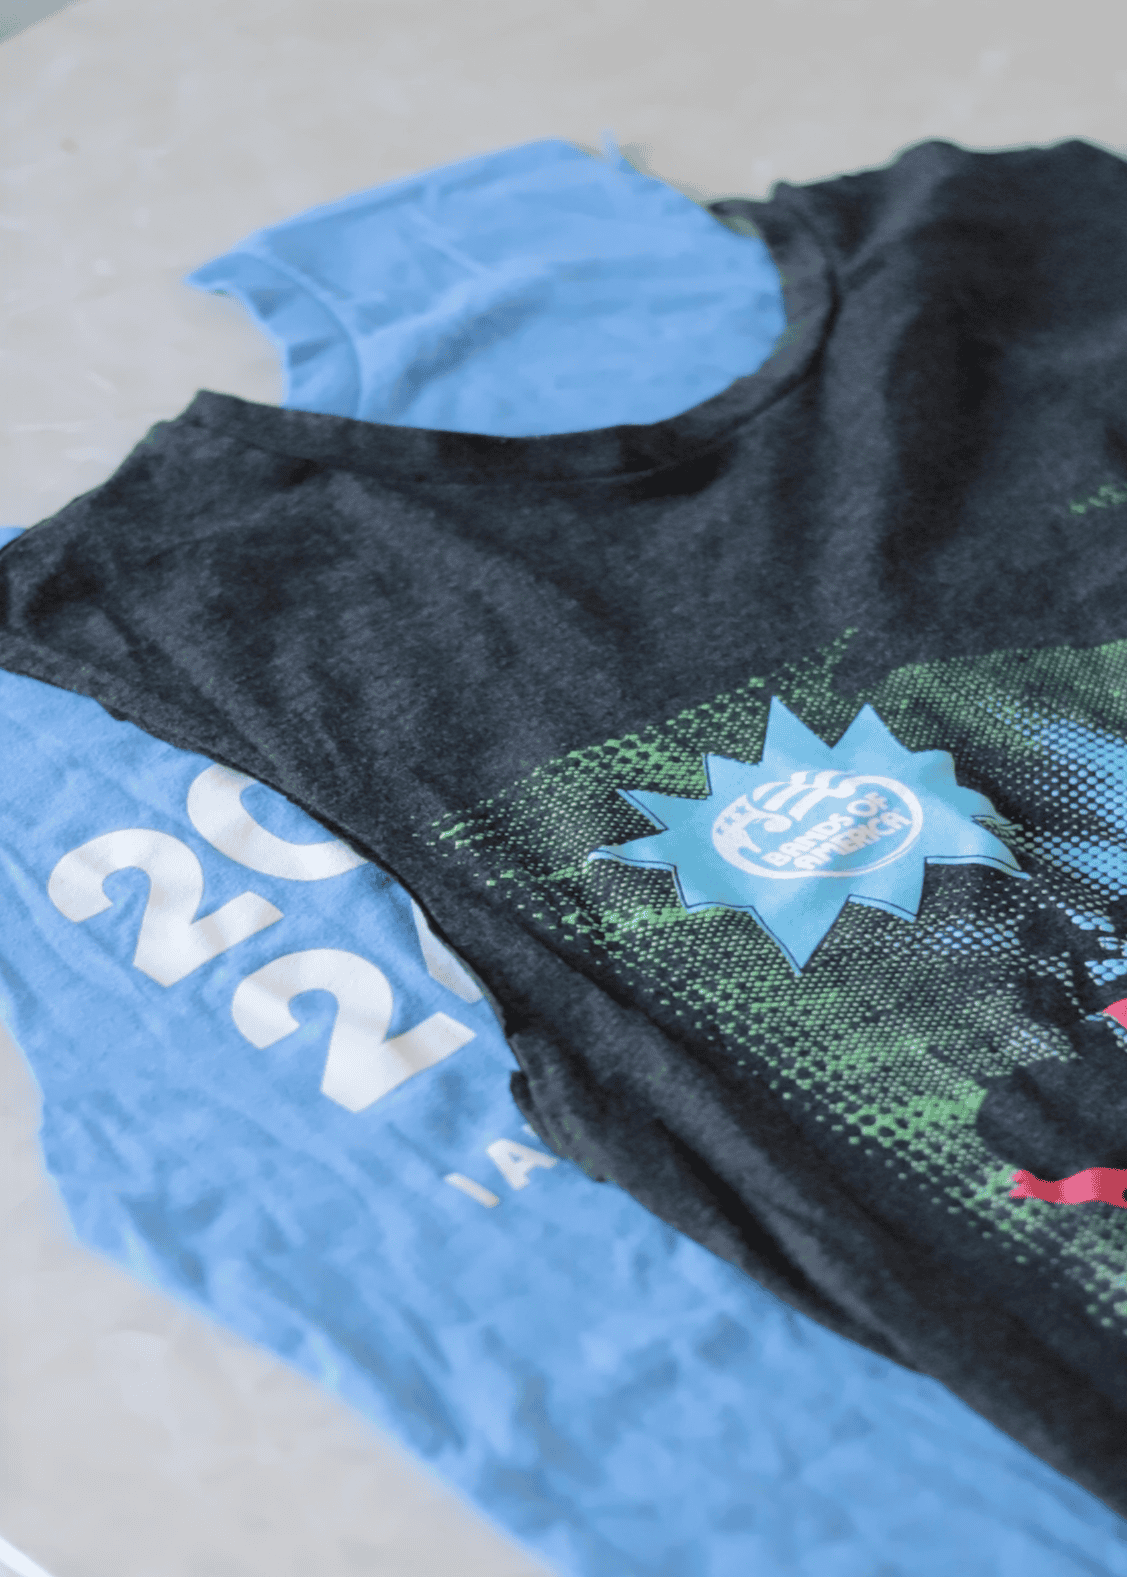
Step 2: Prepare and cut the shirts. Cut up both side seams, remove the sleeves, and separate the front and back at the shoulders. This creates separate front and back pieces, each resembling a one-sided tank top.
Remove the collar. Cut straight across the neckline to remove the collar, leaving enough fabric around the printed design to create a rough square measuring approximately 15” × 15”.
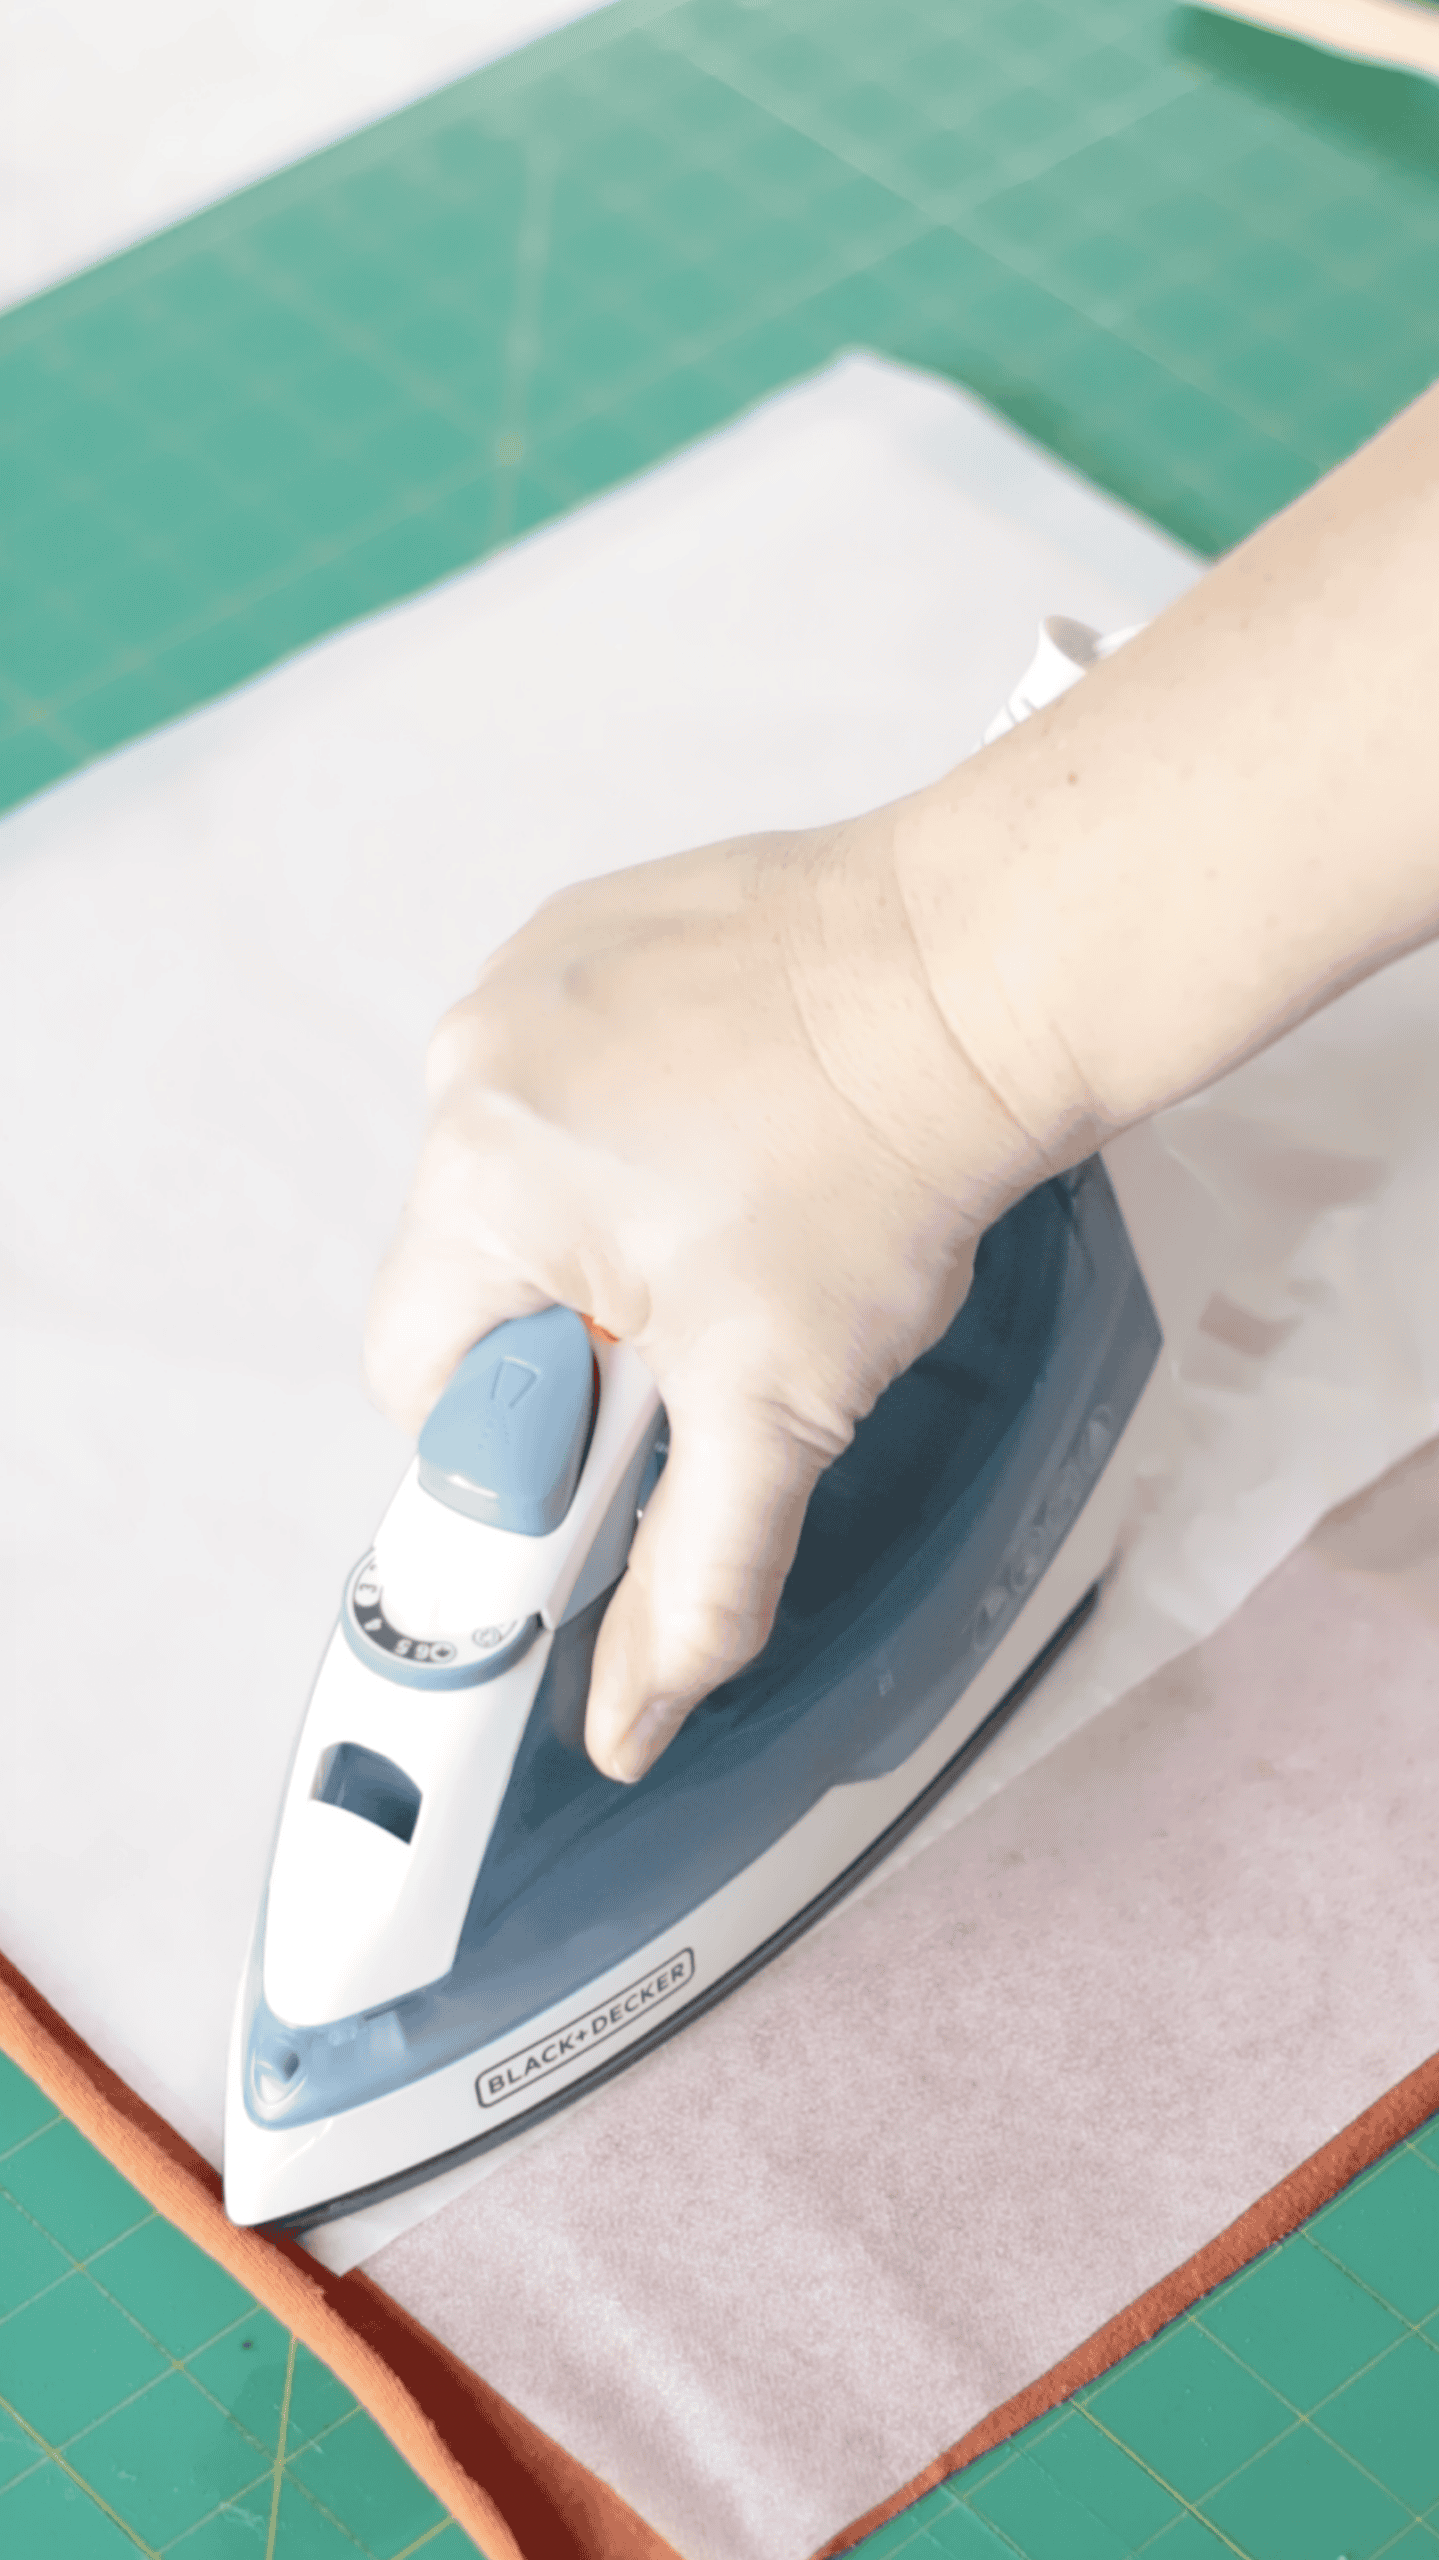
Step 3: Apply fusible interfacing.
Why use interfacing? Without it, the stretchy knit fabric can shift while sewing, making it harder to keep the seams straight and the blocks square. Stabilizing the shirts first makes the rest of the quilt much easier to assemble.
Cut the interfacing. Cut the interfacing to fit the back of each roughly 15” × 15” T-shirt piece. Leave enough fabric around the edges to trim the block to its final size after the interfacing is attached.
Follow the package directions. Fusible interfacings can have different temperature, pressing-time, steam, and cooling requirements. Check whether your product should be pressed directly or with a pressing cloth or other protective barrier. Use steam only if the instructions allow it.
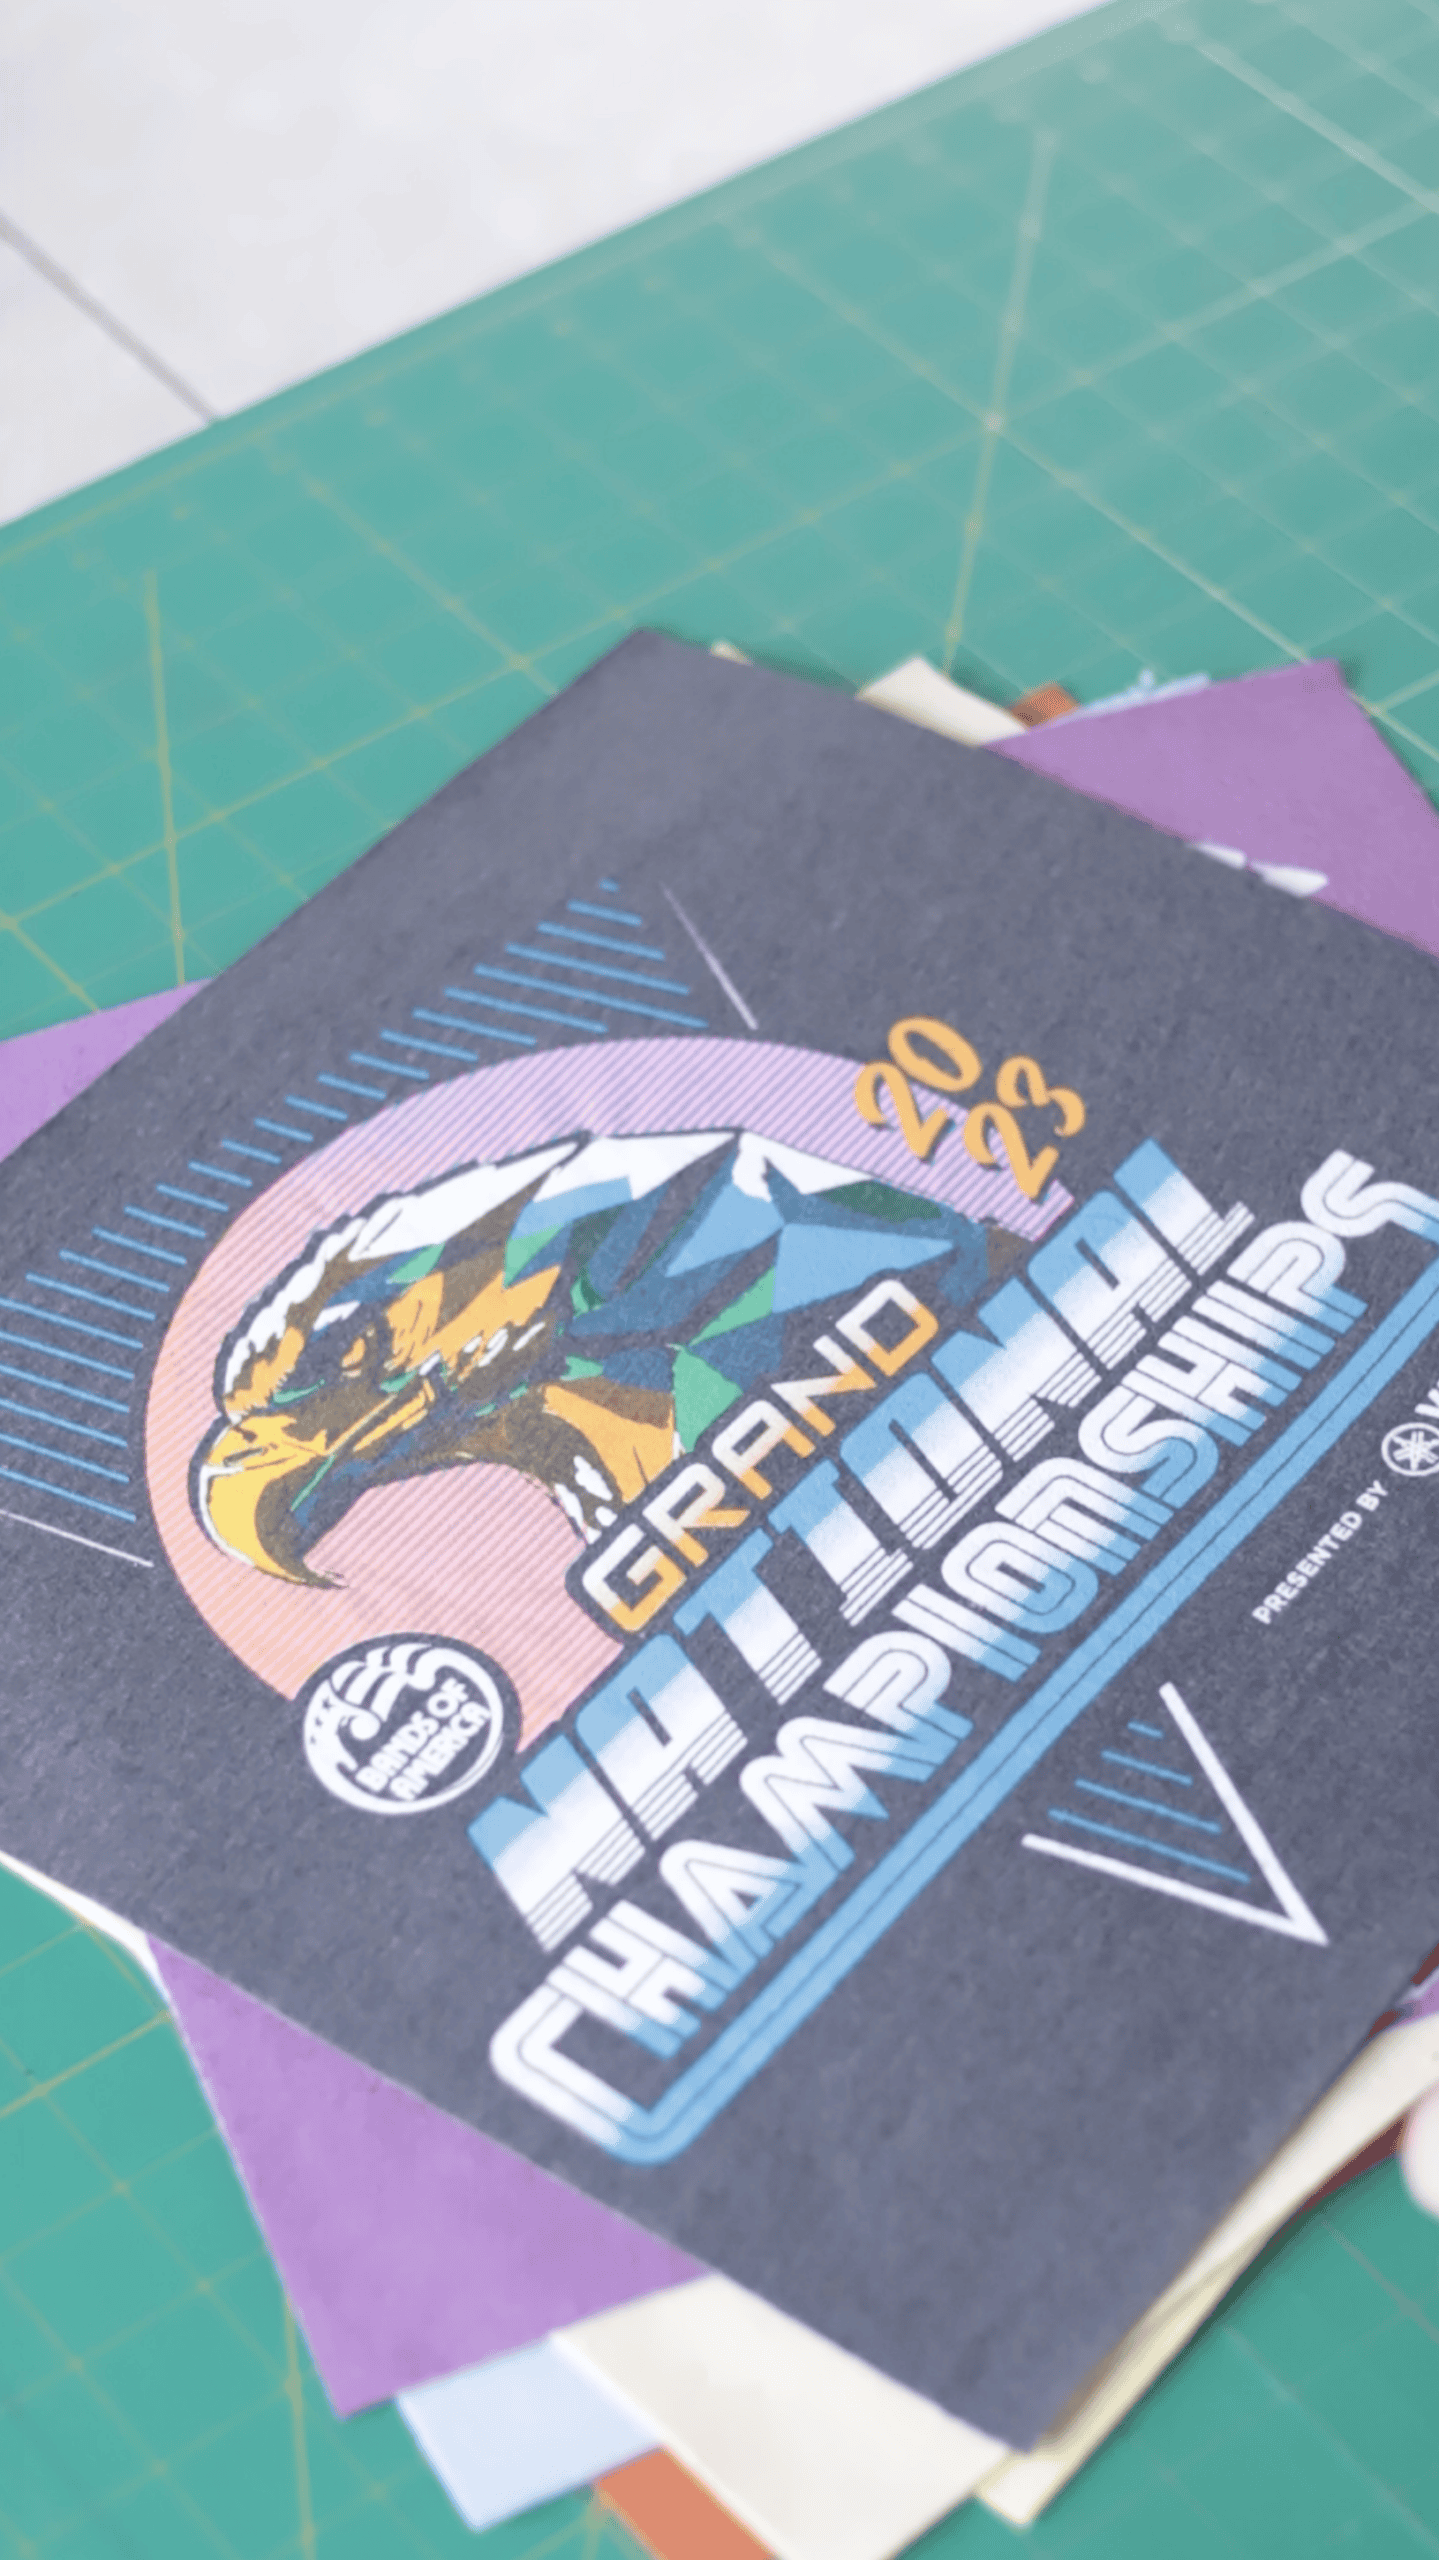
Step 4: Trim the blocks to 13” × 13”. Make sure important words, logos, and images won’t be cut off. If a design is too large for a 13” square, adjust the layout, use a larger block size, or choose a different shirt.
Trim each square. After the interfacing is attached and the pieces have cooled, trim each block to a precise 13” × 13”.
A quilting ruler and rotary cutter make this much easier. You can also use a cardboard template like I did to create uniform blocks.
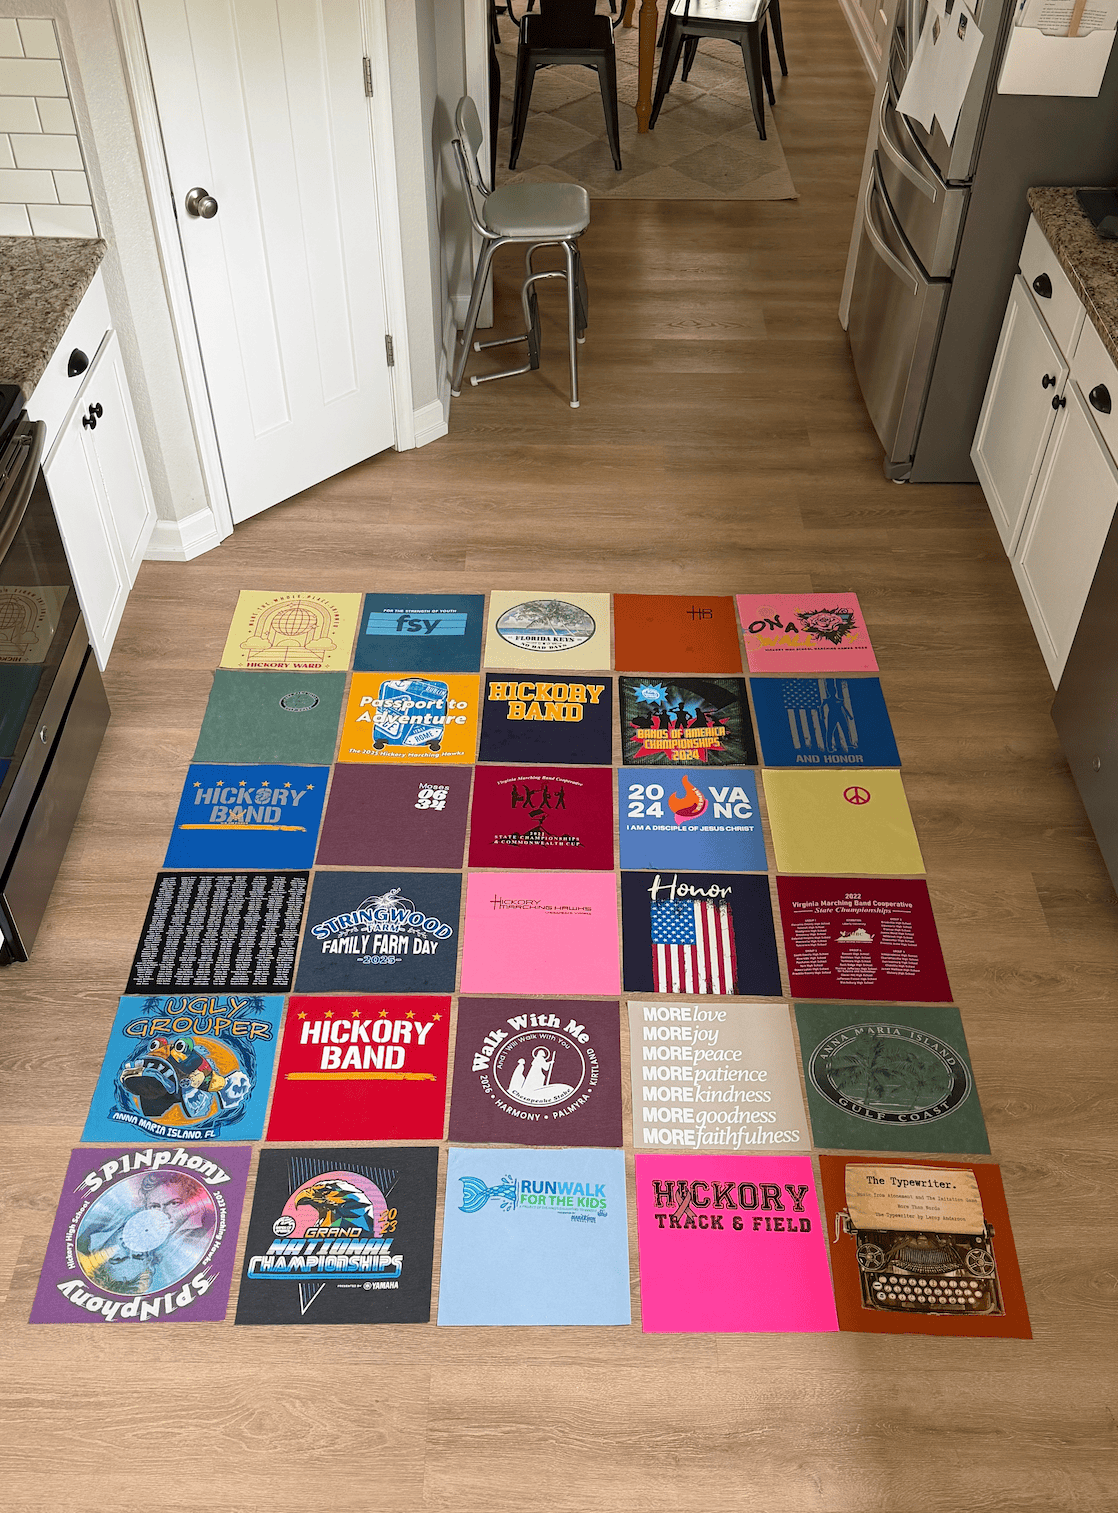
Step 5: Arrange the quilt layout. Arrange all 30 blocks in 5 columns and 6 rows. Move the blocks around until the colors, designs, and placement look balanced.
Take a picture. Once you’re happy with the layout, take a photo with your phone. It’s much easier to refer to the picture than to remember where every block belongs after you start sewing.
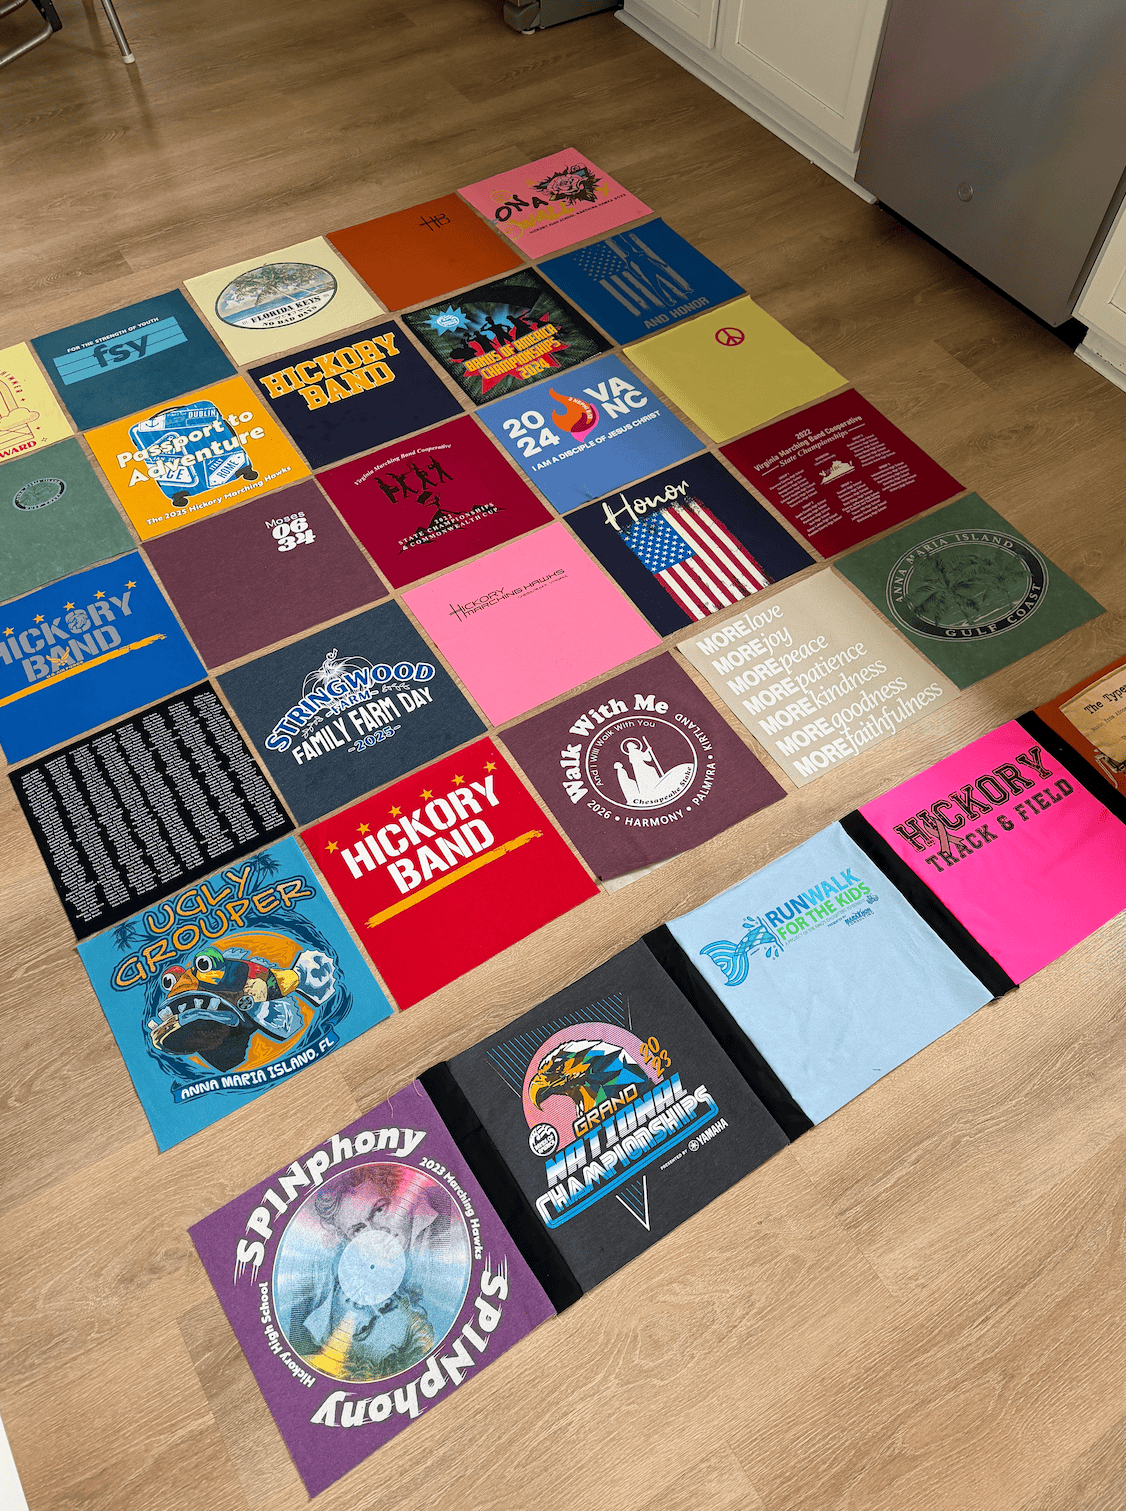
Step 6: Sew the blocks together. Cut the sashing strips 2” wide. With ¼” seam allowances on both sides, the finished sashing measures 1½” wide.
Sew the blocks into rows. Arrange the blocks in the planned order and sew them together, adding sashing between them. Use ¼” seam allowances and avoid pulling or stretching the T-shirt fabric as you sew.
Join the rows. After each row is assembled, sew the rows together, adding sashing between the rows as well. Check that the seams line up as neatly as possible.
Press the seams carefully. Follow the interfacing and fabric recommendations for pressing.
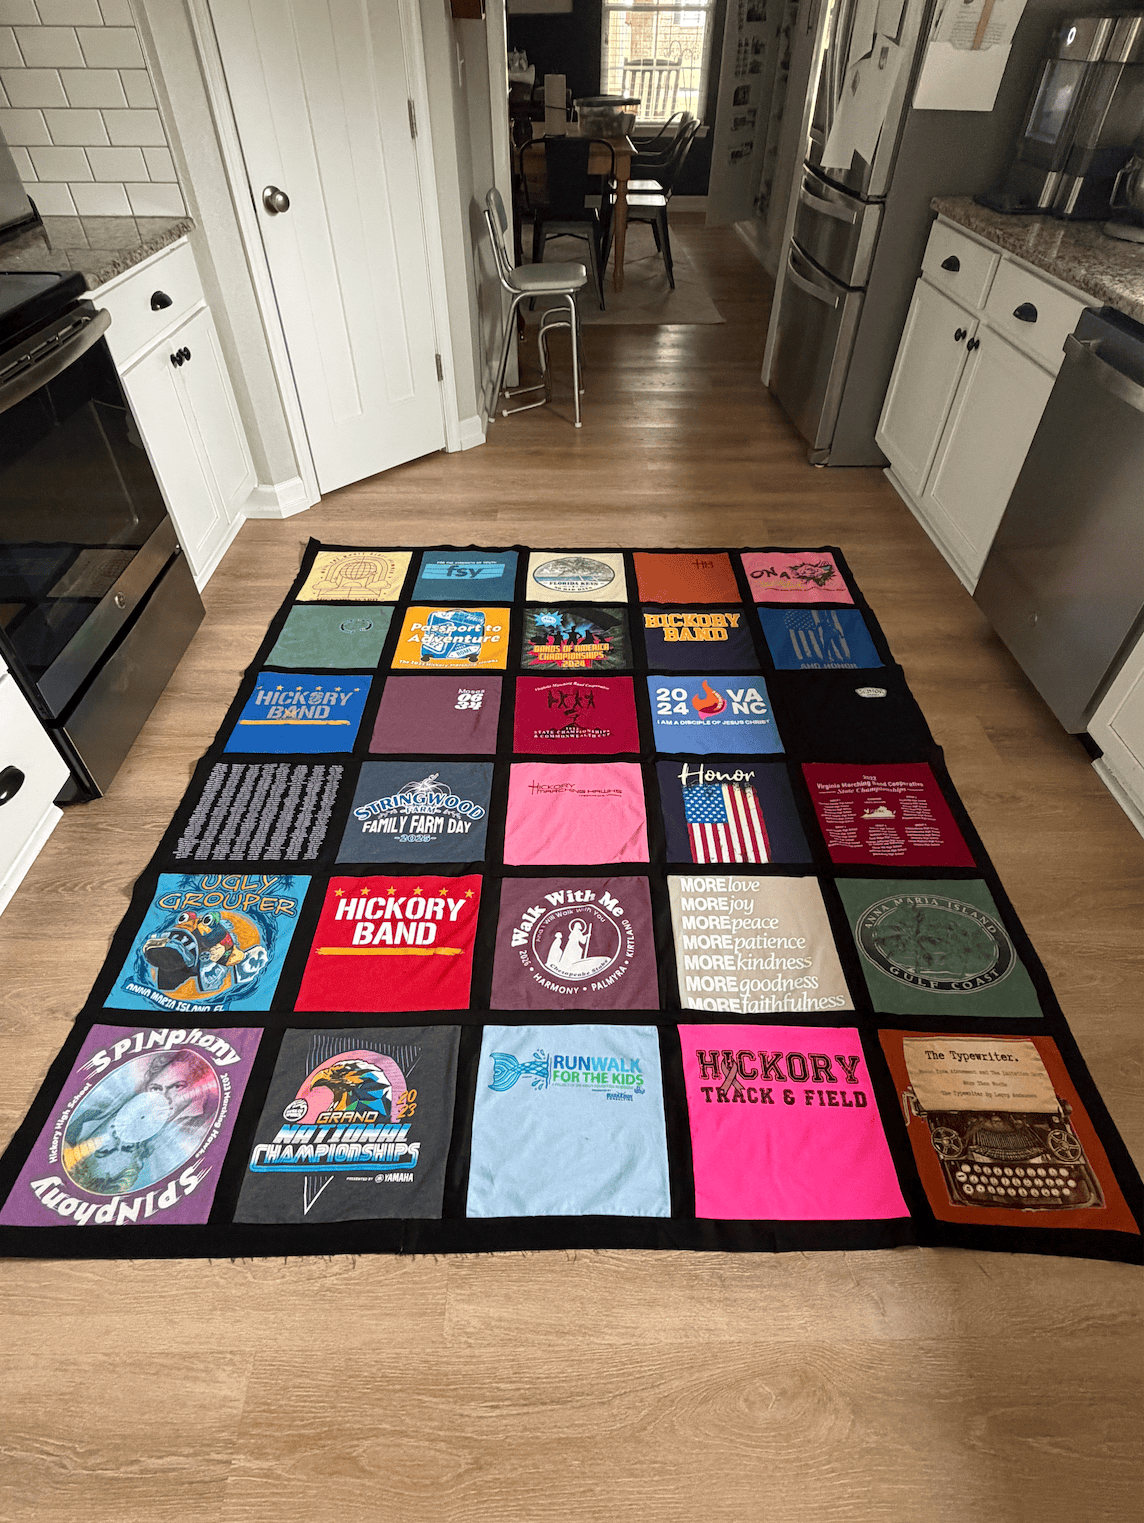
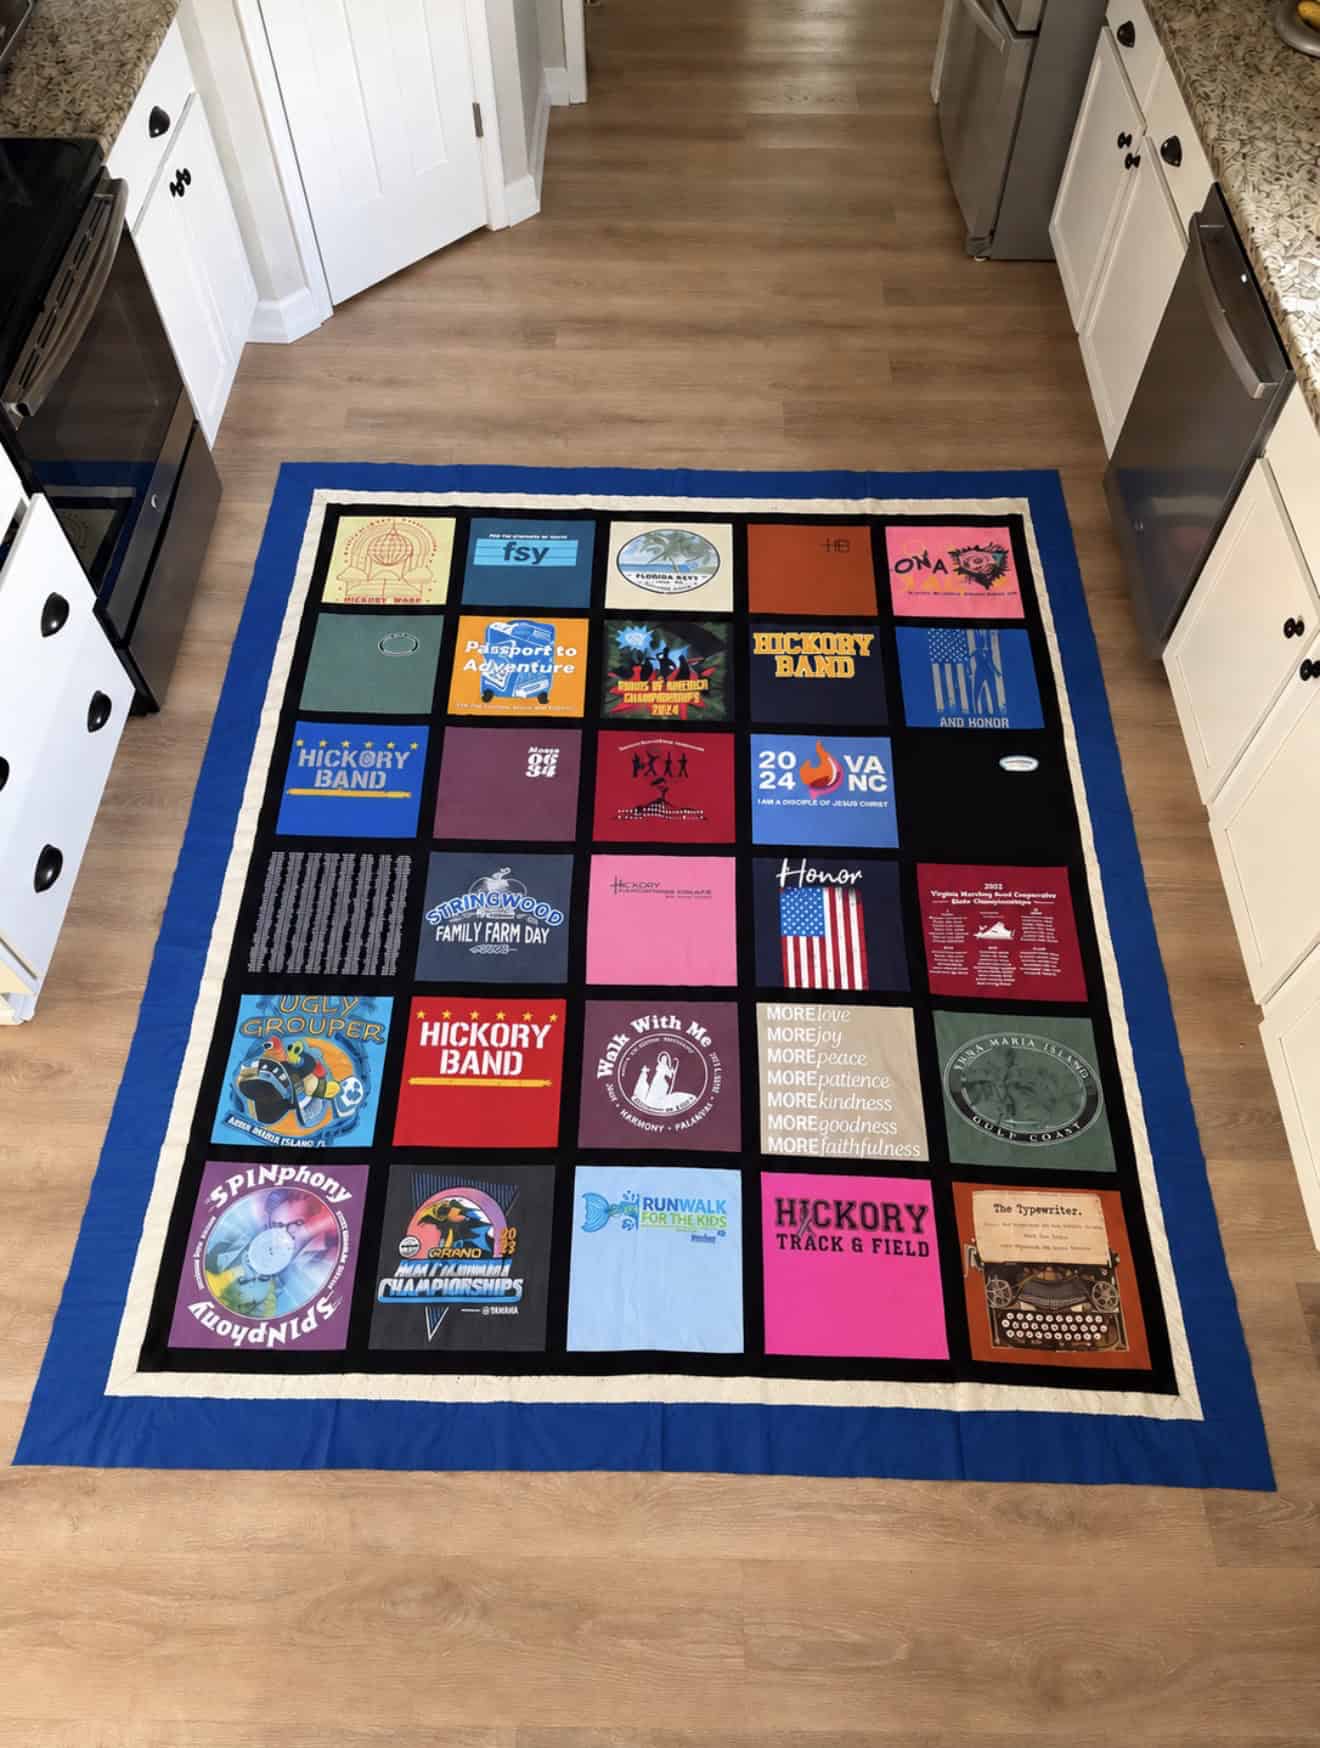
Step 7: Add the border. After the blocks and sashing are assembled, add a border around the outside of the quilt top.
Cut the border strips 2” wide, which gives a finished border approximately 1½” wide with ¼” seam allowances.
Measure the quilt top. Measure the assembled quilt top before cutting the border strips so the lengths match the actual dimensions.
Attach the border. Sew the border pieces to the quilt top, keeping the edges aligned and the fabric flat.
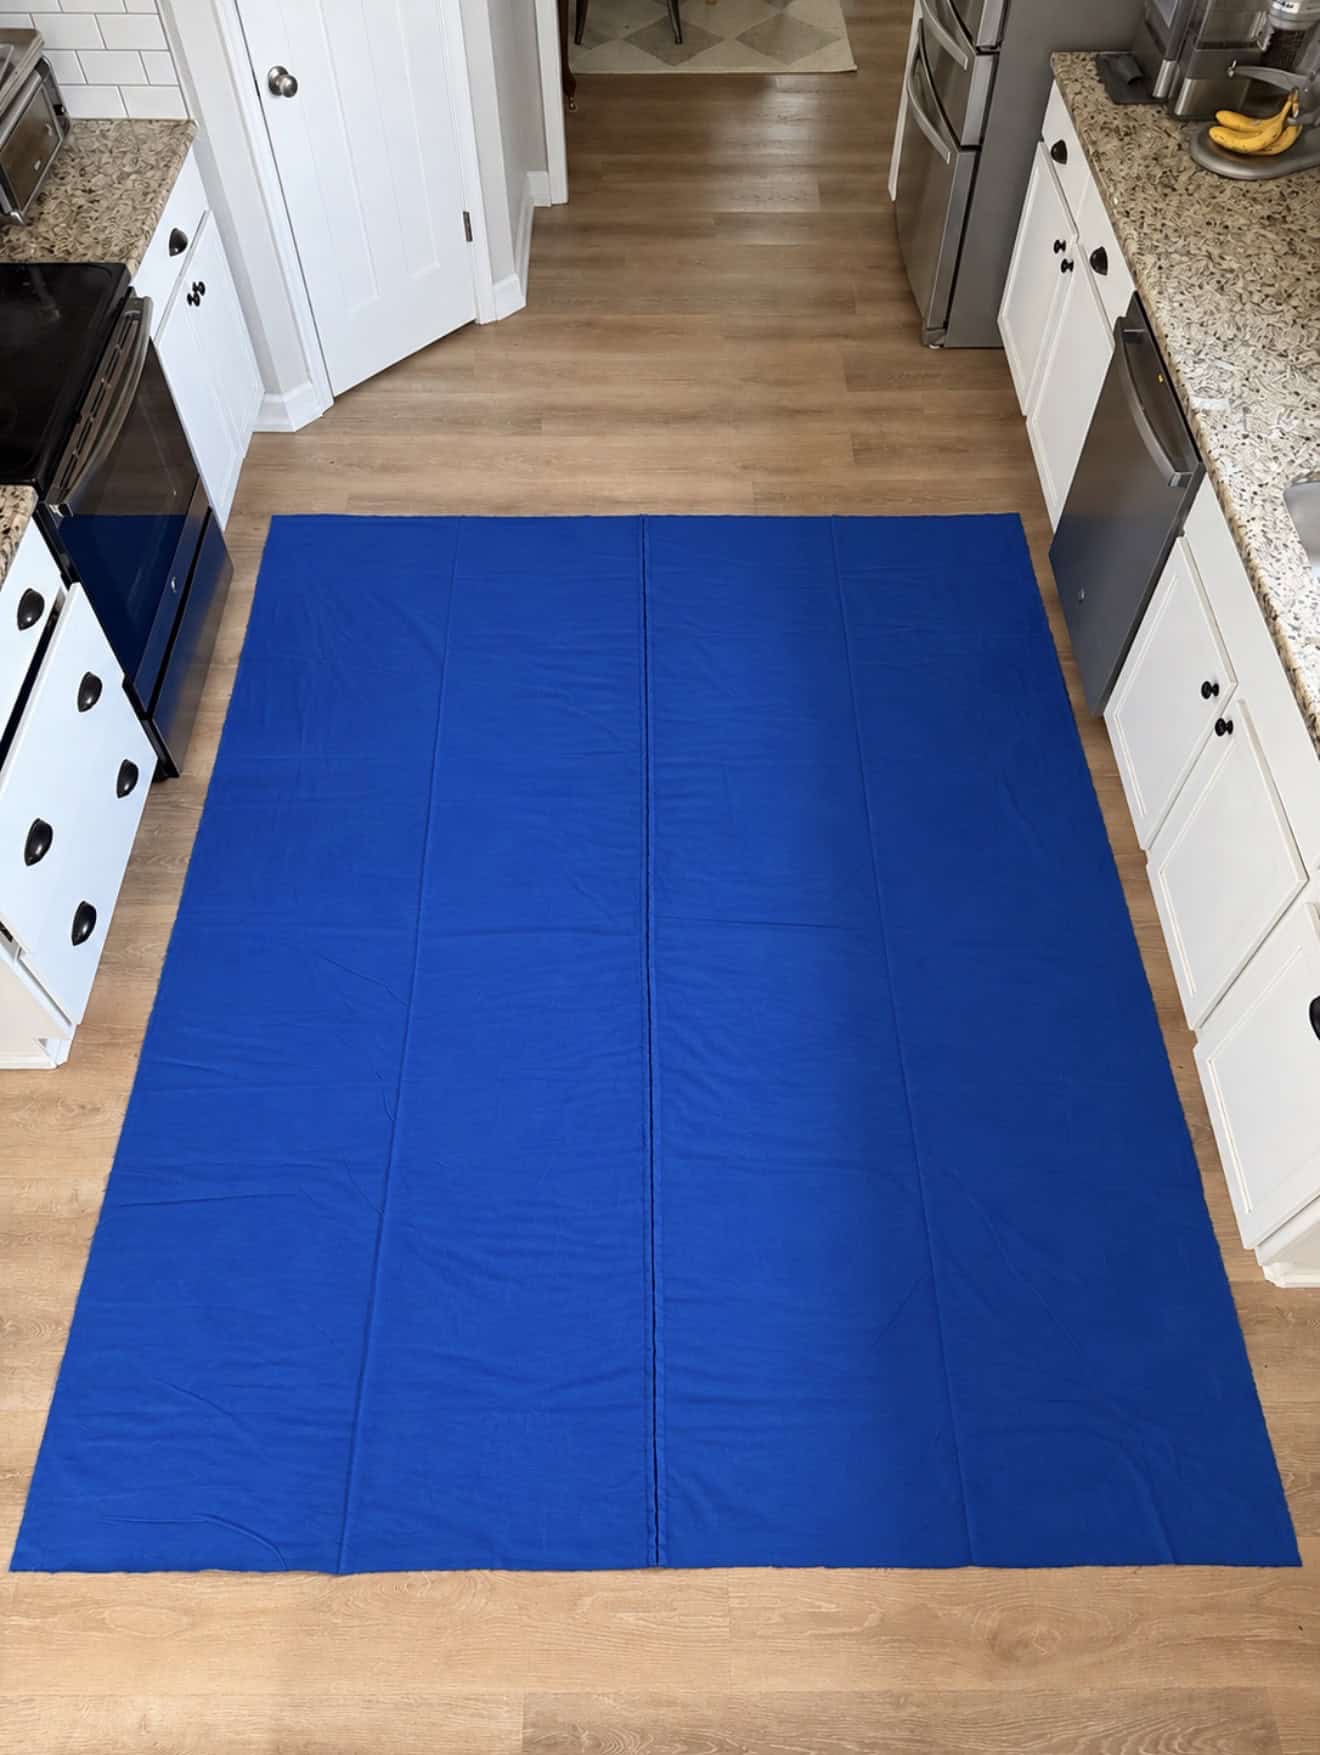
Step 8: Prepare the backing and batting. With the quilt top finished, prepare the backing and batting.
Prepare the backing. Check that the backing fabric is large enough to cover the entire quilt top. If the fabric isn’t wide enough, sew pieces together to create a backing large enough for the quilt.
Check the batting size. My batting measured 72” × 90”. Before layering, check that the batting extends beyond the quilt top a little on every side. If it doesn’t, you’ll need a larger piece.
Step 9: Layer and baste the quilt. Basting holds the three quilt layers together so they don’t shift while you sew or tie them.
Lay the backing flat. Smooth the backing on a large, flat surface, keeping it straight and wrinkle-free. Make sure that the wrong side is facing up.
Add the batting. Place the batting over the backing and smooth it from the center outward.
Baste the layers together.
- If using pins: Distribute the pins throughout the quilt so the layers won’t shift while quilting. Make sure the pins are placed close enough together to hold the layers securely, and remove them as you work.
- If using basting spray: If using spray, it is easier to first baste the backing to the batting and then the batting to the quilt top.
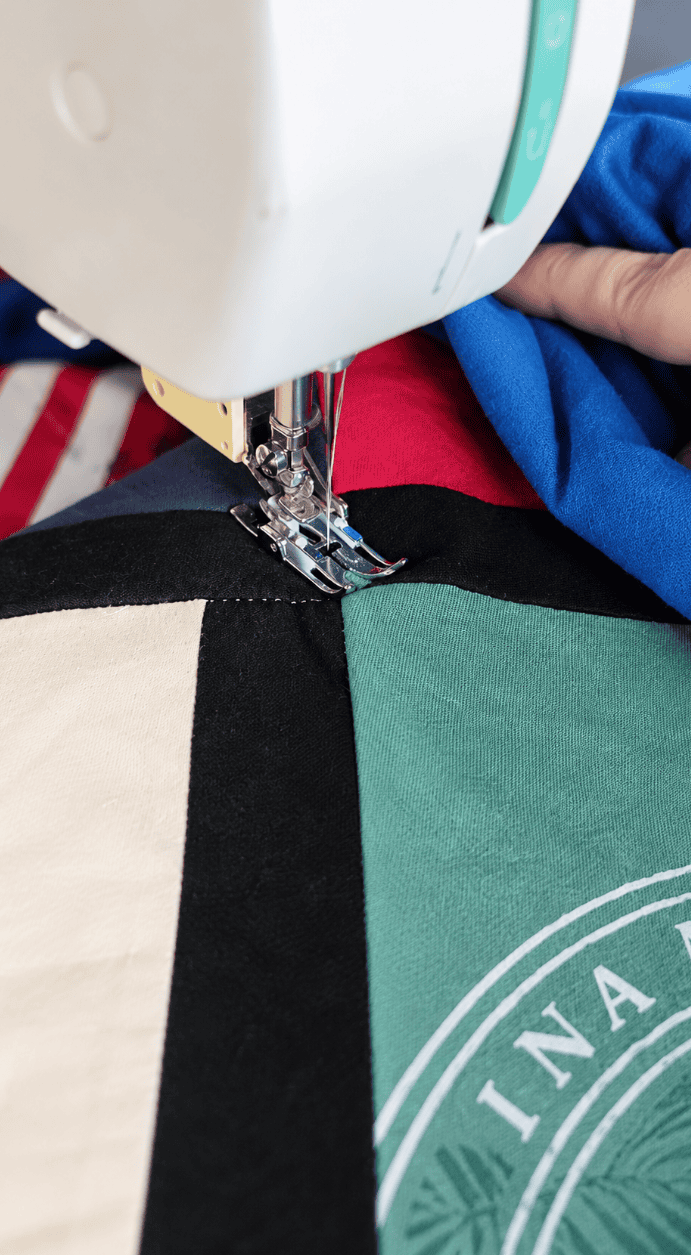
Step 10: Quilt the layers together. Once the quilt is basted, finish it in one of two ways: machine quilting or tying the quilt.
Option 1: How to Machine Quilt.
A simple option is to sew an X from corner to corner through each square. This secures the layers without distracting from the T-shirt designs.
Sew slowly. Keep the fabric supported and remove the safety pins as you reach them. Avoid pulling the quilt through the machine, since that can stretch or distort the layers.
You can also quilt straight lines along the sashing or use another design that works with your twin quilt.
Option 2: How to Tie a quilt.
Tying is often a good choice for beginners or anyone who wants to avoid maneuvering a large twin quilt through a sewing machine.
Here is a tutorial for tying a quilt if you choose that option.
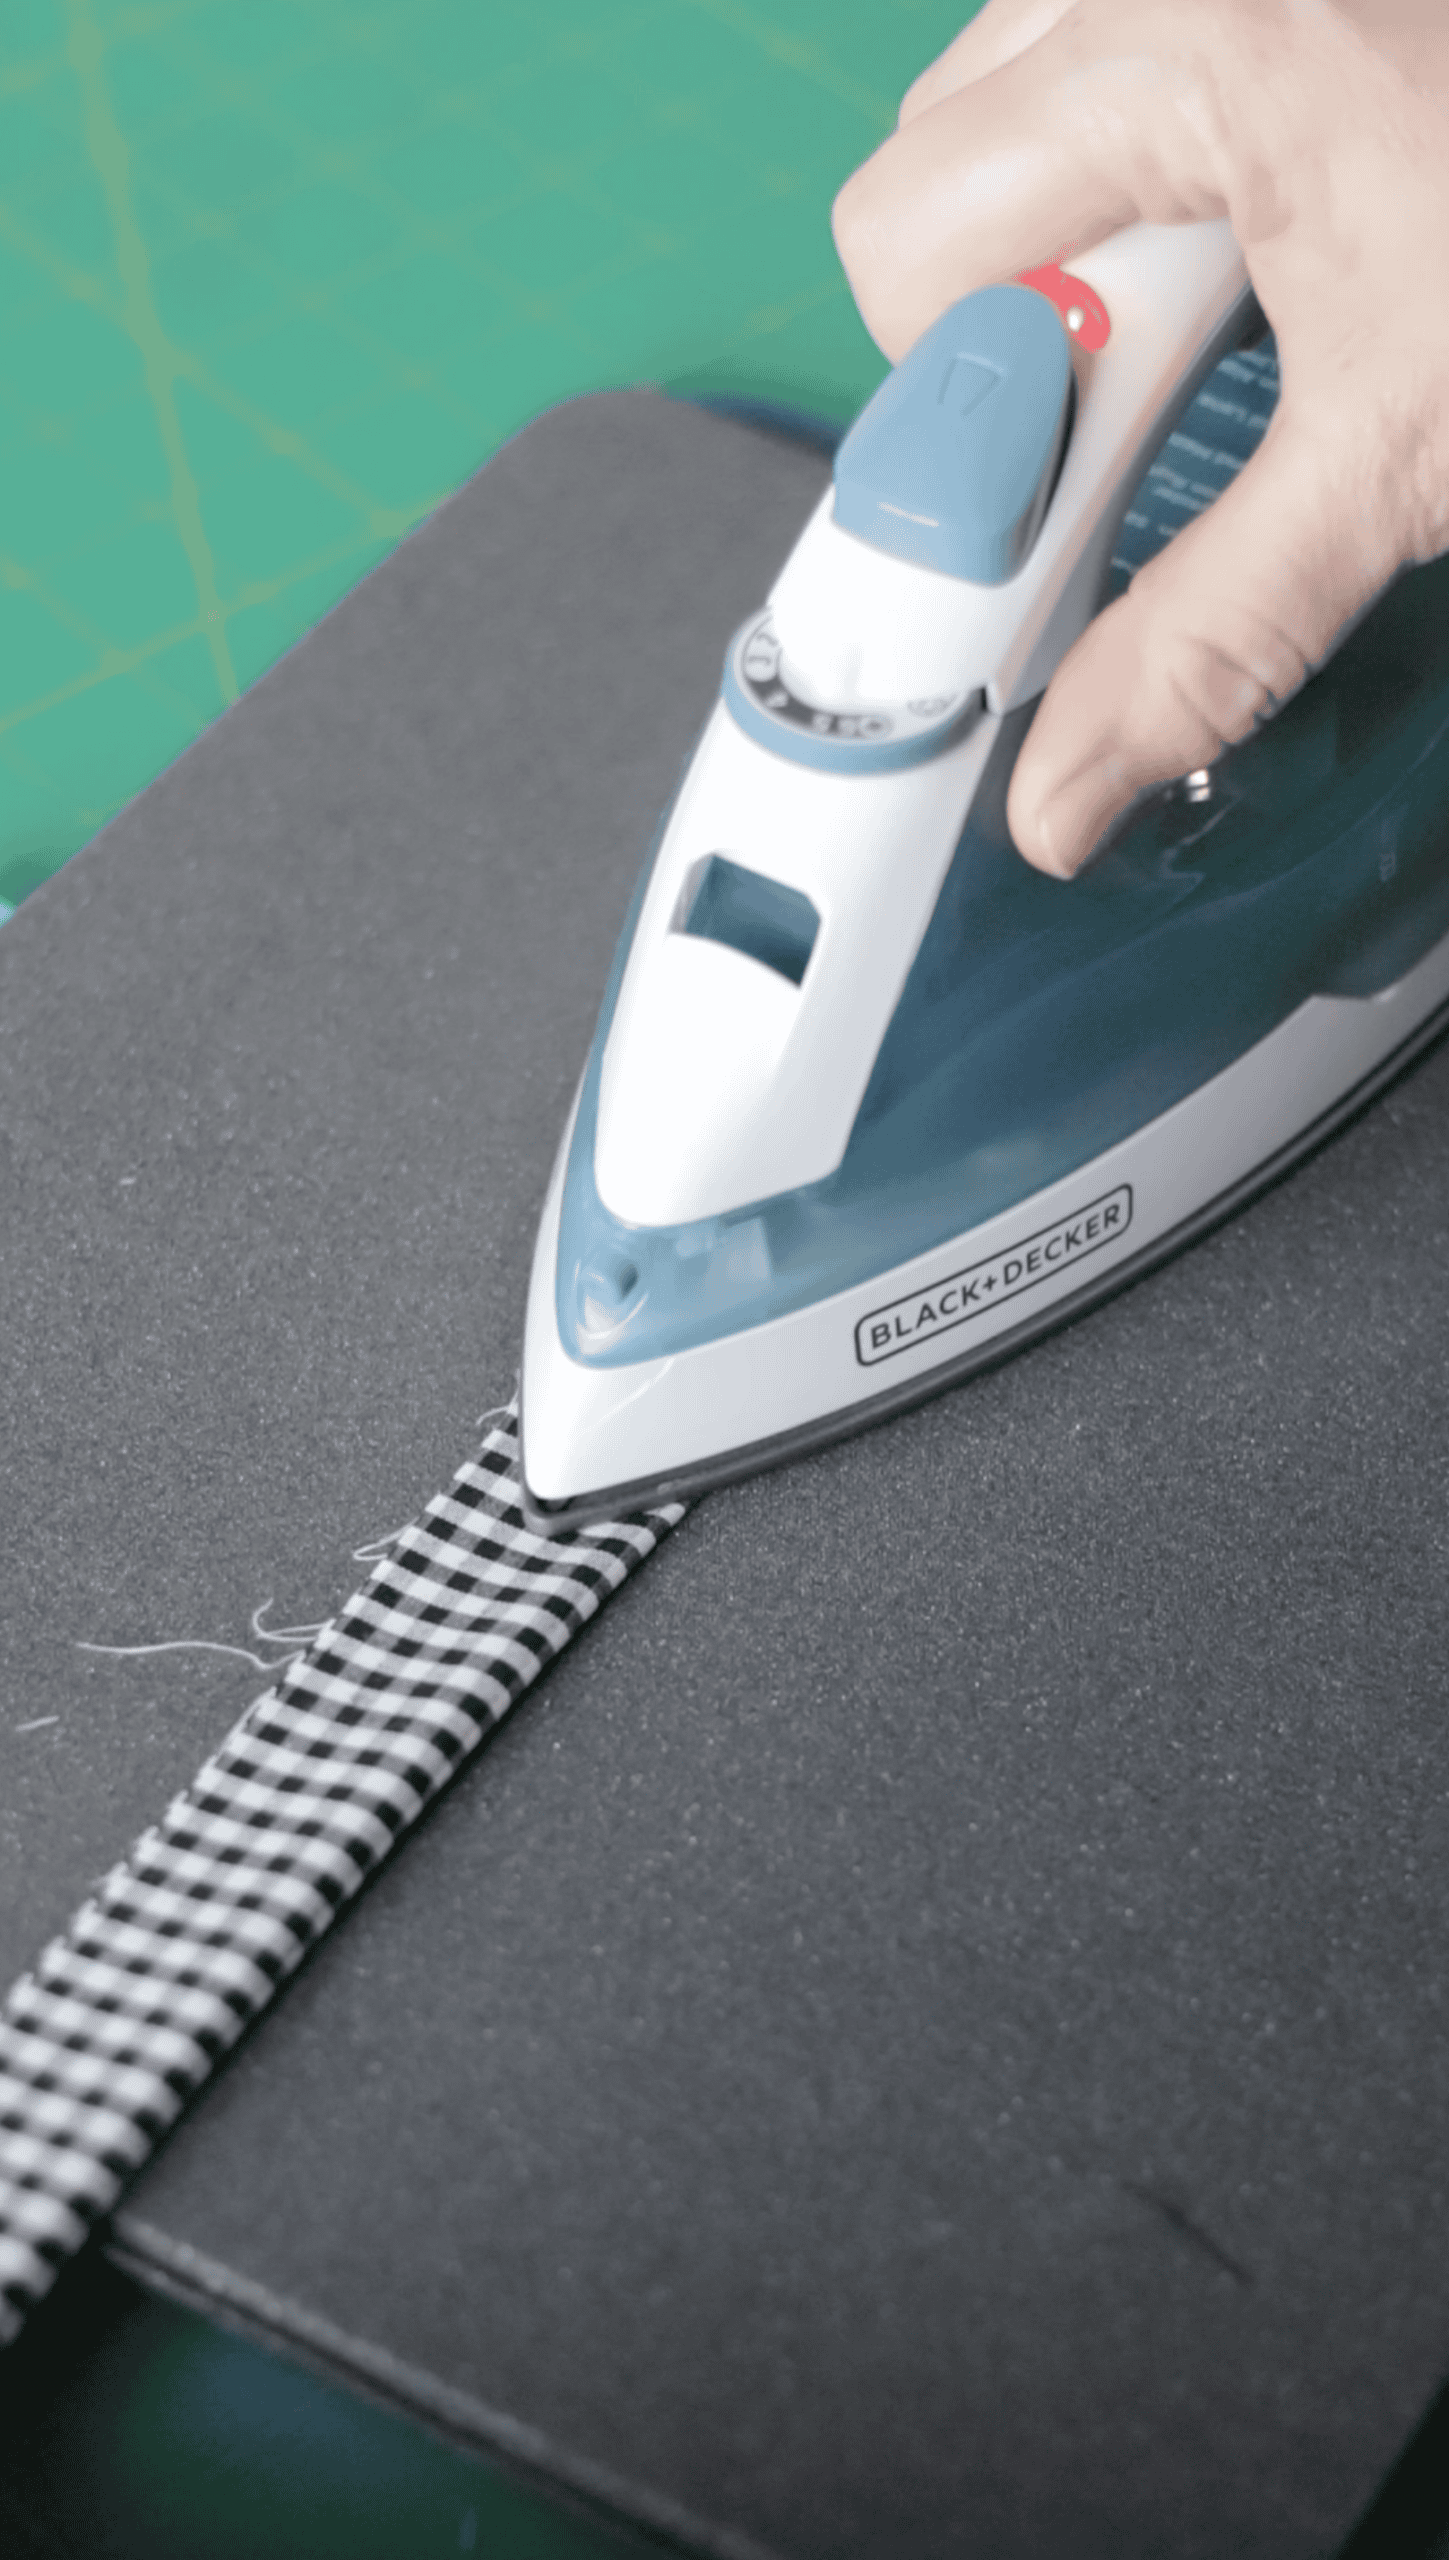
Step 11: Trim the Edges and Make Binding. After quilting, trim the excess batting and backing so the edges are even with the quilt top.
The final step is adding binding around the outside edge. Binding covers the raw edges of the quilt and gives it a neat, durable finish.
Cut 2" strips of fabric the width of the fabric. Follow this tutorial for properly sewing the strips of fabric together.
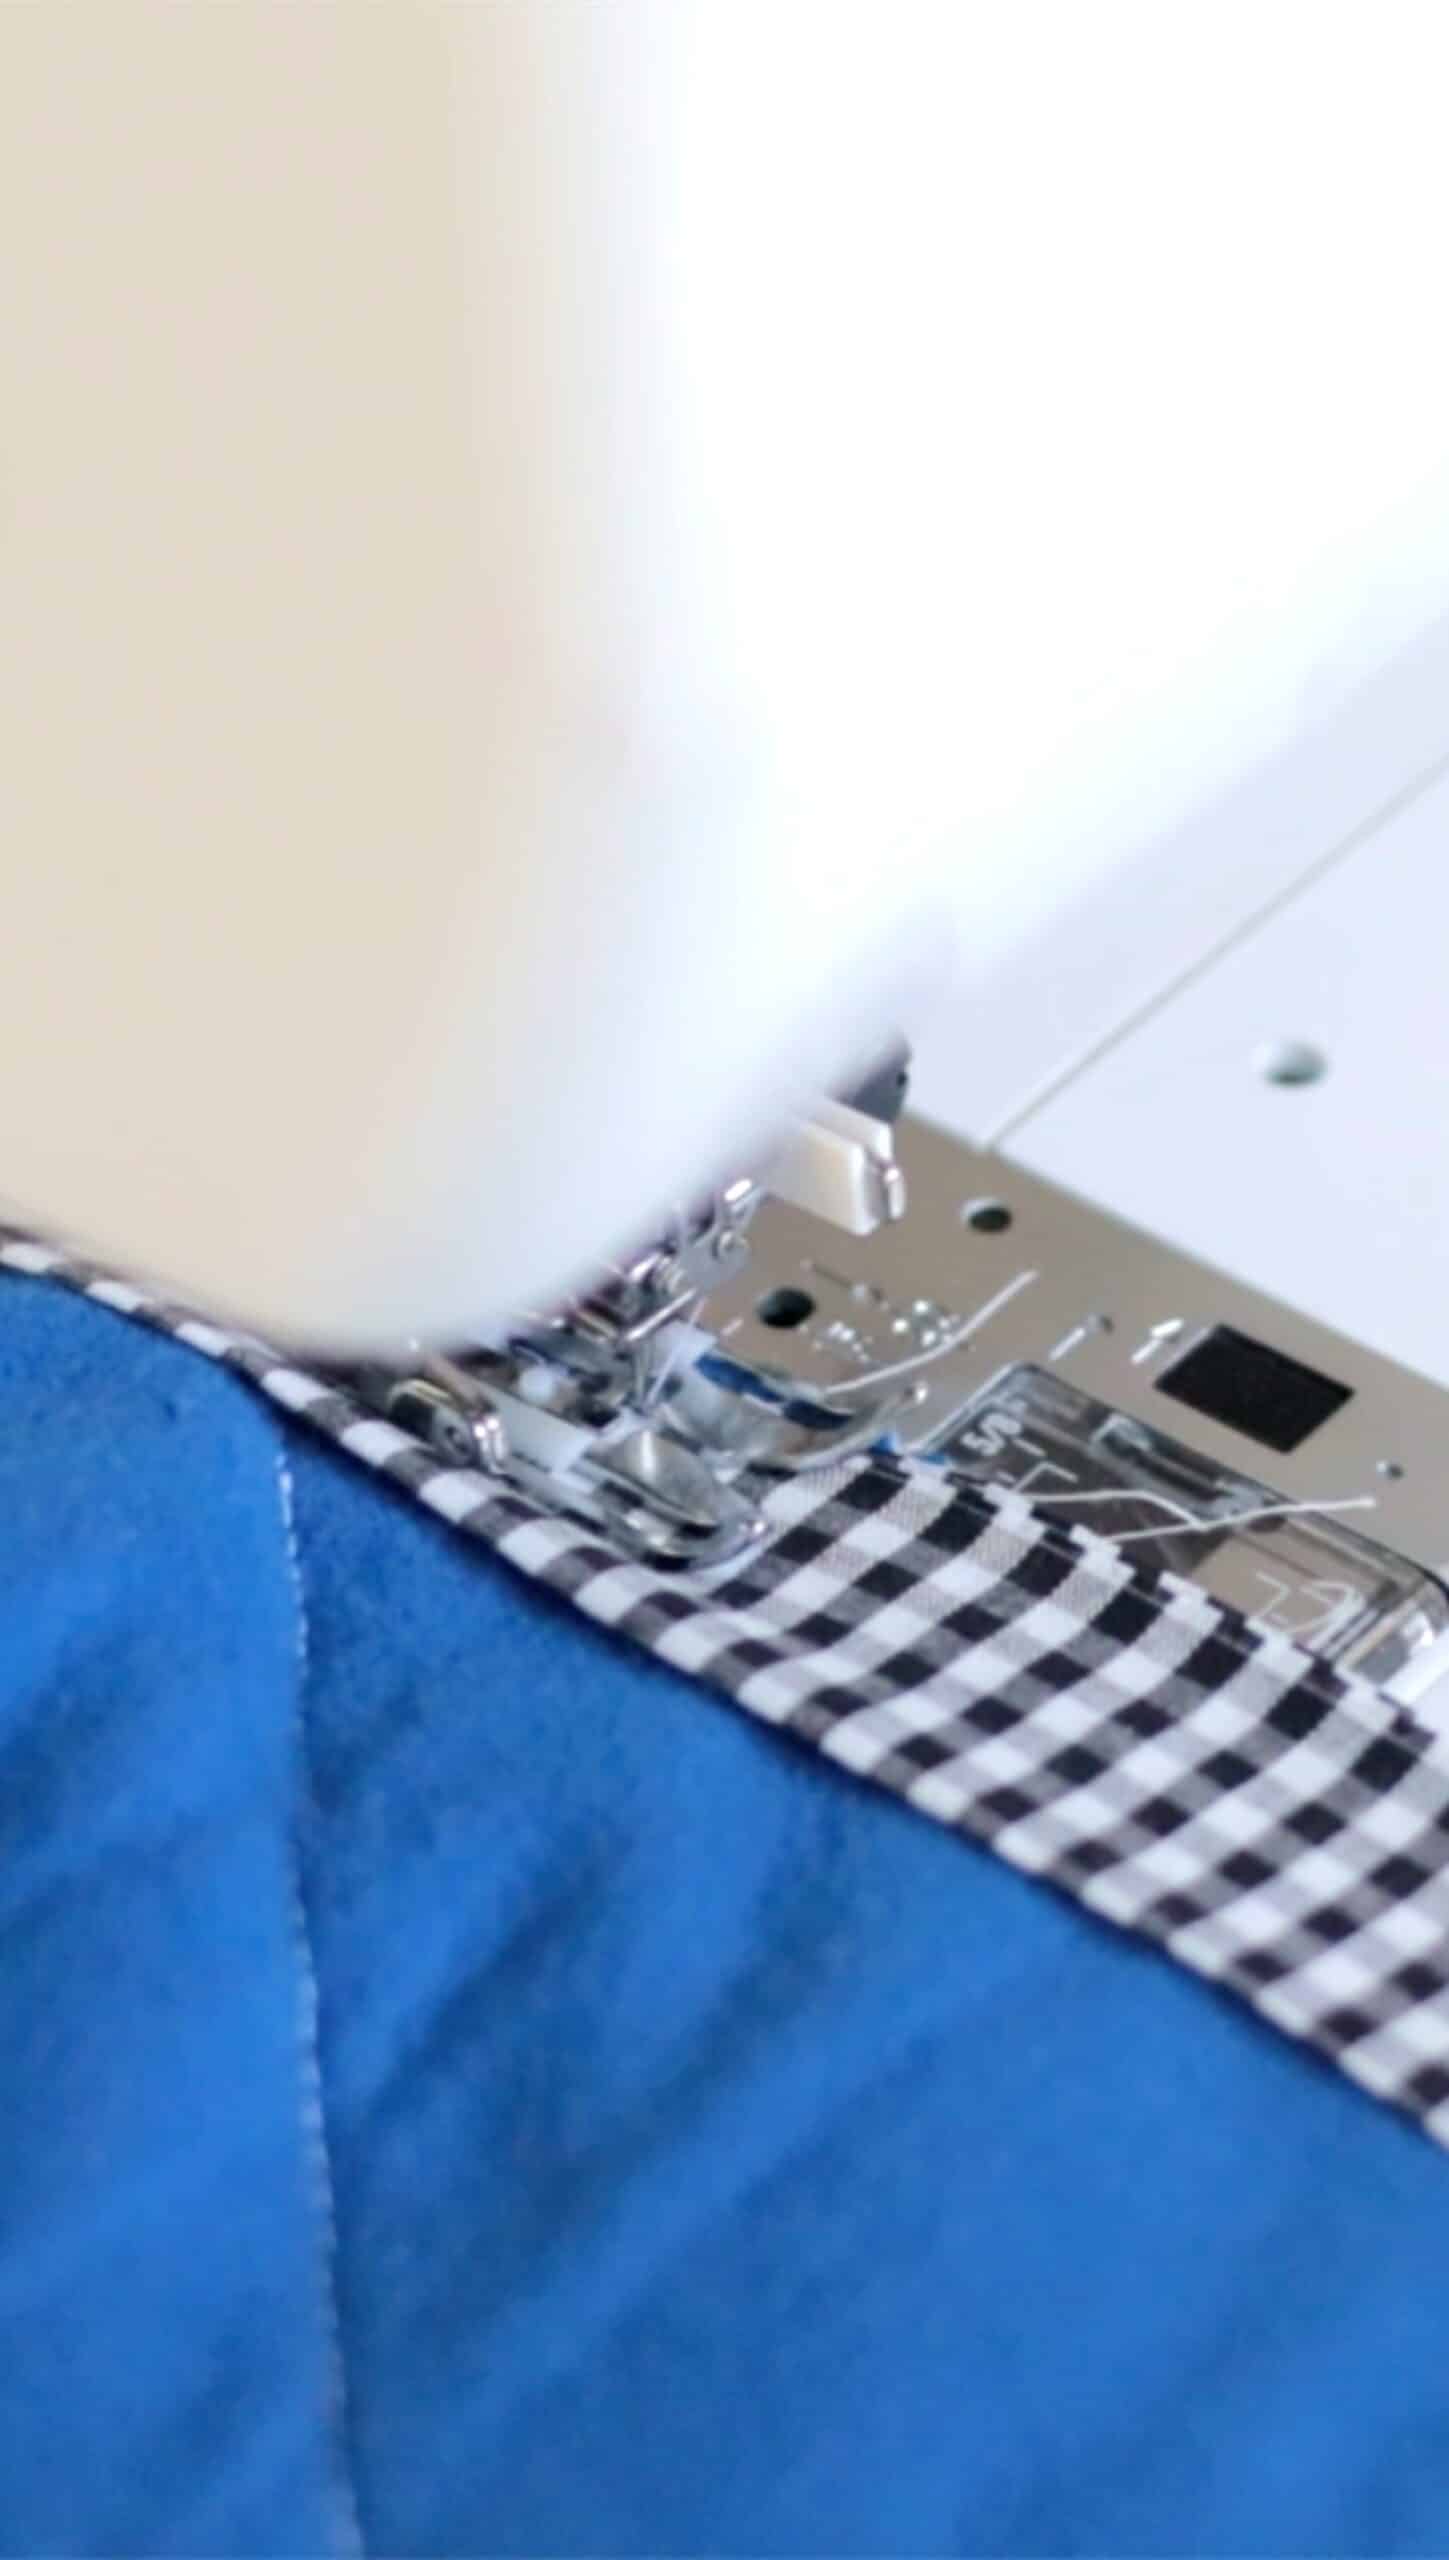
Step 12: Sew the Binding to the Quilt. Sew the binding to the quilt following this step-by step tutorial.
Frequently Asked Questions
Yes! Sashing is optional. You can sew the T-shirt blocks directly together if you prefer a more compact design or want to save fabric. You can also make larger blocks if you have shirts with oversized graphics.
Keep in mind that changing the block size or leaving out the sashing will change the finished dimensions of the quilt and may affect whether it fits a twin bed.
It depends on the number and size of your blocks. This layout uses 30 blocks arranged in 5 columns and 6 rows to make a twin quilt. You can use 30 shirts if you use one side of each shirt, or 15 shirts if you use both the front and back. You can also mix fronts and backs to get the number of blocks you need.
Choose a lightweight or sheer-weight fusible interfacing that is suitable for knit fabric. I used a combination of Pellon P44F and Pellon 906F because those were the products I had available. Follow the directions on your particular interfacing, since pressing instructions vary.
Yes. If both sides have designs you want to preserve, you can use them as separate blocks. Just make sure each piece has enough fabric around the design to be trimmed to your chosen block size.
Yes. Safety pins are a good alternative to basting spray. Place them throughout the quilt to hold the layers together, smooth the fabric from the center outward, and remove the pins as you quilt.
No. You can machine quilt it or tie it with embroidery floss, quilt thread, or yarn. Check the batting manufacturer’s instructions before tying, since some batting types require closer quilting.
Flannel makes a soft, cozy backing, while cotton quilting fabric is another option. A large sheet may also work if it’s suitable and large enough. Measure your quilt top and check the fabric width before purchasing backing fabric.
Uniform blocks make a quilt easier to assemble, especially for beginners. These blocks are trimmed to 13” × 13”. You can use larger blocks or a different layout, but plan the dimensions carefully so the rows fit together and the finished quilt remains suitable for a twin bed.
Apply suitable lightweight fusible interfacing to the back of each shirt piece before trimming and sewing. Handle the blocks gently, avoid pulling the fabric as you sew, and use consistent seam allowances.
The cost depends on how many supplies you already have, the batting and backing you choose, and whether you need to buy interfacing, thread, binding fabric, and other materials. My goal was to keep this project under $100 by making it myself and using supplies I already had when possible. Having a custom quilt made can cost several hundred dollars or more, depending on the size and design.
More Quilted Projects to Make


MADE THIS CRAFT AND LOVED IT? 💛 Please leave a STAR rating and COMMENT below! Post it to Facebook or Pinterest to easily share with friends!
How to Make a T-Shirt Quilt
Equipment
- sewing machine
- iron and ironing board
- walking foot
- rotary mat and cutter
- quilting ruler
Materials
- 30 t-shirts prepared as instructed
- thread
- 2 yards sashing fabric
- 72"x90" cotton batting
- 5-6 yards backing fabric such as flannel
- 1 yard binding fabric
- basting spray or safety pins for assembling quilt
- embroidery thread or yarn optional for tying quilt instead of quilting
Instructions
- Choose the T-shirts: Select shirts with meaningful designs and plan for 30 blocks arranged in 5 columns and 6 rows. Use one side of 30 shirts, both sides of 15 shirts, or a combination that provides 30 usable blocks. Arrange the shirts to balance the colors and graphics.
- Prepare and cut the shirts: Cut up both side seams, remove the sleeves, and separate the front and back at the shoulders. Cut straight across the neckline to remove the collar. Leave enough fabric around each design to create a rough piece approximately 15” × 15”.
- Apply fusible interfacing: Cut interfacing to fit the back of each roughly 15” × 15” T-shirt piece. Follow the manufacturer's instructions for pressing temperature, timing, steam, and cooling. Allow the pieces to cool before trimming.
- Trim the blocks: Use a quilting ruler and rotary cutter to trim each piece to 13” × 13”. Check that important words, logos, and graphics won't be cut off. A cardboard template can also help create uniform blocks.
- Arrange the quilt layout: Arrange the 30 blocks in 5 columns and 6 rows. Move the pieces until the colors and designs look balanced. Take a photo of the layout so you can refer to it while sewing.
- Sew the blocks together: Cut sashing strips 2” wide. With ¼” seam allowances, the finished sashing will measure approximately 1½” wide. Sew the blocks into rows, adding sashing between the blocks. Use consistent ¼” seam allowances and avoid stretching the fabric. Sew the rows together with long strips of sashing between them.
- Add the border: Cut border strips 2” wide for a finished border approximately 1½” wide. Sew the border pieces around the outside, keeping the edges aligned and the fabric flat.
- Prepare the backing and batting: Measure the quilt top and prepare backing fabric large enough to cover it. Piece the backing if necessary. Check that the 72” × 90” batting extends beyond the quilt top a bit on every side, and smooth wrinkles from the backing.
- Layer and baste the quilt: Lay the backing on a flat surface with the wrong side facing up. Smooth the batting over the backing, then position the quilt top right side up. Secure the layers with safety pins or basting spray. If using spray, baste the backing to the batting first, then baste the batting to the quilt top. Smooth the layers from the center outward.
- Quilt the layers together: Machine quilt the layers or tie the quilt. For machine quilting use a simple design. Keep the quilt supported and sew slowly. If tying the quilt, use embroidery floss, quilt thread, or yarn and a large-eyed needle.
- Trim the edges and prepare the binding: After quilting, trim excess batting and backing so the edges are even with the quilt top. Cut binding strips and sew them together as needed to create enough binding to cover the raw edges (see blog post for link to binding tutorial).
- Sew the binding to the quilt: Attach the binding around the quilt's outside edge, carefully working around the corners (see blog post for link to binding tutorial).
Video
Notes
- Each T-shirt block is trimmed to 13” × 13” after interfacing is applied.
- Sashing and borders are optional; changing them will affect the finished quilt dimensions.
- Lightweight or sheer-weight interfacing helps stabilize stretchy knit fabric.
- Flannel makes a soft backing, but cotton quilting fabric or a suitable sheet can also work.
- A walking foot is helpful for quilting multiple layers on a home sewing machine.
- Check the batting manufacturer's instructions before tying the quilt.
- The cost depends on the supplies you already have and the materials you purchase. The goal for this project was to stay under $100 by using supplies already on hand when possible.

Leave a Reply