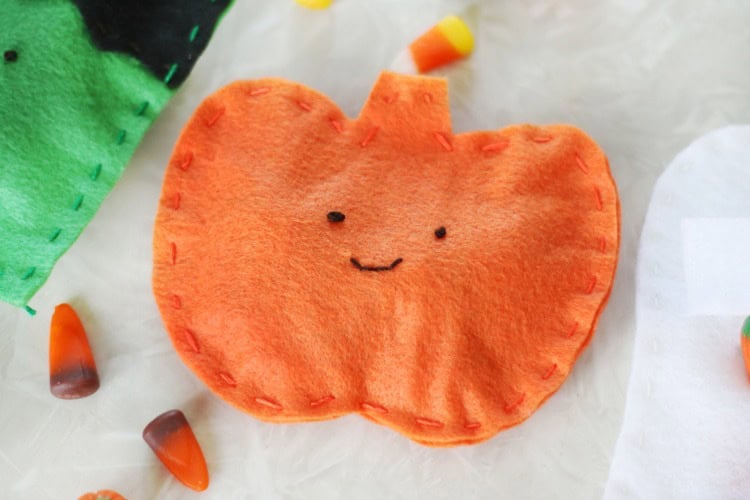
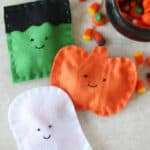
This felt Halloween candy pouch sewing tutorial is so easy for kids to follow! Make a ghost, pumpkin, or monster and fill it with treats!
Looking for more cute Halloween projects? Check out our Pop-Tarts Haunted Houses and macramé ghost craft!
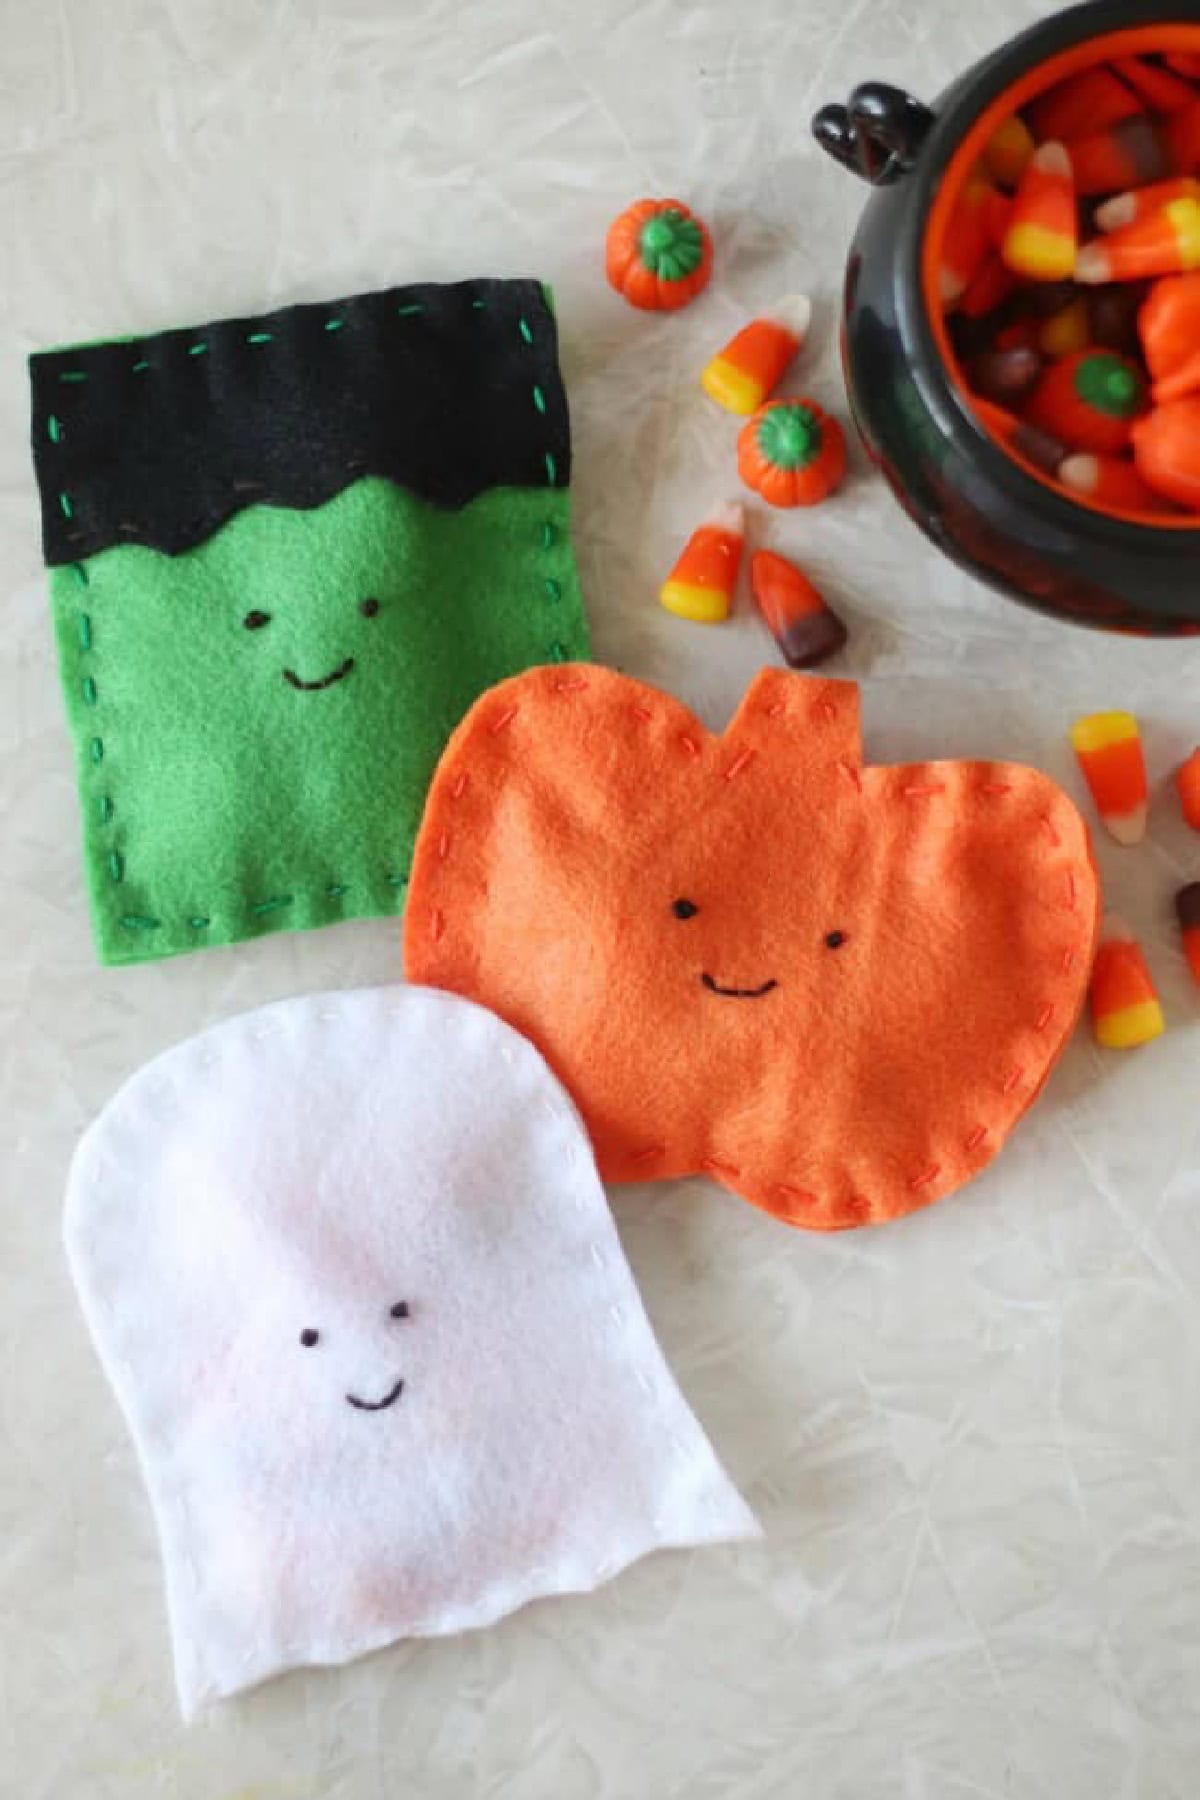
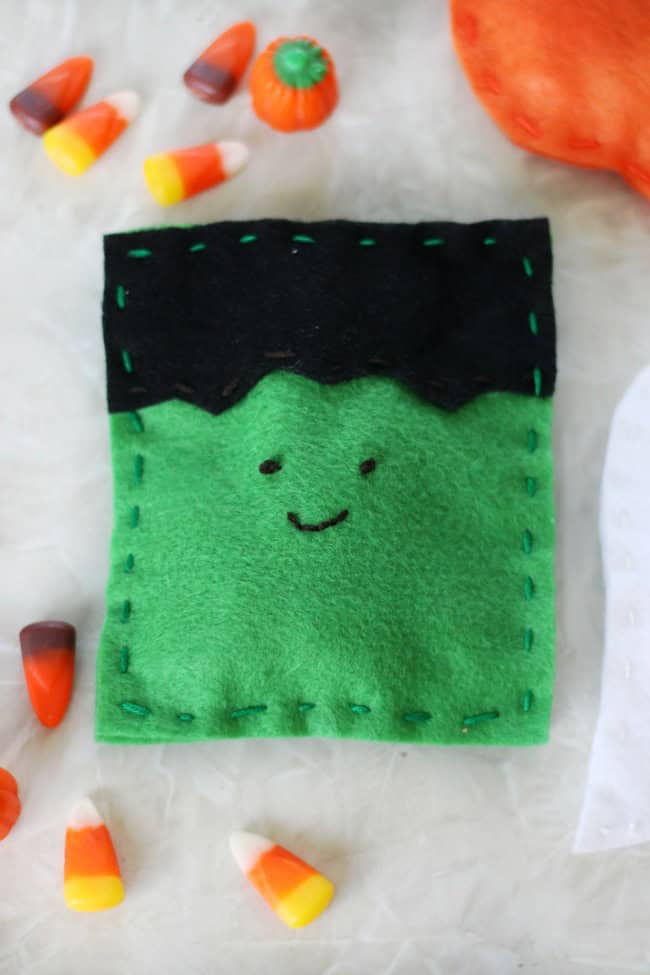
I love a quick and easy sewing project. Especially one that my kids can whip up! These little Halloween pouches are an oldie, but goodie. So easy to make and so fun to customize for any holiday. Today we're making a ghost, pumpkin, or Frankenstein monster!
Why I Like This Project
- Uses felt. Felt is just about the easiest fabric for kids to work with. It doesn't fray, so there's no need to hem the edges. It's also sturdy and sticks to itself, which makes cutting and sewing a breeze.
- Hand-stitched. This is a great beginning sewing project for kids. It requires minimal sewing and gives children practice at making basic straight stitches.
- 3 styles to choose from. Make a ghost, Frankenstein monster, or pumpkin! I have printable cutting templates for all 3 shapes.
- Holds candy without needing a zipper, button, or velcro. The front has a cute hand-stitched face (but you can totally use fabric paint if you prefer), and the back has a small slit with a fold-over flap to store candy!

Jump to:
Tips and Tricks For Customizing Candy Pouches
These Halloween candy pouches are adorable as is, but here are some ways that kids can customize them to make them their own.
- Sew or glue buttons on for eyes.
- Use small pieces of felt for eyes and mouth (like a Jack-o-lantern).
- Use craft paint for the face.
- Tie ribbon around the pumpkin stem.
- Turn it into a softie by not cutting a slit in the back and fill it with pillow stuffing!
Supplies
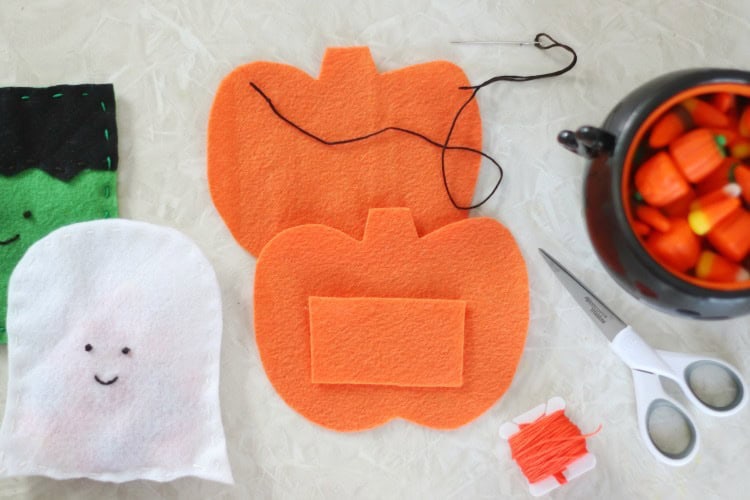
- Felt: This is a great scrap felt project as it uses very little.
- Embroidery floss: I prefer embroidery floss to sewing thread because it is thicker, and not only do the stitches hold the project together, but they are also decorative, so you want them to stand out.
- Embroidery Needle: Use a needle with a big enough eye for the embroidery floss.
- Scissors
- Pins: Felt sticks to itself, so pins are optional, but might be helpful for beginners.
- Candy: Any kind of candy that you'd like.
- Cutting template: Our printable cutting guide includes patterns for all 3 designs.
How To Make Felt Candy Pouches
We'll make a pumpkin together, but you can use the same instructions to make a ghost or Frankenstein. Frankenstein has one extra step: stitching the hair piece on before sewing the back to the front.
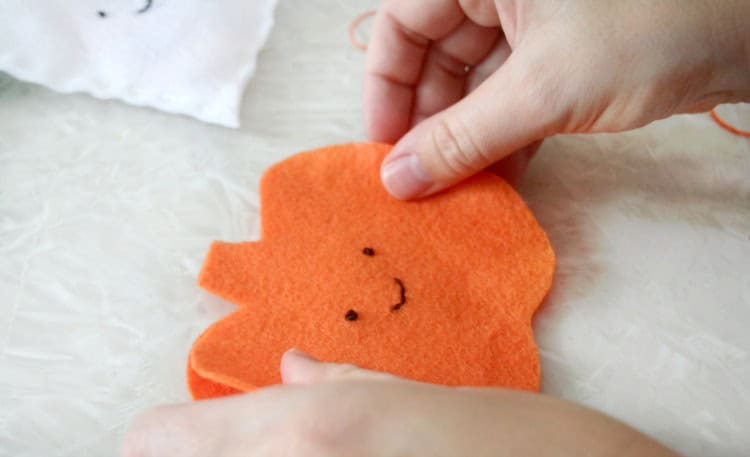
Step 1: Using the printable cutting template, cut out two shapes for your candy pouch, and a small rectangle for the flap.Thread a needle with black thread. Tie a knot at the end. Stitch two eyes and a mouth on one of the shapes. Tie a knot on the back and cut the string.You can stitch the eyes using a french knot or an "x" shape!
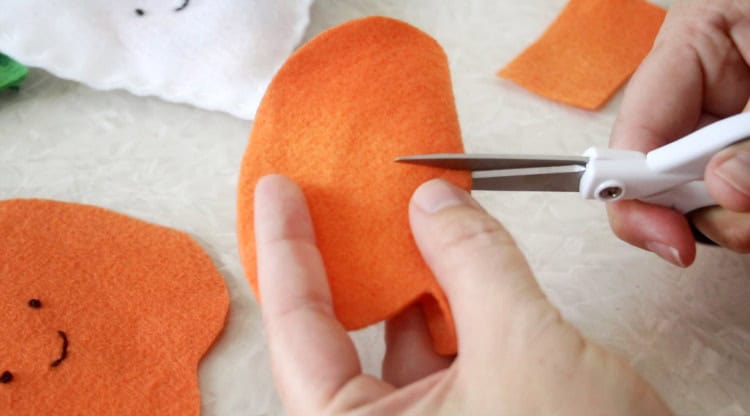
Step 2: Fold the second shape in half and cut a 1" slit on the fold. When you open it, it will be a 2" slit.
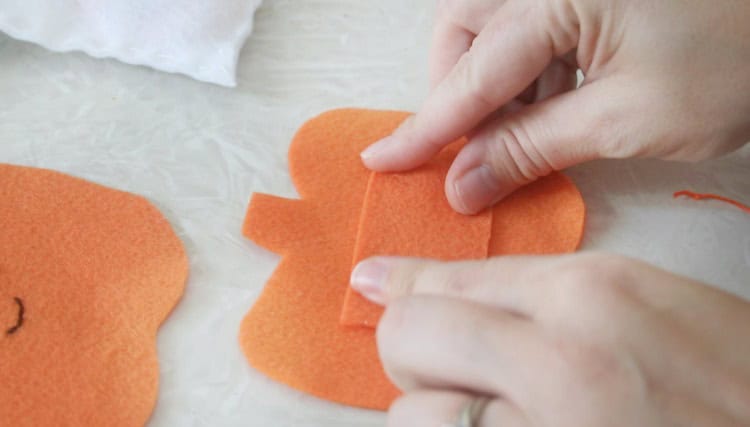
Step 3: Change the thread color to one that matches the pumpkin (or ghost or Frankenstein). Cover the slit with the rectangle flap. Stitch across the flap.
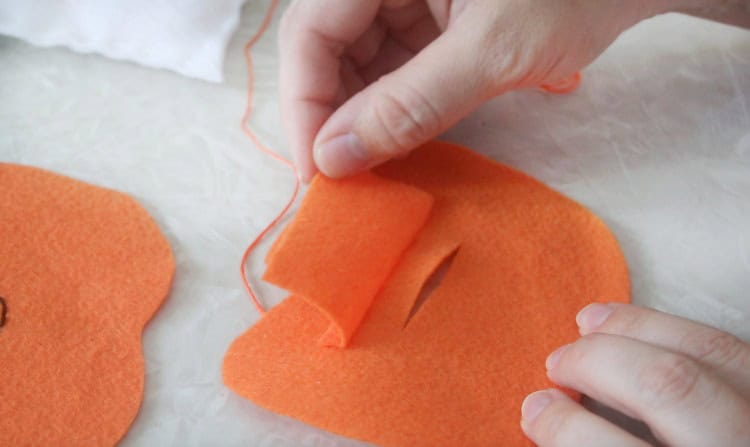
Step 4: It should look like this.
Step 5: Place the shape with the face on top of the piece with the slit in the back. Make sure the slit and flap are on the back.
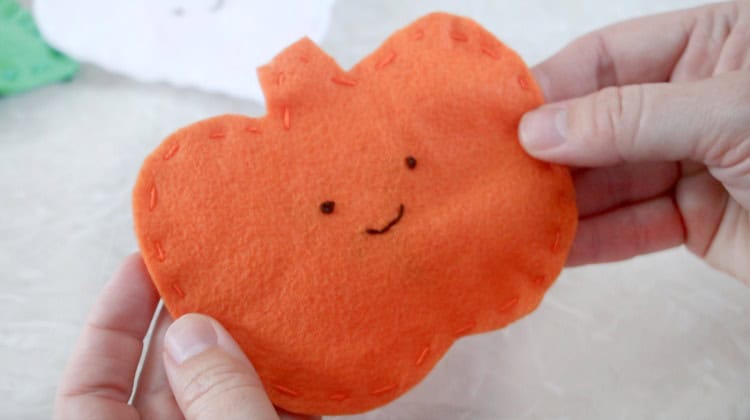
Step 6: Stitch all the way around. Tie a knot and cut the thread when you are finished sewing.
Step 7: Fill the candy pouch with your favorite Halloween candy!
Felt Candy Pouch FAQs
You can find felt by the yard or sold in 8x12" rectangles. It just depends on how much you need. I typically have a variety pack on hand with lots of colors to choose from.
French knots are a great stitch to learn for creating details on sewing projects like eyes or flower centers. Here is a simple French knot tutorial.
More Halloween Crafts To Make

MADE THIS CRAFT AND LOVED IT? 💛 Please leave a STAR rating and COMMENT below! Post it to Facebook or Pinterest to easily share with friends!
Felt Halloween Candy Pouch Sewing Tutorial
Equipment
- scissors
- pins
- sewing needle
Materials
- printable cutting template
- felt
- craft thread (embroidery thread)
- candy
Instructions
- Using the printable cutting template, cut out two shapes for your candy pouch, and a small rectangle for the flap.Thread a needle with black thread. Tie a knot at the end. Stitch two eyes and a mouth on one of the shapes. Tie a knot on the back and cut the string.You can stitch the eyes using a french knot or an "x" shape!
- Fold the second shape in half and cut a 1" slit on the fold. When you open it it will be a 2" slit.
- Change the thread color to one that matches the pumpkin (or ghost or Frankenstein).Cover the slit with the rectangle flap. Stitch across the flap.
- Place the shape with the face on top of the piece with the slit in the back. Make sure the slit and flap are on the back.
- Stitch all the way around. Tie a knot and cut the thread when you are finished sewing.
- Fill candy pouch with your favorite Halloween candy!
Video
Notes
- Sew or glue buttons on for eyes.
- Use small pieces of felt for eyes and mouth (like a Jack-o-lantern).
- Use craft paint for the face.
- Tie ribbon around the pumpkin stem.
- Turn it into a softie by not cutting a slit in the back and fill it with pillow stuffing!


Bonnie says
Love the pumpkins! Would like to see the front of the ghost.
San says
These are adorable!
Hollie - TheSevenYearCottage says
So cute!
Julie says
This will be so perfect for my one year old daycare girl to make for the afterschool kids. Thank you for sharing.
Have a great and blessed day!!