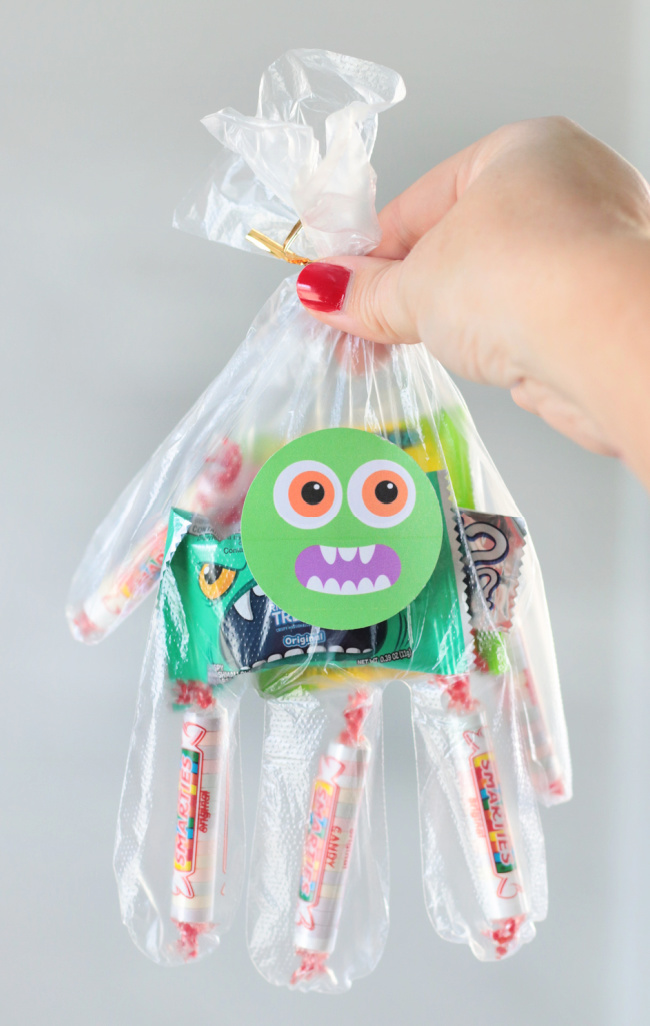
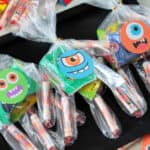
Use my free printable to make Halloween glove treat bags! These monsters are so fun for Halloween parties and trunk or treats!
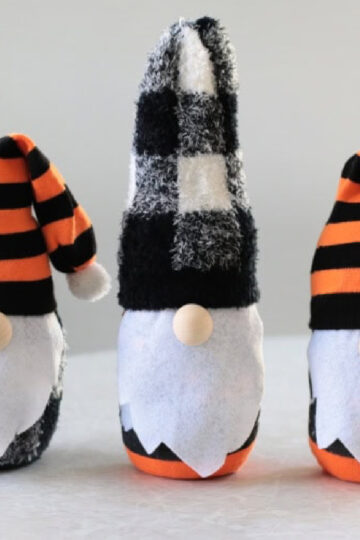
You might also like our no-sew sock gnomes, our witch leg brownies, or our easy macrame ghosts!
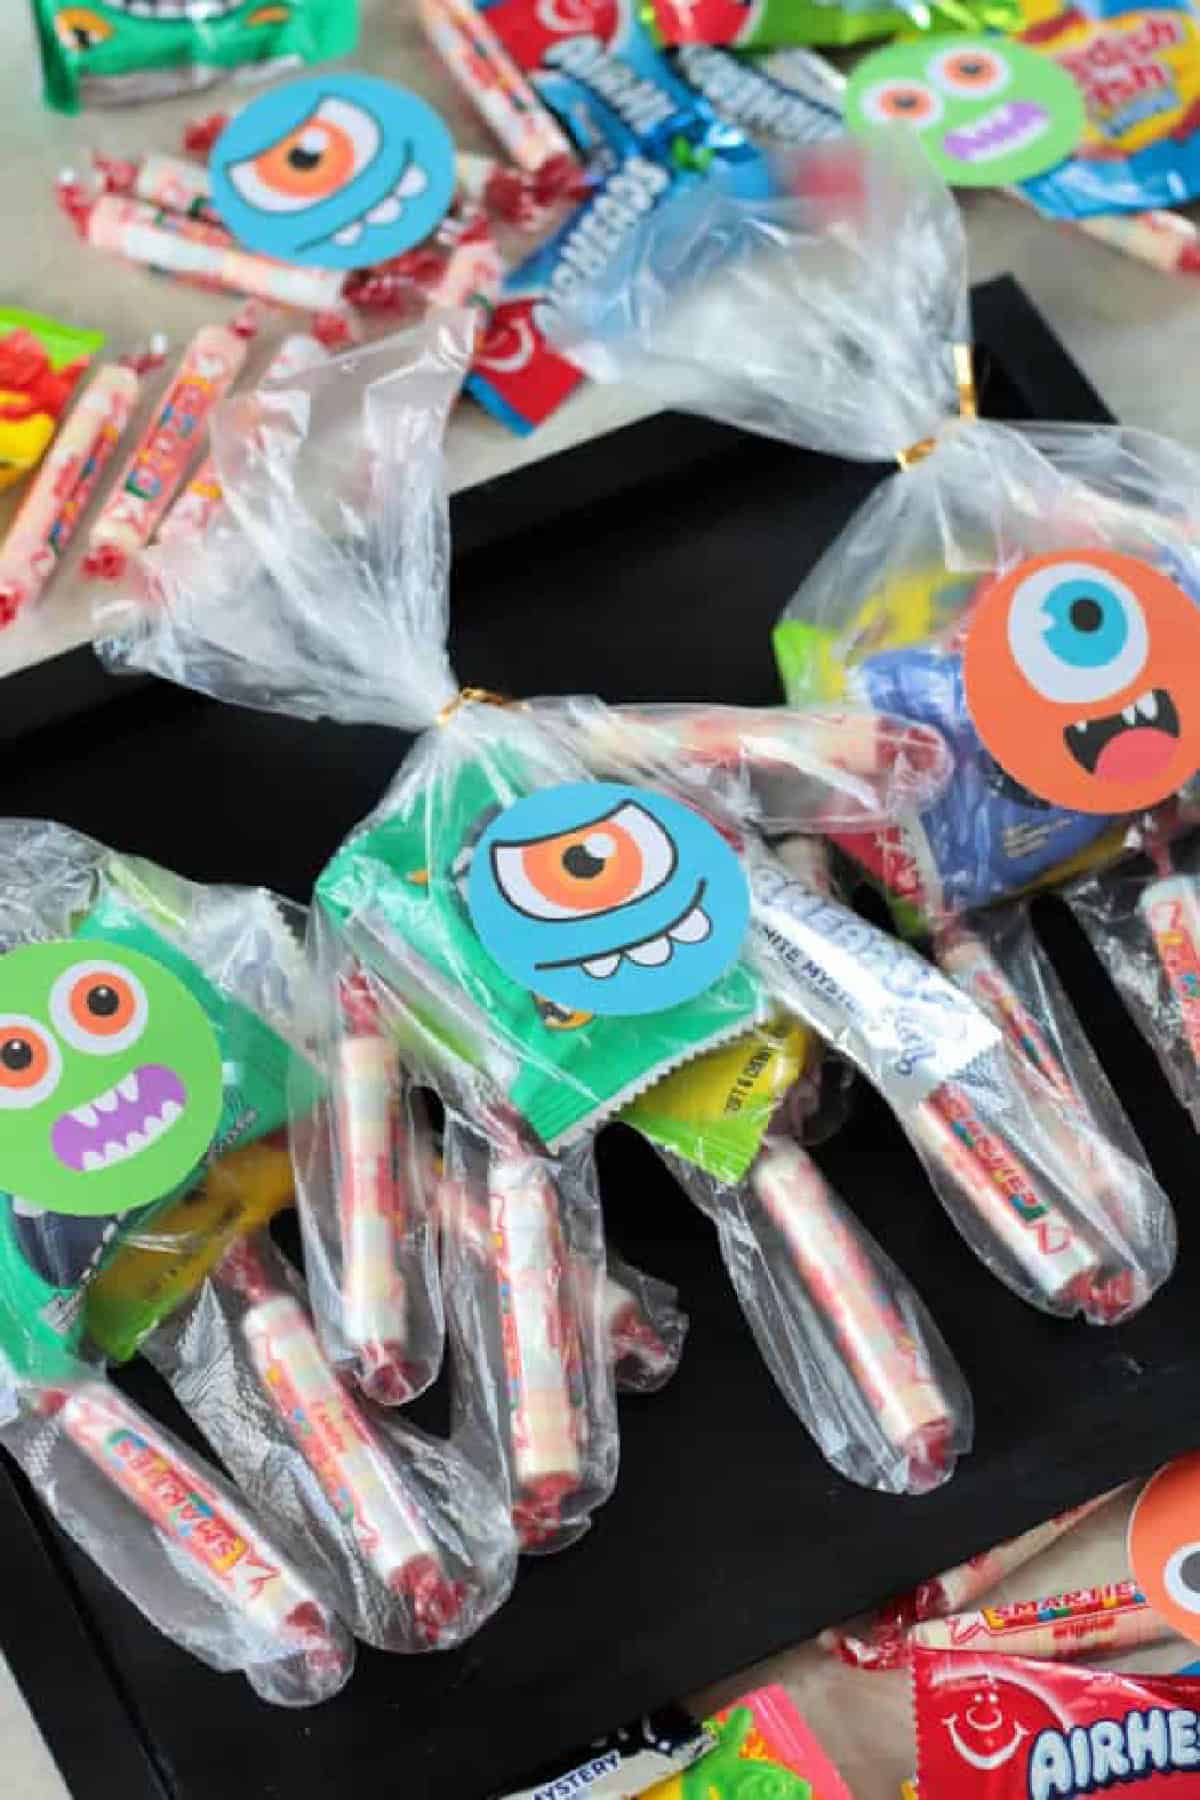
Our church's trunk-or-treat is on my daughter's birthday this year. She was very excited when she realized that fact and asked if she could help design our trunk decor for the activity. We decided on a monster theme with giant eyes and a mouth. They are still working out the details, but the trunk-or-treat goodie bags are done!
Why I Like This Craft
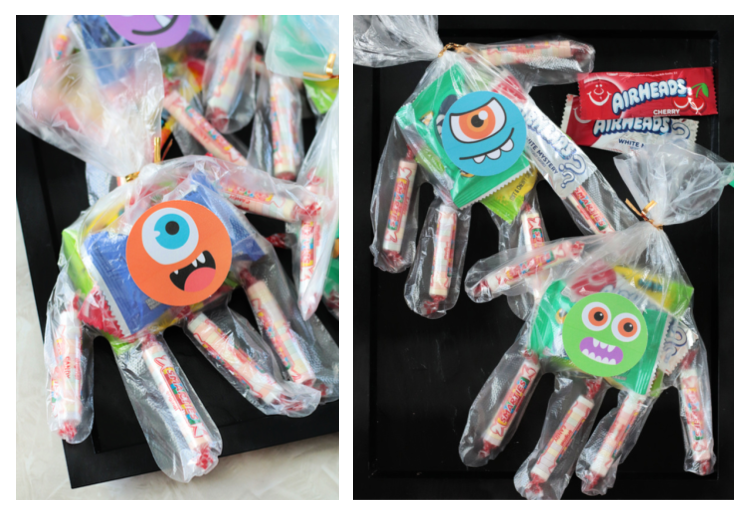
- Classic trick-or-treat handout. Folks have been filling disposable gloves with popcorn and candy for decades, but we've taken it to the next level to create these adorable little monsters.
- Quick to make. These were so easy to whip up, and the kids had fun helping me assemble them. We can't wait to pass them out to the children at church.
- Inexpensive. No need to go out and buy toys or other trinkets. Simply use whatever Halloween candy you'd like and add a fun monster eye to the front using my printable.
Jump to:
Tips and Tricks
- Customize the treat bags. There are so many fun ways to decorate these little bags. Add Halloween-themed ribbons, stickers, googly eyes, pipe cleaners, or anything you'd like! I kept it simple with twist ties and a monster face.
- Skinny candy for fingers. Smarties work well for the fingers because they are thin and slide right in.
- Silhouette machine. If you'd like to use your silhouette machine or circuit machine you can e-mail me and I'll send you a file to use!
Supplies
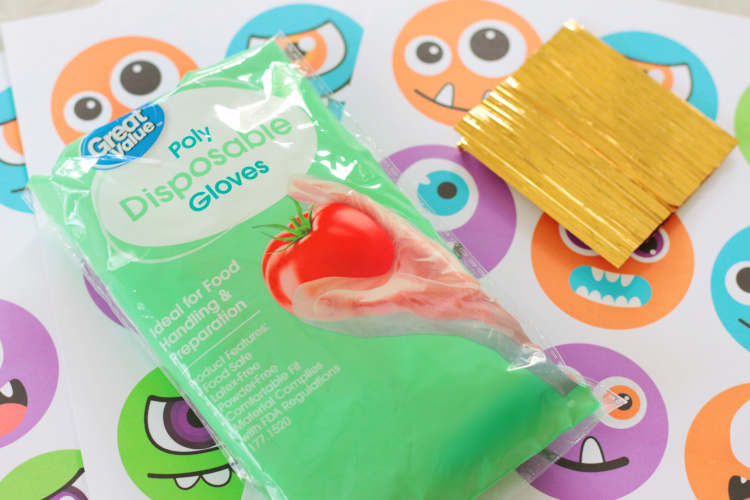
- Gloves: There are a variety of disposable gloves out there, but I prefer the inexpensive food serving gloves made out of thin plastic. You can get a package for a couple of dollars. The fingers are nice and wide, making them easy to fill with candy.
- Monster faces: I made these fun little monster faces and printed them out on cardstock. Download the Monster Faces HERE.
- Paper punch or scissors. You can cut the monster faces out with scissors or a paper punch. Here is a paper punch that is the exact size of the monster cutouts (2 ¼"). It works great and makes it easy to cut out dozens of monster faces in no time.
- Twist ties: Use twist ties or ribbon to secure the opening on each glove.
See the how-to card at the end of the post for full information on supplies and quantities.
How To Make Halloween Glove Treat Bags
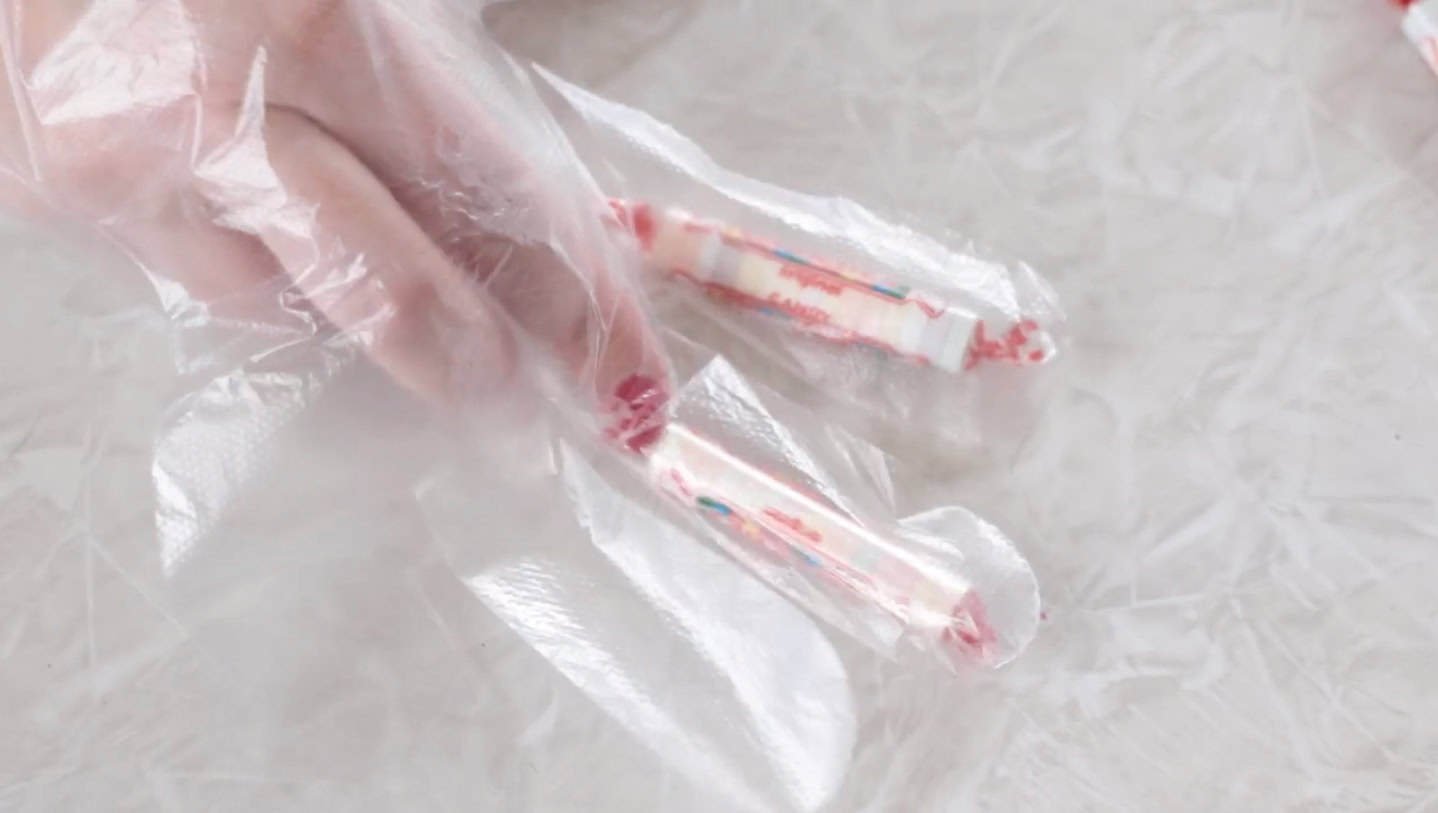
Step 1: Fill the finger holes with candy.

Step 2: Add larger candies to the hand portion of the glove.
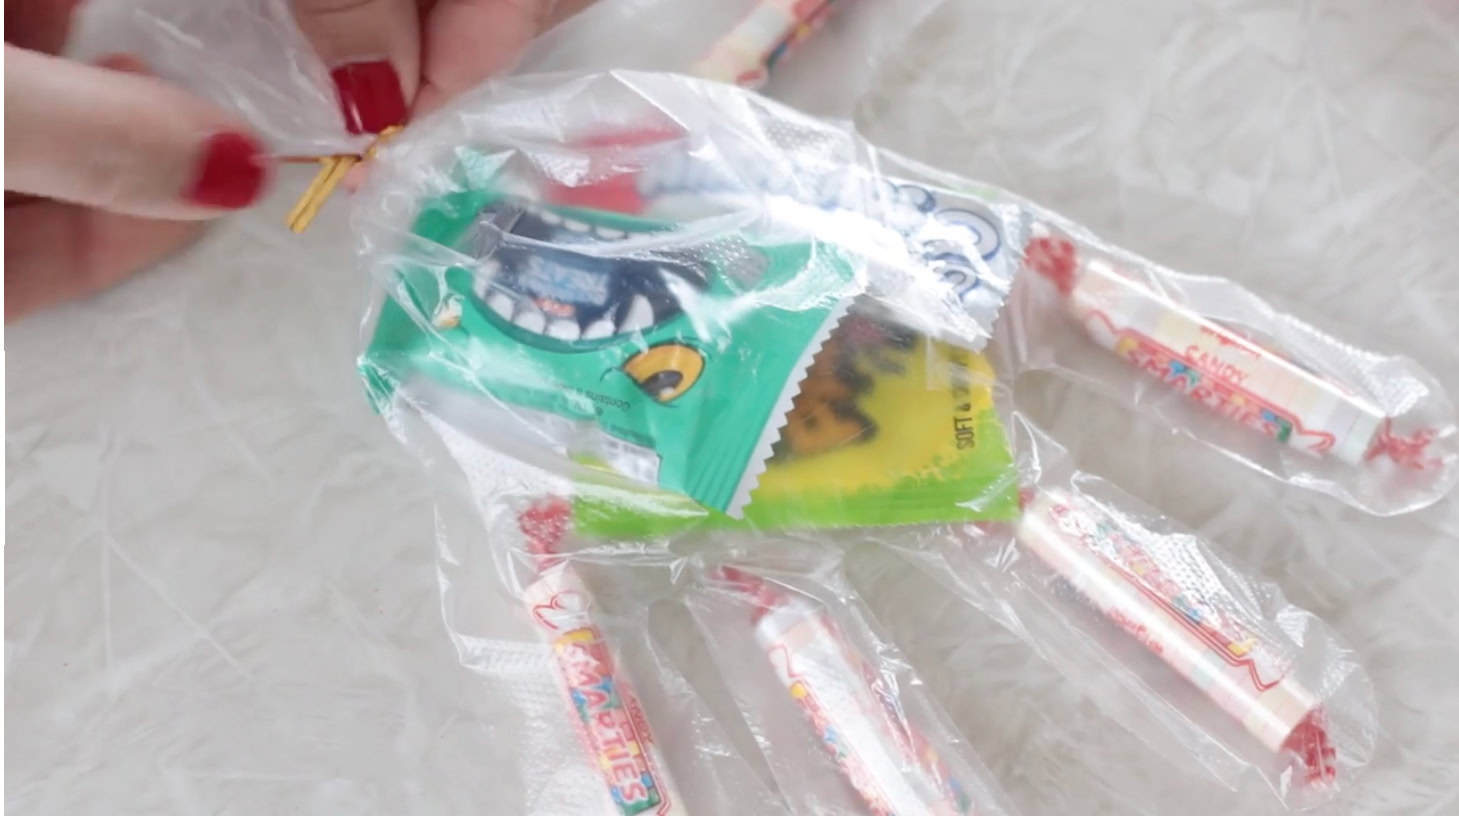
Step 3: Secure the glove with a twist tie or ribbon.
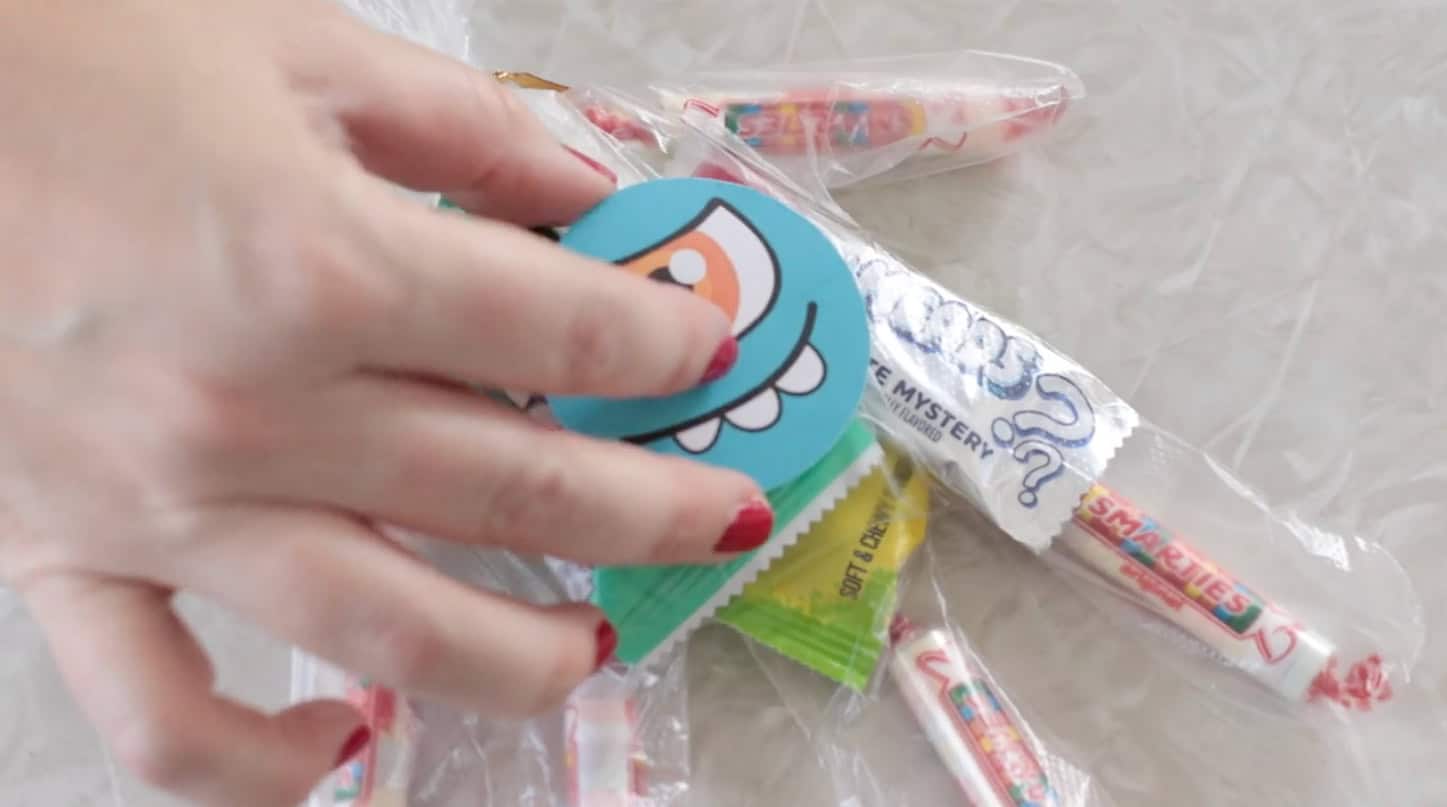
Step 4: Attach a monster face printable with hot glue or glue dots.
Glove Treat Bags FAQs
Smarties work well for the fingers because they are thin and slide right in. Flatter packages of candies, such as fruit snacks or Sour Patch Kids, work well for the hand/palm area of the glove.
There are a variety of disposable gloves out there, but I prefer the inexpensive food serving gloves made out of thin plastic. You can get a package for a couple of dollars. The fingers are nice and wide, making them easy to fill with candy.
More Halloween Crafts To Make
MADE THIS CRAFT AND LOVED IT? 💛 Please leave a STAR rating and COMMENT below! Post it to Facebook or Pinterest to easily share with friends!
Halloween Glove Treat Bags (Monster)
Equipment
- Paper punch
Materials
- disposible gloves
- twist ties
- copy paper or cardstock
- monster printable
- candy
Instructions
- Fill the gloves with candy.
- Tie the top off with a twist tie or ribbon.
- Attach the monster face with glue dots or hot glue!


Brandy says
Quick update! These were a huge hit at our church trunk or treat. The kids loved them, and they were easy to assemble.