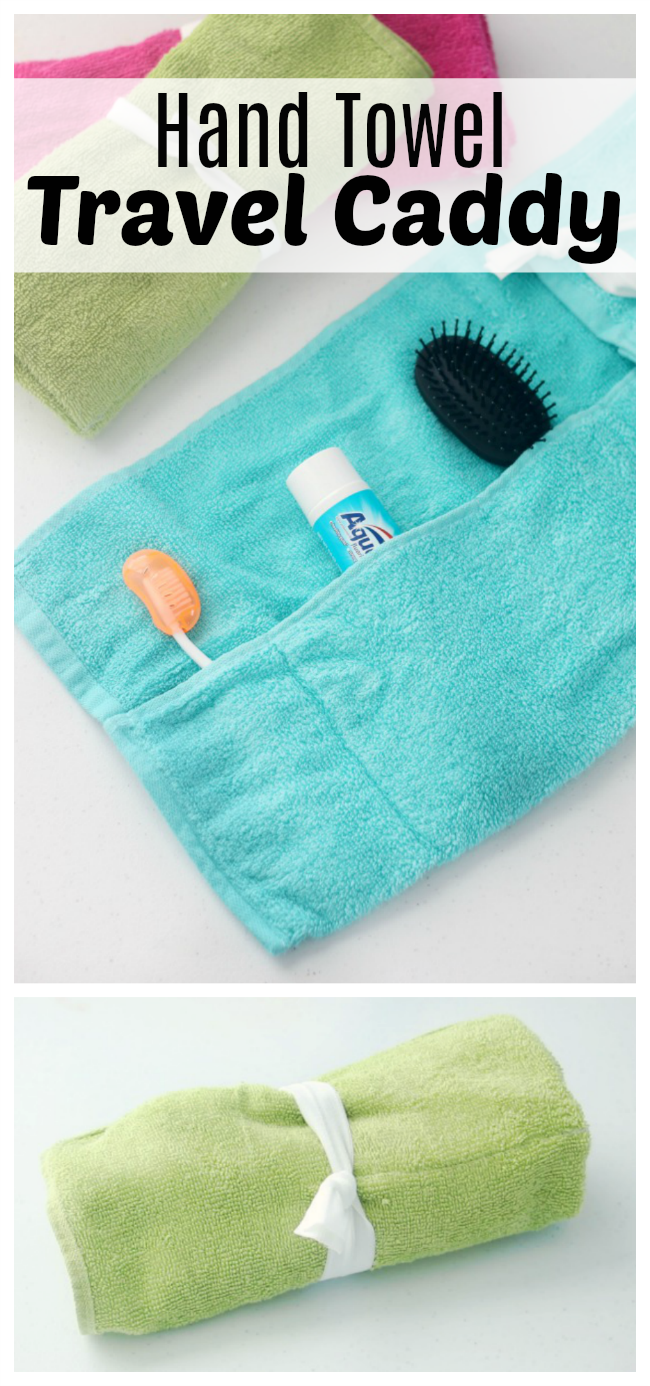
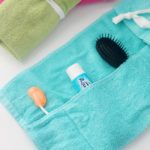
This hand towel travel caddy is a quick 10 minute sewing project, and is perfect for storing toiletries when you are traveling. The best part is that it is machine washable!
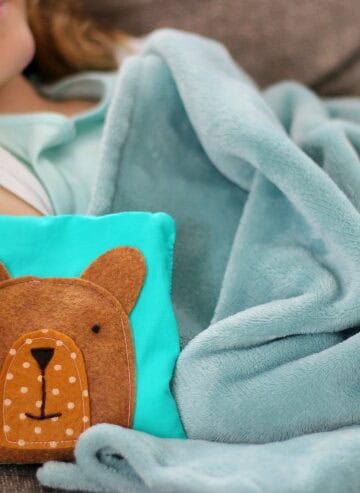
Check out our double sided tissue pouch that holds a travel sized package of tissues, a small bottle of hand sanitizer, and a lip gloss. Every back pack and purse needs one!
Watch our step by step video!
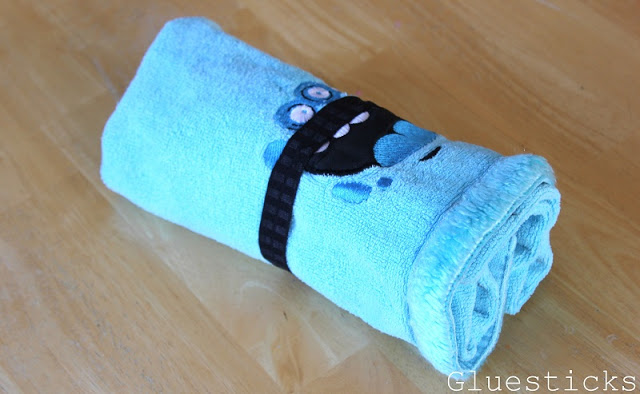
One of the very first sewing projects that I shared on Gluesticks was a cute little travel caddy made out of a monster themed hand towel. We were preparing for a couple of cross country trips that year, and I wanted something to hold the kids' toothbrushes and toothpaste. This little caddy was used and abused, and after years of traveling with us on road trips, ended up in the trash.
At the time, we had three kids who all shared one bottle of toothpaste so they shared one caddy. Now we have 4 older kids and a toddler, who all have their own toiletries, so I made one for each of them to bring to Disney World with us next week.
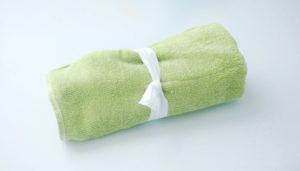
The beauty of a hand towel caddy is that it rolls up to prevent any spills, and it is completely machine washable. When you get home from your trip simply toss it in the wash!
Hand Towel Travel Caddy For Kids or Adults
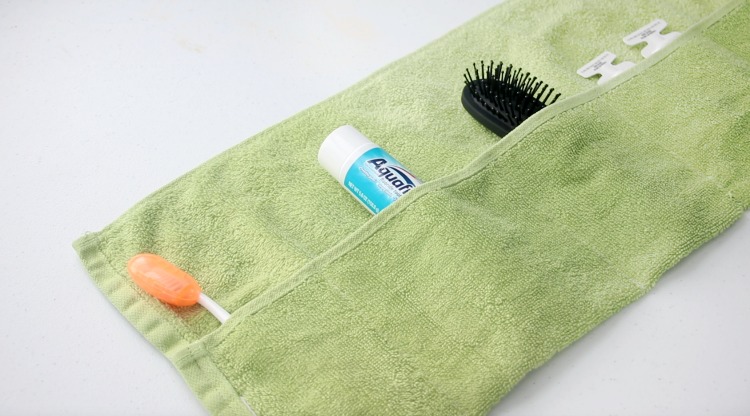
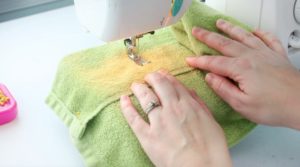
Each caddy takes 10 minutes start to finish. Simply fold up the bottom of the towel and stitch the sides. Then decide how many pockets you'd like and stitch straight lines from the fold to the top of the pocket section, creating 5 pockets.
Hand Towel Travel Caddy Sewing Tutorial
Hand Towel Travel Caddy Sewing Tutorial
This hand towel travel caddy is a quick 10 minute sewing project and is perfect for storing toiletries when you are traveling. The best part is that it is machine washable!
Pin Recipe
Yield: 1 caddy
Cost: $2
Equipment
- sewing machine
- pins
- measuring tape
- scissors
Materials
- 1 hand towel 16" x 28"
- 15" elastic
- thread
Instructions
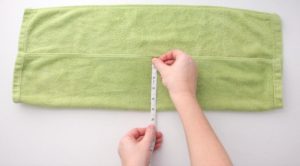
- Lay the hand towel on your work surface with the longer side on the bottom.
- Fold up the bottom edge 5" and pin the sides.

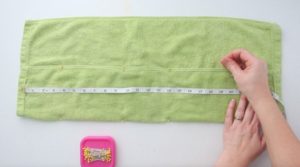
- Create pockets by adding 1 pin on the fold and a second pin directly above. Continue pinning to create as many pockets as you need.

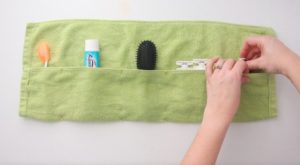
- Fill with toiletries to make sure that you like the placement of the pockets before you begin to sew.

- Starting on the fold, stitch the sides of the hand towel caddy. Then stitch from each pin on the fold, directly above to the second pin to create pockets.
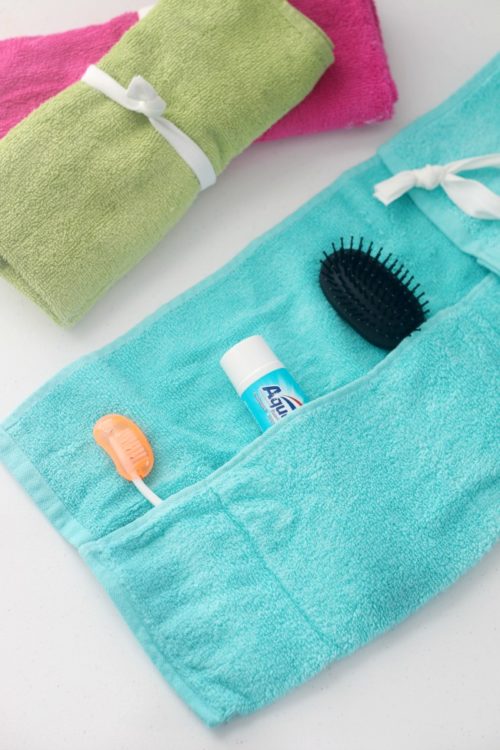
- Fold the elastic piece in half and tie a knot in the end. Place your toiletries in the caddy, roll up and wrap with the elastic band.

Video
Notes
As a reference, I placed pins along the 4", 10", 14", and 19" marks to create 5 pockets.


Sharon T says
Thanks for the great idea! These would make great donations for health kits or shoe box fillers if someone is looking for charity ideas.
Brandy says
That is a GREAT idea! We donate shoe boxes every year to Operation Christmas Child. What a great idea. I think we'll add these next year!!
Paula Parrish says
I love this idea. We travel alot for work, I am going to a make one for everyone in the family. Thanks for sharing. ;o)
Sketched Soul says
What a great idea!!
Looks wonderful.. I love the towel you used to make it 🙂
The Prudent Pantry says
I love this idea. I may even make one for myself for traveling!
I would love it if you would share this at my new Smart Solutions linky party. You can link up here:
http://theprudentpantryblog.blogspot.com/2012/07/prudent-projects-smart-solutions-linky_13.html
Have a great day!
Alicia @ littlesprinklesoffun says
I just LOVE this!!! I think this would be great for traveling also! The kids bathroom looks like this ALL the time! 🙂
Brandy says
Hi Melissa!
Thank you for the email! Here is the link the the bed. My daughter loves it and it was fairly inexpensive to make! Good luck!!
http://brandyscrafts.blogspot.com/2011/07/pvc-framed-canopy-bed.html
Brandy
Gluesticks
Andrea Louise says
Lovely idea! I will try it today!
Melissa says
Brandy,
I was directed to your site by a fellow mom in regards to your glowstick lanters...and I am so happy I was! I am in love with your site!!! I also have 4 children...and you have shared soooo many wonderful ideas, tricks, crafts, etc!!! Thank you for sharing!!!!
Now... where can I find the link to a bed image you have on your top header pic... we are about to be loving all 4 kids bedrooms around and my daughter wants a bed thats fun and unique...so no one will notice shes getting stuck with the tiniest room!!!! LOL
Regards,
Melissa
Kierst says
This is such a great idea!