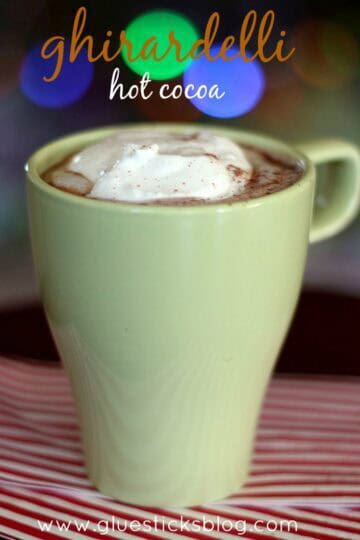
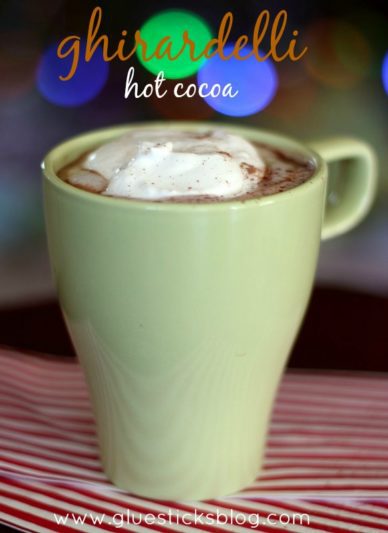
My husband makes the best hot cocoa. Our kids call it "Santa's favorite". And...it is. We like it as much, if not better, than Starbucks. That's saying a lot because I am a huge Starbucks hot cocoa fan! Rich, creamy, full of Ghirardelli chocolate flavor, and super easy too! It only takes 3 ingredients.
I think what makes it so good is that he doesn't use cocoa powder. Just chocolate.
Ghirardelli Hot Cocoa
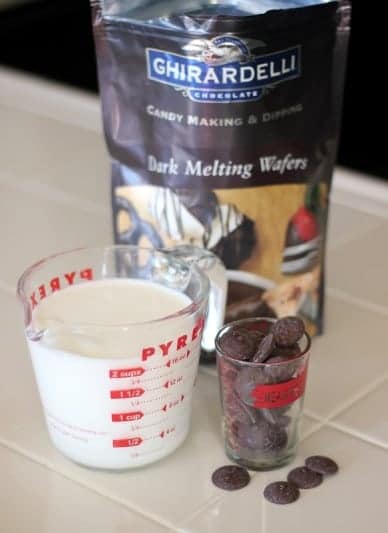
To make your own you will need:
2 cups whole milk
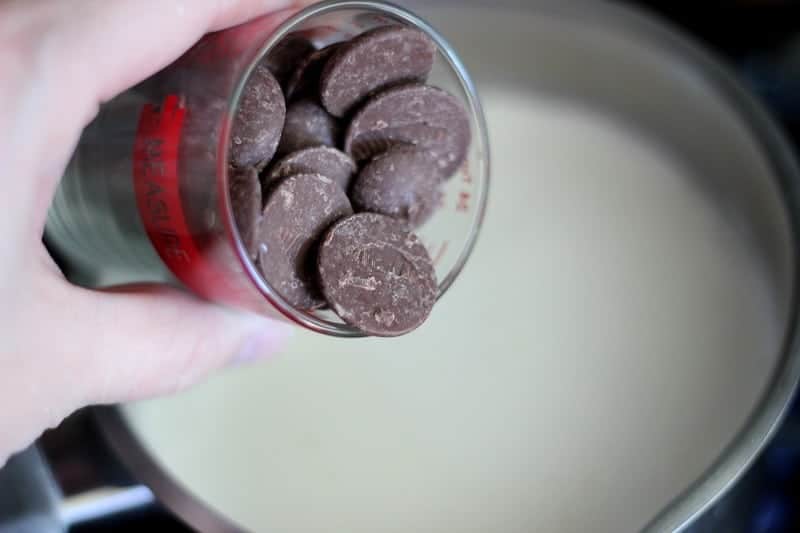
⅓ c. Ghirardelli chocolate chips (OR dark chocolate melting wafers)
whipped cream (optional)
Chocolate chips work perfectly, but I usually buy a lot of the melting wafers for my English toffee around the holidays and like to use them in cocoa too.
Heat milk into a sauce pan until it begins to simmer, stirring occasionally to prevent burning.
Remove from heat and pour in chocolate chips.
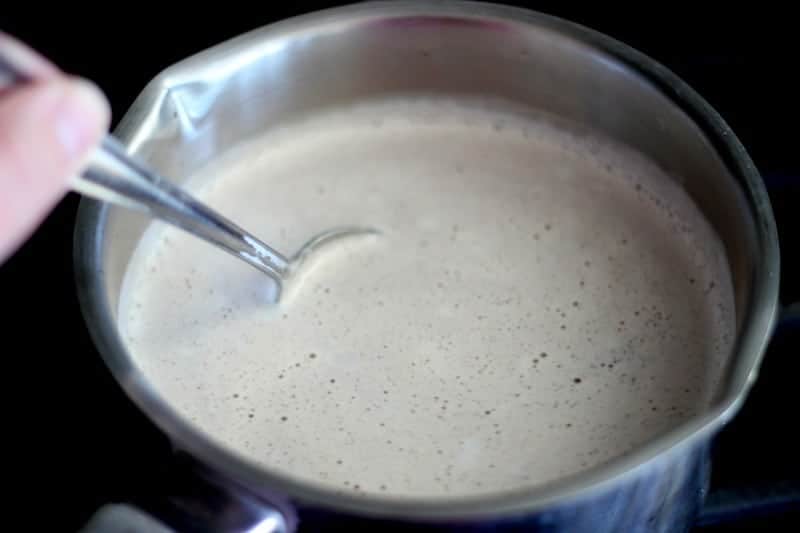
Stir until chocolate has melted completely.
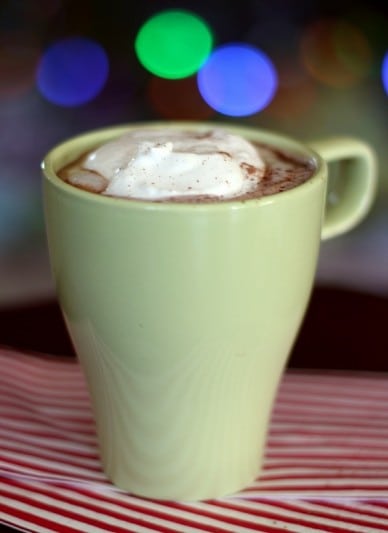
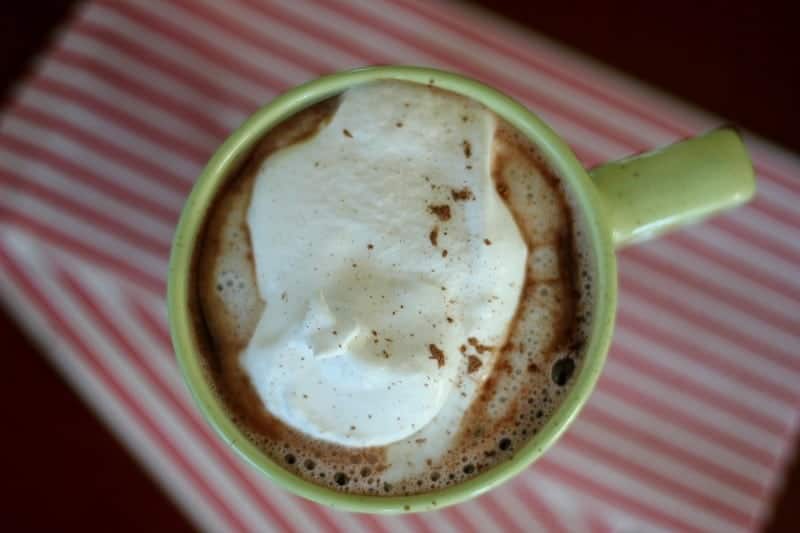
Top with whipped cream and any seasonal spices you'd like. As it cools, the chocolate will start to create a film over the cocoa. If this happens to your pot of hot cocoa, just warm it up again and the chocolate will melt smooth again.
My kids love peppermint cocoa too so I think I need to go buy some Torani syrups. Besides peppermint, what other flavors are worth trying? Mint? Hazelnut? I'd love your flavor combo suggestions!


