menu icon
go to homepage
  • Christmas
  • DIY
  • Recipes
  • About Me
  • Subscribe
    • Facebook
    • Instagram
    • Pinterest
  • subscribe
    search icon
    Homepage link
    • Christmas
    • DIY
    • Recipes
    • About Me
    • Subscribe
    • Facebook
    • Instagram
    • Pinterest
  • ×
    Home

    Dragon/Castle Birthday Party!

    December 19, 2010 By Brandy 8 Comments

    castle birthday party favor bags
    castle themed birthday cake on round platter
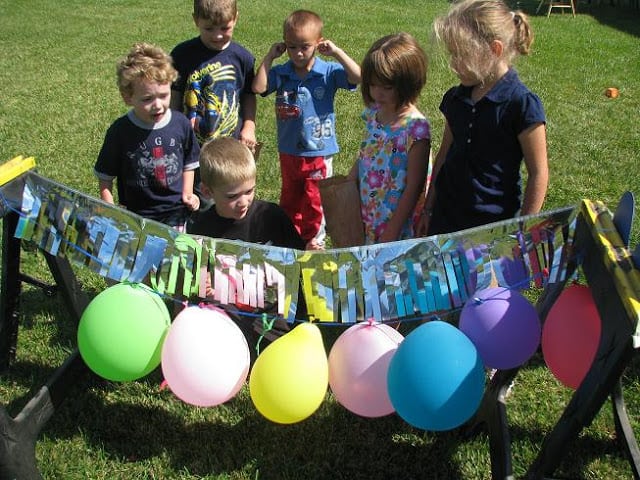
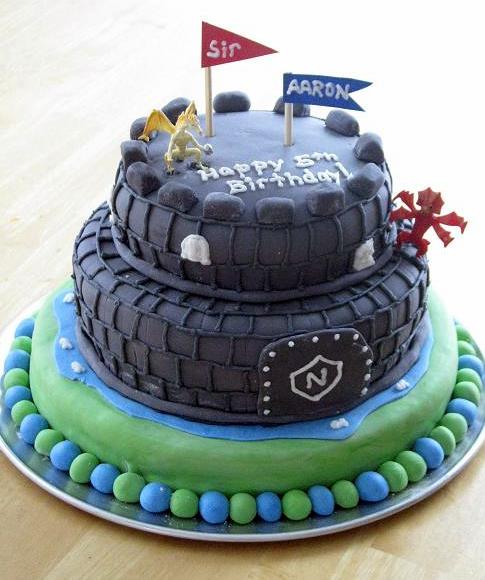
     Another post on our little guy's special day. We had his party this weekend and it went great! We did a Dragon/Castle theme. We sent out invites on antique looking paper with wax seals.  Aaron had fun helping with the wax stamp. They looked nice and "official" for the century we were going for 🙂 We invited the children to come in their best knight/princess attire, and they did! Super cute!
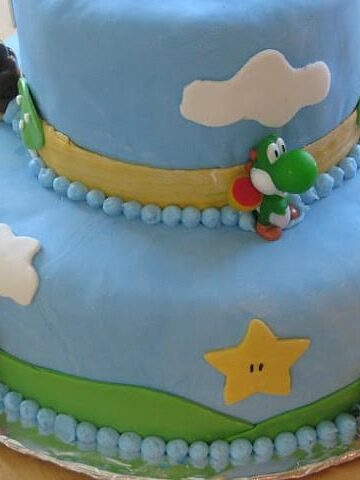
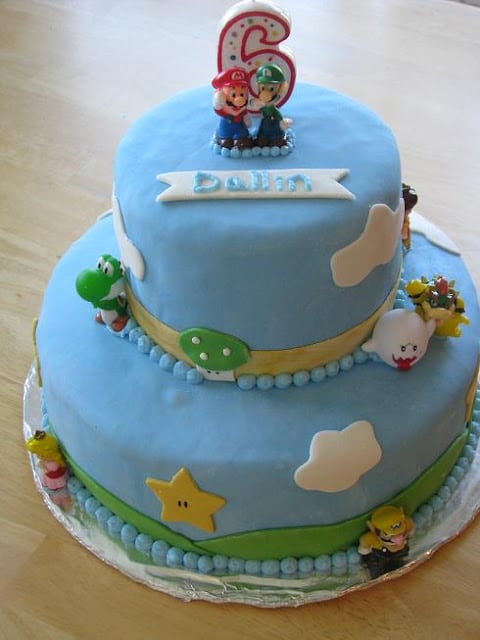
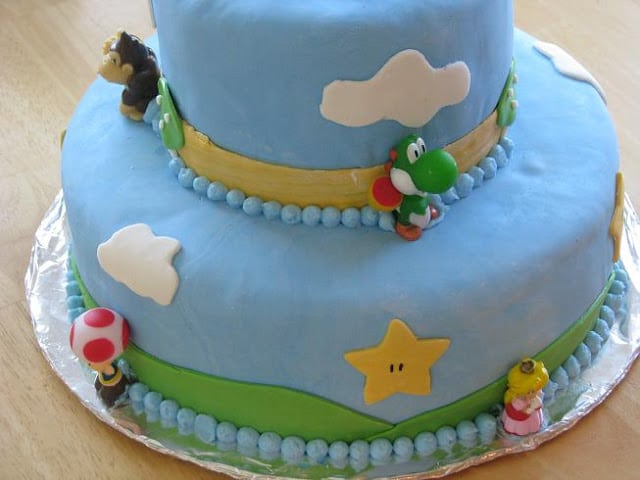
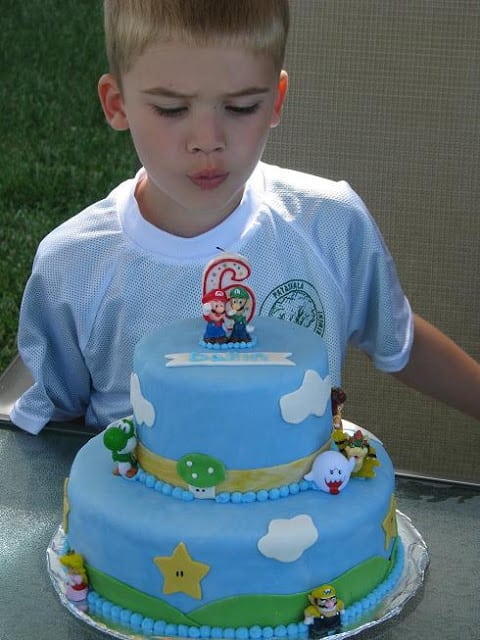
    I was happy with how the fondant turned out on the cake. I've made probably 8 fondant cakes so far and am finally getting more comfortable with it. Practice, practice, practice....
    pin the dragon on the castle game
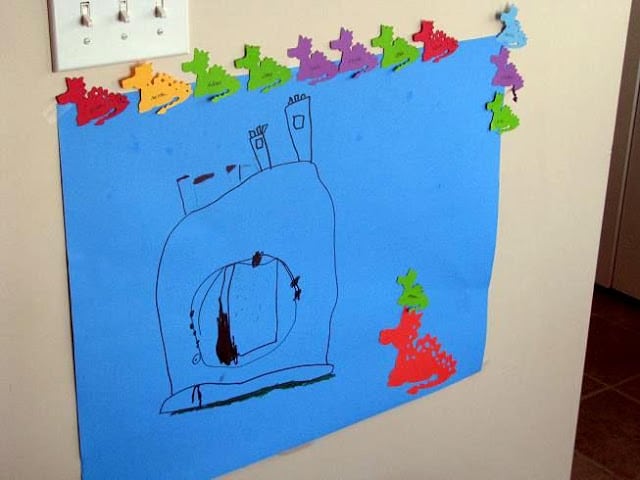
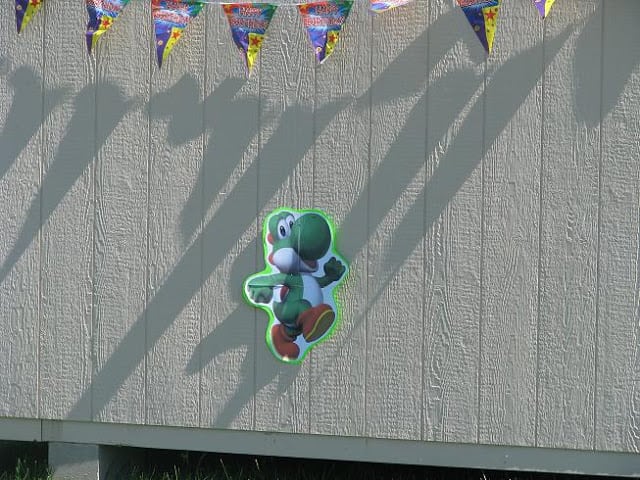
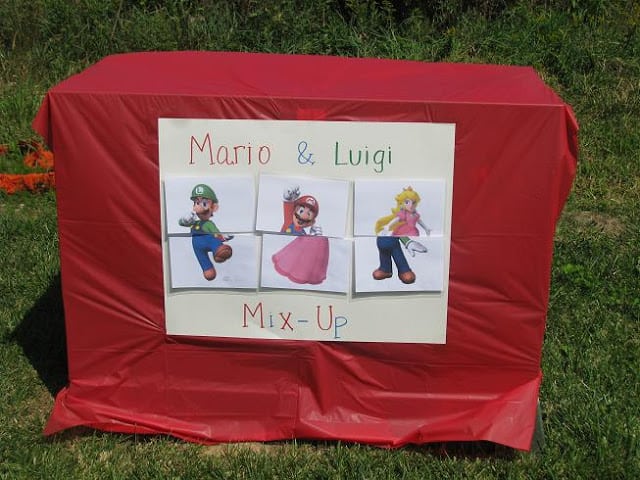
     Aaron made the poster for his "Pin the Dragon on the Castle" game. I love his castle, too cute! We also had a treasure hunt to find the princess who was locked in the deep dark dungeon (the home theater, in the basement).
    castle toys set up on table
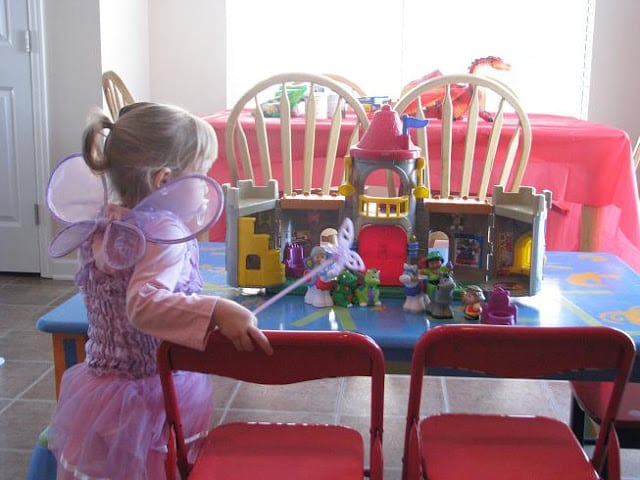
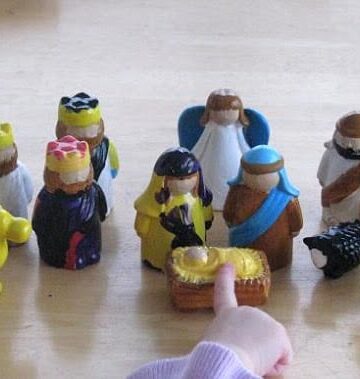
     I pulled out some castle toys for the younger children, which they loved!
    pixie sticks and party favor bags
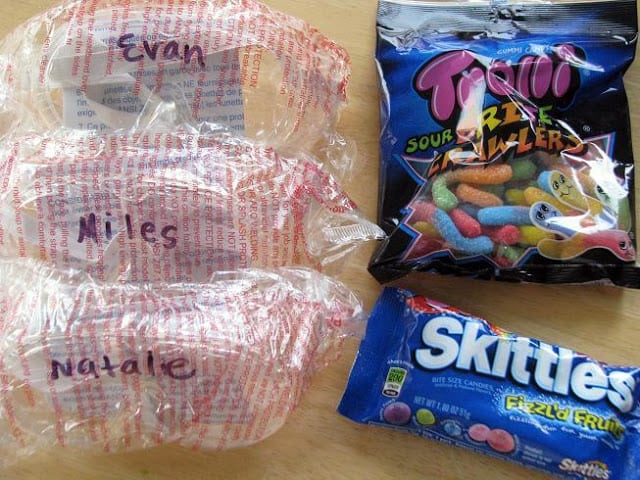
     Treat bags, and pixie swords & wands.
    gingerbread castle on paper plate
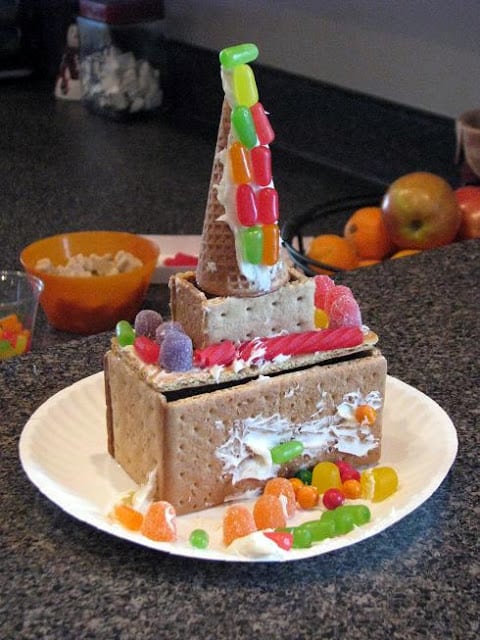
     Graham cracker castles. The kids had a great time decorating these and I love how they turned out. Derrick and I glued these together one night. 12 of them. I couldn't do these parties without my sweet husband's help!
    child blowing out candles on castle cake
    A special day for a very special little guy!

    Bakugan Cupcakes

    December 16, 2010 By Brandy 2 Comments

    bakugan cupcake with orange frosting
    bakugan cupcakes with orange frosting
    :: Taking a break from Christmas posts to celebrate our little guy::
    My son's birthday is right before Christmas. Poor kid. We actually "planned" his pregnancy around the fact that we did not want to have a child around Christmas. Well, I guess I'm not that great at figuring out dates because his due date was December 25th! Oh well! We just make sure that his party is completely separate from Christmas and that we don't downsize it at all with the big holiday that follows it. His party is this weekend and he is super excited. We are doing a Dragon/Castle themed party, but he wanted Bakugan cupcakes to share with his preschool class tomorrow. So that's what we made this afternoon.
    chocolate bakugan cupcake with orange frosting
     I don't know much about Bakugan except that it reminds me of Pokemon. Annoying, but harmless. I'm pretty sure that there aren't any black and yellow bakugans, but we worked with what we had on hand. I rolled fondant balls(fondant left over from this cake) and piped on some little designs, then printed out a little logo and attached it to some cardstock and a toothpick. He loved them.
    baking sheet with frosted cupcakes
    Anything for our Christmas baby.

    Our Favorite Nativity Set

    December 13, 2010 By Brandy 7 Comments

    unpainted ceramic nativity set
     I ordered this porcelain Nativity set from Oriental Trading 2 years ago. We didn't have a chance to paint them last year and I am so glad that we waited. Kaylee is old enough to help this year and so it was a project that they could all do together.
    angel and camel painted
     They used acrylic paint and after the paint had dried, I touched up any spots that weren't completely covered. A couple of coats of clear spray paint and they were finished.
    painted nativity set
     They really got into the character that they chose to paint. Kaylee claimed the "baby" and "Momma" right away. They each painted a wise man since there were 3. Aaron wanted the camel, the cow (he painted the "milker" pink on it, lol), a sheep, and the shepherd, and Dallin wanted to paint the donkey and angel.
    close up of painted nativity scene
    They've gathered around the set several times, showing eachother the pieces they painted. I look forward to pulling them out every year to enjoy and talk about this set that painted when they were "little".

    Painted Fleece Blankets

    December 8, 2010 By Brandy 10 Comments

    grandma and grandchild with blanket
    The kids and I made ones of these personalized blankets for Derrick last year. You can see it here.
    We decided to make a bunch more this year for grandparents.
    child painting fleece blanket
     All you need are acrylic paints and fleece! Acrylic paints are permanent. I know this because I have ruined several articles of clothing from previous projects 😉 You can wash it and dry it, the same as you would any other blanket.
    child printing footprint with paint on blanket
     We let the kids loose to paint whatever they wanted. We also helped them add their hand or foot prints. I went around, later, with puff paint and wrote quotes that the kids said about each grandmother. Things they remember doing with them, things they know about them.
    dad helping kids paint on fleece
     After the blankets dried, I blanket stitched the edges. That took awhile and was a good activity to work on while waiting in the truck to pick up Dallin from school!
    grandma opening fleece blanket gift
     Grandma Candice loved hers when we gave it to her at our early Christmas celebration out in Utah.
    grandma and grandchild with blanket
    Kaylee was excited to show her the area that she painted....the pink and purple artwork 🙂

    Homemade Science Kits for Kids With Printable Instructions

    December 5, 2010 By Brandy 28 Comments

    black cauldron with science kits inside

    These science kits for kids are easy to put together using household ingredients! They even come with printable instructions. Bobbing raisins, Invisible Ink, Wriggle Worms and more! Package them all up in baggies and put in a tote for a fun and educational gift or summer activity for kids.

    collage of photos of chocolate angel food cake frosted
     Today I'm sharing a homemade gift idea that we did for my sister's family. A  Science Kit for my nieces and nephews! Science kits for kids are always fun, and this one was fairly inexpensive since it was homemade and uses every day items!

    plastic black cauldron filled with science kits
    laminated science instructions and recipe cards
    I went to this site and found a bunch of projects that I thought would be fun to try. They were all found under the "reactions" page. Then I made "recipe" cards, laminated them, and put them on a ring.
    plastic bags filled with science experiment ingredients
     Each card matches a ziploc bag with all of the supplies needed to do the experiment. There were 12 or so projects. I made a pdf version of the cards. They aren't anything special, but feel free to use them if you'd like. Just cut out the recipes and mount on cardstock.
    plastic cup and raisins and can of soda
    Some of the ones we included were:
    (click below to be linked to each experiment)
    Bobbing for Raisins
    Wriggle Worms
    Soapy Froth
    Rocket Bottle
    Runaway Pepper
    Flarp
    Invisible Ink
    Shiny Coins
    We spend an evening trying these out ourselves and had a great time!
    3 pairs of safety goggles and bag of skittles
    Goggles, and some fun candy! Have you seen the fizzy Skittles? They don't taste that great, but do fizz up in your mouth. My kids liked that.
    lemon juice and paper and paint brushes
     I grabbed this Mystical Tree and Lakeshore Learning. We picked one out for ourself. The kids had a great time watching it grow and it made for some pretty fall decor.
    color tree science kit in box
    This was such a fun gift to put together. A little time consuming, but so worth it. My sister's family is so creative and active. We couldn't think of a more perfect family to make this for.
    wrapped science kit gift
    How does one wrap a huge cauldron? This is all I could think of without using an entire roll of wrapping paper 😉
    You might also like...
    collage of science experiment activities for kids
    Easy Science Experiments for Kids
    collage of summer activities for kids
    Summer Activities for Kids
    collage of cakes kids can make
    Easy Cakes that Kids Can Make

    Homemade Wedding Gift Ideas

    December 3, 2010 By Brandy 18 Comments

    acid etched casserole dish
    casserole dish with homemade hand towels inside
    I put this gift together for my brother Cody, and his new wife, Brooke.  I try to go the homemade route whenever possible and wanted to come up with a gift that was personal, yet very practical for this young couple.
    acid etched casserole dish
    Using the techniques in this post, I made an acid etched casserole dish as well as a large treat jar for their kitchen.
    acid etched candy jar filled with Hershey kisses
    Using the technique found in this post, I made a soap bottle for their kitchen as well.
    clear bottle of soap with personalized front
    Then I added some of my favorite fabric to some white kitchen towels by simple sewing a band across the bottom of each towel. I machine quilted along the white vertical design so that they didn't bunch up or look wrinkled after being washed many times.
    Finally, a few boxes of cake mix and frosting and it was complete!

    casserole dish with baking mixes and 2 containers of frosting

    Lemon Mint Sugar Scrub

    November 11, 2010 By Brandy 47 Comments

    jar of sugar scrub with wooden spoon
     Here is a project that a friend shared with me. She found the link here at Under the Table and Dreaming. What a fun and easy project. I made a bunch for gifts this year.
    small mason jar filled with lemon scrub
    Now I need to make a jar for myself. It really does make your hands feel smooth. I get major winter hands,  so maybe this will help!
    2 ½ c. sugar
    1 c. extra virgin olive oil
     few drops of essential oil (I used mostly lemon and a drop of mint)
    Mix together and fill jars. I made a double batch and it filled 7 half pint jars.
    Use on dry hands to avoid contamination.

    I found the tags here. They were blank, so I used my paint program and added the names and labels.

    (Lemon Mint pictured below with wooden craft spoons for applying.)

    jar of sugar scrub with wooden spoon
    The jars are little canning jars. I love this style. They are more pricey than the regular half pint canning jars, but for little gifts like these it is worth it. That being said, it was still only $4 for 4 jars. I found them at Walmart, but grocery stores sell them as well.

    Acid Etched Jars

    November 4, 2010 By Brandy 36 Comments

    two jars with acid etched designs on front
    Acid Etched Jars
    4 jars and a roll of contact paper on table

    (jars purchased at Walmart for $2.97/each)

    I remember making acid etched mirrors in high school and it was quite the labor intensive project. However, making acid etched projects with a cricut is so simple! The Young Women at our church recently did a Girl's Camp fundraiser and made acid etched plates to sell. They were a hit. My friend, Tanya, let me use a little bit of her acid etching to make a casserole dish for a wedding gift and these little jars. A little bit goes a long way. I hardly used anything and was able to make several fun gifts. Now I wish I had a bottle of my own so that I can make things for myself. Casserole dishes, jars....it's a bit addicting. I'll have to print out a 40% off coupon to Hobby Lobby and grab a bottle sometime.

    jars with contact paper stencil on front
    It is much cheaper to go to the Dollar Store or Walmart and buy shelf contact paper vs. buying a roll of white contact paper. It doesn't matter how it looks. You are just making your stencil from it. I used my cricut and cut out the letters and shapes, then placed them on my jars. Blade pressure was set to low. It can be a little tricky to make sure it goes on straight, but since the contact paper is reposition-able, you can do it over a few times until you get it right. Make sure there aren't any air bubbles and press it on tight. And make sure to leave a border of contact paper. You don't want your stencil to be too close to the edge of the paper. This allows enough room for you to apply your etching cream without it smearing or leaking over onto other areas of glass.
    jar with apple stencil from contact paper
     Generously apply the acid etching cream to the glass with a small paint brush. Covering the opening of your contact stencil entirely. I made one before and just brushed it on like I would paint. It didn't come out very solid, but very streaky. So pile it on there so that you can't see any glass through  it AT ALL.
    jar with acid etching cream over stencil
     Allow to sit for about 10 minutes (just follow the directions on your bottle) and then, using your brush, remove the excess cream and put it back into your bottle. You don't have to do this, but it sure makes the cream last longer. I was able to pretty much save all of it. Then run under water until rinsed completely. Take the contact paper off while running under the water and keep rinsing until you can't see or feel any of the grainy texture. Towel dry.
    jars with finished acid etched apple and bus designs
    These were hard to photograph, but turned out perfect.
    finished acid etched jar with apple design
    For jars, you etch on the FRONT so it goes left to right. No alterations needed. But if you would like to etch a glass plate that will be used for food or the bottom of a casserole dish, you can make a reversed stencil that will go on the BACK of the glass. To do this on your Cricut, use the "flip" feature. Then key in your lettering in reverse. For example, our name would go as follows:
    "FLIP" "NOSLEN" (for Nelson)
    Then you would apply your stencil to the back of the dish. This way, your dish will always have a smooth perfect finish on the front for serving and baking food on.
    acid etched jar filled with candy
    Now back to the jars...
    I went to Target and picked up a bunch of 50% off chocolate bags. Kisses, PB Cups, and mini candy bars. They were in fall colors, but for $1 bag, I couldn't beat that. I put a small piece of black construction paper behind the etching so that it stood out and didn't blend in with the candy. It also looks like a little chalkboard! Perfect for a teacher's gift!
    4 acid etched jars wrapped with ribbon
    large jar filled with chocolate candy
     This one is for my brother, who is getting married in December. I made this along with an etched casserole dish which I will post later in December when I finish everything for their wedding gift. It didn't photograph well, but it is a "K" with a fern/berry branch to the left. I love how it turned out!
    If you don't have a Cricut or a Silhouette, you can still do this. When I made my mirror in high school, I adhered  the contact paper to my mirror, transferred my images onto the contact paper using carbon paper (or you could just free hand), then cut out the contact paper using an exacto knife, taking out the centers and leaving the stencil.

    Super Mario Birthday Party

    September 19, 2010 By Brandy 6 Comments

    Mario cake with blue fondant
    2 tiered Mario cake
     Mario party ideas are few and far between! So I thought I'd post my ideas on here to share. All are original unless otherwise noted. The party was a HUGE success!
    There was a Yoshio egg smash. I found that idea online and then found a tutorial on how to make the eggs on You Tube!
    Yoshi cut out on side of shed
    Yoshi eggs in basket
    The kids popped balloons. Inside the balloons were clues helping them find Princess Peach who was being held captive in the basement by Bowser. The clues inside the balloons led them to cardstock coins hidden around the yard. Once they collected 8 of them (there were 8 kids) they used the last clue to find where she was hiding. When they found Peach, they also found their treat bags.
    kids popping balloons
    Every game was called a LEVEL. Level 1, Level 2, etc.
    They raced around the yard playing MARIO KART (riding the power wheels). My husband had them make foil helmets before racing, they looked HILARIOUS!
    child riding in power wheels monster truck
    There was a Mario Mix-Up game (totally last minute, I needed one more game the night before!). I printed out 3 8x10 pictures of Luigi, Mario, and Peach, laminated them and put sticky Velcro on the backs. Then cut them in half and mixed up the heads with the feet. The kids had to rearrange them as fast as they could. If they could do it in less than 30 seconds (everyone did it in under 15) they got a coin.
    Mario mix up matching game
    The kids received chocolate coins after EVERY game. They put them into brown lunch sacks that they had decorated at the beginning of the party.
    Mario cake with blue fondant
    child blowing out candle on cake
    And cake, of course cake. The cake decorations were ordered from E-bay, shipped from China for $12. I saw a photo of a similar cake and decided to give it a try. I used fondant instead of buttercream. It was totally a labor of love and time consuming but turned out perfect!
    Mario cut out on outdoor table
    I printed out all of the posters myself by doing an image search online and mounted them on poster board. I think I will do this in the future for parties for my kids. Yes, it uses a lot of ink, but it still cheaper than buying decorations!
    • « Previous Page
    • 1
    • …
    • 151
    • 152
    • 153
    • 154
    • 155
    • Next Page »

    Welcome!

    I'm Brandy! I love to create and share my ideas through easy-to-follow recipes and tutorials.

    More about me

    As an Amazon Associate, I make a small commission on qualifying purchases.

    sew with me kids sewing book
    My Book

    Christmas Posts

    • Christmas stocking on mantle
      Cuffed Christmas Stocking Sewing Pattern
    • Pop tart gingerbread house decorated with candy and mints.
      Make a Pop Tart Gingerbread House
    • hands holding chocolate truffle wreath
      Candy Truffle Wreaths (Easy Gift Idea!)
    • White flannel pajama pants with black dogs on the front.
      Sew Your Own Pajama Pants Without a Pattern
    See more Christmas →

    Latest Posts

    • Chubby gingerbread man cookie with white icing and red candy buttons.
      Chubby Gingerbread Man Cookies
    • No bake chocolate silk pie in glass pie pan.
      Easy French Silk Pie (No Bake Crust)
    • Wire basket of crescent rolls.
      Homemade Crescent Rolls
    • Buttercream frosted ginger cookies with sprinkles.
      Frosted Ginger Cookies

    Footer

    ↑ Back to Top

    About

    • Privacy Policy
    • Accessibility Policy

    Newsletter

    • Sign Up! for emails and updates

    Contact

    • Contact

    As an Amazon Associate, I earn from qualifying purchases.

    Copyright © 2025 Gluesticks Blog