
Homemade sugar scrub is an easy DIY project made with simple ingredients. This peppermint version combines granulated sugar, coconut oil, and a few drops of essential oil to create a scrub that leaves hands and feet feeling soft and smooth.
If you enjoy making your own bath and body products, you might also like making homemade lotion bars.
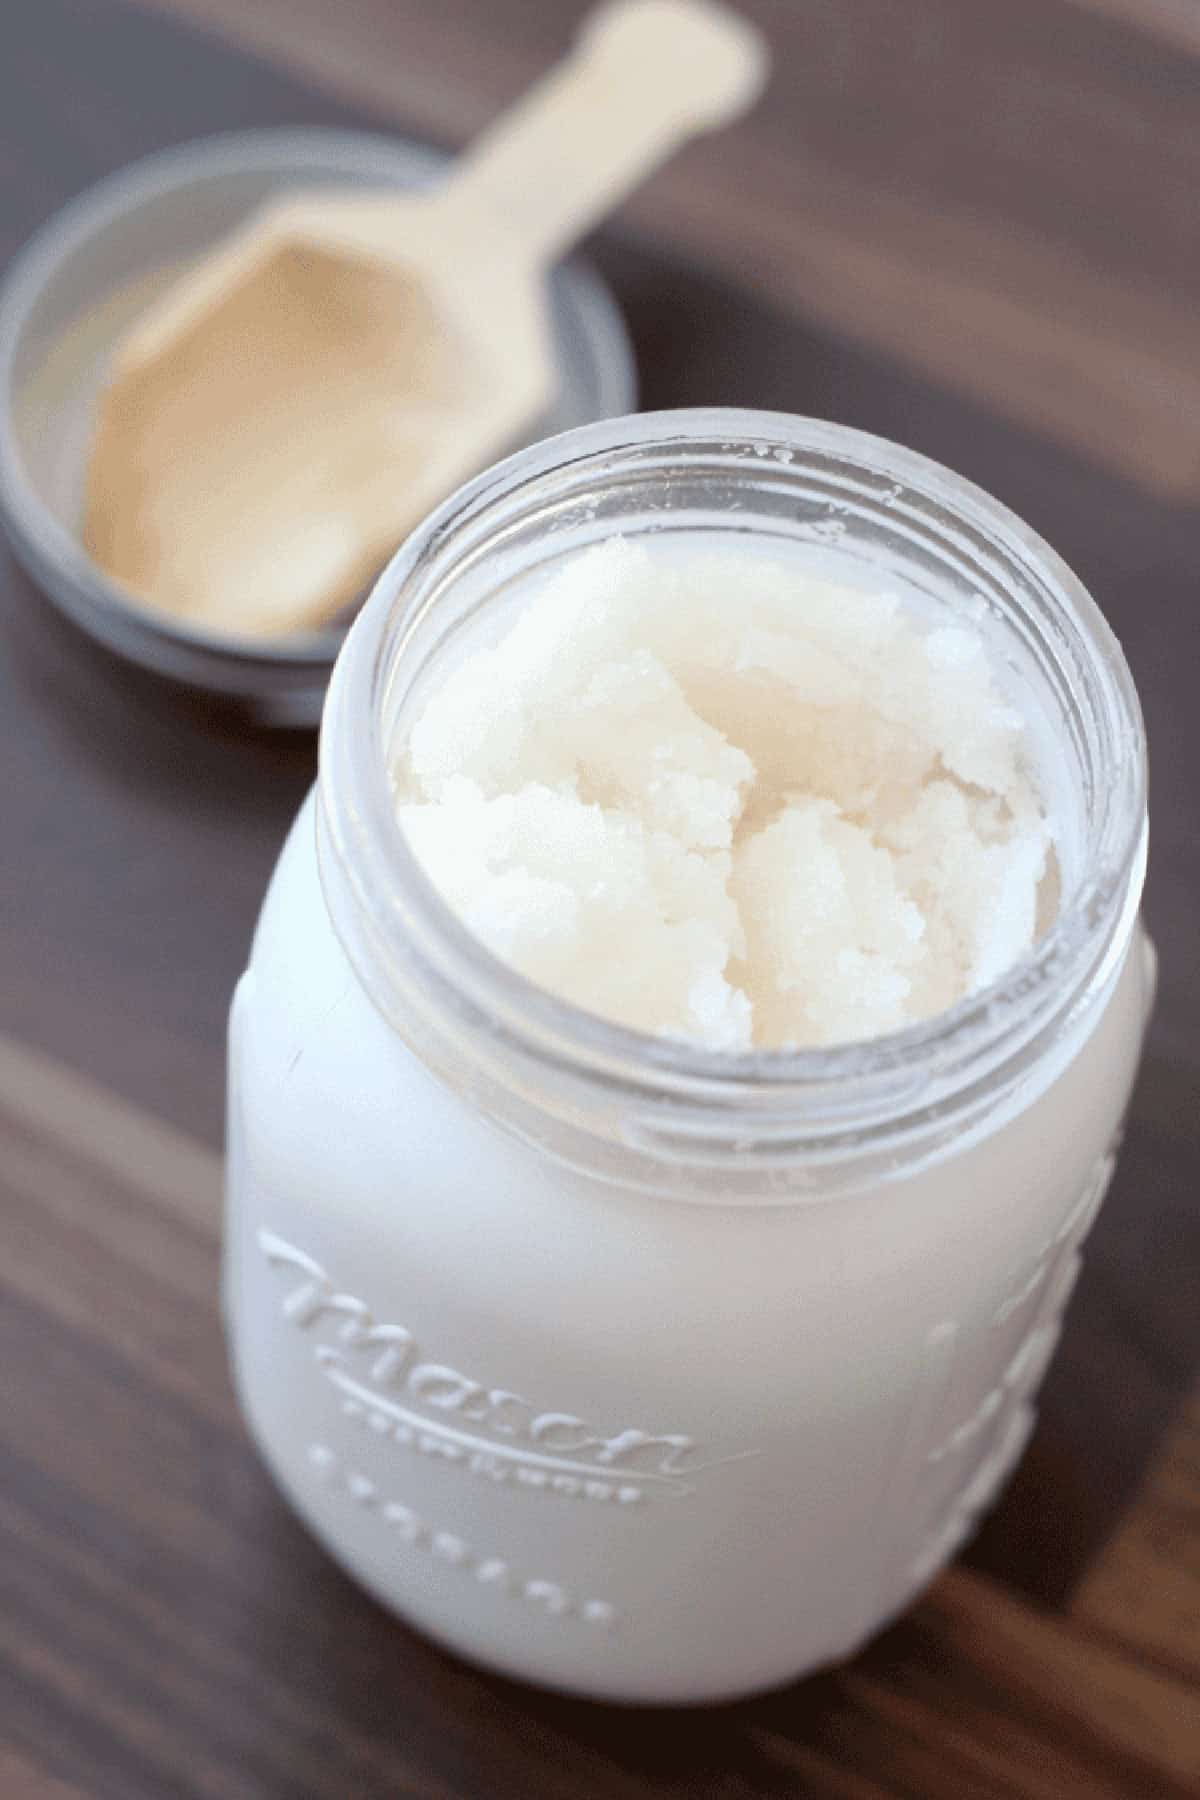
My girls love buying body scrubs in a variety of scents. Making it at home not only saves money, but also lets you customize it however you'd like!
Sugar scrub seems fancy, but it couldn't be easier to make. The best part about this sugar scrub is how easy it is to customize. Adjust the texture, choose a different skin-safe scent, or mix up a small batch whenever you want a simple homemade body scrub.
Why You'll Love This Recipe
- Only a few ingredients: Sugar, coconut oil, and essential oil are all you need for the basic recipe.
- Quick to make: There’s no cooking or complicated equipment involved.
- Easy to customize: Change the essential oil or adjust the sugar-to-oil ratio to get the texture you prefer.
- Great for hands and feet: Sugar provides physical exfoliation, while the oil helps leave skin feeling moisturized.
- Simple to store: Keep your scrub in a clean, sealed container and use a dry spoon to scoop it out.
Jump to:
Tips and Tricks
- Start with the original ratio: Use two parts granulated sugar to one part coconut oil, then adjust the texture if needed.
- Warm the coconut oil gently: If it is solid, microwave it briefly until softened or just melted. Avoid adding hot oil to the sugar.
- Add essential oil sparingly: Follow the essential oil manufacturer's skin-use dilution guidance. More drops do not necessarily make a better scrub.
- Keep water out of the jar: Water introduced during use can encourage contamination. Scoop out only what you need with a clean, dry spoon.
- Use gentle pressure: Sugar is an exfoliant, so there is no need to scrub aggressively.
- Be careful around the shower or tub: Coconut oil can make surfaces slippery. Use the scrub while seated or standing securely, and rinse the surface thoroughly afterward.
Ingredients
- Granulated sugar: The exfoliating ingredient. Regular white granulated sugar works well for a simple body scrub.
- Coconut oil: Binds the sugar together and helps soften the skin. Melt it gently if it is too firm to mix.
- Peppermint essential oil: Adds the fresh peppermint scent. Use a skin-safe product and follow its recommended dilution instructions.
See the recipe card for full information on ingredients and quantities.
How to Make Homemade Peppermint Sugar Scrub
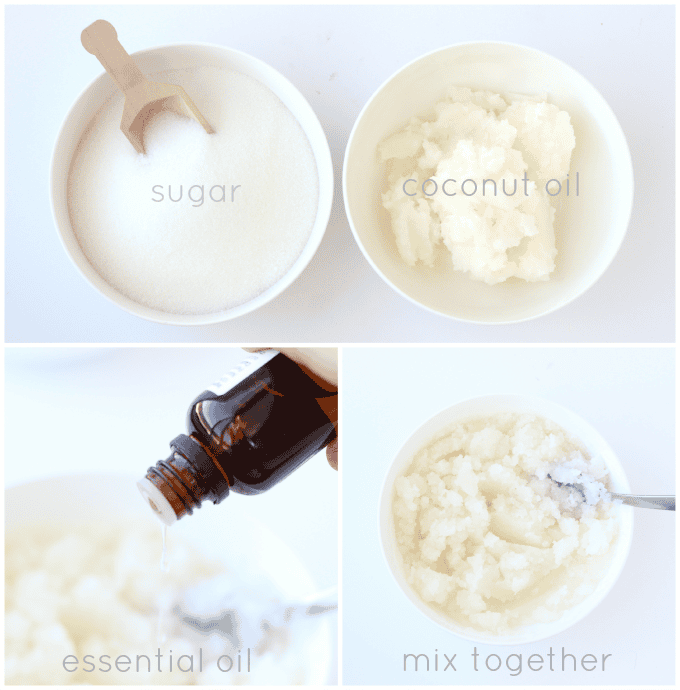
Step 1: Soften the coconut oil. If your coconut oil is solid, microwave it in a microwave-safe bowl for about 15–20 seconds, checking it before heating further. You want it softened or just melted, not hot.
Step 2: Mix the sugar and oil. Combine two parts granulated sugar with one part coconut oil in a bowl. Stir until the mixture is evenly combined and resembles damp sand.
Step 3: Add the peppermint essential oil. Add a small amount of skin-safe peppermint essential oil, following the product's dilution recommendations. Stir thoroughly so the scent is distributed throughout the mixture.
Step 4: Adjust the texture. If the scrub seems too oily, mix in a little more sugar. If it seems too dry to hold together, add a small amount of coconut oil at a time.
Step 5: Transfer to a clean jar. Spoon the finished scrub into a clean, completely dry container with a tight-fitting lid. Label the jar with the ingredients and the date it was made.
How to Use Sugar Scrub
- Wet your hands or feet with warm water.
- Scoop a small amount of scrub into your palm using a clean, dry spoon.
- Gently massage it over damp skin using light circular motions.
- Rinse thoroughly with warm water.
- Pat your skin dry and apply your usual moisturizer if needed.
Use the scrub occasionally rather than repeatedly. Do not use it on your face, around your eyes, or on other sensitive areas; granulated sugar can be too abrasive for delicate skin.
Important: Do not use an oily scrub on your feet while standing in the shower, where the oil can create a slipping hazard.
How to Customize Your Sugar Scrub
The basic sugar-and-oil mixture is easy to adapt.
- Unscented sugar scrub: Leave out the essential oil for a simple, fragrance-free version.
- Lavender sugar scrub: Substitute a skin-safe lavender essential oil, following the manufacturer's dilution recommendations.
- Citrus-scented scrub: Use a skin-safe citrus fragrance or essential oil formulated for topical use. Some citrus oils can increase sensitivity to sunlight, so check the specific product's safety instructions.
- A thicker scrub: Add more sugar a little at a time until the texture is less oily.
- A softer scrub: Add a little more coconut oil until the mixture is easier to spread.
Avoid adding fresh fruit, juice, or other water-based ingredients to a scrub intended for storage. These additions can change how the mixture keeps and may increase contamination risk.
How to Store Homemade Sugar Scrub
Store your sugar scrub in a clean, airtight container in a cool, dry place. Keep the lid closed between uses and always use a clean, dry spoon to remove the amount you need.
Do not scoop the scrub out with wet hands or allow shower water to enter the jar. Because this recipe does not contain a tested preservative system, it is not possible to promise a specific shelf life. Make small batches, keep them dry, and discard the scrub if its smell, color, or texture changes or if you notice any signs of contamination.
If the coconut oil becomes firm in a cool room, the scrub may become firmer too. This is a normal characteristic of coconut oil. Stir the mixture with a clean, dry utensil if needed.
FAQs
Regular granulated white sugar is a good starting point for a body scrub. Avoid using a coarse sugar on sensitive skin, and do not use this scrub on your face.
Yes. You can experiment with a suitable carrier oil, such as sunflower or sweet almond oil, but the finished texture will vary. Check for allergies before using a new ingredient.
Yes. The essential oil is optional and is included for scent, not to make the scrub work. Leaving it out is a good choice if you prefer an unscented scrub.
Yes, you can gently massage it onto damp feet, avoiding cracked skin, cuts, and irritated areas. Be especially careful because the oil can make floors and tubs slippery.
Its shelf life depends on how it is prepared and stored. This recipe has no tested preservative system, so avoid promising that it will last for months. Keep water out, use clean utensils, and make small batches.
A jar of sugar scrub can be a thoughtful handmade gift. Use a clean, dry, tightly sealed container and include the ingredients and instructions for use. Remind the recipient to keep water out of the jar and to use care around slippery surfaces.
More Bath and Body Products To Make

MADE THIS RECIPE AND LOVED IT? 💛 Please leave a STAR rating and COMMENT below! Post it to Facebook or Pinterest to easily share with friends!
Homemade Peppermint Sugar Scrub
Materials
- 1 cup granulated sugar
- ½ cup coconut oil softened or gently melted
- peppermint essential oil
Instructions
- Place the granulated sugar in a medium bowl.
- Add the softened or gently melted coconut oil and stir until thoroughly combined.
- Add peppermint essential oil, if desired, following the product's recommended dilution for topical use. Mix well.
- Transfer the sugar scrub to a clean, completely dry jar with a tight-fitting lid.
- To use, massage a small amount gently over damp hands or feet, then rinse thoroughly with warm water. Avoid broken or irritated skin.
Notes
- Keep water out of the jar and use a clean, dry spoon to scoop out the scrub.
- Store in a cool, dry place with the lid tightly closed. This recipe has no tested preservative system, so a specific shelf life cannot be guaranteed.
- Use caution around showers and tubs because coconut oil can make surfaces slippery.
- For external use only. Avoid using on the face or sensitive areas.

vergie says
i am going to try that thank you
Betsy Gettis (@betsygettis) says
This looks great! I love the blue theme and that sugar scrub looks so refreshing!
Brandy says
Thank you so much, Betsy!