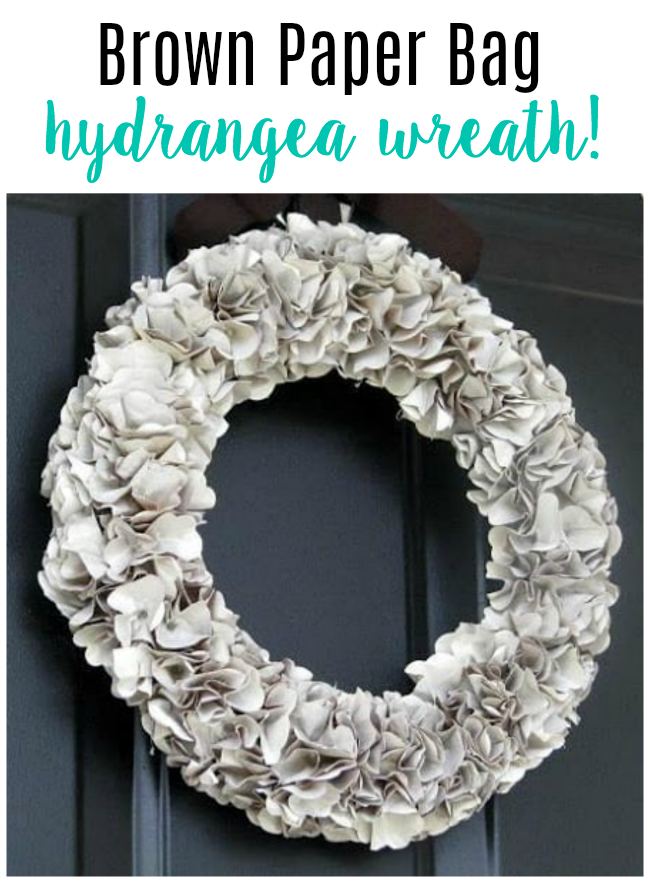
I love hydrangeas and would love to have a yard full of those gorgeous flowers! Instead, I'll have to settle for faux hydrangeas in vases or hydrangea wreaths because our yard lacks one thing. SHADE. Any kind of shade. This wreath was a happy accident. I made it after seeing this one and decided to give it a coat of spray paint. Voila---a faux hydrangea wreath was born and I couldn't love it more! Looking at it, you'd never guess it was made from brown paper lunch sacks! And my cost was $1 for the foam ring at the Dollar Tree store. Even better!
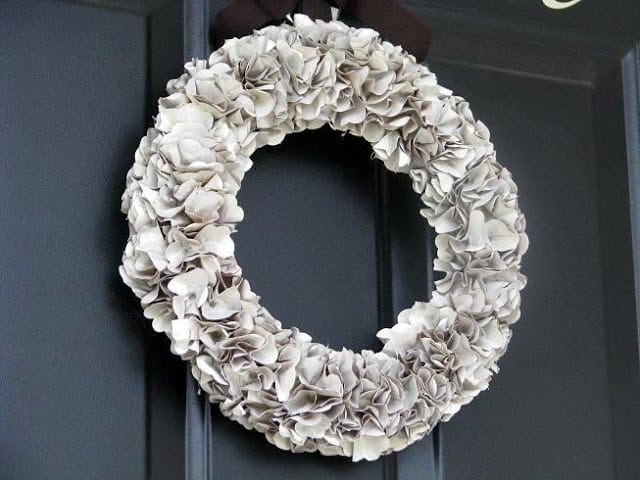
Paper Bag Wreath Tutorial
- Brown paper bags (Walmart)
- 3" Scalloped Punch (Amazon)
- Hot Glue/Gun
- Pencil or dowel
- Wreath Base (Dollar Tree)
- spray paint (cream colored)
How to Make a Paper Bag Wreath
Step 1: Cut out dozens and dozens of scalloped circles using your paper punch. You can also cut them out using a cricut or silhouette machine, but a paper punch works great. They are going to start to fall all over the place, so go ahead and get out a bowl to keep them in while you punch. Turn on your favorite show on Netflix and get punchin'!
Step 2: Pick up the pencil and wrap one circle around the end. (Do you remember making tissue paper pictures in kindergarten? You know, the ones where you wrap tissue paper around a pencil, dip it in Elmer's glue then push it onto a paper? This is the same technique. Only use hot glue instead of Elmer's glue and push them onto a wreath base.) Wrap and gluing until the wreath is nice and full.
Step 3: Give the wreath a light coat of cream colored spray paint. Repeat if desired.
5 More Wreath Tutorials That You May Like!
Target Dollar Spot Pumpkin Wreath Tutorial: Stop by your local target, grab six $1 pumpkins from Bullseye’s Playground and Dollar Spot, then follow our Dollar Spot pumpkin wreath tutorial for a gorgeous wreath to hang on your front door!
Citrus Greenery Wreath: Bright pops of citrus, greenery and gingham combine for an adorable & easy citrus wreath to make this summer!
Spring Hydrangea Wreath: How to make a hydrangea wreath for a fraction of the price of a custom store bought one. In less than an hour!
DIY Ornament Wreath: One of the most stunning wreaths, and I get so many compliments on it! Everyone needs an ornament wreath on their front door during the holiday season!
Old Glory Patriotic Wreath Tutorial: A gorgeous wreath to hang during the summer months! This patriotic wreath tutorial is simple to make, quick, and inexpensive!

Kaysi says
That is super cute!!
brandy says
Honeysuckle, I used the scallop in the Accent Essentials Cartridge. It looks just like the scallop punch in the tutorial that I linked the post to. Good luck!
honeysuckle says
I want to try your wreath and I have the Accent Essentials cartridge. Which design did you use? So cute!
Ann @ makethebestofthings says
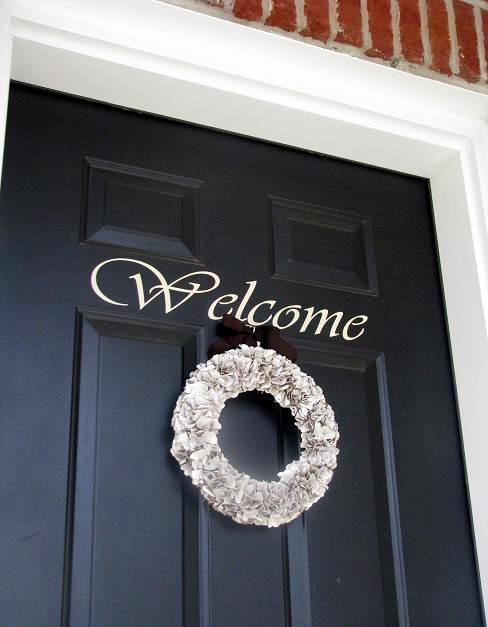
Your wreath is too cute and the spray paint is genius! Love the way it doesn't look just flat white. And the combo with the welcome script on your door? Lovely.
tales from an oc cottage says
Loving this look!!!
m ^..^
Stephanie Lynn says
Super cute - Love what the spray paint adds {looks just like dried hydrangeas} Would love to have you stop by the Sunday Showcase Party if you get a chance ~ Hope you are enjoying your weekend! Your wreath turned out fabulous!
Kenzie says
It looks amazing! I might have to make one now!
Linda@Coastal Charm says
How COOL is this...love the texture! Hope you have a FUN Thursday:)
Blessings,
Linda
I’m having a GIVEAWAY…come by and check it out…I think you will like it!
kirstin & jordan says
Oooooh, this turned our fabulously! How I love wreaths!
We have a Friday Fun Finds party (on Fridays, of course)... If you're interested, we'd love it if you'd link up this week!
Alison says
I saw this idea too and loved it!!! I think I like yours even better 🙂
MamaBug says
Love the wreath...I am now convinced I NEED to make one.
Stopped from one of the Tuesday link-ups and became a follower.
Fun blog, thanks for sharing your ideas!
Avril Miller says
I LOVE this wreath!!!! Great job! I really like the "Welcome" above the wreath too....where did that come from?
Christy says
Saw this on making the world cuter, and I have to drop by and tell you-it's precious! What a great idea for earth day as well. :O)
brandy says
After 🙂
Condo Blues says
I love it! Especially painted. Did you paint it before or after you attached the paper to the wreath?