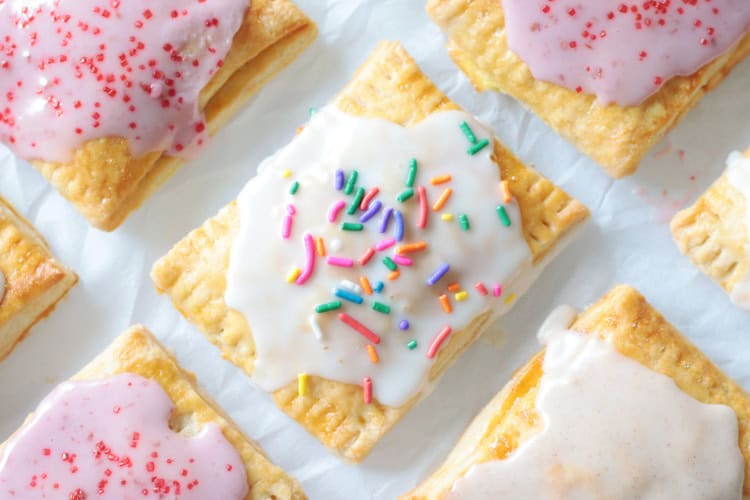
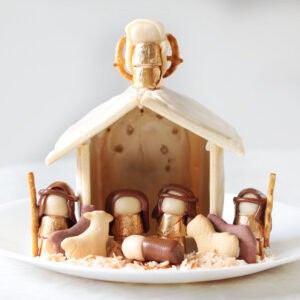
This pop tart nativity scene is fun to make and a simple way to keep holiday festivities centered around the true meaning of Christmas.
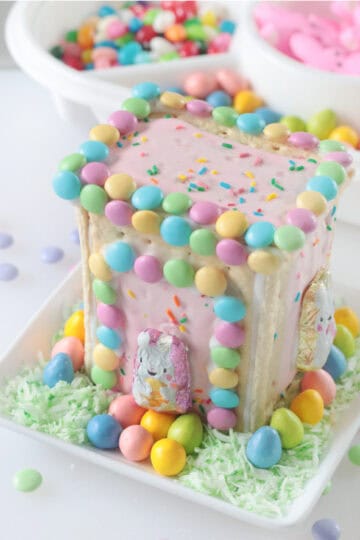
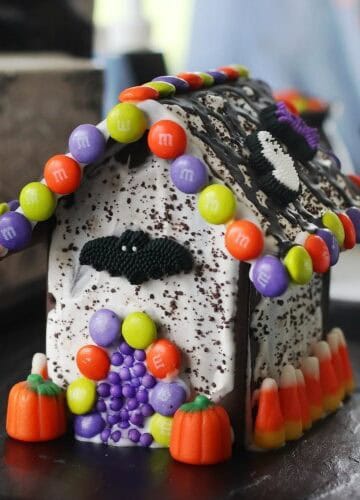
You might also like my Pop-Tart gingerbread house, Christmas sugar cookies, or gingerbread house cookies!

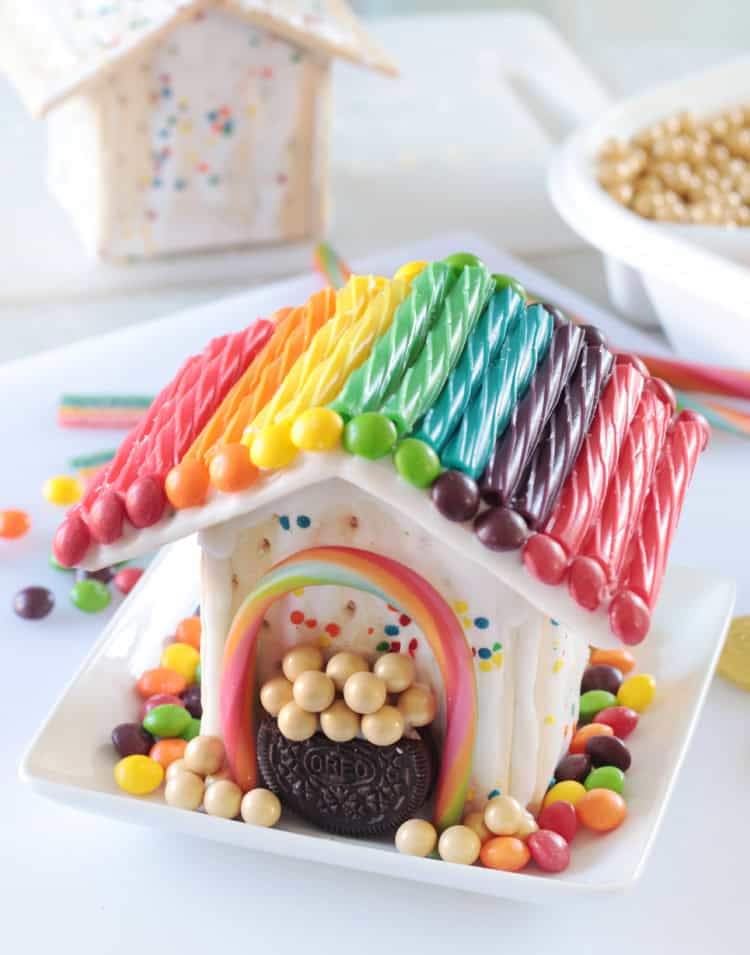
If this edible nativity scene looks familiar, it might be because you saw my graham cracker nativity, which our family has been making during the holidays for over 10 years. My pop tart nativity is an upscale version, but just as easy to make. Patterned after my viral pop tart house, it is adorable and full of fun details!
Why I Like This Recipe
- Easy to use. Toaster pastry (Pop Tarts) is sturdy, easy to work with, and is already iced!
- Inexpensive. Making a pop tart nativity is cheaper than purchasing a gingerbread nativity kit. The main components are made from Tootsie Rolls and pretzels, both of which are very inexpensive.
- Spiritual focus. We like decorating gingerbread houses this time of year, but there is something so sweet and special about making a nativity as a family.
Jump to:
Ingredients
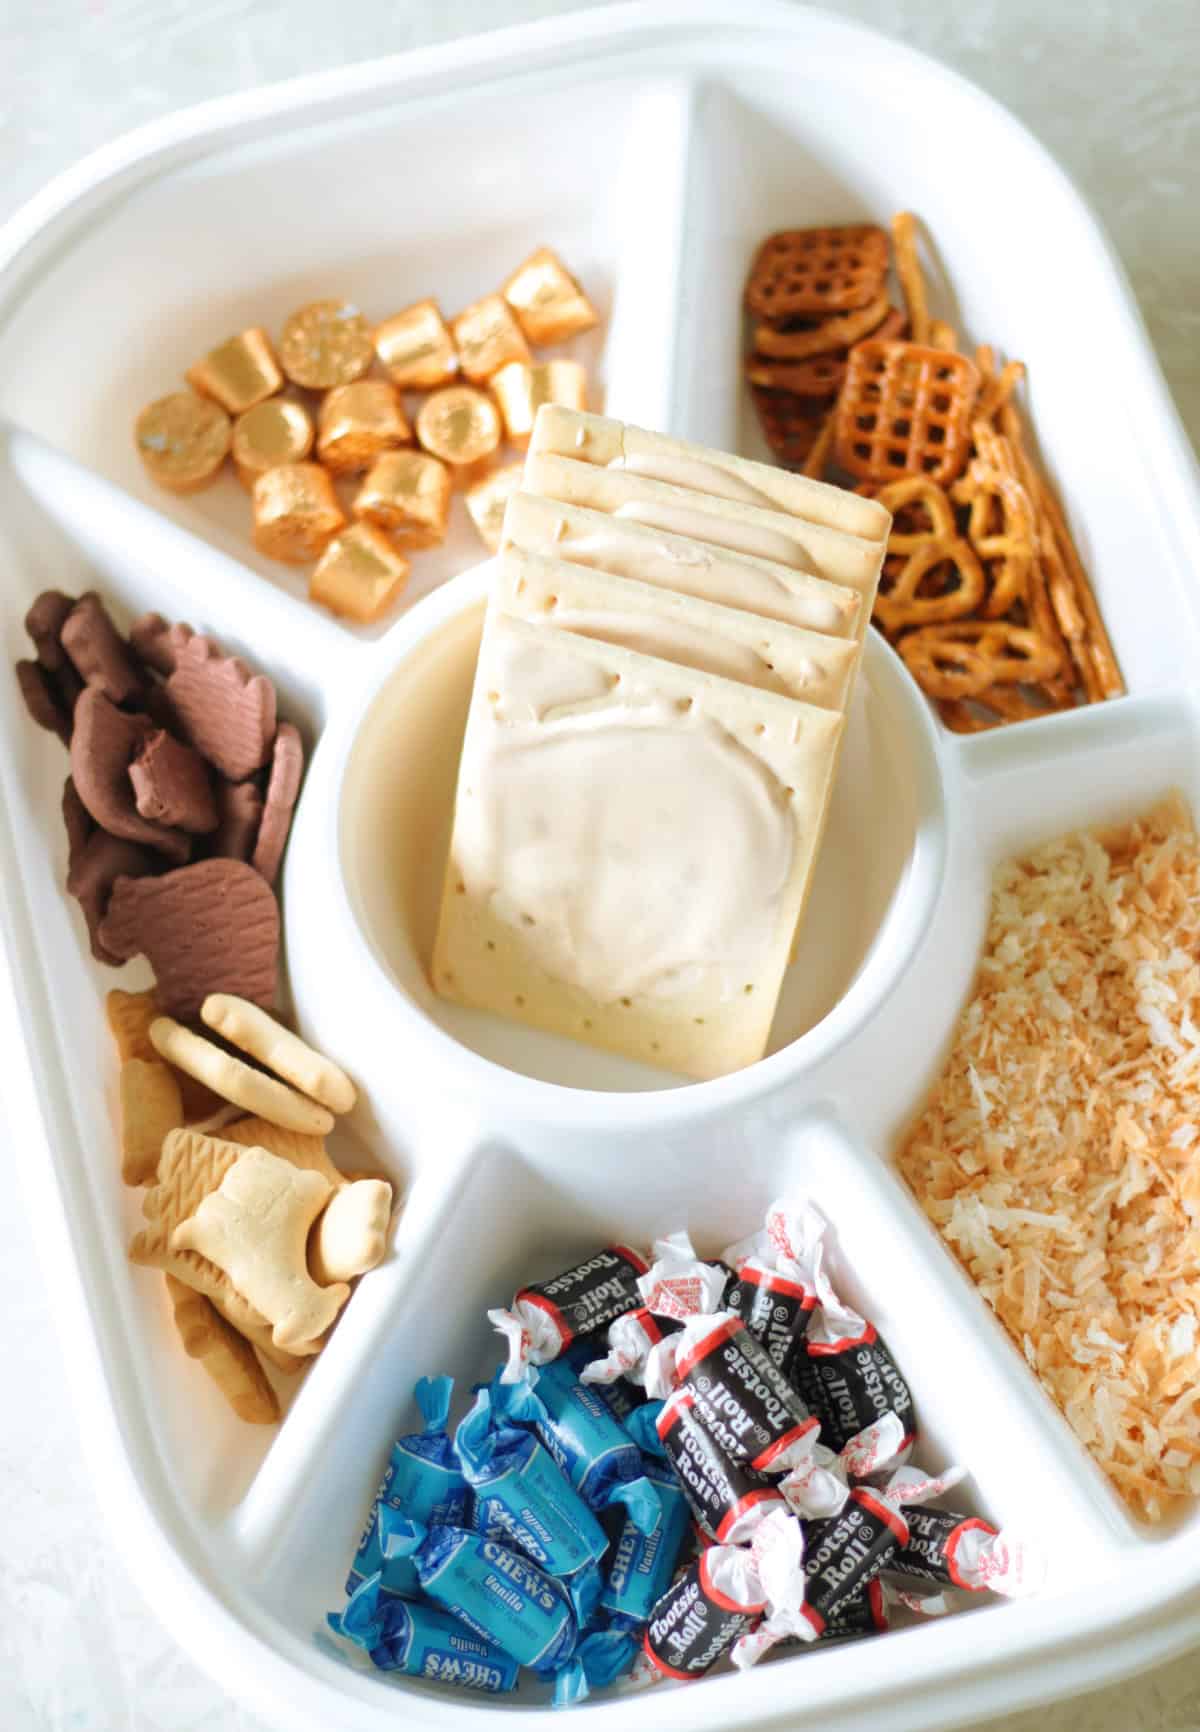
- Pop Tarts/Toaster Pastries: You'll need 5 pop tarts. I used brown sugar cinnamon but unfrosted pop tarts would work well too.
- Royal icing: Here is a royal icing recipe from Wilton that uses meringue powder to create a sturdy icing. My recipe is simply a mixture of powdered sugar and water. It dries hard and works well. A good rule of thumb is to use ½ cup of powdered sugar and 2-3 teaspoons of water. Mix the sugar and water until the mixture reaches the consistency of craft glue. You don't want it to be too runny.
- Rolos: These are used for the character's bodies.
- Pretzels: For the manager, angel wings, and shepherd's staff. You'll need twists, square pretzels and pretzel sticks.
- Tootstie rolls: Vanilla tootsie rolls for the heads, chocolate Toosie rolls for the hair and head coverings.
- Animal crackers: I used a variety of vanilla-flavored and chocolate-flavored animal crackers.
- Toasted coconut: Sprinkled around as hay/straw.
See the recipe card for full information on ingredients and quantities.

Tips and Tricks for Assembly
- Use store-brand pastries. Feel free to use a generic store brand vs. a name brand. Not only are they more affordable, but they are thicker, too.
- ONLY USE A SERRATED KNIFE. A paring knife will not work. Gently saw as you cut, and you'll end up with nice clean lines.
- Hold in place. Add a bead of icing to the pop tarts and use your hands to hold the 3 walls in place for a minute or two. After that, the icing will be tacky and hold on its own. Let it stand for 10 minutes before adding the roof. The roof is a little less sturdy than a standard pop tart roof because there are only 3 walls to support it instead of 4. Hold it in place for a minute or so before letting go, then let it stand until dry, making adjustments if it begins to move.
- Let set. Other than the angel, I did not decorate the stable; I simply added the characters around it. If you want to add candy and decorations to the walls and roof, make sure to let the stable stand AT LEAST 30 minutes before doing so to allow the icing to dry completely.
- Assemble in advance. For an even sturdier nativity, assemble it the day before you plan on decorating it to allow the pop tarts to dry out even more. If you do this, you shouldn't have any issues with your stable falling apart once the kids start to do their thing.
- Decorate with Tootsie Rolls. Tootsie Rolls have a similar texture to modeling chocolate and can be warmed and shaped with the warmth of your hand. To soften them even more, you can microwave them for 5-7 seconds. I used both methods to create the darling figures for my nativity. Vanilla Tootsie Rolls for the heads and chocolate Tootsie Rolls for the headpieces, hair, and body of Baby Jesus.
How To Make a Pop Tart Nativity
Step 1: Place 5 pop tarts on a cutting board.
Step 2: You will be making cuts on 3 out of 5 of the pop tarts. The 2 that aren't cut are the roof pieces. You can set those 2 pop tarts to the side if you'd like.
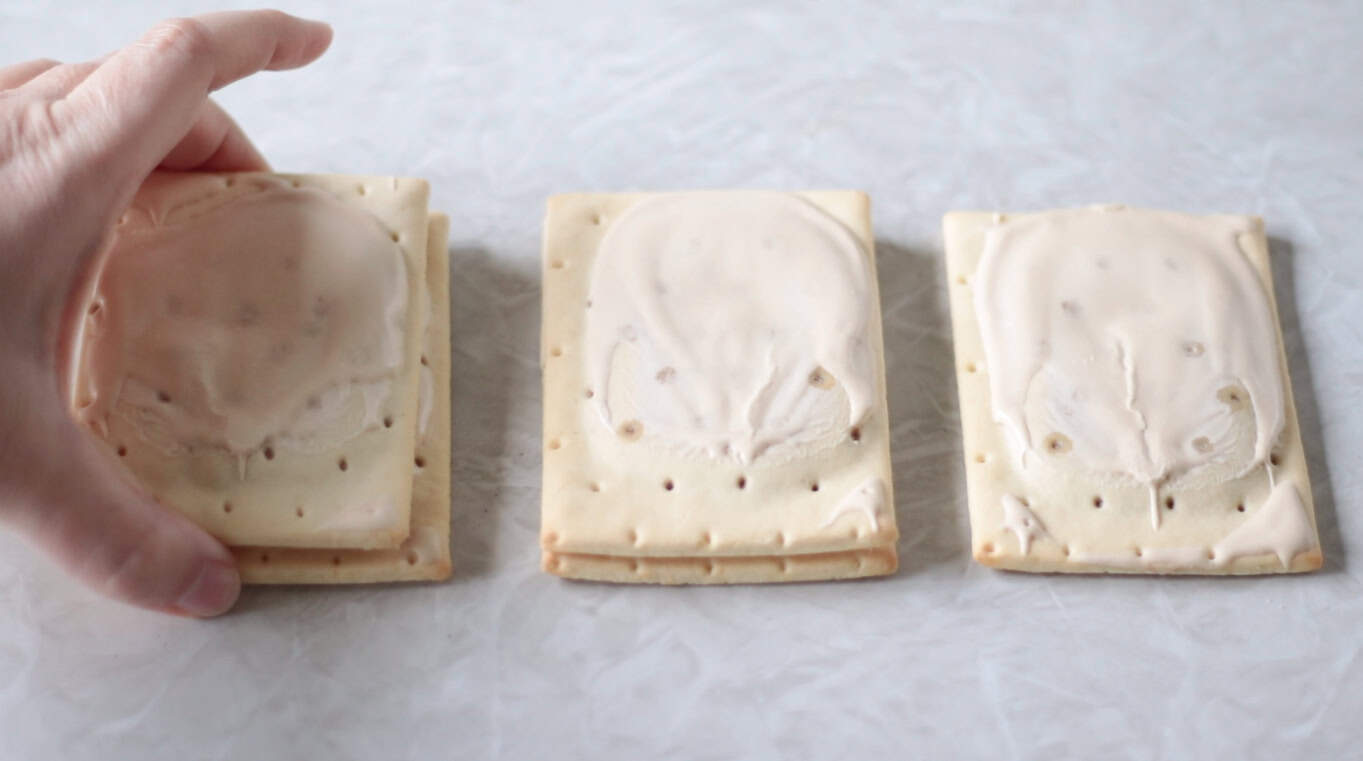
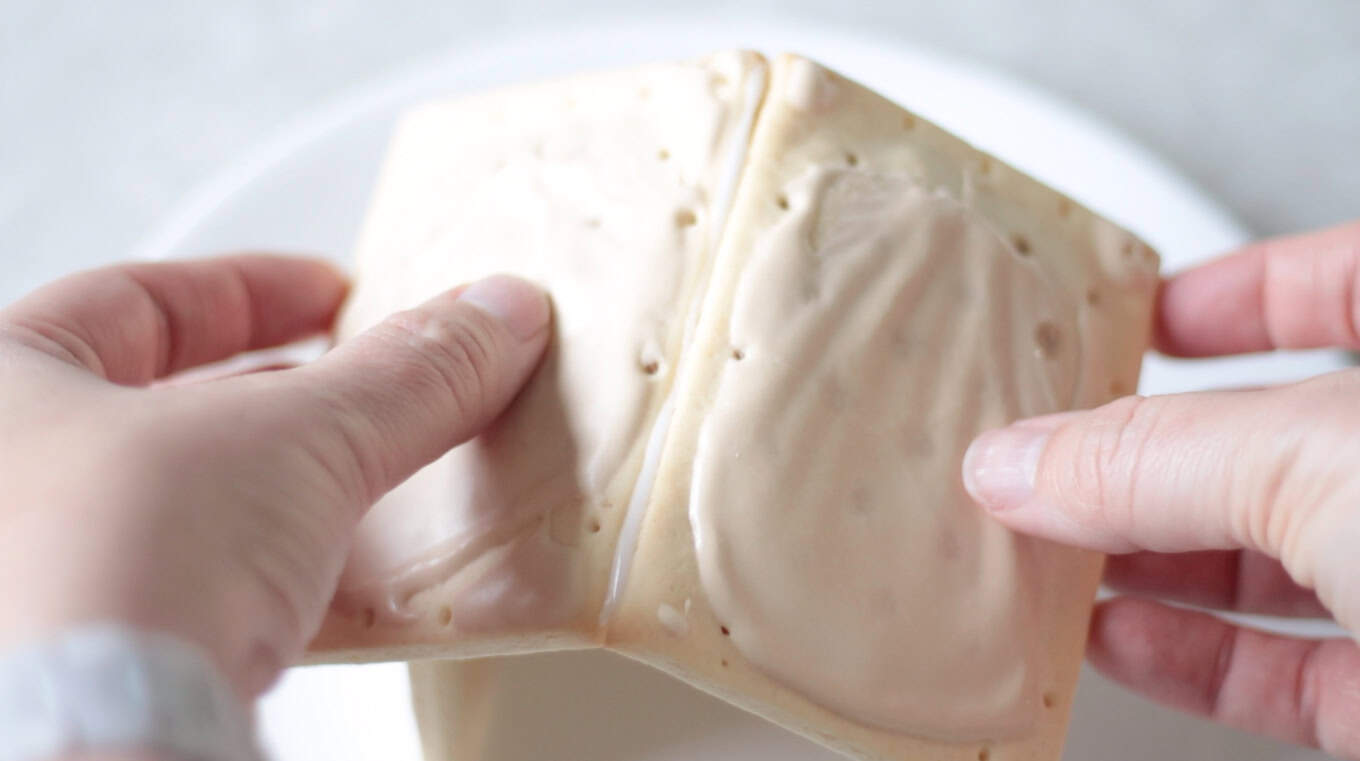
Step 3: Take 1 pop tart and place it on its side, right next to another pop tart.
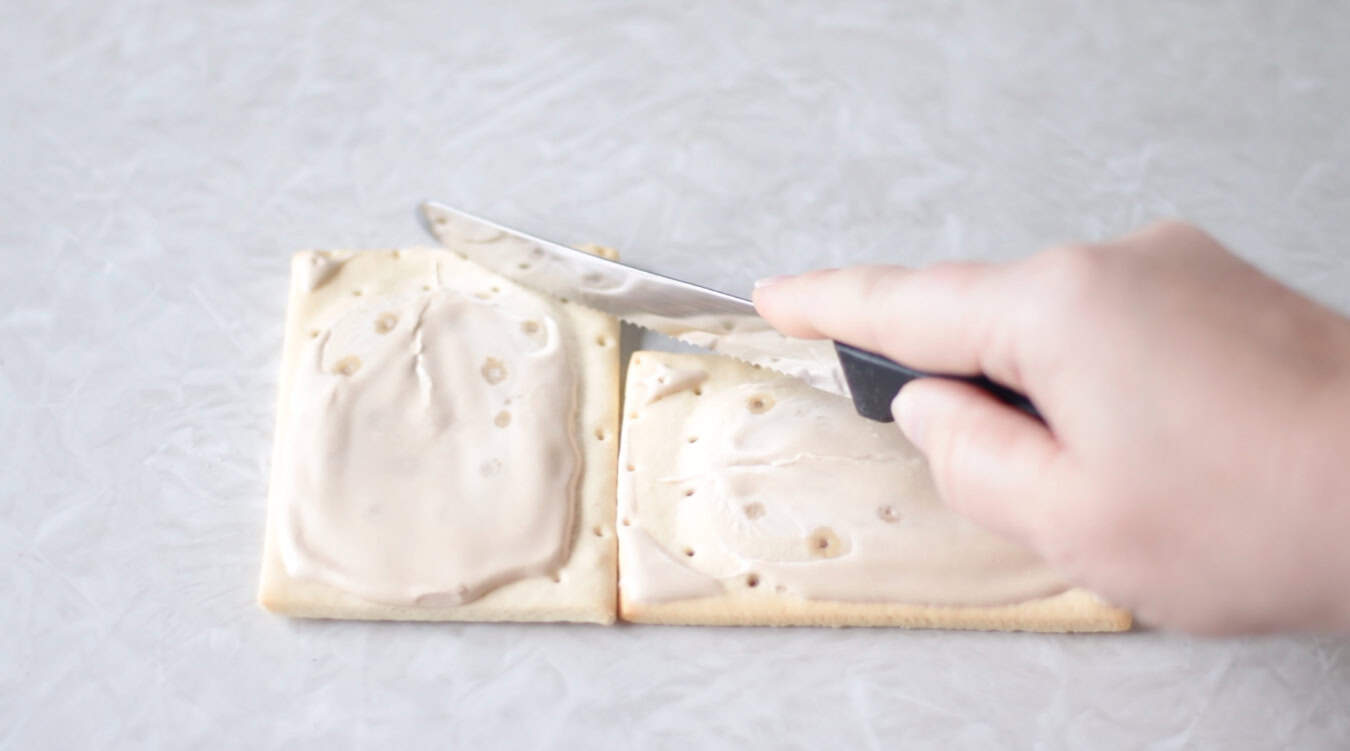
Step 4: Cut on a diagonal from the corner of the pop tart that is on its side, to the center of the middle pop tart. Repeat on the other side.
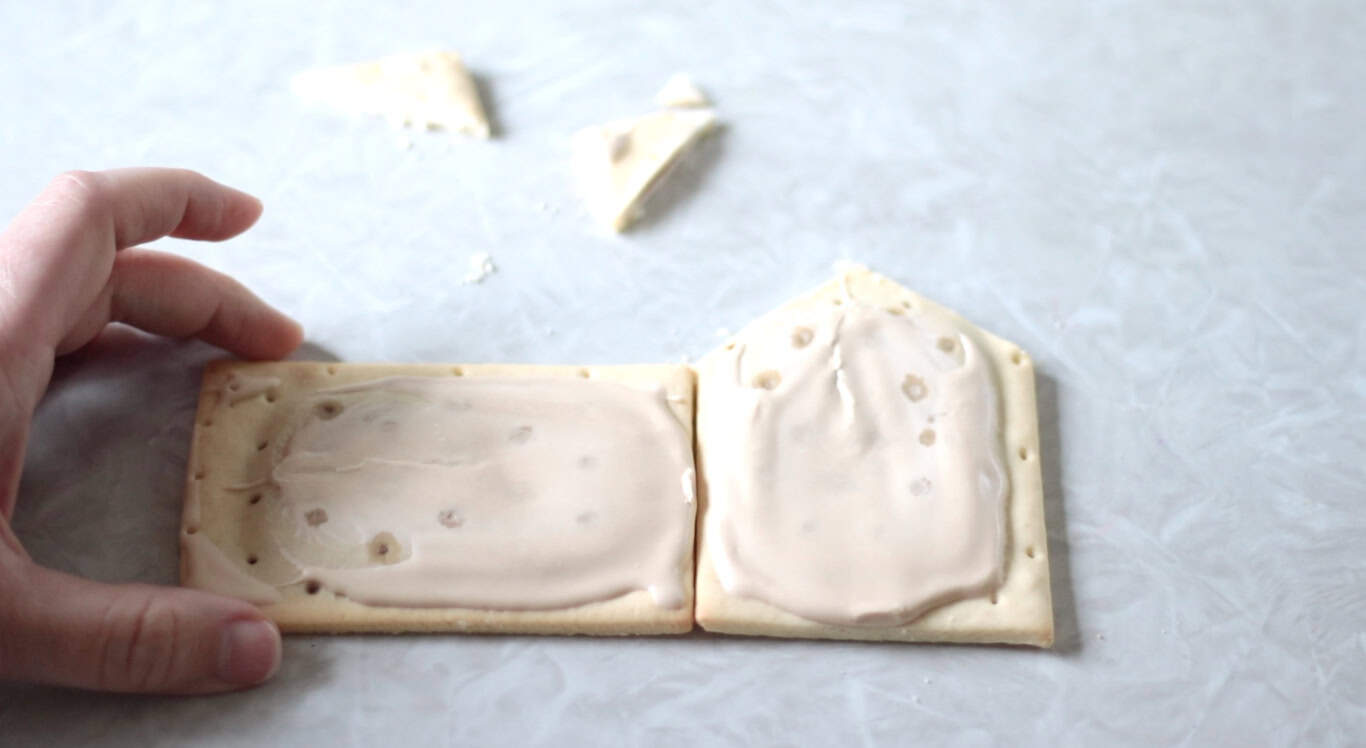
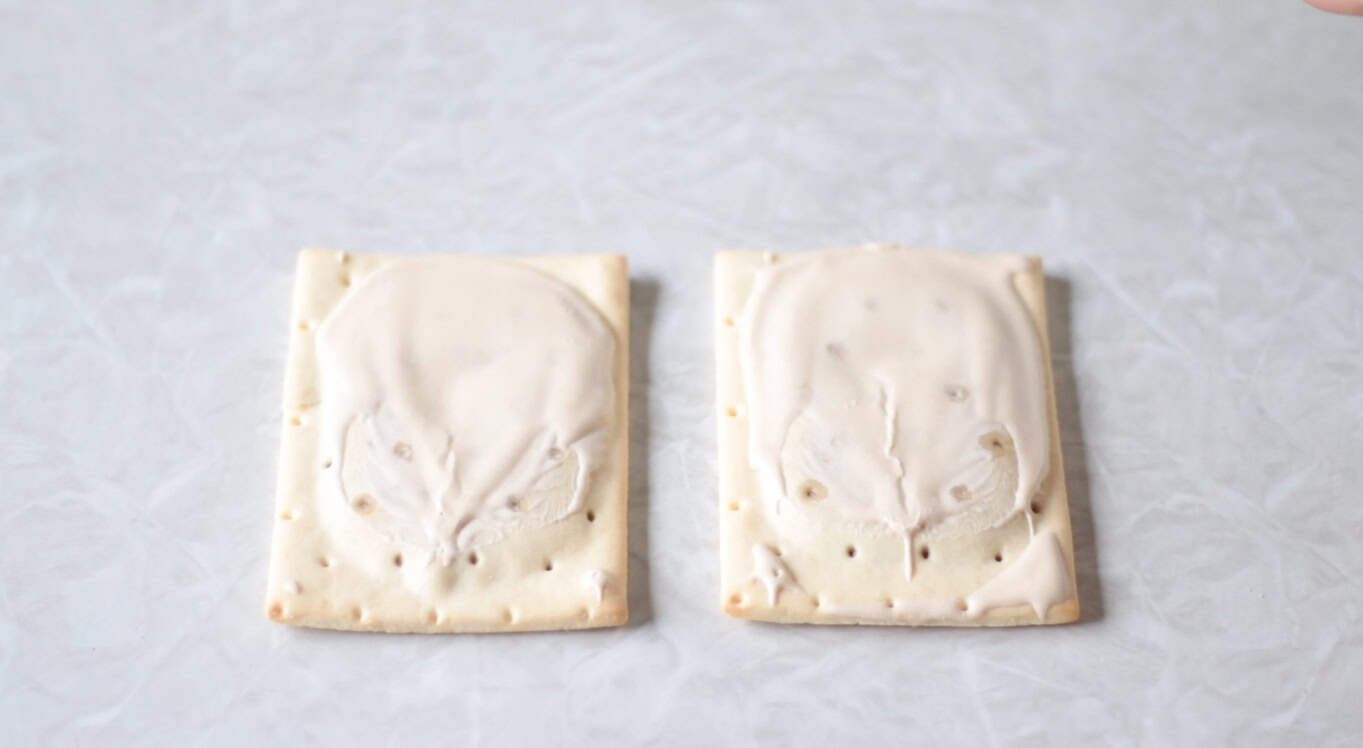
Step 5: You should now have a pop part that looks like a house.
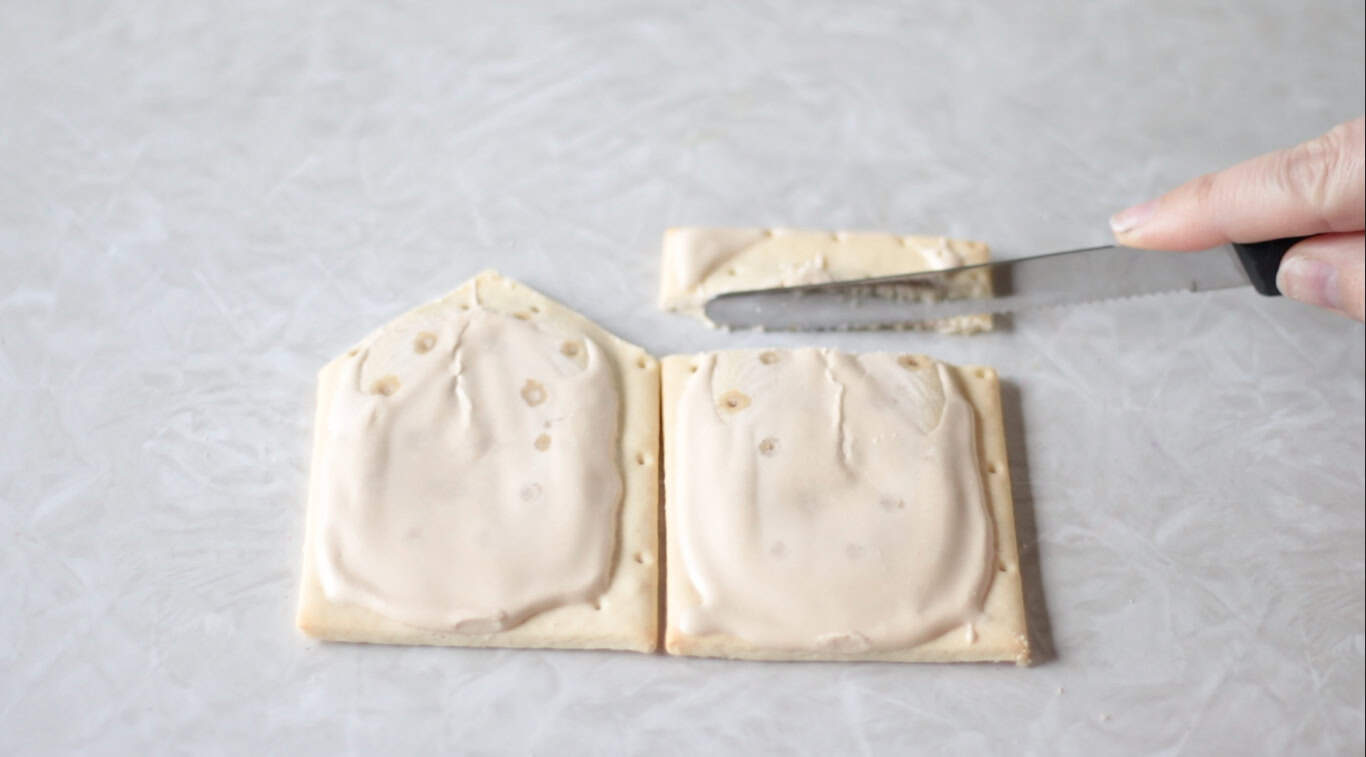
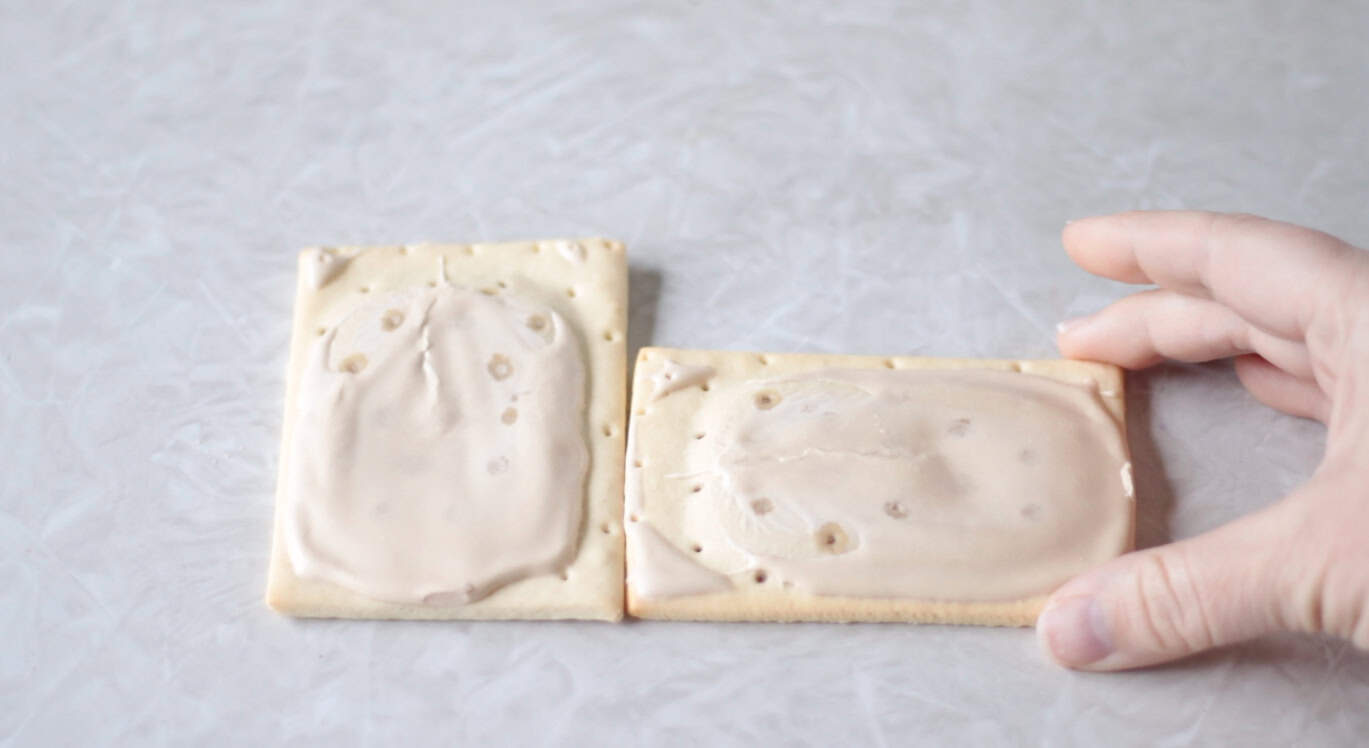
Step 6: Remember that pop tart that you turned on its side? Go ahead and stand it up again. Place it next to one of the house-shaped pop tarts, lining up the corners, and cut horizontally across. Repeat.
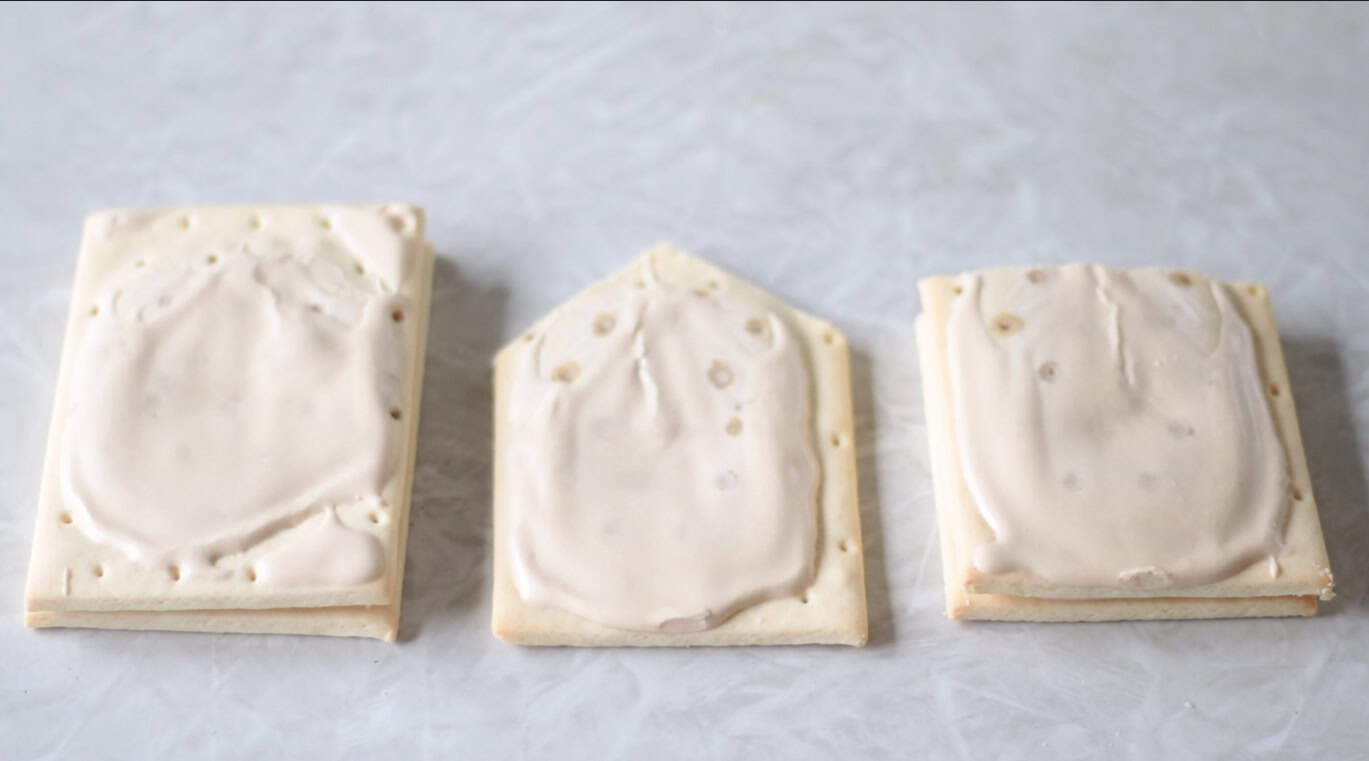
Step 7: You should now have two roof pieces (uncut), 1 house-shaped piece, and 2 wall pieces.
Combine powdered sugar and water to make a royal icing glue. Add water ½ teaspoon at a time until desired consistency is achieved (2 ½ teaspoons works well for me). Spoon icing into a Ziploc bag and cut the tip off.

Step 8: Glue the 3 walls together with icing and hold in place for a couple of minutes. Let it stand for 10 minutes before adding the roof.
Step 9: Add the roof pieces and hold in place for a couple of minutes.
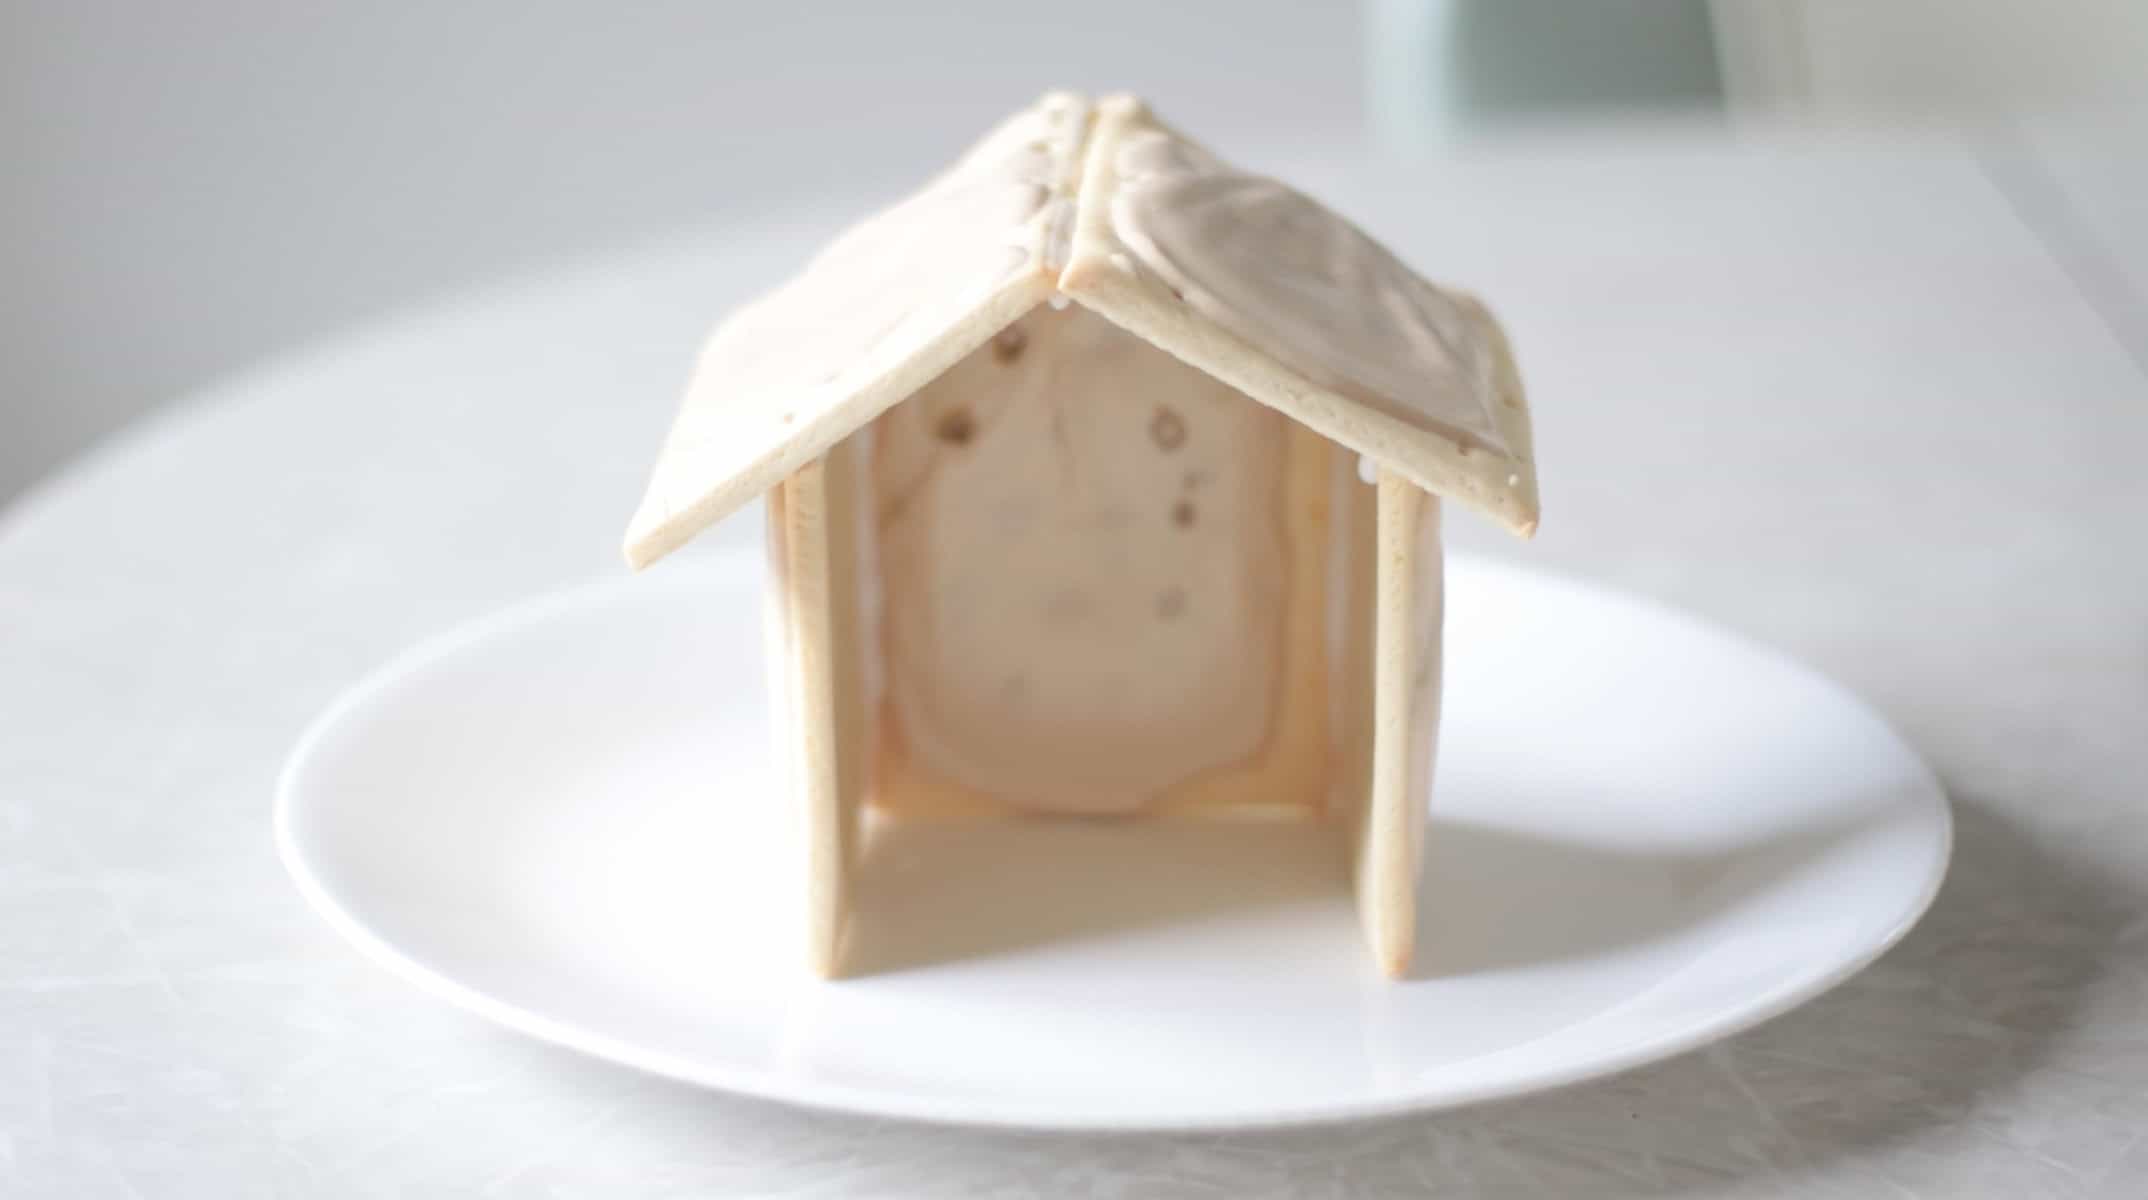
Step 10: Other than the angel, I did not decorate the stable; I simply added the characters around it. If you want to add candy and decorations to the walls and roof, make sure to let the stable stand AT LEAST 30 minutes before doing so to allow the icing to dry completely.
How To Make Candy Nativity Characters

Top Tip
Watch my video to see how I assembled and decorated my nativity. I also show, step by step, how to make each character. A much more detailed visual than the descriptions below. The video plays under the first image in the post and at the end of the post in the recipe card.
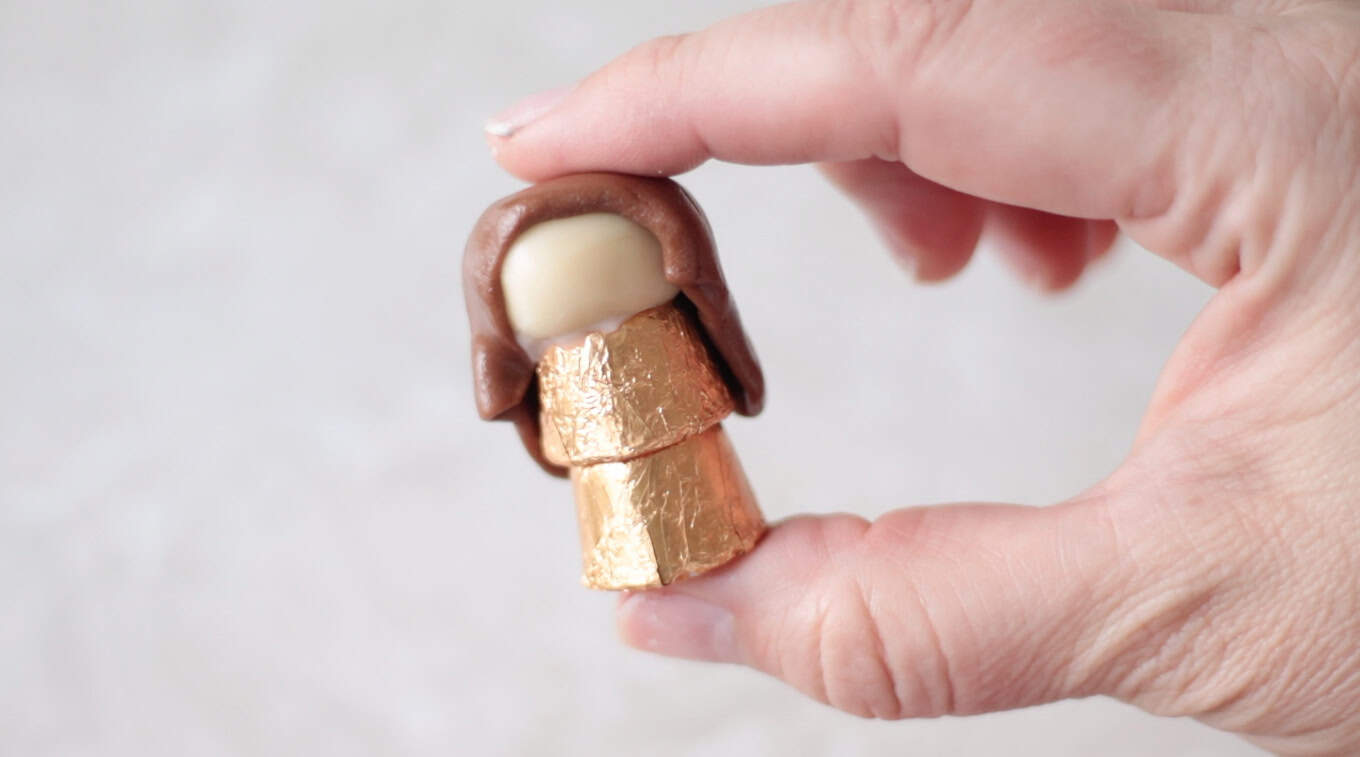
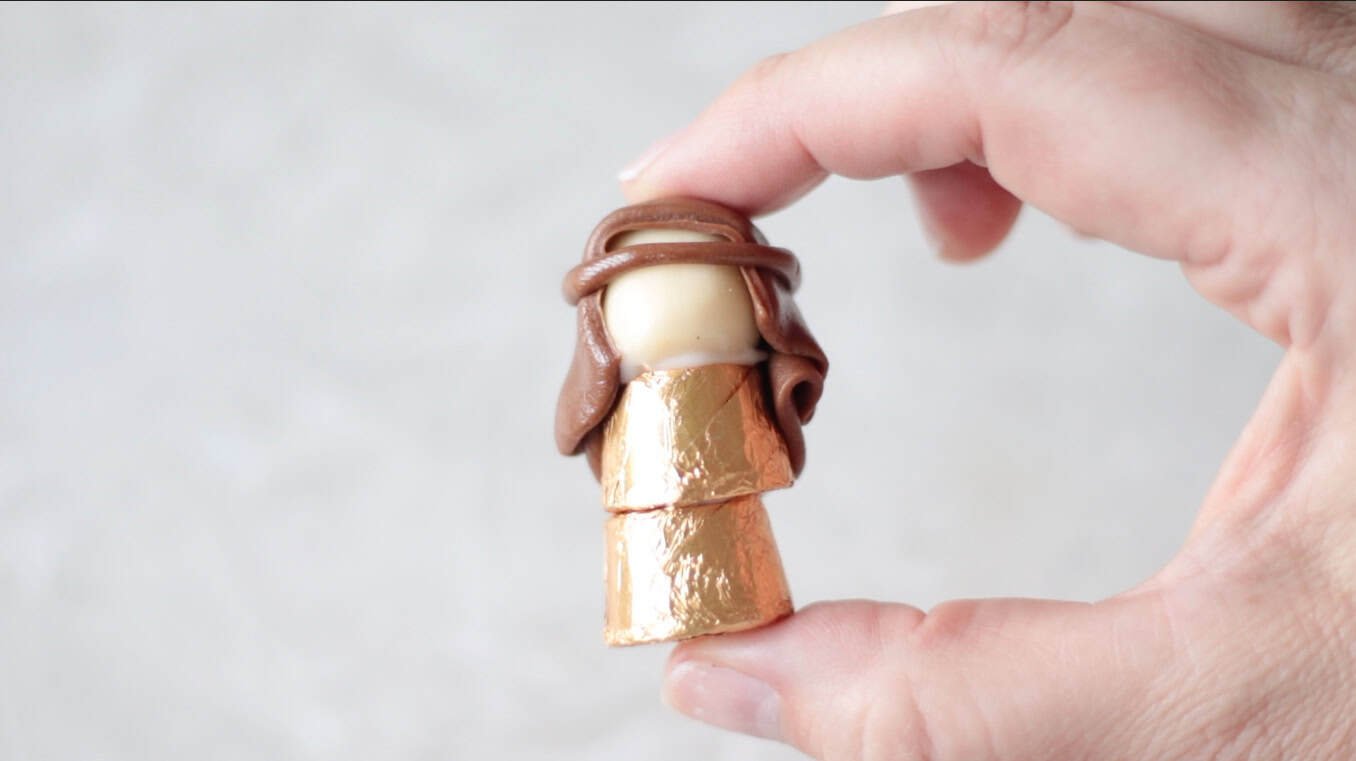
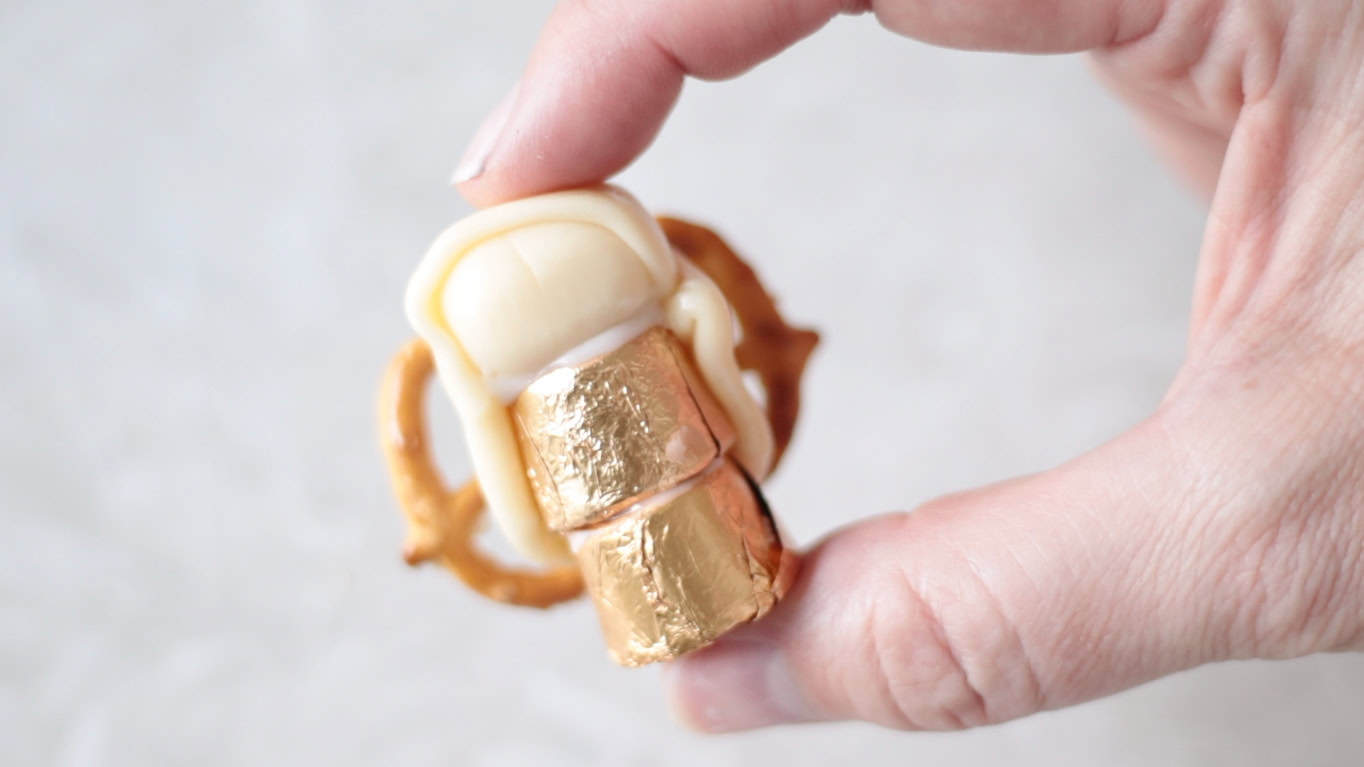
Mary: Use icing to stack and secure two Rolo candies for the body. Unwrap a vanilla tootsie roll and warm it in your hands. Roll into a ball. Use icing to secure it to the top of the Rolo stack for a head. Unwrap a chocolate tootsie roll and warm it in the microwave for 5-7 seconds. Flatten into a rectangle, then place over the head to create hair.
Joseph: Use icing to stack and secure two Rolo candies for the body. Unwrap a vanilla tootsie roll and warm it in your hands. Roll into a ball. Use icing to secure it to the top of the Rolo stack for a head. Unwrap a chocolate tootsie roll and warm it in the microwave for 5-7 seconds. Flatten into a rectangle. Cut a thin strip off the bottom and set it aside. Place the rectangle over the head to create the headpiece. Add the strip across the front for the headband.
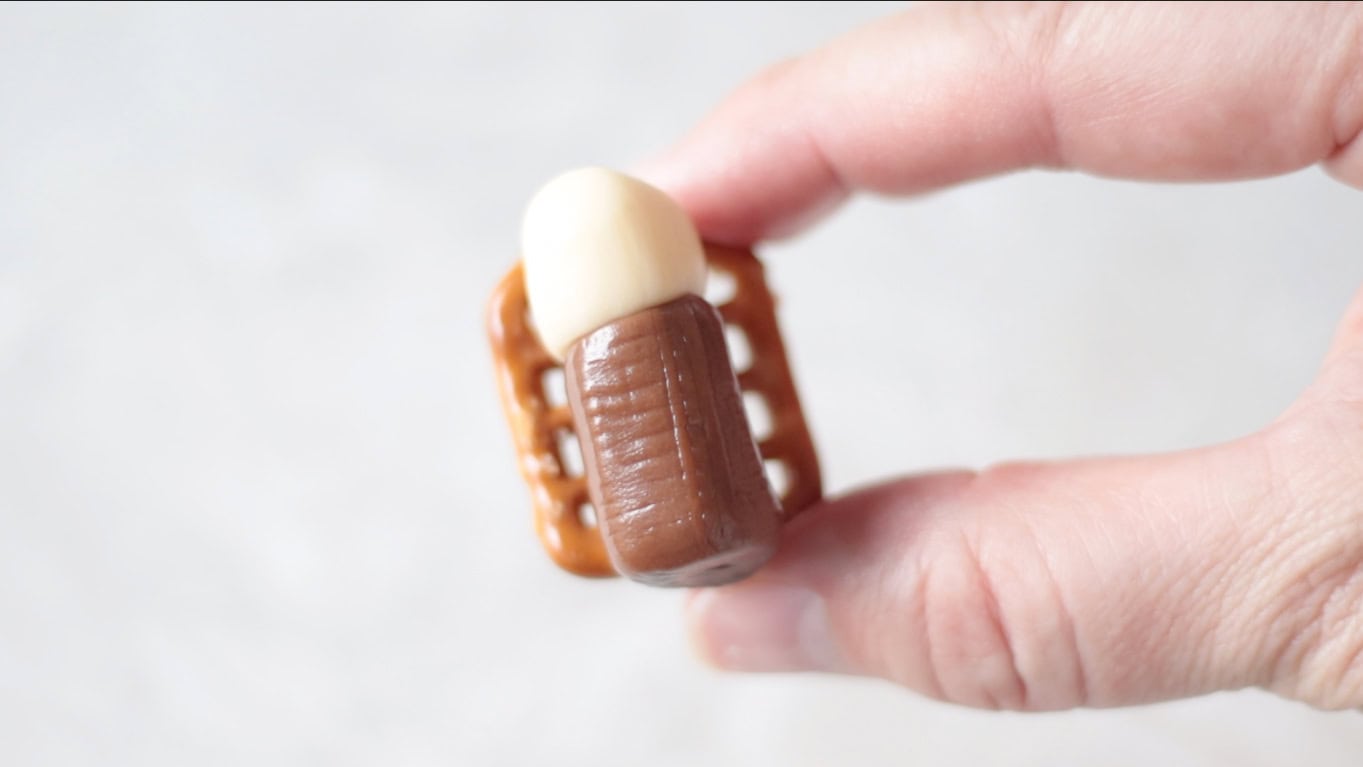
Baby Jesus: Unwrap a vanilla tootsie roll and warm in your hands. Roll into a ball. I only used ⅔ of the tootsie roll because I wanted a smaller head than Mary and Joseph. Unwrap a chocolate tootsie roll and warm it in your hands. Shape the chocolate tootsie roll into a body (resembling a baby body wrapped in a blanket). Press the body against the head to attach. You can use icing, but I didn't find it necessary.
Place on top of a square pretzel (manger).
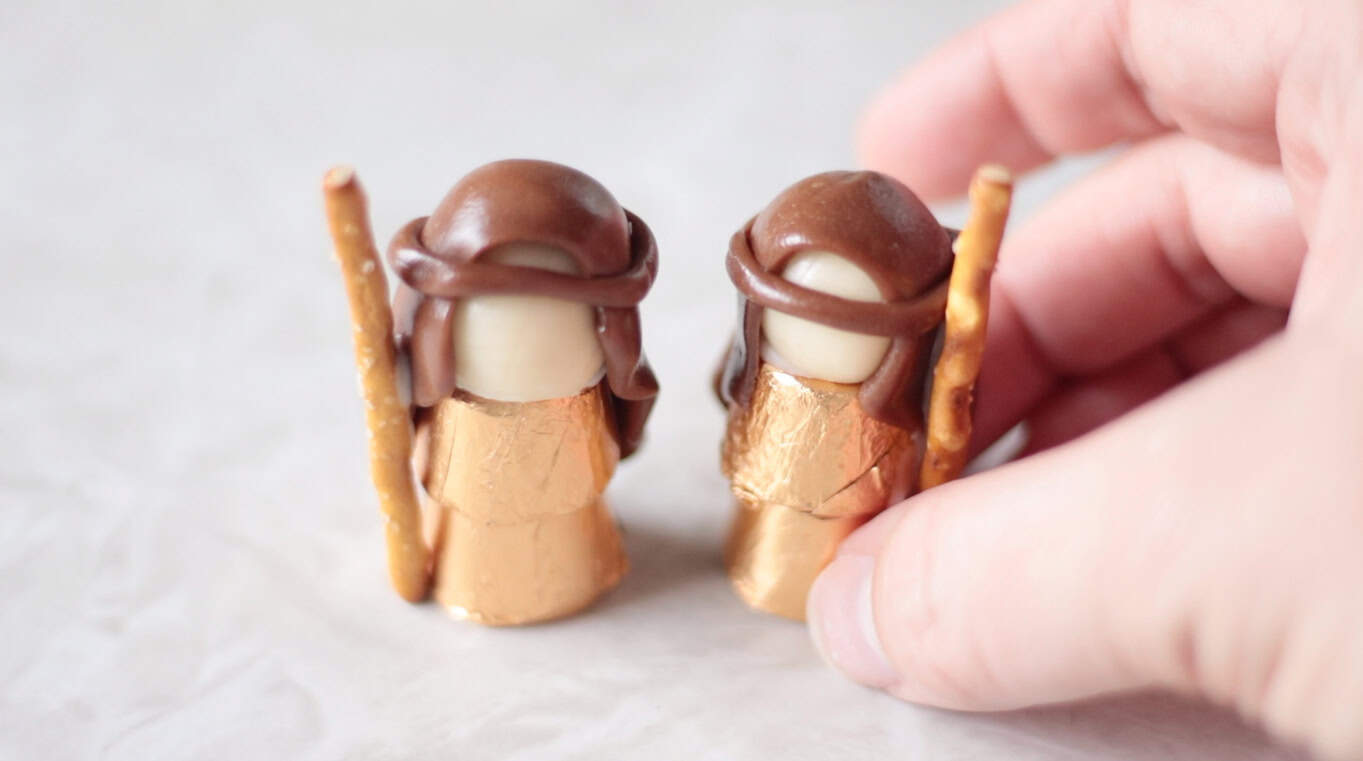
Shepherds: Follow the instructions for Joseph, but add a pretzel stick for a staff, using icing to attach it.
Angel: Follow the directions for Mary, but use a vanilla tootsie roll for the hair as well. Attach pretzel wings to the back using icing. Allow the icing to set before attaching the angel to the nativity.
Animals: Attach the animal crackers to the side of the nativity using icing.
Final details: Sprinkle toasted coconut around the platter/plate to look like straw. Add any other details that you'd like.
Pop Tart Nativity FAQs
One reader who used my Pop Tart house tutorial shared that they made these on Zoom with the 8-11 year olds at their church. She said they delivered boxes of Pop-Tarts, candy, and store-bought icing (plain ol' vanilla that you use for frosting cakes) to the kids, and it worked out great! She said, "Everything stuck great, almost no wait time. Even the heavy candy went right on and stayed put."
How long will your pop tart nativity last? Pop-Tarts are basically already stale, so you don’t need to worry about your nativity going soft like graham crackers sometimes do. This nativity will last all season.
Teat oven to 375 degrees. Toast coconut 10-12 minutes, checking every couple of minutes and stirring to prevent burning.

More Pop Tart Crafts and Recipes To Make
MADE THIS RECIPE AND LOVED IT? 💛 Please leave a STAR rating and COMMENT below! Post it to Facebook or Pinterest to easily share with friends!
Pop Tart Nativity Scene
Equipment
- serrated knife
- plastic sandwich bag
Ingredients
- 5 Pop tarts
- ½ cup Powdered sugar
- 2-3 teaspoons Water
- Rolos
- Vanilla Tootsie Rolls
- Chocolate Tootsie Rolls
- Animal crackers
- Toasted coconut
- Pretzels Sticks, twists, and grid.
Instructions
- Place 5 pop tarts on the cutting board.
Roof
- You will be making cuts on 3 out of 5 of the pop tarts. The 2 that aren't cut are the roof pieces. You can set those 2 pop tarts to the side if you'd like.
Front and Back Walls
- Take 1 pop tart and place it on its side, right next to another pop tart.
- Cut on a diagonal from the corner of the pop tart that it on its side, to the center of the middle pop tart. Repeat on the other side.
- You should now have a pop tart that looks like a house.
Side Walls
- Remember that pop tart that you turned on its side? Go ahead and stand it up again. Place it next to one of the house-shaped pop tarts, lining up the corners, and cut horizontally across. Repeat.
- You should now have two roof pieces (uncut), 1 house-shaped piece, and 2 wall pieces.
- Combine powdered sugar and water to make a royal icing glue. Add water ½ teaspoon at a time until the desired consistency is achieved (2 ½ teaspoons works well for me). Spoon the icing into a Ziploc bag and cut off the tip. Glue the 3 walls together with icing and hold in place for a couple minutes then allow it to stand on its own for 10 minutes.
- Add the roof pieces and hold in place for a couple of minutes.
- Other than the angel, I did not decorate the stable; I simply added the characters around it. If you want to add candy and decorations to the walls and roof, make sure to let the stable stand AT LEAST 30 minutes before doing so to allow the icing to dry completely.
- Mary:Use icing to stack and secure two Rolo candies for the body. Unwrap a vanilla tootsie roll and warm it in your hands. Roll into a ball. Use icing to secure it to the top of the Rolo stack for a head. Unwrap a chocolate tootsie roll and warm it in the microwave for 5-7 seconds. Flatten into a rectangle, then place over the head to create hair.
- Joseph:Use icing to stack and secure two Rolo candies for the body. Unwrap a vanilla tootsie roll and warm it in your hands. Roll into a ball. Use icing to secure it to the top of the Rolo stack for a head. Unwrap a chocolate tootsie roll and warm it in the microwave for 5-7 seconds. Flatten into a rectangle. Cut a thin strip off the bottom and set it aside. Place the rectangle over the head to create the headpiece. Add the strip across the front for the headband.
- Baby Jesus: Unwrap a vanilla tootsie roll and warm it in your hands. Roll into a ball. I only used ⅔ of the tootsie roll because I wanted a smaller head than Mary and Joseph. Unwrap a chocolate tootsie roll and warm it in your hands. Shape the chocolate tootsie roll into a body (resembling a baby's body wrapped in a blanket). Press the body against the head to attach. You can use icing, but I didn't find it necessary.Place on top of a square pretzel (manger).
- Shepherds:Follow the instructions for Joseph, but add a pretzel stick for a staff, using icing to attach it.
- Angel:Follow the directions for Mary, but use a vanilla tootsie roll for the hair as well. Attach the pretzel wings to the back using icing. Allow the icing to set before attaching the angel to the nativity.
- Animals:Attach the animals to the side of the nativity using icing.
- Finishing touches:Sprinkle toasted coconut around the platter/plate to look like straw. Add any other details that you'd like.
Notes
- Icing should be the consistency of craft glue.
- When cutting pop tarts, use a serrated knife and gently saw. Don't press the knife down hard.
-
Toasted coconut: Heat oven to 375 degrees. Toast coconut 10-12 minutes, checking every so often and stirring to prevent burning.

Karen Kukis says
Super cute. I used it for a Christmas party with 9 little kids. I made a few changes: I cut 3 pop tarts a little shorter and used icing to attach them into a u shape. Flat roof on top. No vanilla tootsie rolls, so I used mini marshmallows for heads. Shepards got tootsie roll bodies with another flattened tootsie roll wrapping for a coat. Angel got yellow fruit tootsie roll hair and white yogurt pretzel wings..Kids loved doing it. So fun and more meaningful. Thanks for the great idea!
Brandy says
So fun! Glad you guys had fun making them!
Simone says
What a beautiful and creative nativity scene! Thank you for sharing the process. We're looking forward to making one. Did you use mini or regular pretzel twist for the angle wing?
Brandy says
Mini pretzels. 🙂 Happy holidays!