
Chocolate peppermint thumbprint cookies combine rich chocolate cookies with melted Andes Peppermint Crunch mints. Perfect for Christmas cookie trays!
If you're planning a holiday baking day, don't miss my 40 Christmas Cookie Recipes for more classic and festive cookies to add to your Christmas cookie trays.

If you love the combination of chocolate and peppermint, these cookies are a fun addition to your holiday baking list. Melted Andes Peppermint Crunch candies create a peppermint center, and the cookies are delicious with a little extra crushed peppermint Andes on top! I use my chocolate puddle cookie dough as the base, so you get that same rich chocolate flavor in a pretty thumbprint cookie. It's also the same dough I use to make chocolate thumbprint cookies---it's a versatile recipe!
Why You'll Love This Recipe
- Rich chocolate flavor: The chocolate cookie base pairs perfectly with the sweet peppermint filling.
- Easy peppermint filling: Melted Andes Peppermint Crunch candies make a simple, flavorful center.
- Perfect for Christmas: The pink peppermint filling and crushed candy garnish make these cookies look festive on a holiday cookie tray.
- No complicated frosting: The filling is made with melted peppermint candies, with optional heavy cream for a softer consistency.
Jump to:
Tips and Tricks
- Use a tablespoon scoop: Roll the dough into tablespoon-sized balls for evenly sized cookies. This recipe makes approximately 30–33 cookies.
- Make the indentations before baking: Press a well into the center of each dough ball using your thumb or the back of a measuring spoon (teaspoon-sized).
- Re-press the centers after baking: The indentations may puff up slightly in the oven. Gently press them down again while the cookies are still warm.
- Let the cookies cool before filling: The melted peppermint candy will stay in the centers more easily when the cookies are cool.
- Adjust the filling consistency: Melted Andes Peppermint Crunch candies make a thicker filling. For a softer, creamier consistency, add heavy cream before melting.
- Use Andes Peppermint Crunch candies instead of candy canes as a garnish: Chop Andes Peppermint Crunch mints for the perfect peppermint garnish! They don't get sticky or bleed color into your treats, and they taste better than candy canes, too.
- Add the garnish while the filling is soft: Sprinkle the chopped candies over the melted peppermint center before it sets so the pieces stick.
Ingredients
- All-purpose flour: Provides structure for the chocolate cookie dough.
- Special Dark cocoa powder: Gives the cookies their rich chocolate flavor. You can also use regular baking cocoa or a 50/50 blend of the two.
- Baking soda: Helps the cookies spread and develop their texture.
- Baking powder: Provides a little additional lift.
- Salt: Balances the sweetness and enhances the chocolate flavor.
- Salted butter: Adds richness and flavor to the dough.
- Granulated sugar: Sweetens the cookies.
- Light brown sugar: Adds moisture and a deeper sweetness.
- Eggs: Bind the dough together and help create a tender cookie.
- Vanilla extract: Rounds out the chocolate flavor.
- Milk: Slightly thins out the dough to the perfect consistency for rolling into balls.
- Andes Peppermint Crunch candies: Melt to make the peppermint filling. You can use Andes baking bits or regular sized mints. You'll need 6-8 ounces.
- Additional Andes Peppermint Crunch candies: Chopped and sprinkled over the filling for garnish.
- Heavy cream (optional): Makes the melted peppermint filling softer and creamier.
See the recipe card for full information on ingredients and quantities.
How to Make Chocolate Peppermint Thumbprint Cookies
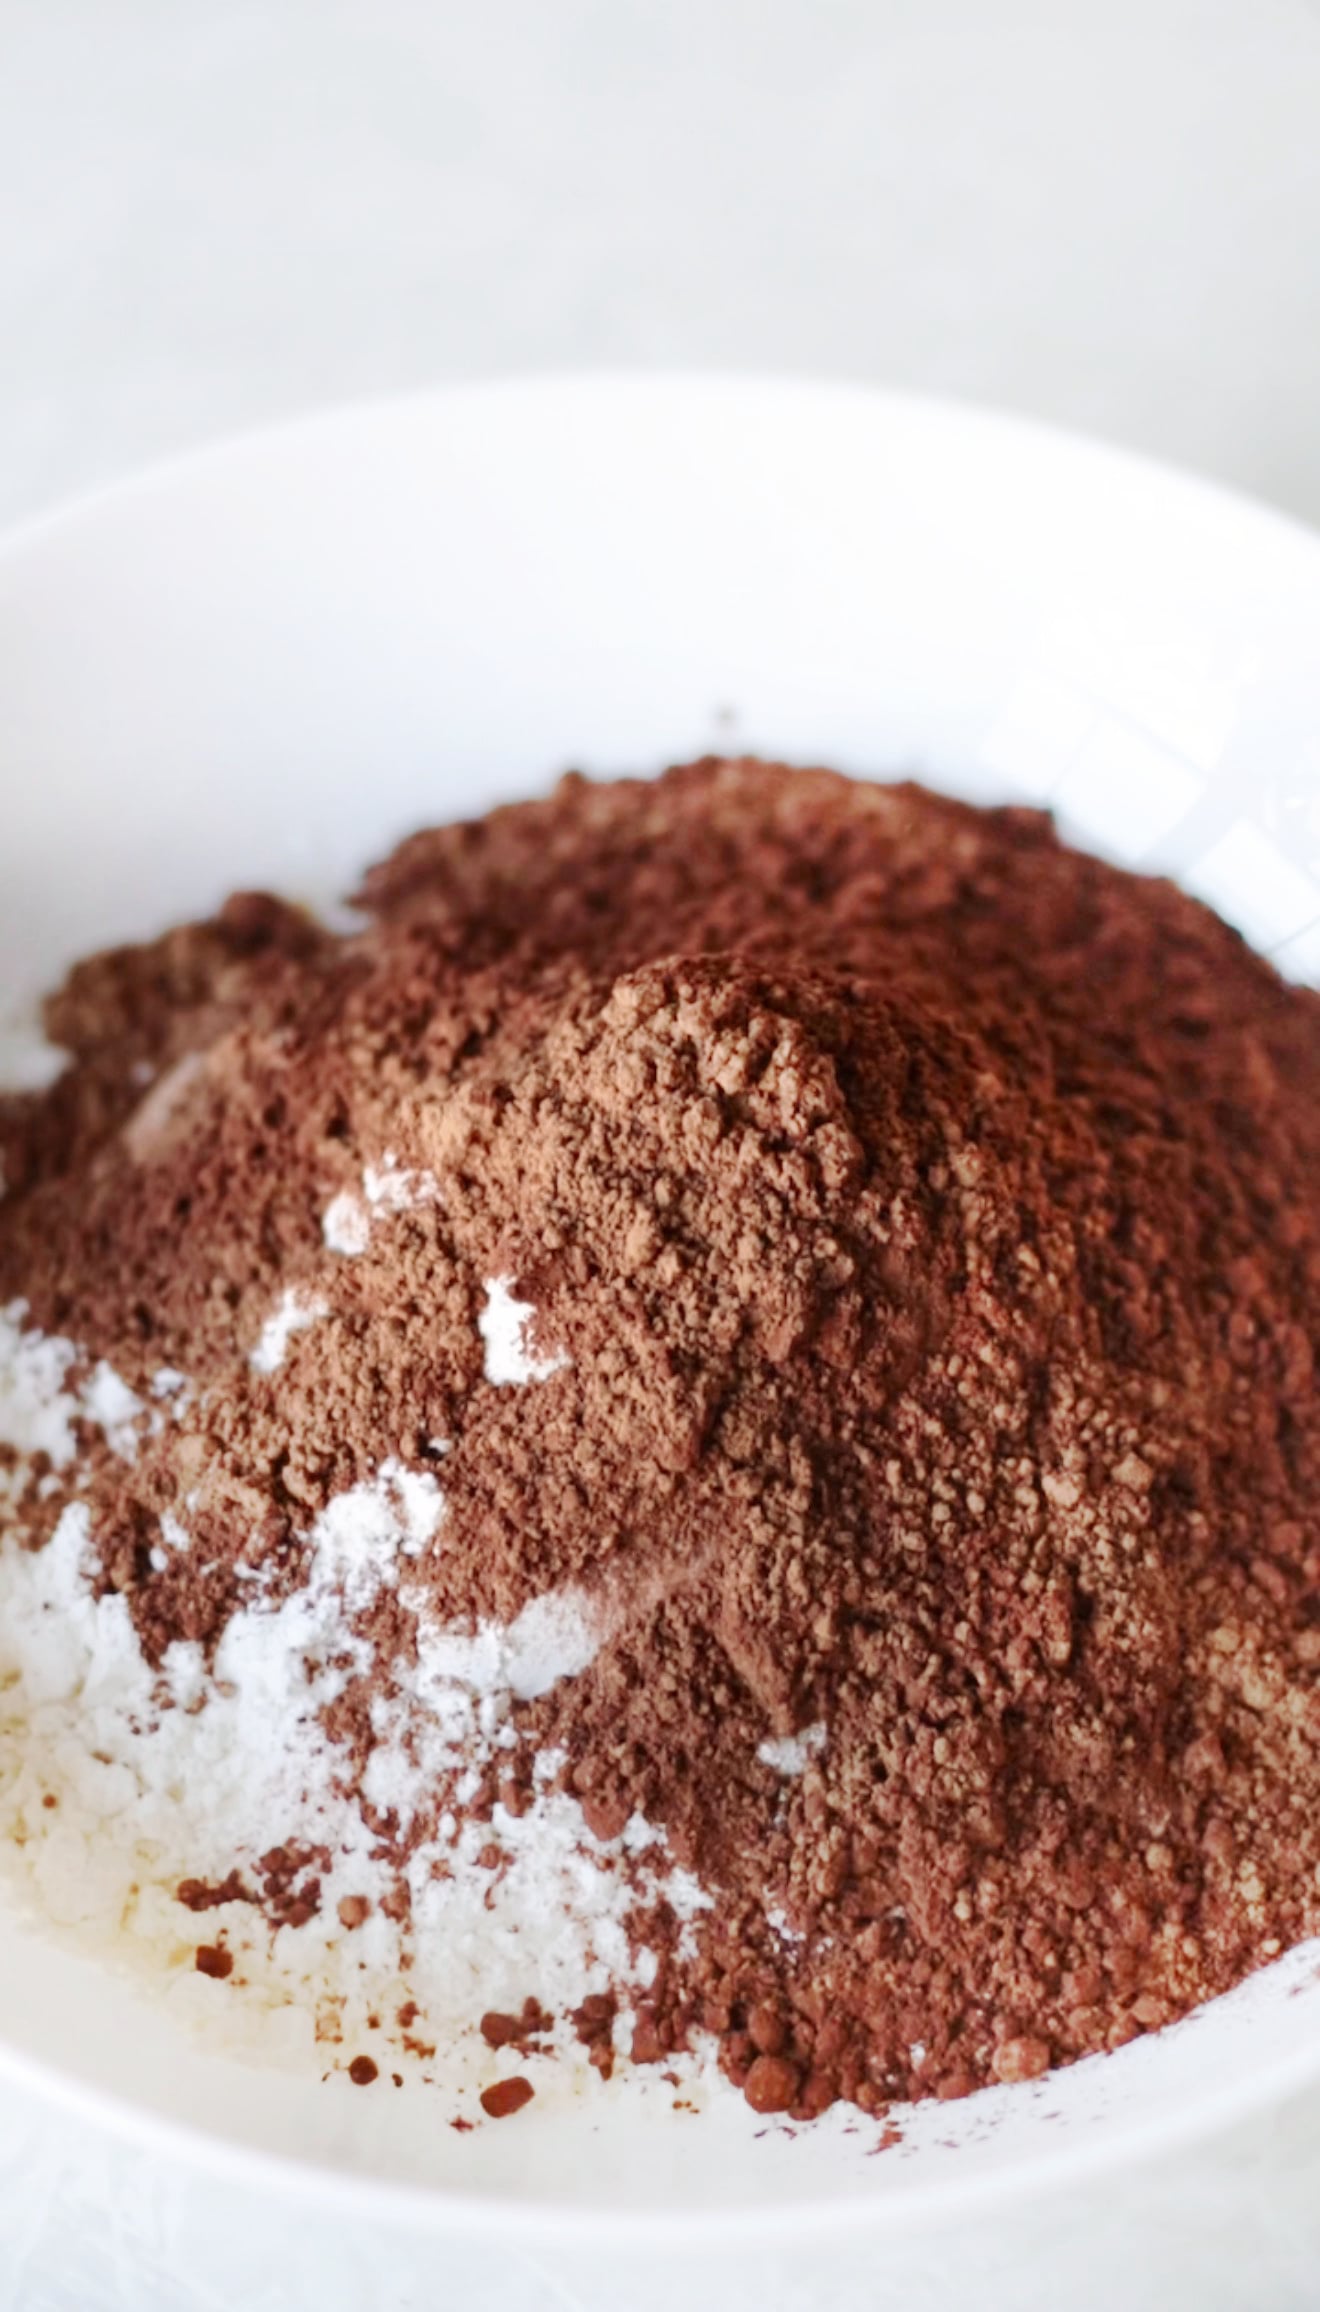
1. Prepare the dough. Whisk together the flour, cocoa powder, baking soda, baking powder, and salt in a medium bowl.
2. Cream the butter and sugars. In a separate bowl, beat the softened butter, granulated sugar, and brown sugar until light and fluffy. Beat in the eggs, followed by the vanilla extract and milk.
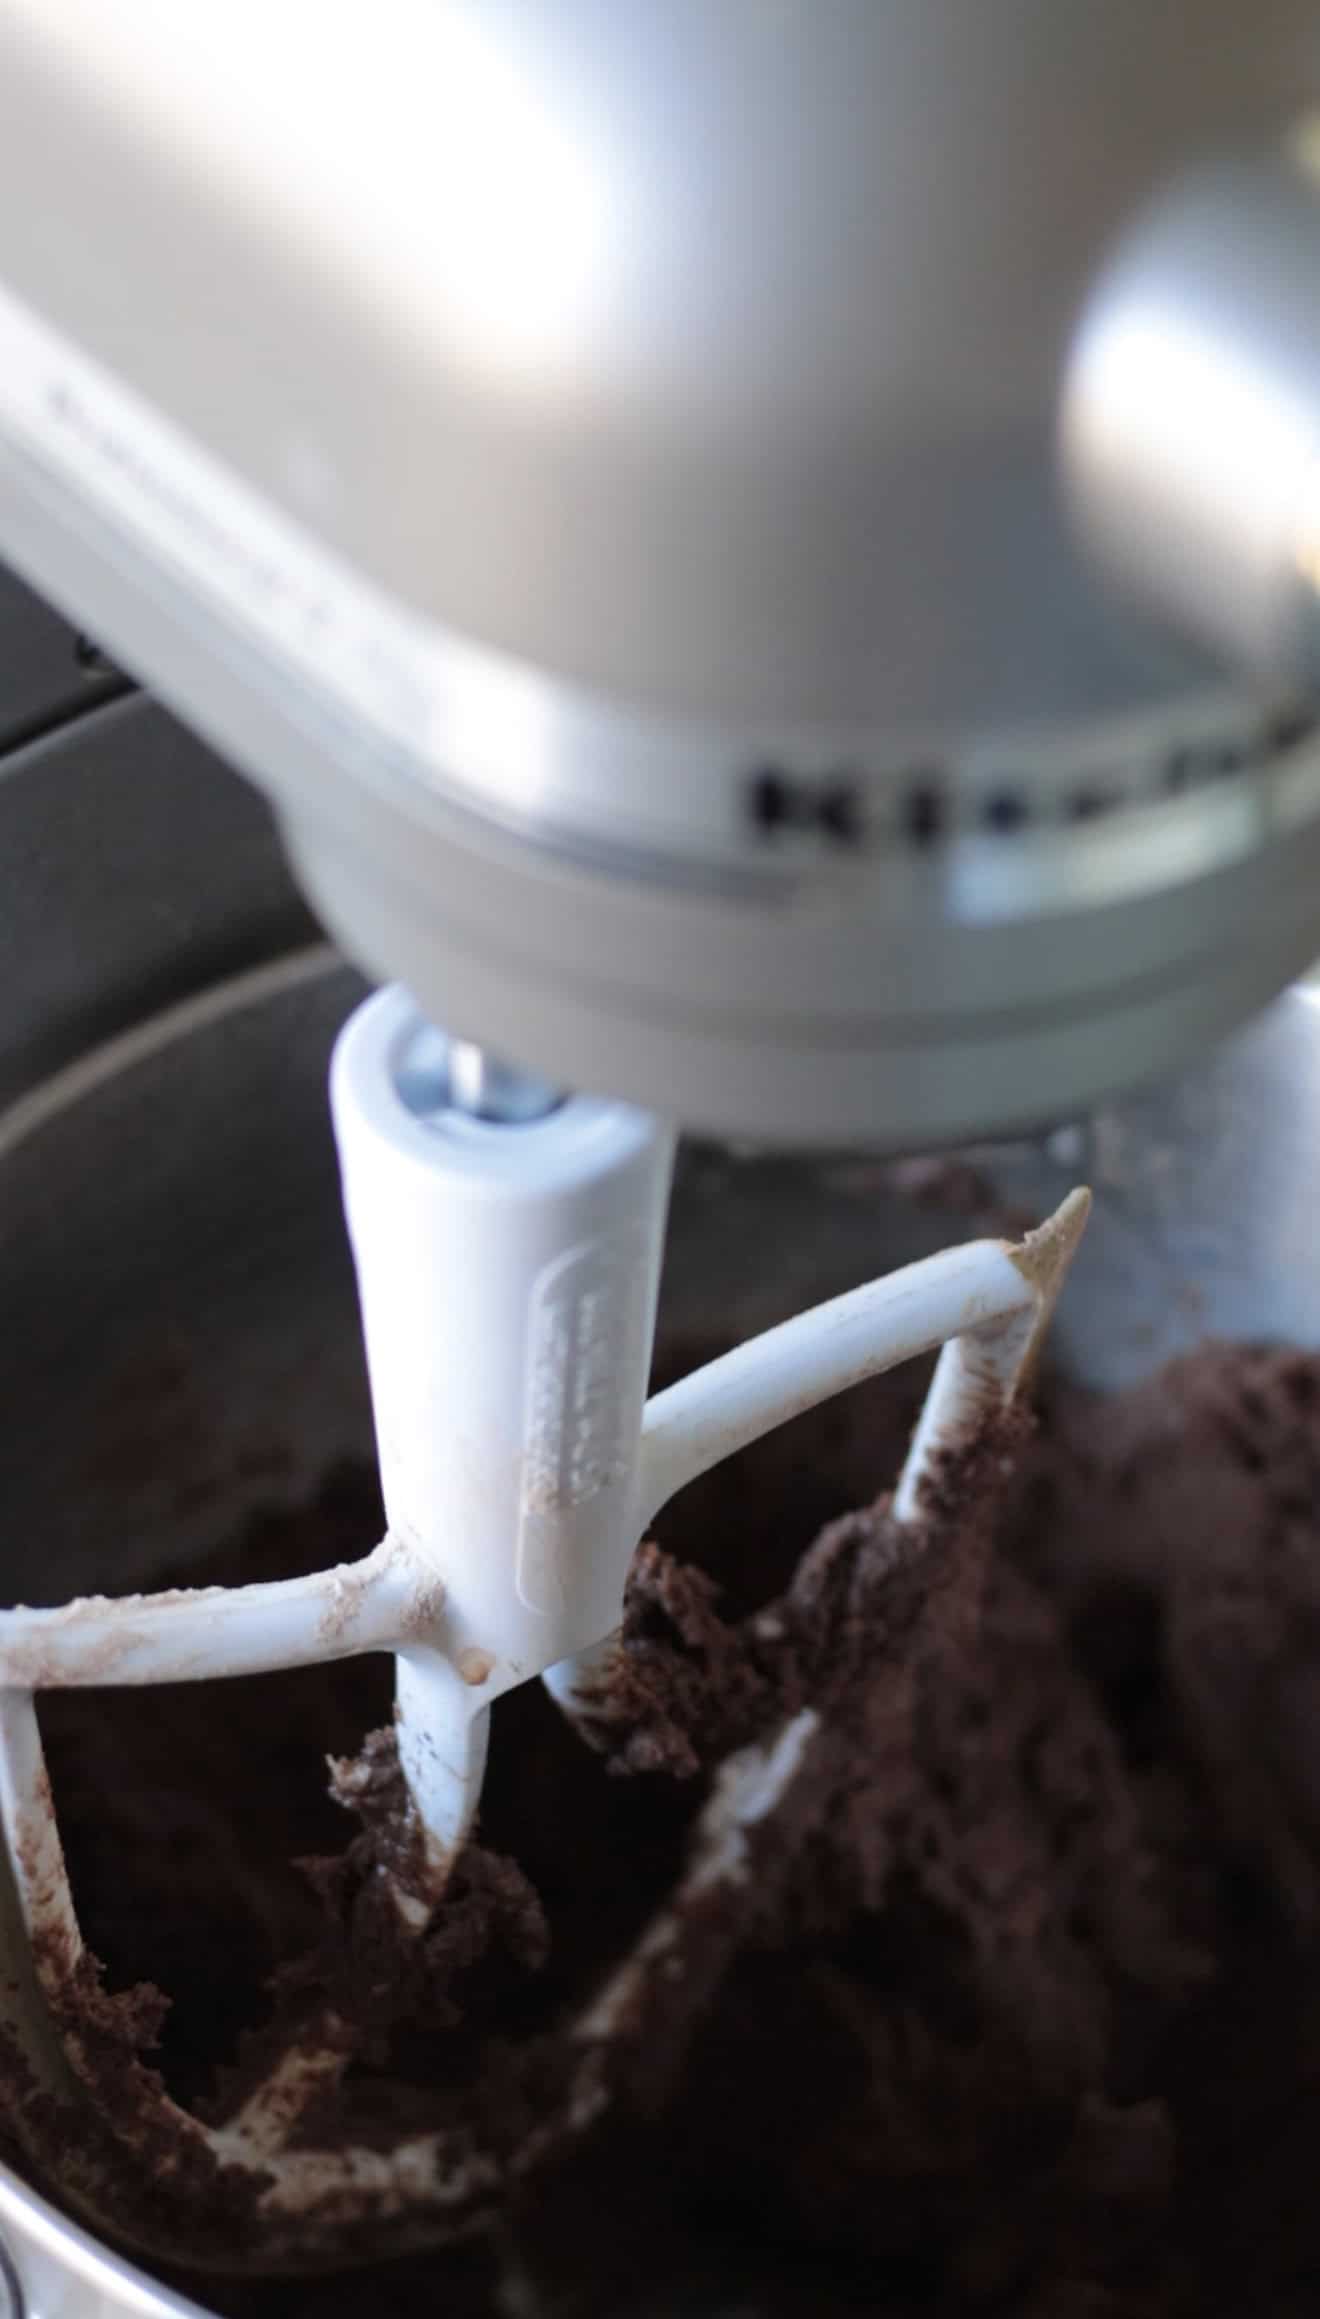
3. Combine the ingredients. Add the dry ingredients to the butter mixture and mix until a soft dough forms. It might take a minute for the dough to come together, but it will. A paddle attachment on a stand mixer works the best.

4. Shape the cookies. Scoop the dough into tablespoon-sized portions and roll into balls. Arrange them on a parchment-lined baking sheet, leaving about 2 inches between cookies. Press an indentation into the center of each ball using your thumb or the back of a measuring spoon.
Tip: Dip the back of the teaspoon in baking cocoa to prevent it from sticking to the cookie dough.

5. Bake. Bake at 350°F for 7–8 minutes. Gently press them down again with the teaspoon while the cookies are still warm.
6. Cool the cookies. Let the cookies rest on the baking sheet for a few minutes before transferring them to a cooling rack. Allow them to cool completely before adding the filling.

7. Melt the peppermint candies. Place the Andes Peppermint Crunch candies in a microwave-safe bowl. Reserve 2-3 candies to finely chop as a garnish. Microwave in short intervals, stirring every 15–20 seconds, until melted. The candies can be thick when melted, which works well for filling the cookies.
Note: The candies start out white with a red layer, but will turn pink once melted. You can use Andes peppermint crunch baking bits or unwrapped Andes pepperint crunch mints. It doesn't matter.

8. Fill the thumbprints. Spoon the melted peppermint candy into the center of each cooled cookie. Chop two or three reserved Andes Peppermint Crunch candies and sprinkle the pieces over the filling while it is still soft.
9. Let the filling set. Allow the cookies to sit at room temperature until the peppermint centers have firmed up before storing or serving.

Making a Softer Peppermint Filling
If you prefer a softer, creamier peppermint center, add 3–4 tablespoons of heavy cream to the unmelted Andes Peppermint Crunch candies before microwaving. Heat in short intervals, stirring every 15–20 seconds, until the mixture is smooth. Allow ganache to sit for a few minutes before spooning into baked cookies. The cream is optional. For a thicker filling, melt the candies on their own.
FAQs
Store the cooled cookies in an airtight container at room temperature for several days. You can also freeze the cookies. Thaw them in the refrigerator or on the counter, with the lid on the container until they come room temperature.
Andes Peppermint Crunch candies can be thick when melted. This works well for thumbprint cookies because the filling holds its shape. Add heavy cream before melting if you prefer a softer consistency.
Absolutely! The back of a teaspoon works well and creates a neat, even well in each cookie.
You can, but I prefer Andes Peppermint Crunch mints. They don't get sticky or bleed color into the cookies, and they taste delicious.
This recipe makes approximately 30–33 chocolate peppermint thumbprint cookies.

More ChristMas Cookies To Make




MADE THIS RECIPE AND LOVED IT? 💛 Please leave a STAR rating and COMMENT below! Post it to Facebook or Pinterest to easily share with friends!

Chocolate Peppermint Thumbprint Cookies
Ingredients
- 2 cups all-purpose flour
- ½ cup baking cocoa
- ½ teaspoon baking soda
- ¾ teaspoon baking powder
- ¼ teaspoon salt
- ½ cup salted butter softened
- ¼ cup granulated sugar
- ½ cup packed light brown sugar
- 2 large eggs
- 1 teaspoon vanilla extract
- 2 Tbsp. milk
- 6-8 ounces Andes Peppermint Crunch candies reserving 2–3 candies for garnish
Instructions
- Preheat the oven to 350°F. Line baking sheets with parchment paper.
- Whisk together the flour, cocoa powder, baking soda, baking powder, and salt.
- Cream the softened butter, granulated sugar, and brown sugar until light and fluffy.
- Beat in the eggs, then add the vanilla extract and milk.
- Add the dry ingredients and mix just until a soft dough forms. It might take a minute for the dough to come together, but it will.
- Scoop the dough into tablespoon-sized portions and roll into balls. Place on the prepared baking sheets, spacing the cookies about 2 inches apart.
- Press an indentation into the center of each dough ball using your thumb or the back of a teaspoon.Tip: Dip the back of the teaspoon in baking cocoa to prevent it from sticking to the cookie dough.
- Bake for 7–8 minutes. Gently re-press the centers while the cookies are still warm.
- Cool the cookies completely.
- Place the Andes Peppermint Crunch candies in a microwave-safe bowl. Microwave in short intervals, stirring every 15–20 seconds, until melted and smooth.
- Spoon the melted peppermint candy into the center of each cookie.
- Chop the reserved candies and sprinkle over the filling. Let the filling set before serving.





Leave a Reply