Gummy Shark Rice Krispies treats are the perfect snack for Shark Week! They are easy for kids to make and customize with melting chocolate, gummy sharks and sprinkles! This post contains affiliate links.
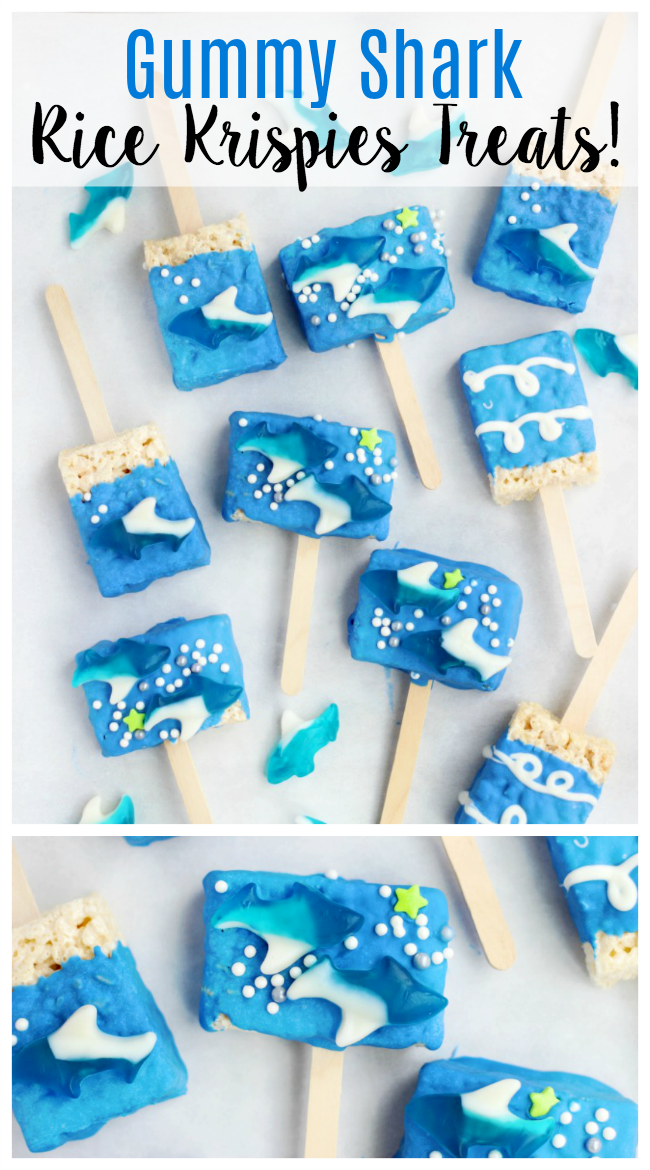
The girls and I celebrated their last day of school by making shark Rice Krispies treats after they got off of the bus! I found a container of gummy sharks at a local country store and saved them for this activity. It's the same store that I bought the mini Buckeyes that I used for my chocolate peanut butter Texas sheet cake---which has been a big hit on Pinterest!
You can find gummy fish and shark candy other places too, don't you worry. So grab a bag and make a batch of shark Rice Krispies treats for Shark Week or a summer party.
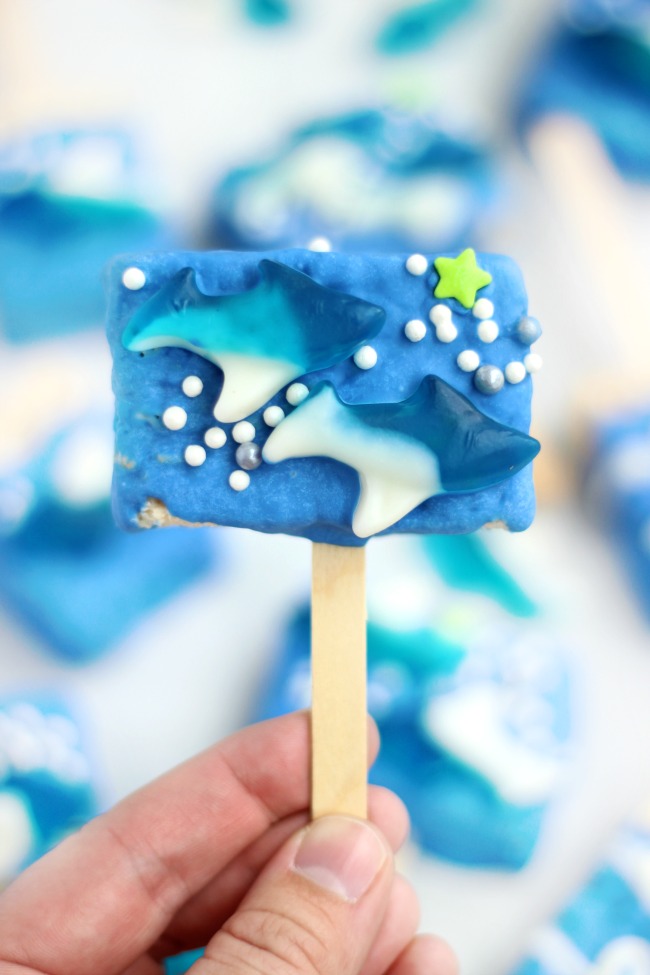
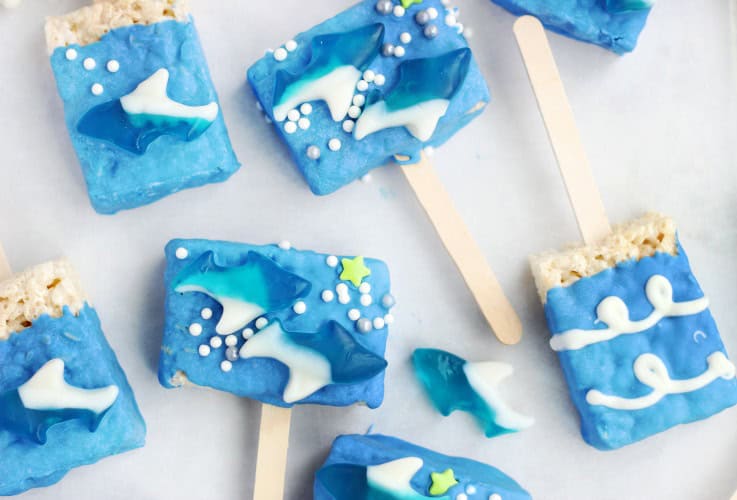
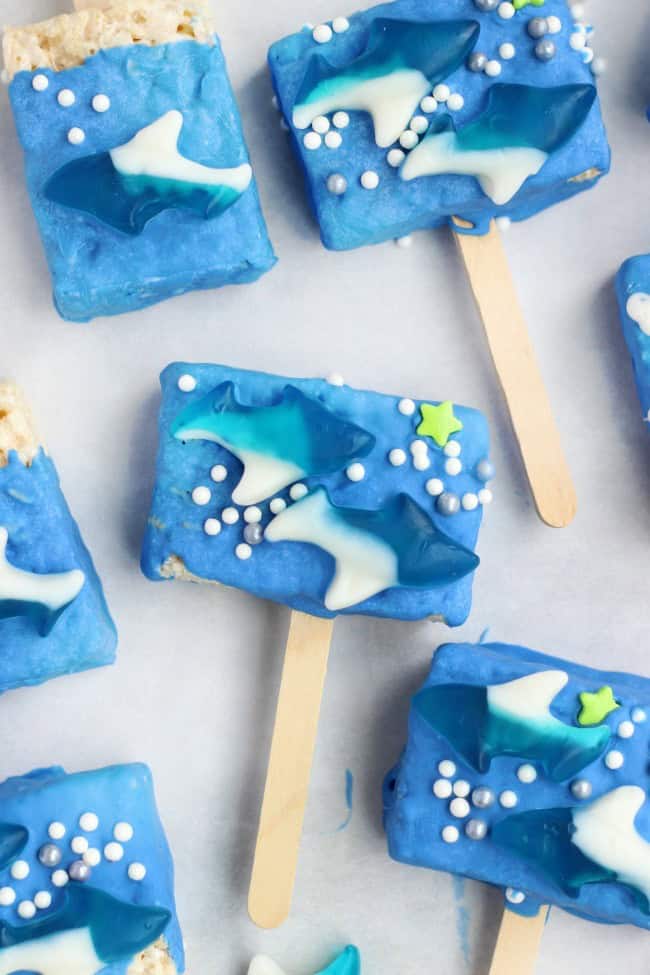
We made all different kinds: vertical, horizontal, some with single sharks and some with shark friends. Mine were all vertical with a single shark, but Ruby knocked it out of the park with her shark friends treats. She even went into the cupboard and found a container of star sprinkles to use as star fish. I love projects like this that let their creativity shine through!
We also made a few with ocean waves using white melting chocolate and a squeeze bottle.
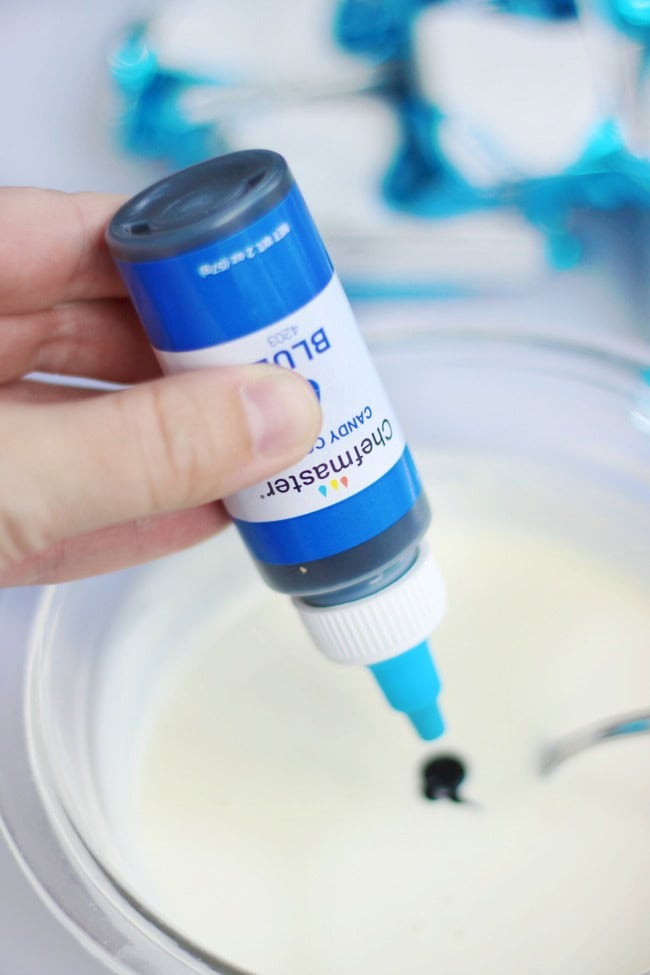
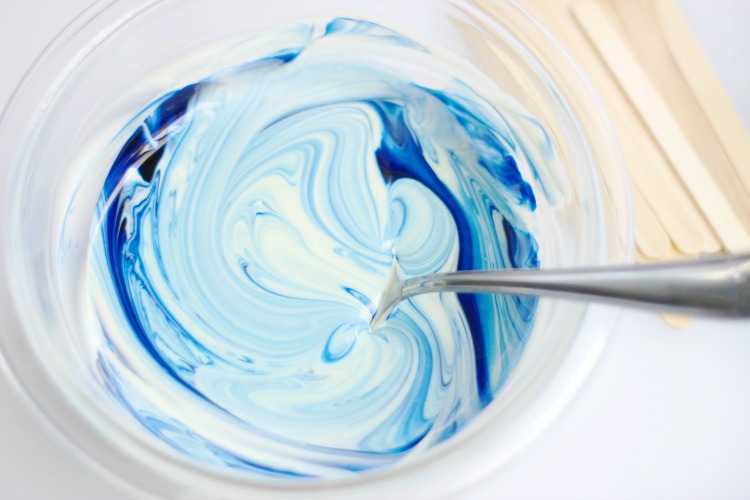
You are probably wondering where I found this gorgeous shade of blue melting chocolate. I actually tinted this myself using a bottle of candy coloring. Never use food coloring to tint your white melting chocolate---always use candy coloring that is oil based so it doesn't mess with the texture. The easy way would be to use blue candy melts.
More yummy melting chocolate treats to make:
White Chocolate Peanut Butter Truffles
Crispy Coconut Cookies with Chocolate Drizzle
Chocolate Butterscotch Rice Krispies
Ready to make a batch of gummy shark Rice Krispies Treats? Let's get started!
Shark Rice Krispies Treats
scroll down for printable recipe
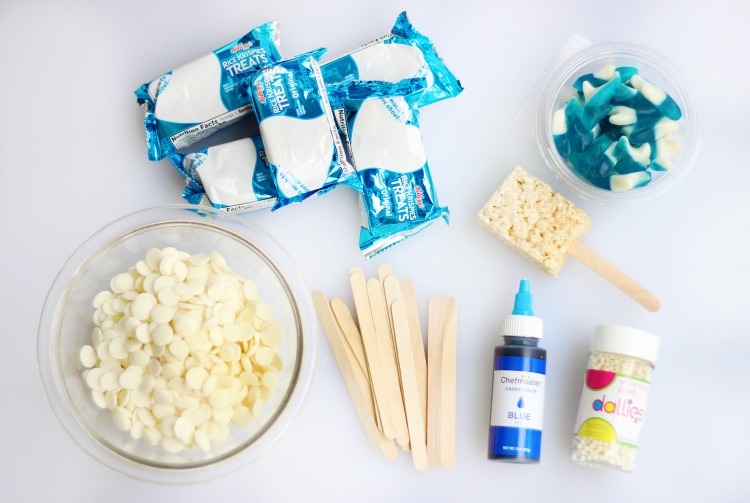
Ingredients:
12 Pre-packaged Rice Krispies Treats
Popsicle sticks
1 ½ cups melting wafers (blue or tinted blue)
White sprinkles
Baking sheet with parchment paper
Instructions:
Line a baking sheet with parchment paper. Unwrap 12 Rice Krispies treats and insert a popsicle stick into each one.
Melt white chocolate in a microwave safe bowl for 20 seconds at a time, stirring in between, until melted and smooth (40-60 seconds). Add a squirt of candy coloring and stir.
Continue to add coloring until the desired shade is achieved.
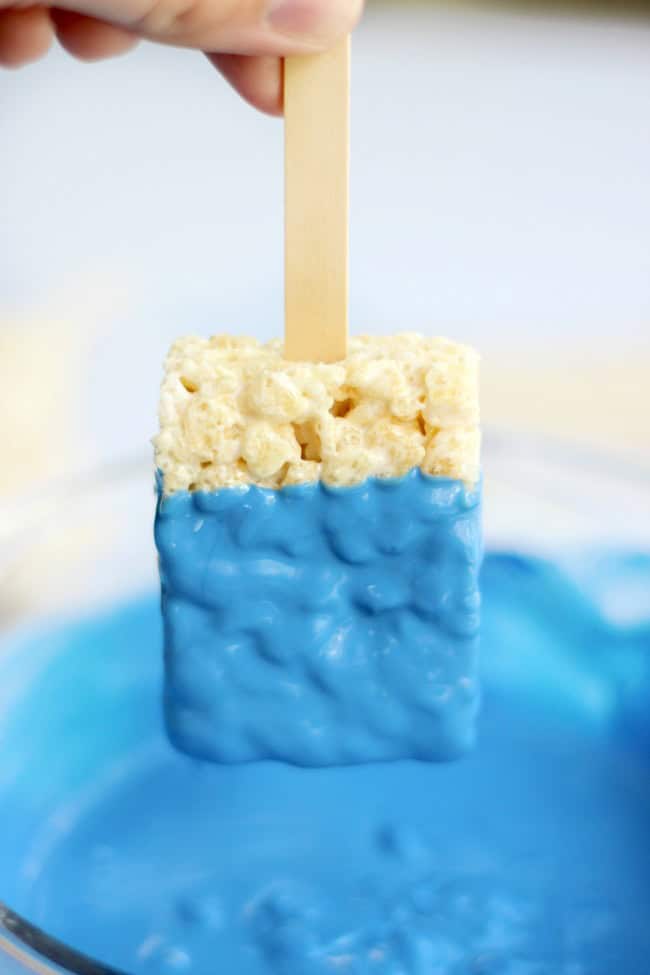
Dip each Rice Krispies treat into the melting chocolate.
Place on parchment paper to set. Add a gummy shark and sprinkles.
Optional: To drizzle white chocolate, add desired amount of chocolate into a squeeze bottle. Place bottle in a pan of hot water and let it float, rotating it occasionally, until chocolate has melted.
How many shark Rice Krispies treats does this recipe make?
This recipe makes 12 treats.
How should I store Rice Krispies Treats?
They will stay fresh for one day. Then store in an airtight container or individually wrapped.
How long does it take for the chocolate to harden?
These chocolate dipped Rice Krispies treats will set up in about 10 minutes. You can speed up the set up time by placing the tray in the refrigerator.

Gummy Shark Rice Krispies Treats
Equipment
- Baking sheet with parchment paper
- popsicle sticks
- microwave safe bowl
Ingredients
- 12 Pre-packaged Rice Krispies Treats
- 1 ½ cups white melting chocolate Decocoa White Gourmet Compound Chocolate
- Chocolate Coloring Chefmaster Candy Color
- Gummy sharks
- White sprinkles
Instructions
- Line a baking sheet with parchment paper. Unwrap 12 Rice Krispies treats and insert a popsicle stick into each one.
- Melt white chocolate in a microwave safe bowl for 20 seconds at a time, stirring in between, until melted and smooth (40-60 seconds). Add a squirt of candy coloring and stir.
- Continue to add coloring until the desired shade is achieved.
- Dip each Rice Krispies treat into the melting chocolate.
- Place on parchment paper to set. Add a gummy shark and sprinkles.
Notes
Nutrition
What other Shark Week treats should we make?
Here is an awesome collection of Shark Week foods and activites from Forkly.
Tips and tricks for melting chocolate and troubleshooting:
Here is a great resource from my friends at Chocoley. They recently closed their site so I saved the tips to share with you.
The Chocolate Is Too Heavy & Thick:
If chocolate seizes (thickens because of contact with moisture) you may be able to “save” it by stirring in vegetable shortening or vegetable oil one teaspoon at a time. If this doesn’t work it can be used for cooking or candy fillings.
The Chocolate Has Cooled Too Much:
Add some warm chocolate or gently warm the bowl until the chocolate reaches the correct working temperature. This will not work for chocolate that has turned to a pudding texture.
Tempered Chocolate Won’t Set-Up/Harden:
This usually happens when you don’t use enough seed chocolate during the tempering process. Without enough seed chocolate, there are not enough seed crystals to allow the cocoa butter to crystallize.
Tempered Chocolate Won’t Release from The Mold:
There are a few reasons for this:
- The chocolate won’t release when you don’t use enough seed chocolate during the tempering process. Without enough seed chocolate, there are not enough seed crystals to allow the cocoa butter to crystallize;
- The chocolate may have been tempered too much; let it cool down and then re-temper the chocolate properly;
- Your molds were not the right temperature when you deposited the chocolate. If the molds are too cool or too warm, the film of chocolate that actually touches the molds will have lost its temper causing it to stick to the mold;
- As a temporary solution, try putting the mold in the freezer and allow it to harden more. Don’t let it stay in too long though, or you’ll get condensation!
Streaks Appear In The Finished Products:
You are working at too low or too high of a temperature. Check your temperatures with your thermometer. If it is too hot add some chocolate and stir until it cools to the correct temperature. If it is too cool stir thoroughly before and during use. Add warmer chocolate to bring the temperature back up.
The Finished Item Has “Cracks” In The Chocolate:
If items are placed in a refrigerator that is too cold, the chocolate contracts too fast and will crack.
White Marks Appear on De-molded Items:
The molds were not dried properly. Water can become trapped in molds with heavy patterns. Make sure that they are completely dry before filling.


Brandy says
Hi everyone! Brandy here, and these were so easy and yummy to make. My kids love the gummy sharks and it's fun to find things to use them on.