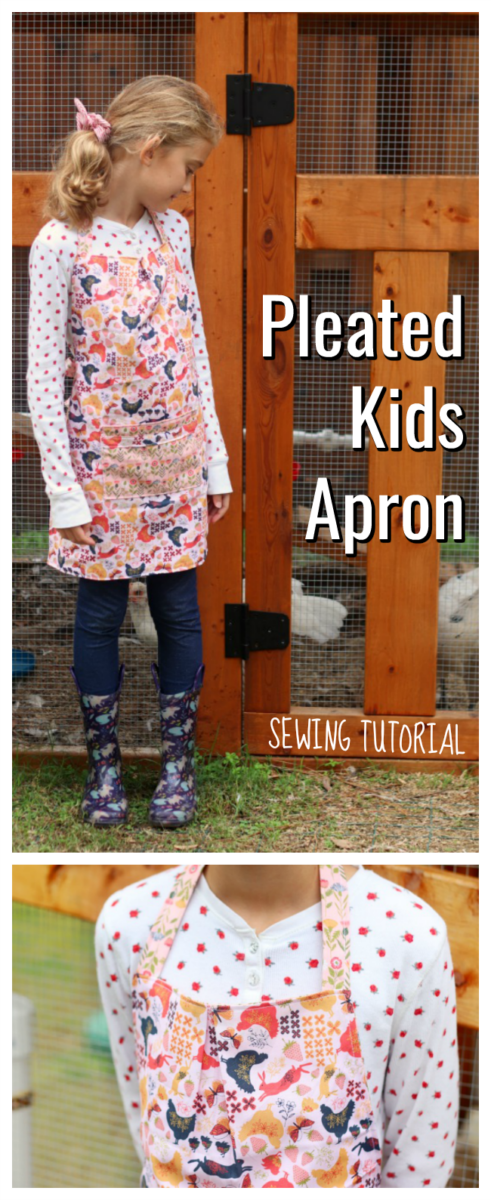
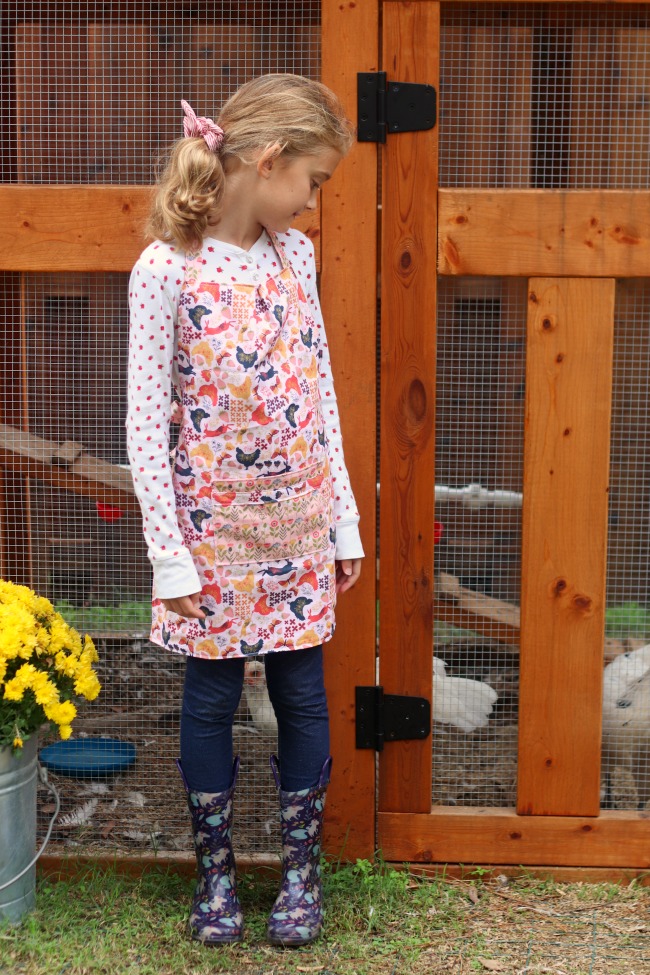
A simple to follow sewing tutorial for a kids apron. This pleated kids apron fits kids 6-10 years old! Add a pocket on the other side for a reversible apron.
Looking for a smaller size? Try our toddler Cookie Monster Apron or Little Baker's Apron.
Watch our step by step video!
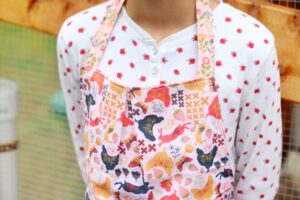
The cute scalloped apron that I made Ruby a few years ago was a bit too small for her. She needed a new one for all of her baking needs. When we finished her apron, she wondered how many eggs the pocket might be able to hold. Her chicken, Dorothy, will be laying soon. I think she could easily fit 2-3 eggs in there.
Pleated Kids Apron
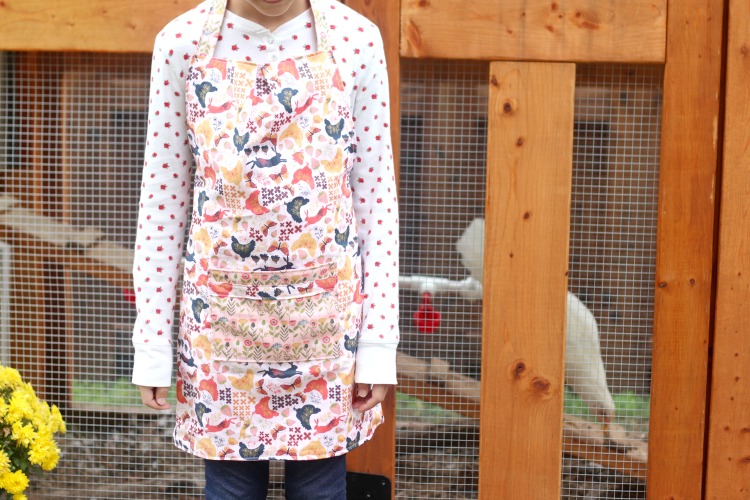
Ruby is my shadow. Anytime she sees me making something, she is RIGHT THERE with me. Always asking questions and giving suggestions. In fact, the cute pleated detail on the front of the apron was her idea!

Supplies
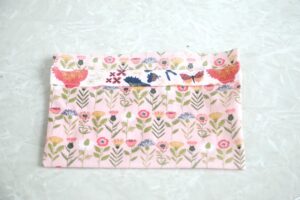
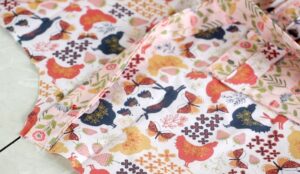
You'll need two pieces of fabric that are 20" x 24" for the apron front and back. You can use different prints or the same ones. It's up to you. Ruby selected this cute chicken and bunny fabric (two of her favorite animals) and a floral print for the back and ties.
You'll also need a few strips of fabric for the neckband and ties.
More Apron Details
Seam allowance: ¼-3/8". Topstitching: ⅛".
Finished apron size: 23" tall, 19 ½" wide
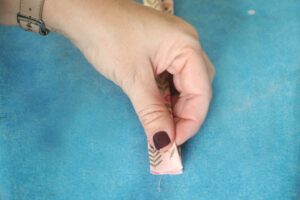
Safety pin trick for turning decorative pocket strip right side out.
Pleated Kids Apron Sewing Tutorial
Pleated Kids Apron Sewing Tutorial
Equipment
- sewing machine
- measuring tape
- straight pins
- iron/ironing board
Materials
- cotton fabric
- thread
Instructions
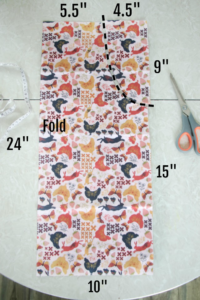
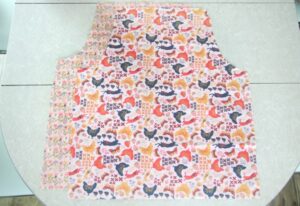
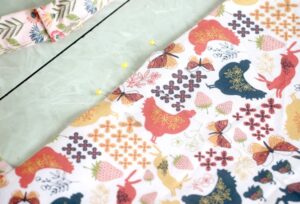
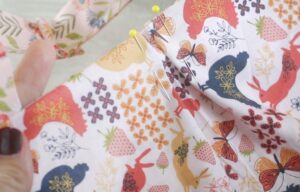
- You will need 2 (20" x 24") pieces of fabric. Fold each piece of fabric so that it measures 10" x 24" then use the cutting guide to cut out the apron shapes.

- You can use two different prints of fabric or the same. It's totally up to you.

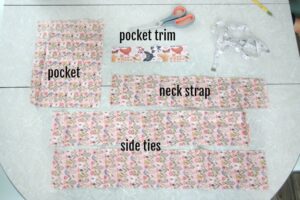
- You will also need the following pieces: Neck strap: 4" x 16" (cut 1)Side ties: 4" x 22" (cut 2)Pocket: 8" x 12" (cut 1)Optional pocket decorative strip: 2" x 9" (cut 1)

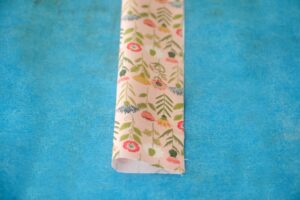
- Fold each side tie and the neck strap in half so that they are 2" wide. Press.Open and fold each side towards the center crease. Press.
- Fold in half once more. Press.
- Your 4" wide strips should now be 1" wide (Watch my step by step video for a better visual).
- Fold one end over on each side tie. Press. The other end can be left unfinished/raw.Stitch side seam on apron ties and neck band.
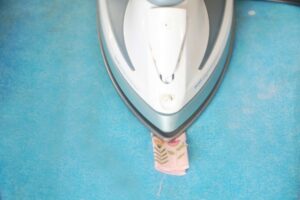
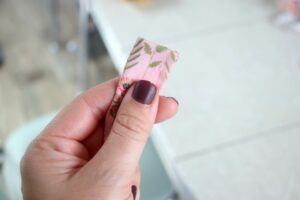
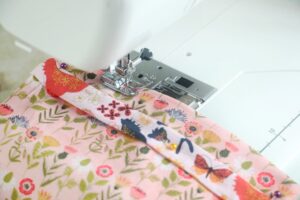
- Fold the pocket piece in half, with right sides together, so that it is 8" x 6". Sew around sides and bottom, leaving an opening to turn right side out.Turn right side out. Fold opening closed and pin. Set aside.Optional decorative strip: fold the strip in half with the right sides together and stitch the side seam. Turn right side out using a safety pin. Press flat.Place decorative strip 1" from top of the pocket piece. Pin.Sew across the top and bottom of the decorative strip to attach it to the pocket piece. Sew across the top of the pocket piece to close off the opening that you pinned.
- The pocket piece should now look like this.
- Pin side ties and neckband into place, the neckband being about ⅜" away from the side edges on the top, and the ties ⅜" under the side point (as shown in photo).Pin apron lining, right side down, sandwiching the ties and neckband. Sew around the entire apron, leaving a small opening on the bottom to turn right side out.

- Turn apron right side out. Fold the opening closed and pin.
- Pleats: add a pin to the center of the apron front. Add pins 1" to the right and 1" to the left of the center pin.

- Bring the side pins to meet with the center pin. This will create a pleat. Remove center pin.Remove side pins and re-pin to hold the pleat in place.

- Topstitch around the entire apron. This will not only give the apron a finished look but will sew the pleat into place and close off the opening where you turned the apron right side out.
Video
Notes


CC says
Hello, have enjoyed your blog for many years. I just made two of my sister's an apron for their birthday. I looked at an existing apron of mine. Now I'm interested in a different style to sew, and I see your darling kids size pleated one. Do you have this in an adult size?
Thanks.
Brandy says
Hi CC! I’m sorry that I don’t have adult measurements do this apron! Aprons are such a fun gift to receive. 🙂