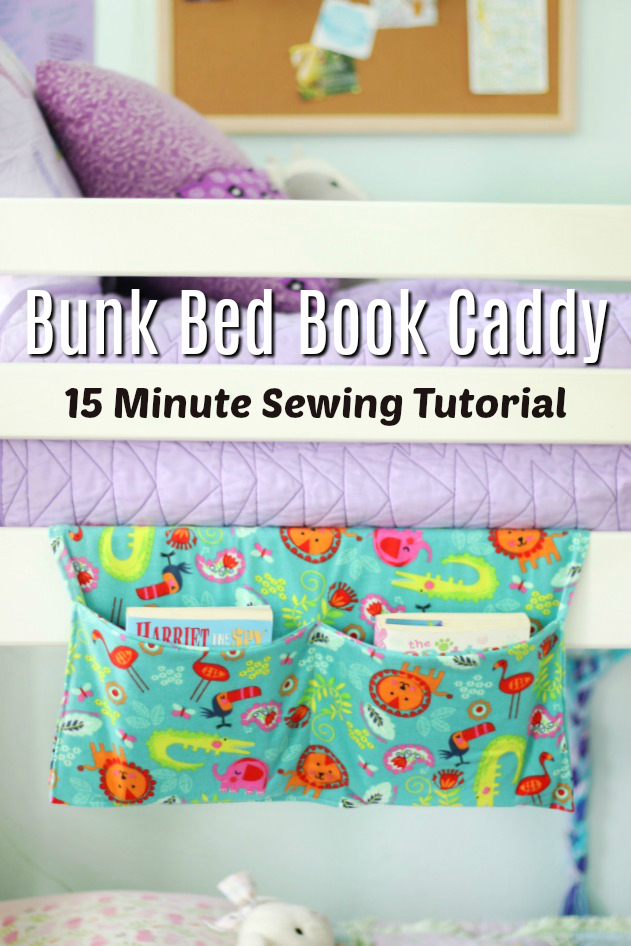
A quick and easy 15 minute sewing tutorial for making a bunk bed book caddy. Perfect to hold chapter books, or anything you need within reach!
Looking for another easy kids bedroom project? Make a fabric laundry bag to hang on the door! You can also find a felt variation of our book caddy in my sewing book for kids!
Watch our step by step video!
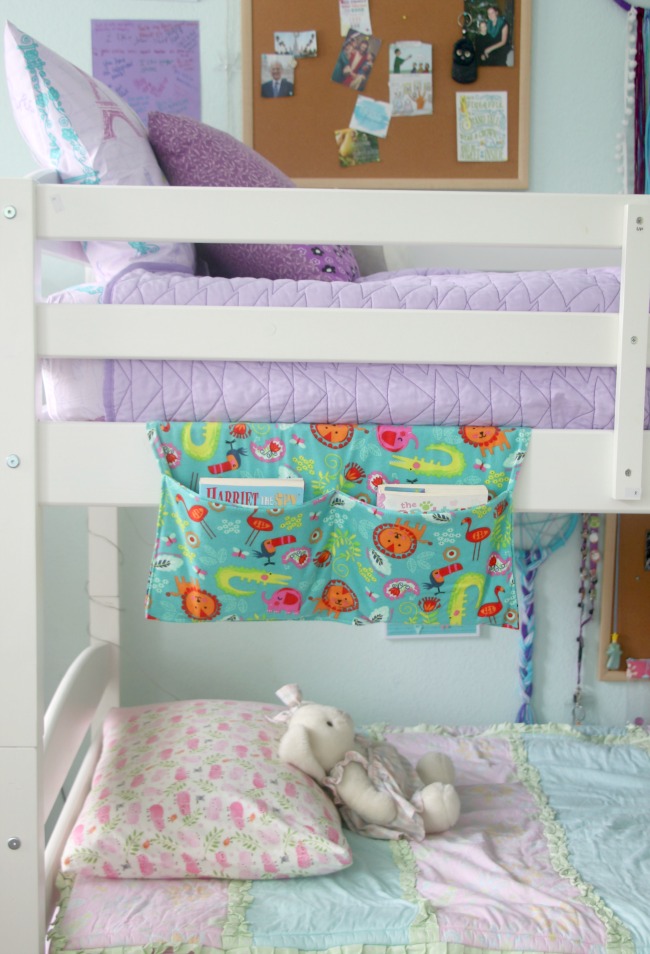
Years ago, when my boys were little, I made them each a bunk bed book caddy. They worked great for holding books, stuffed animals or small toys. I've updated the design to one that is simpler and a lot easier to make for my girls. Aaron saw it and asked me to make him a new one for his bed, too.
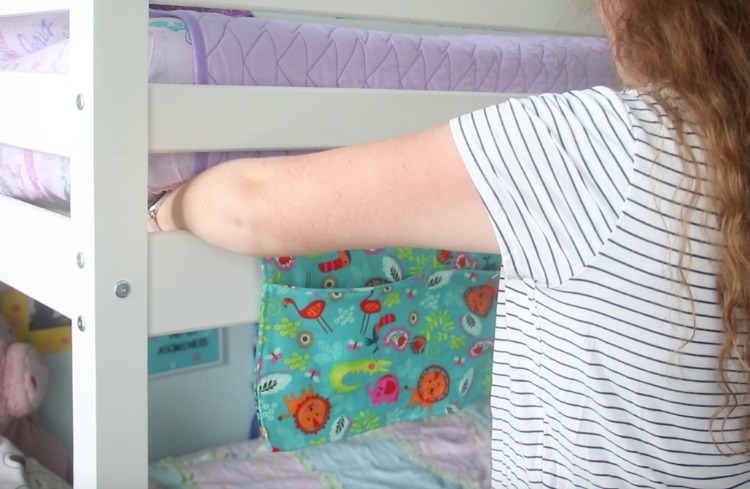
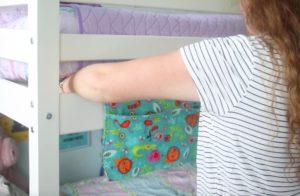
Essentially you are creating a long rectangle that slides under the mattress with a pocket on the end. So easy!
The perfect place to store your chapter book when it's time to go to sleep.
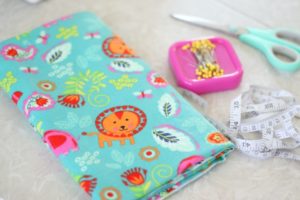
Supplies for Book Caddy
1 ½ yards fabric, sewing pins, measuring tape, scissors and sewing machine.
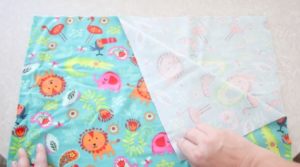
You'll need a 40" x 45" piece of fabric. You can keep the fabric folded and trim it to 20" wide and 45" long (when you open the fold it will be 40" x 45").Â
Watch For Directional Prints
It might be hard to see, but if you look at the book caddy that I made, the fabric pattern is right side up for the pocket front, and the fabric pattern is upside down for the rest of the caddy that slides under the mattress. THIS IS WHAT YOU WANT. So when deciding which is top, and which is bottom, make sure that the fabric print is UPSIDE DOWN. Then, when you go to fold the bottom edge up to create a pocket, the fabric will be facing the right direction for the pocket. I hope that makes sense!
3 More Sewing Projects for Kids Rooms
Bunk Bed Book Caddy Sewing Tutorial

Bunk Bed Book Caddy Sewing Tutorial
Equipment
- sewing machine
- measuring tape
- sewing pins
Materials
- 1 ½ yard fabric cotton, flannel or lightweight denim
Instructions
- Cut fabric into 40" x 45" rectangle.

- Fold in half. You should now have a 20" x 45" rectangle.

- Turn the fabric so that the right sides of the fabric are together. Sew side seam and bottom. Leave top open.Note: you can also stitch across the top, leaving a small opening to turn right side out.
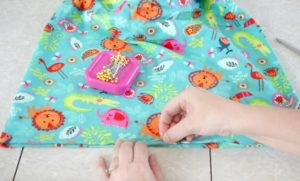
- Turn right side out. Fold top edges over and pin.

- Fold bottom edge up 7" and pin sides.

- Add pins in the center to mark the sewing line to divide the pocket into 2.
- Top stitch around perimeter of the caddy.
- Sew through center of the pocket (where you placed pins) to create two pockets.
- Slide book caddy under bunk bed mattress.


Angie says
My boys would adore this...and such a space-saver. Going to have to pin this one for later. 🙂
Tammie says
What a great idea! I'm thinking I'll do these more for the little trinkets and toys that he plays with before bed. They end up at the foot of the bed or on the floor. What a great idea! Thanks for linking to delicateCONSTRUCTION!
Art For Little Hands says
Love this idea. My bookshelves just fell down off the wall. Three of them. They were great shelves, but not sturdy I guess. This is a great solution. Pinning!
Amy@Sassy Scarlett says
I love this!!
aggieam01 says
Well this just makes total sense and really solves a problem we have around here. Thank you so much for the inspiration. This is definitely on my list of things to make this summer!
Amy @ Positively Splendid says
So, so SMART! I need to make these for my kiddos!
Ellie says
What a great idea! They look super cute and practical. 🙂
Brittany says
Such a great idea, and even looks like something I might be able to make! Thanks!! 🙂
Stephanie says
That's a really cute idea and they turned out nice!
Jennifer says
Cool idea! We will be getting, or making rather, bunks for our boys very soon. I'll have to bookmark this project! Thanks for sharing over at Tip Me Tues.
Jen
Scissors & SPatulas