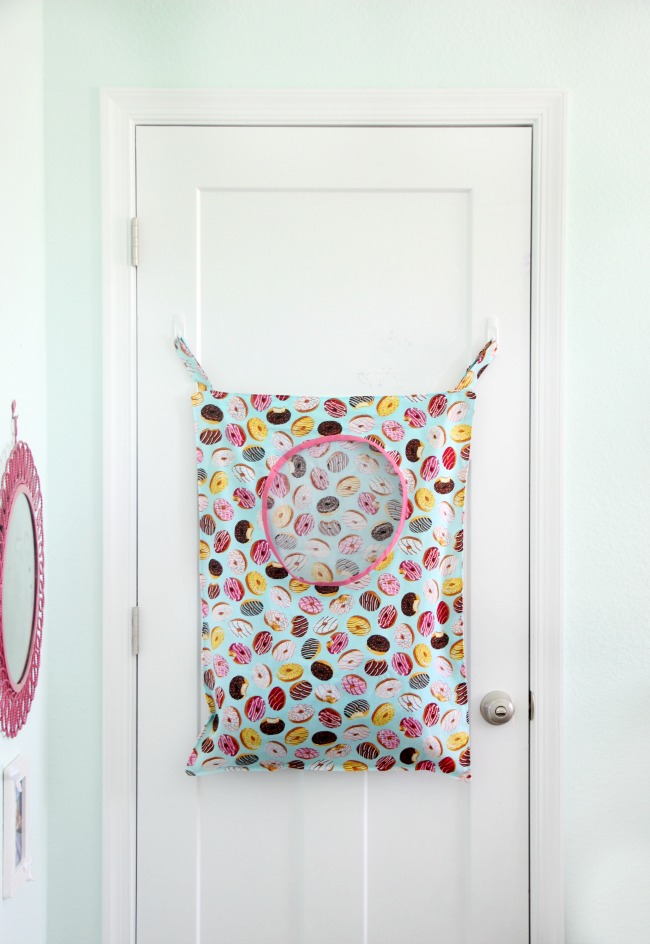
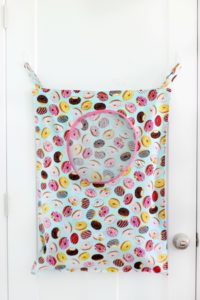
This kids laundry bag sewing tutorial comes together in about 30 minutes. It has an opening for laundry and hangs on the back of the door! You can also use it to store stuffed animals! This post contains affiliate links.
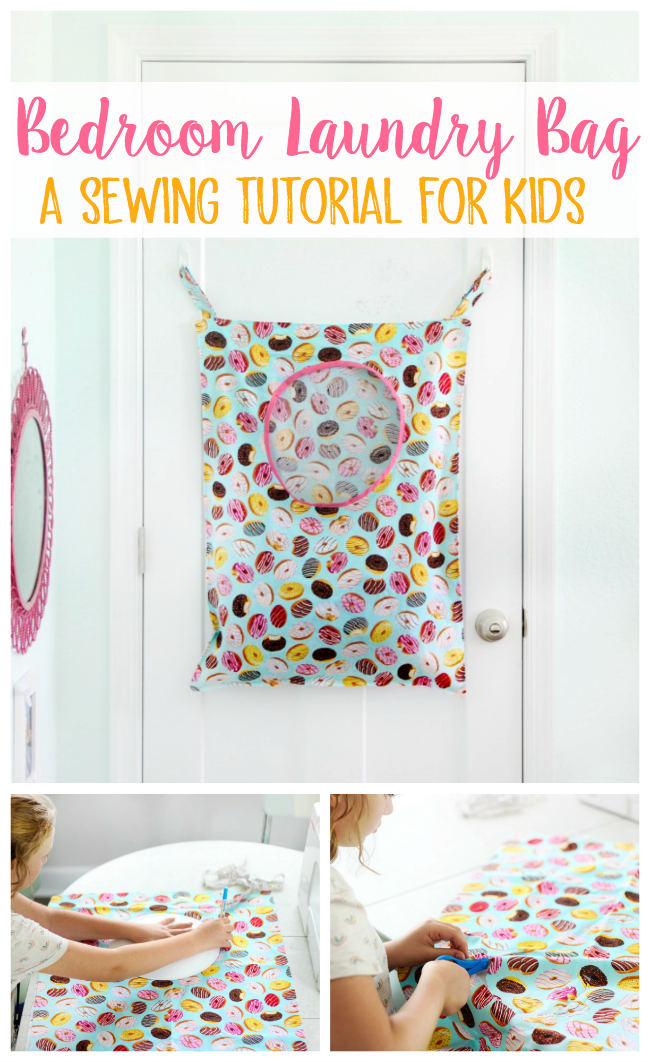
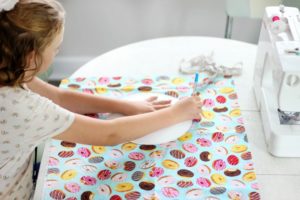
Ruby came up to me the other day and asked if I would help her make a laundry bag for her room. She had found a photo of one in a sewing book that I had in the craft closet. The one in the book was cute, but a bit too complicated for her (it had snaps, bias tape around every edge, multiple pieces, appliquéd letters, and the instructions weren't kid-friendly). No matter! Writing up simple projects for kiddos is one of my favorite things to do.
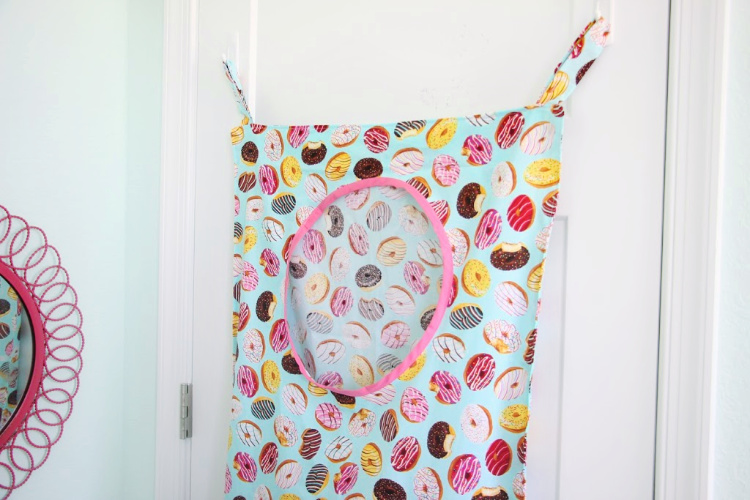
I used the laundry bag in the book as my inspiration and had a lot of fun coming up with our own version. Two pieces stitched together with straight lines, a simple opening with a bit of bias tape (Mom, you'll need to help with that part!) and two loops for hanging for a quick, 30-minute project.
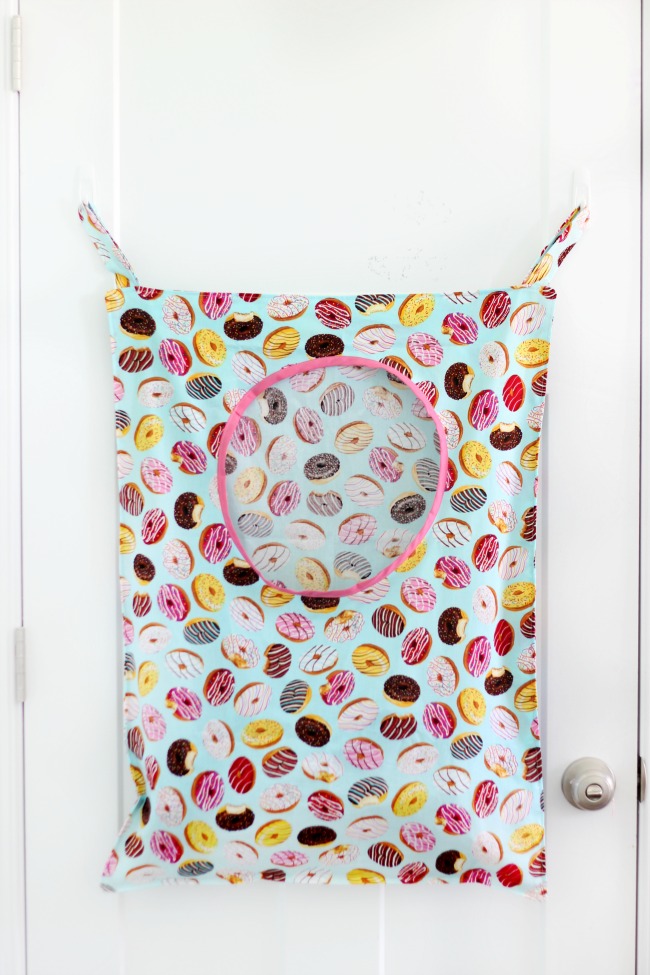
The girls each have one now and I haven't seen any dirty clothes on the floor since we made these (knock on wood, it's been a week). Maybe this will make the long, exhausting 12' trek down the hall to the laundry room a bit easier.
Find 60 more sewing projects for kids in my book!
Kids Laundry Bag Sewing Tutorial
KIDS LAUNDRY BAG SEWING TUTORIAL
Equipment
- sewing machine
- iron
Materials
- 1 yard of fabric cut into the following pieces:
- 2 22" wide x 30" tall pieces of fabric for bag
- 2 3" wide x 10" tall pieces of fabric for loops
- 38" piece of extra wide double fold bias tape
- 10" circle template a plate works well
- measuring tape
- sewing pen
- scissors
- pins
Instructions
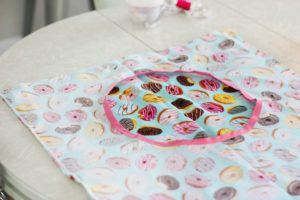
- Measure 4" down from the top of one of the main pieces. Center the circle template on the 4" mark. Trace around template using a pencil or sewing pen.

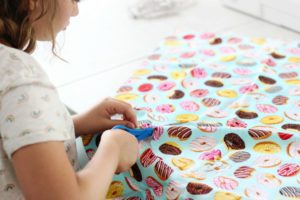
- Cut out the hole.
- Pin bias tape around the raw edge of the circle opening.
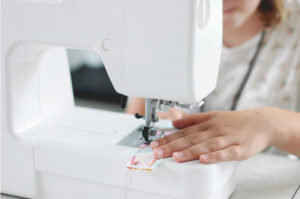
- Stitch bias tape to the bag opening.
- Fold each loop piece in half so that it is 1.5" wide with the right side of the fabric on the inside. Press on the fold using an iron.

- Stitch the side edge of each loop piece. Turn right side out. Press flat with an iron.
- Top stitch the sides of the loop piece, leaving the ends open.
- Place the other large rectangle of fabric on your work surface with the right side of the fabric facing you. Fold each loop in half with the raw edges matching. Place each loop onto the top of the rectangle, matching raw edges, ¾" away from the side edges. Pin each loop into place.
- Place the other large rectangle (with the hole) on top, sandwiching the loops in the center of the two large rectangles. Make sure that the wrong side of the fabric is facing you. Pin around all 4 sides of the bag.
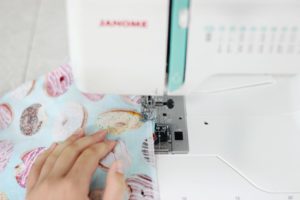
- Sew around all 4 sides of the bag using a ⅜" seam allowance (line up the pressure foot with the edge of the fabric). When you reach a corner, leave the needle in the fabric, lift up the pressure foot and pivot the fabric until it lines up again. Lower the pressure foot and continue sewing.
- Trim corners and turn the bag right side out through the center of the hole. Iron the bag flat.
- Top stitch around all 4 sides.


Notes
Note: There are two methods for sewing on bias tape: the “Sandwiching” and “Two Step” method. I generally use a two step method, but for something this small I used the sandwich method. Here is a bias tape tutorial showing how to do both. You can decide which one you’d like to use!
More kids sewing projects that you'll definitely want to check out!
Wired Headband Tutorial for Kids
10-minute Teddy Bear Sleeping Bag Tutorial


Gwen Smith says
I looked for HOURS to find a pattern for this type of bag. Thank you for posting this, and also for such clear directions. I am not very experienced with sewing, but I could still understand how to make this. Writing clear instructions is not a gift everyone has. I can't thank you enough.
Brandy says
Yay! I'm so glad to hear this!
Rebecca A Mazzarella says
Cute! I bet you could make one with an old pillowcase!, Or, if you made holes in both sides, it could be a tote bag!
Brandy says
Using an old pillowcase is a great idea!! It would make an awesome tote bag too, nice and big!