How to decorate candles with wax pens using simple techniques that anyone can do! A great gift idea or craft for teens!
You might also like these easy water candles, beeswax candles, or beadable pen tutorial.
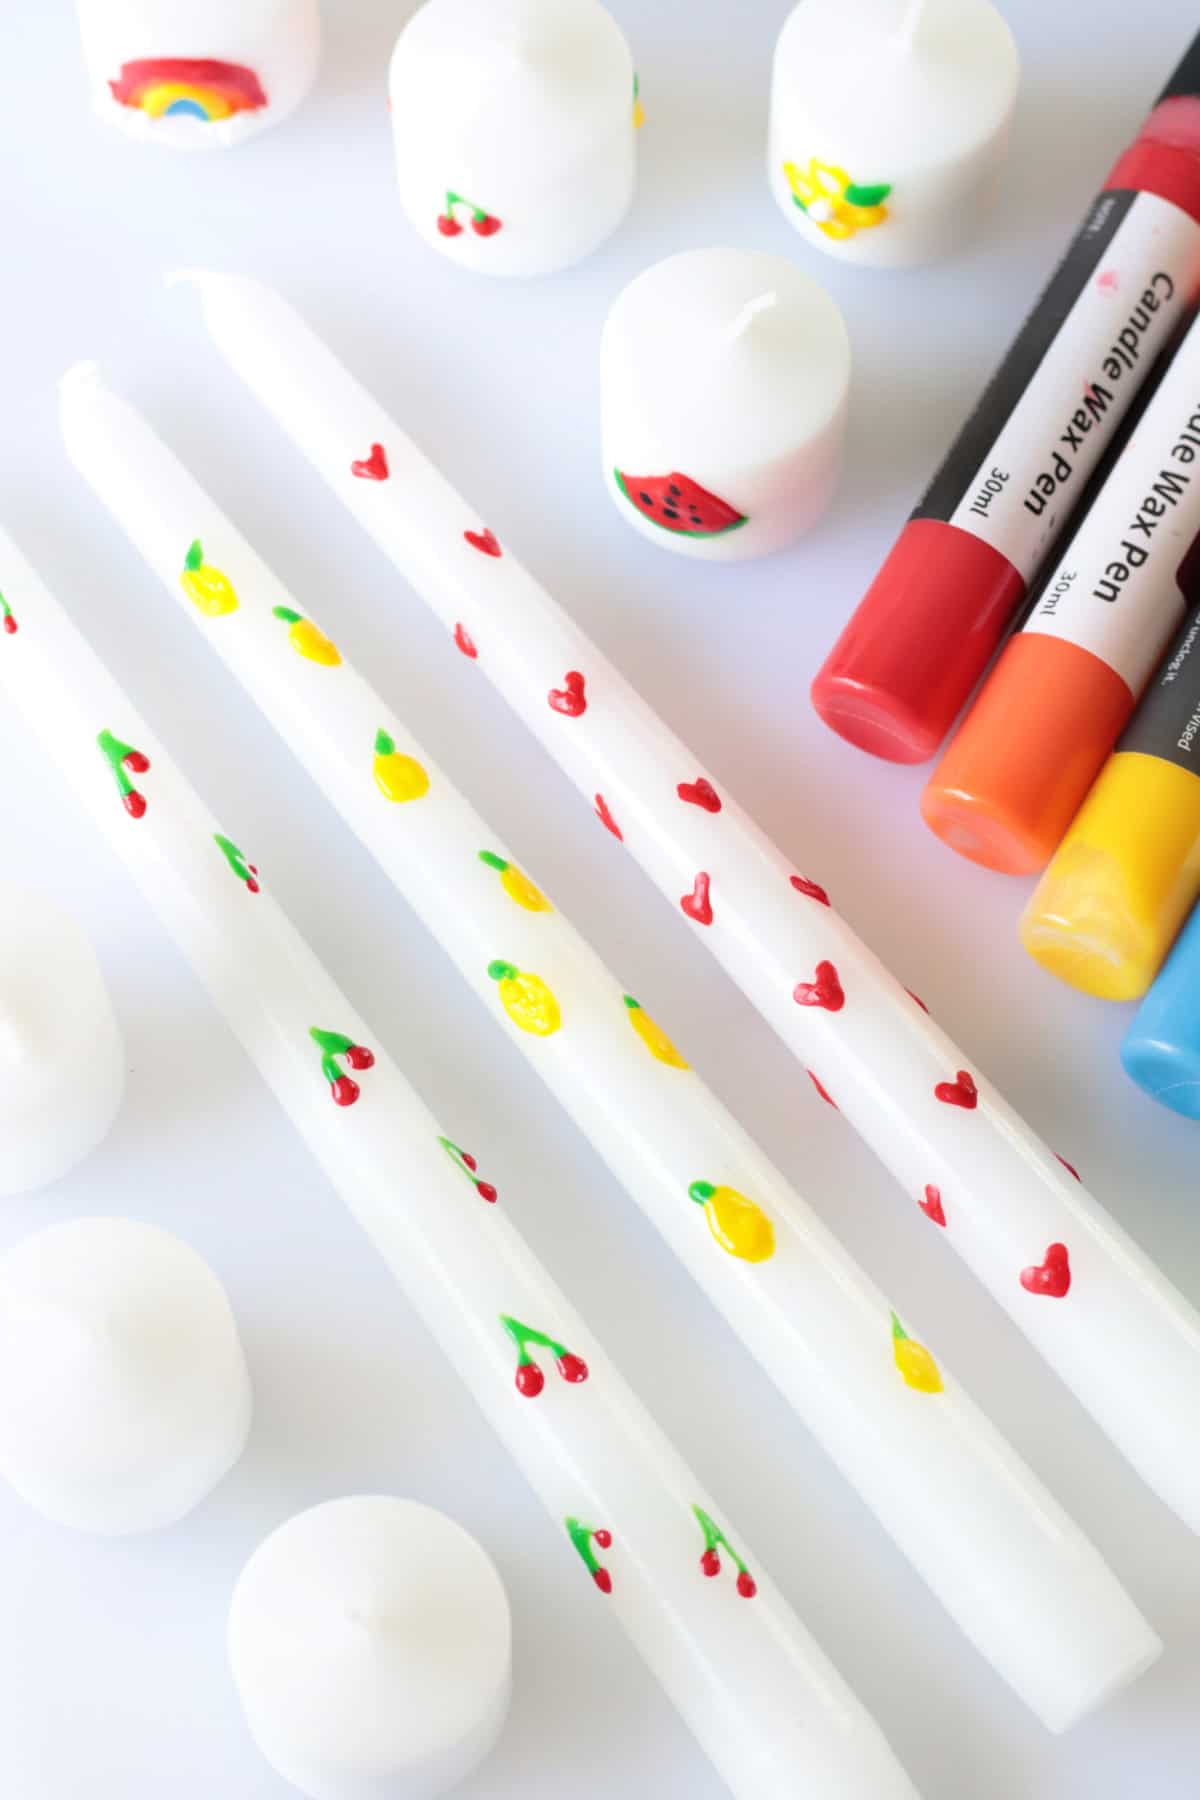
I bought a set of wax candle pens for my daughter a couple of years ago, and every candle we've made has turned out so cute! She's made bow and flower-decorated taper candles and has had fun making them with friends as well.
Why I Like This Craft
- Simple to use. If you can use a bottle of puffy fabric paint, you can use wax candle pens. They work exactly the same and take the same amount of time to dry.
- Safe to burn. Wax candle pens are non-toxic and safe to use on candles, both decorative and those intended for burning.
- Endless ways to decorate. The design possibilities are endless! Use straight from the squeeze bottle, or squeeze a small amount onto a plate and dab it onto the candle with a paintbrush or toothpick for smaller or thinner designs.
Jump to:

Tips and Tricks
- Test out paint pens. Before adding wax paint directly to the candle, test the pressure and ensure the nozzle isn't clogged by making a test drop on a paper towel.
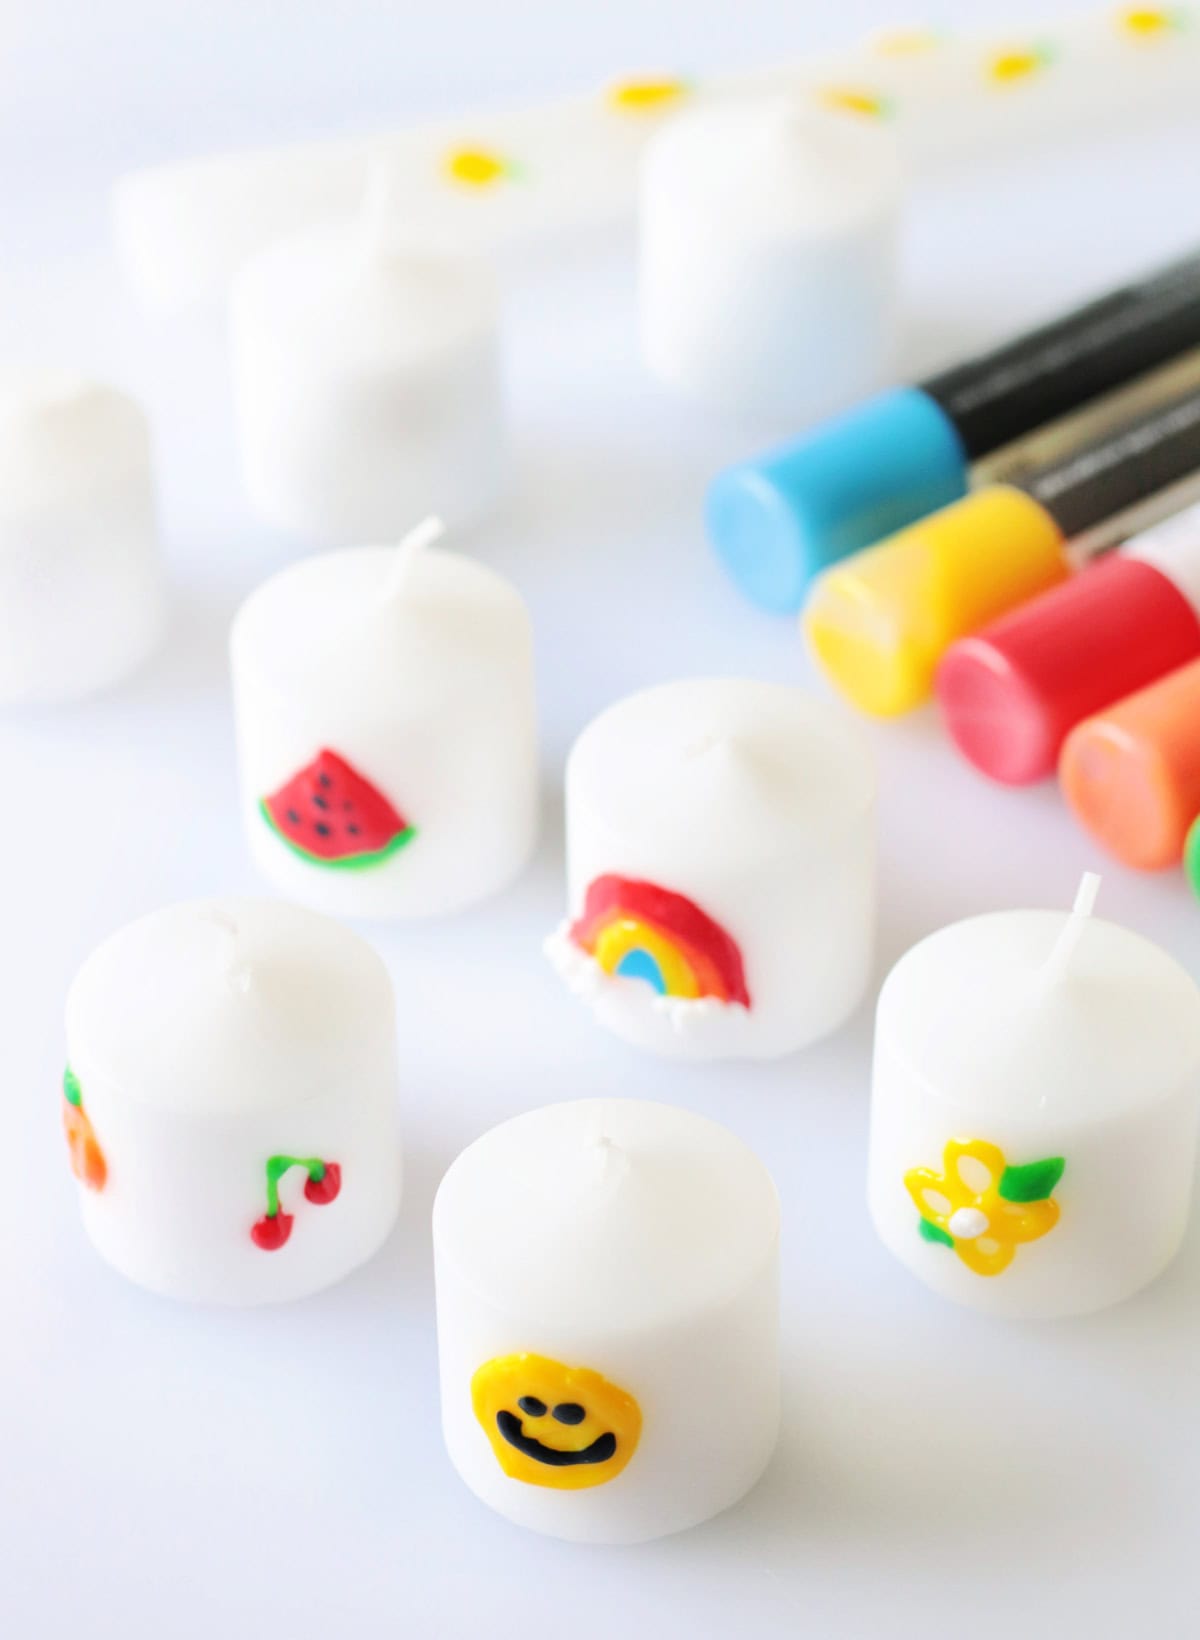
- Best candles to paint. You can use any type of smooth candle. For groups, I like using candles that stand on their own (votives or pillars), but tapers are fun to decorate as well, as long as you have candle holders to hold them while they dry. You can decorate both white and colored candles.
- Adding details: Toothpicks or small paintbrushes might be helpful for adding specific details or for spreading a thin layer of paint to fill in larger designs. If using paint brushes, I recommend inexpensive ones you don't mind throwing out after use, because if they are not cleaned promptly, the wax will harden on the brushes.
- Drying time. Less is more when it comes to the paint layers. Aim for thin layers, then build on top of them for clean lines. The thicker the design, the longer it will take to dry. The candle designs can take anywhere from 1 to 3 hours to dry. If making in a group, have a designated table set up to place candles to dry.
Supplies
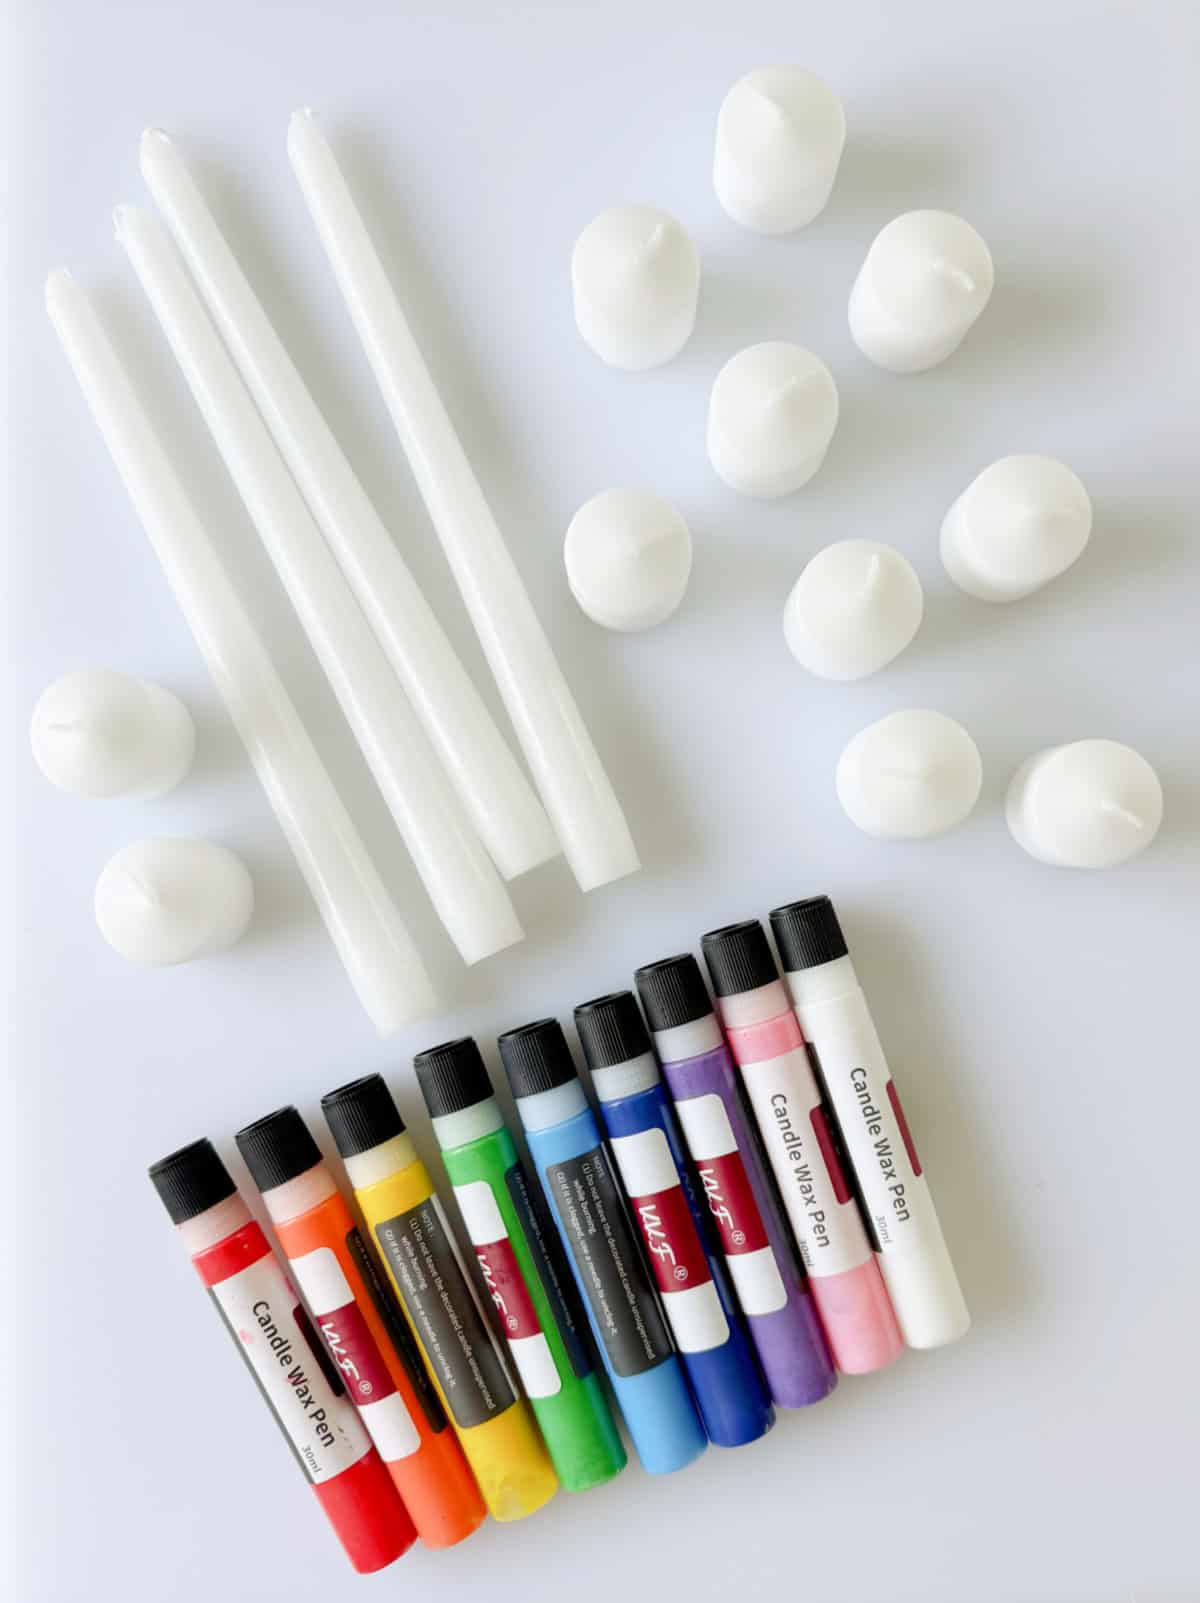
- Candles: You can use any type of smooth candle. For groups, I like using candles that stand on their own (votives or pillars), but tapers are fun to decorate as well, as long as you have candle holders to hold them while they dry. You can decorate both white and colored candles.
- Candle wax pens: I have had this set of wax pens for two years, and they still work great, and the wax has not dried out.
See the how-to card at the end of the post for full information on supplies and quantities.
How To Decorate Candles With Wax Candle Pens
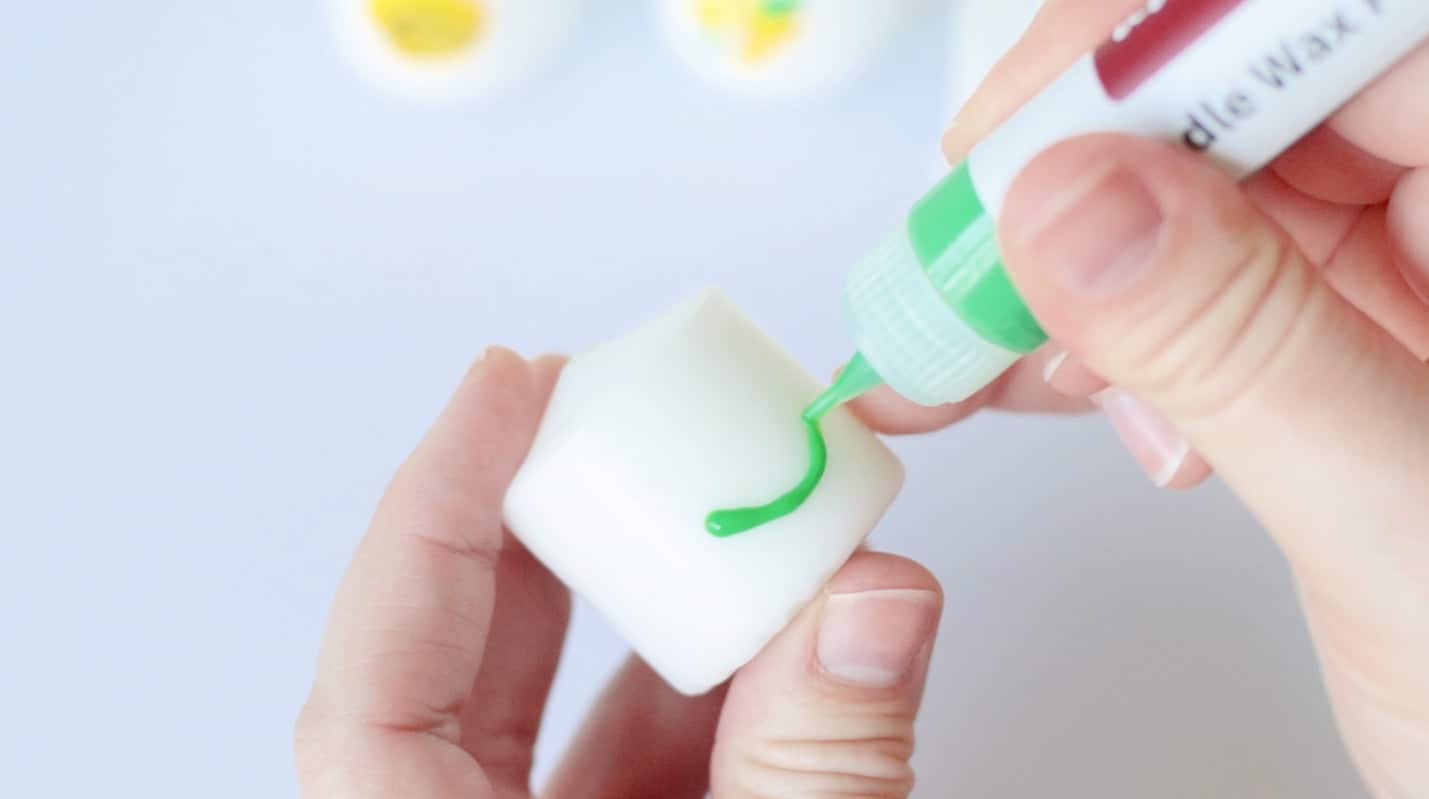
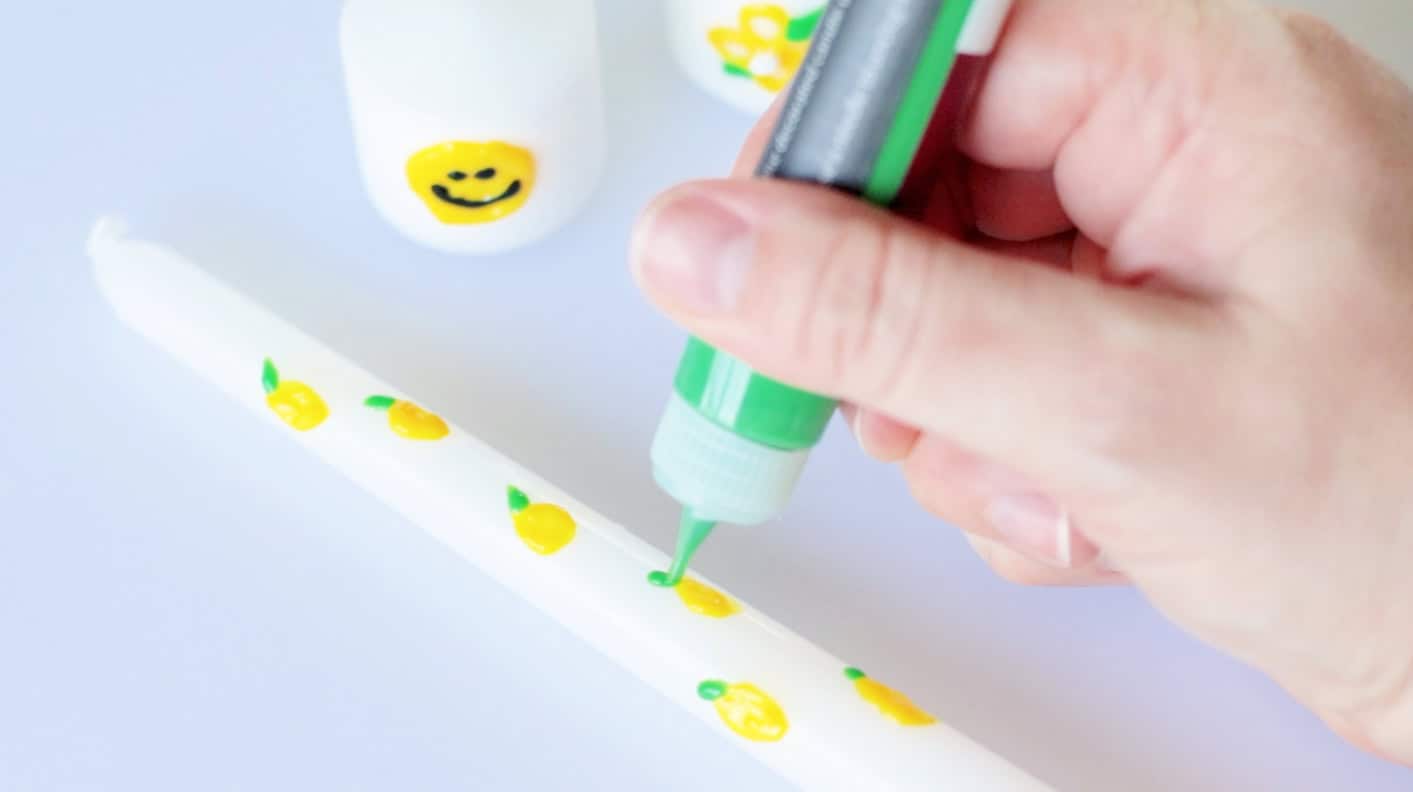
Step 1: Gently squeeze the candle pen to dispense wax onto the candle, as you would with puffy fabric paint.
Tip: Less is more. Use thin lines and fill in larger areas by spreading the paint with the pen tip.
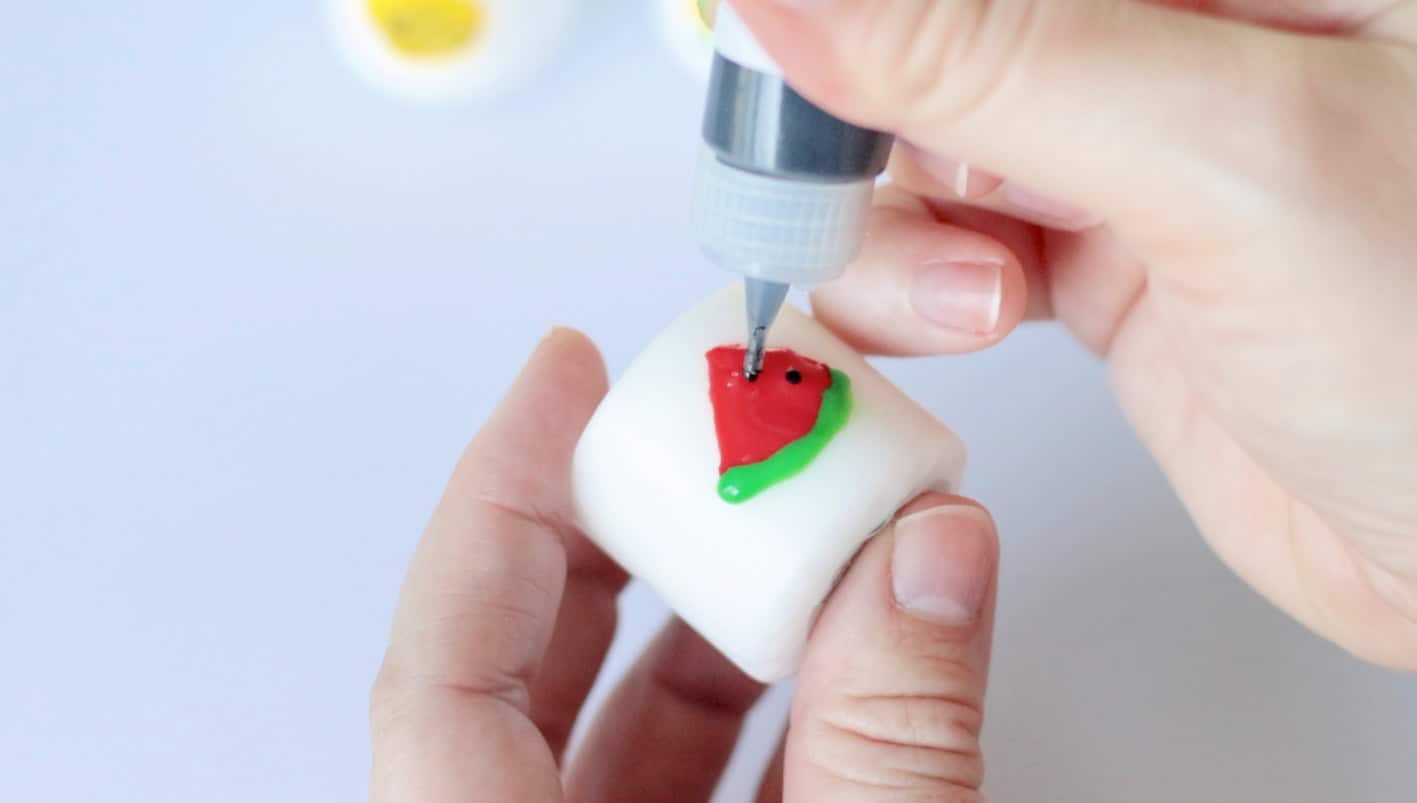
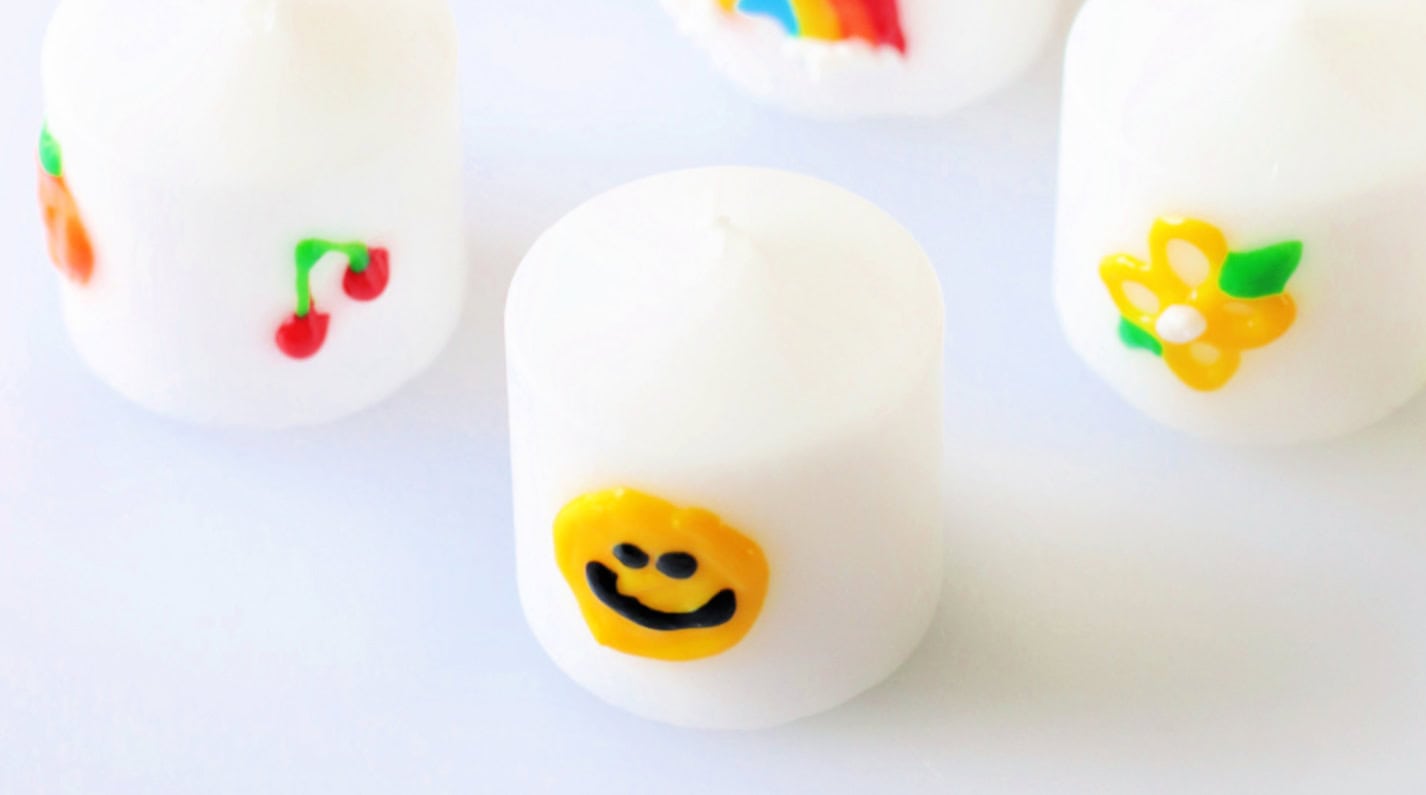
Step 2: If adding a second layer of detail, wait a little while to allow the first layer to set up slightly to avoid colors running together.
Step 3: If decorating tapers, place the candle in a candle holder to dry.
Step 4: Allow candles to dry 1-3 hours. The thicker the paint, the longer it will take to dry. Thin layers are ideal.
Disclaimer: Always use wax candle pens as directed and keep designs away from the wick to prevent uneven burning. Never leave a burning candle unattended.
Wax Candle Pen FAQs
Decorating candles with wax candle pens is as simple as drawing directly onto the candle’s surface. Let the wax from the pen dry completely before handling to prevent smudging.
Yes, wax candle pens are designed to be used on candles and are safe to burn when used properly. Always follow the manufacturer’s instructions and avoid applying wax too close to the wick.
Yes, it's easy to wipe the wet wax away with your finger if you make a mistake. After the wax begins to crust, small mistakes can be gently scraped off with a toothpick or fingernail before the wax fully hardens.
If using new, clean candles, no prep is necessary. If using candles that have been stored for a while, wipe them clean with a dry cloth to remove dust or oils. A clean surface allows the wax pen to adhere better and creates smoother lines.
For this particular brand of wax pen, allow candles to dry 1-3 hours. The thicker the paint, the longer it will take to dry.
Only use pens specifically labeled "candle-safe" or "wax pens". Do not use general acrylic paint or metallic pens, which can be toxic or flammable when burned.
More Easy Crafts To Make


MADE THIS CRAFT AND LOVED IT? 💛 Please leave a STAR rating and COMMENT below! Post it to Facebook or Pinterest to easily share with friends!

How To Decorate Candles With Wax Candle Pens
Equipment
- N/A
Materials
Instructions
- Gently squeeze the candle pen to dispense wax onto the candle, as you would with puffy fabric paint. Tip: Less is more. Use thin lines and fill in larger areas by spreading the paint with the pen tip.
- If adding a second layer of detail, wait a little while to allow the first layer to set up slightly to avoid colors running together.
- If decorating tapers, place the candle in a candle holder to dry.
- Allow candles to dry 1-3 hours. The thicker the paint, the longer it will take to dry. Thin layers are ideal.


Leave a Reply