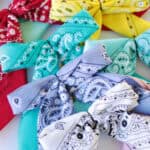
Bandana hair bows are the perfect DIY accessory! They’re quick to make, require no sewing, and can be customized with any color or pattern.
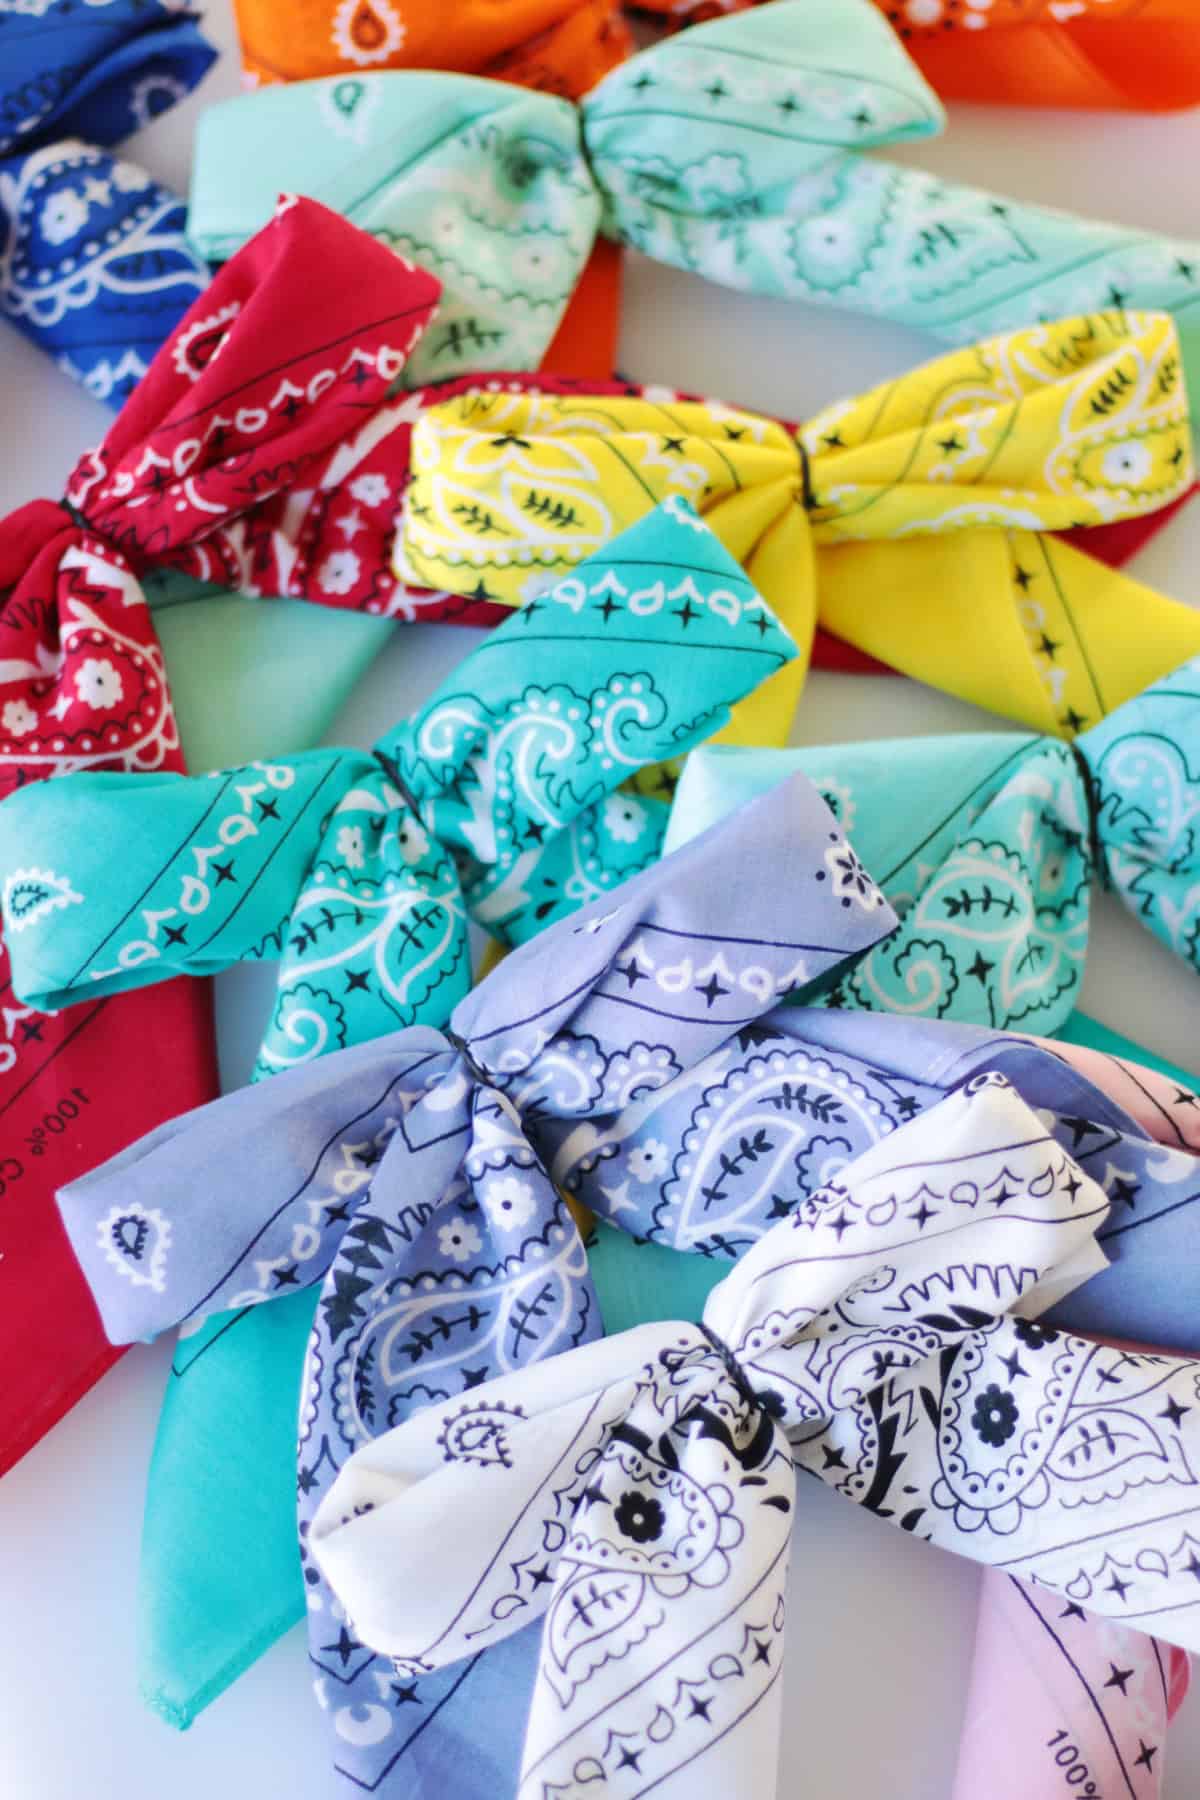
Bandana bows couldn't be easier to make! There are multiple ways to fold them into a bow shape. This is how I learned how to make them, and they take about a minute to assemble. A darling no-sew project!
Why I Like This Craft
- No sewing required. Perfect for beginners. Just fold up the bandana, tie it with a rubber band for a 60-second craft.
- Budget-friendly. Bandanas are inexpensive, generally under $ 2 each.
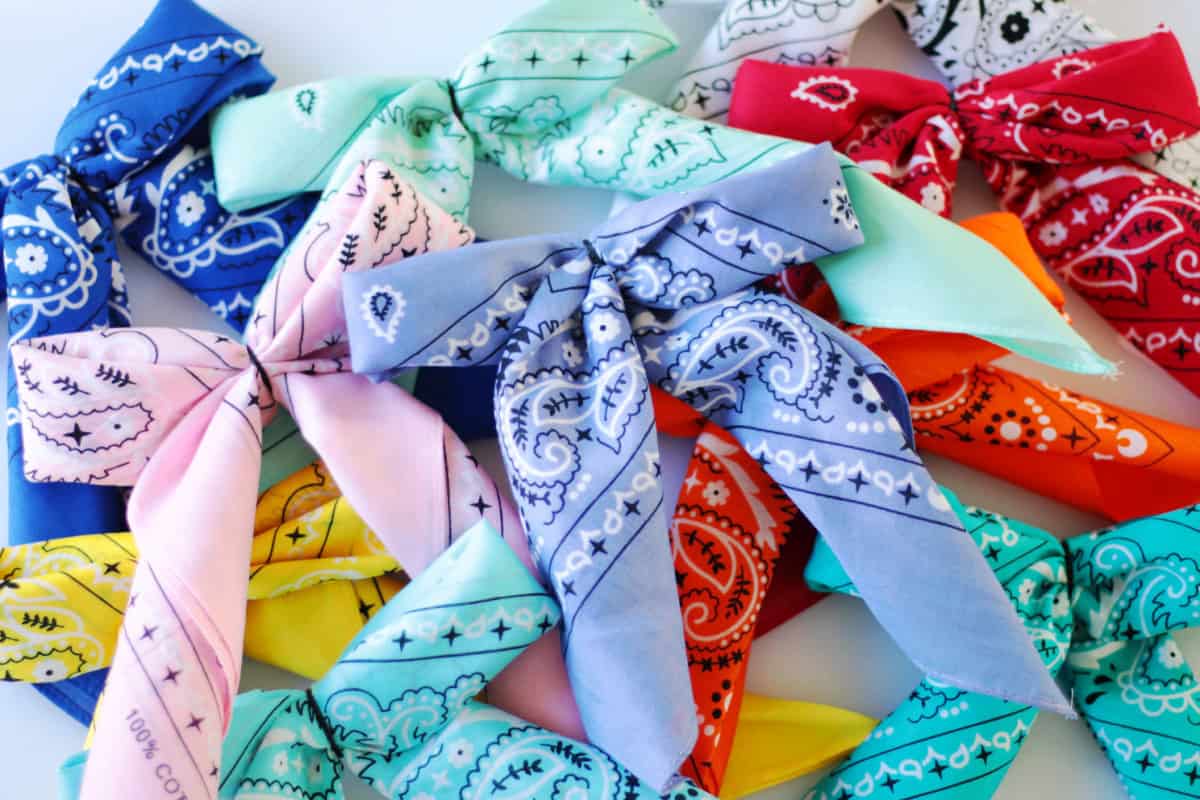
- Customizable. Endless color and pattern options.
Jump to:
Tips and Tricks
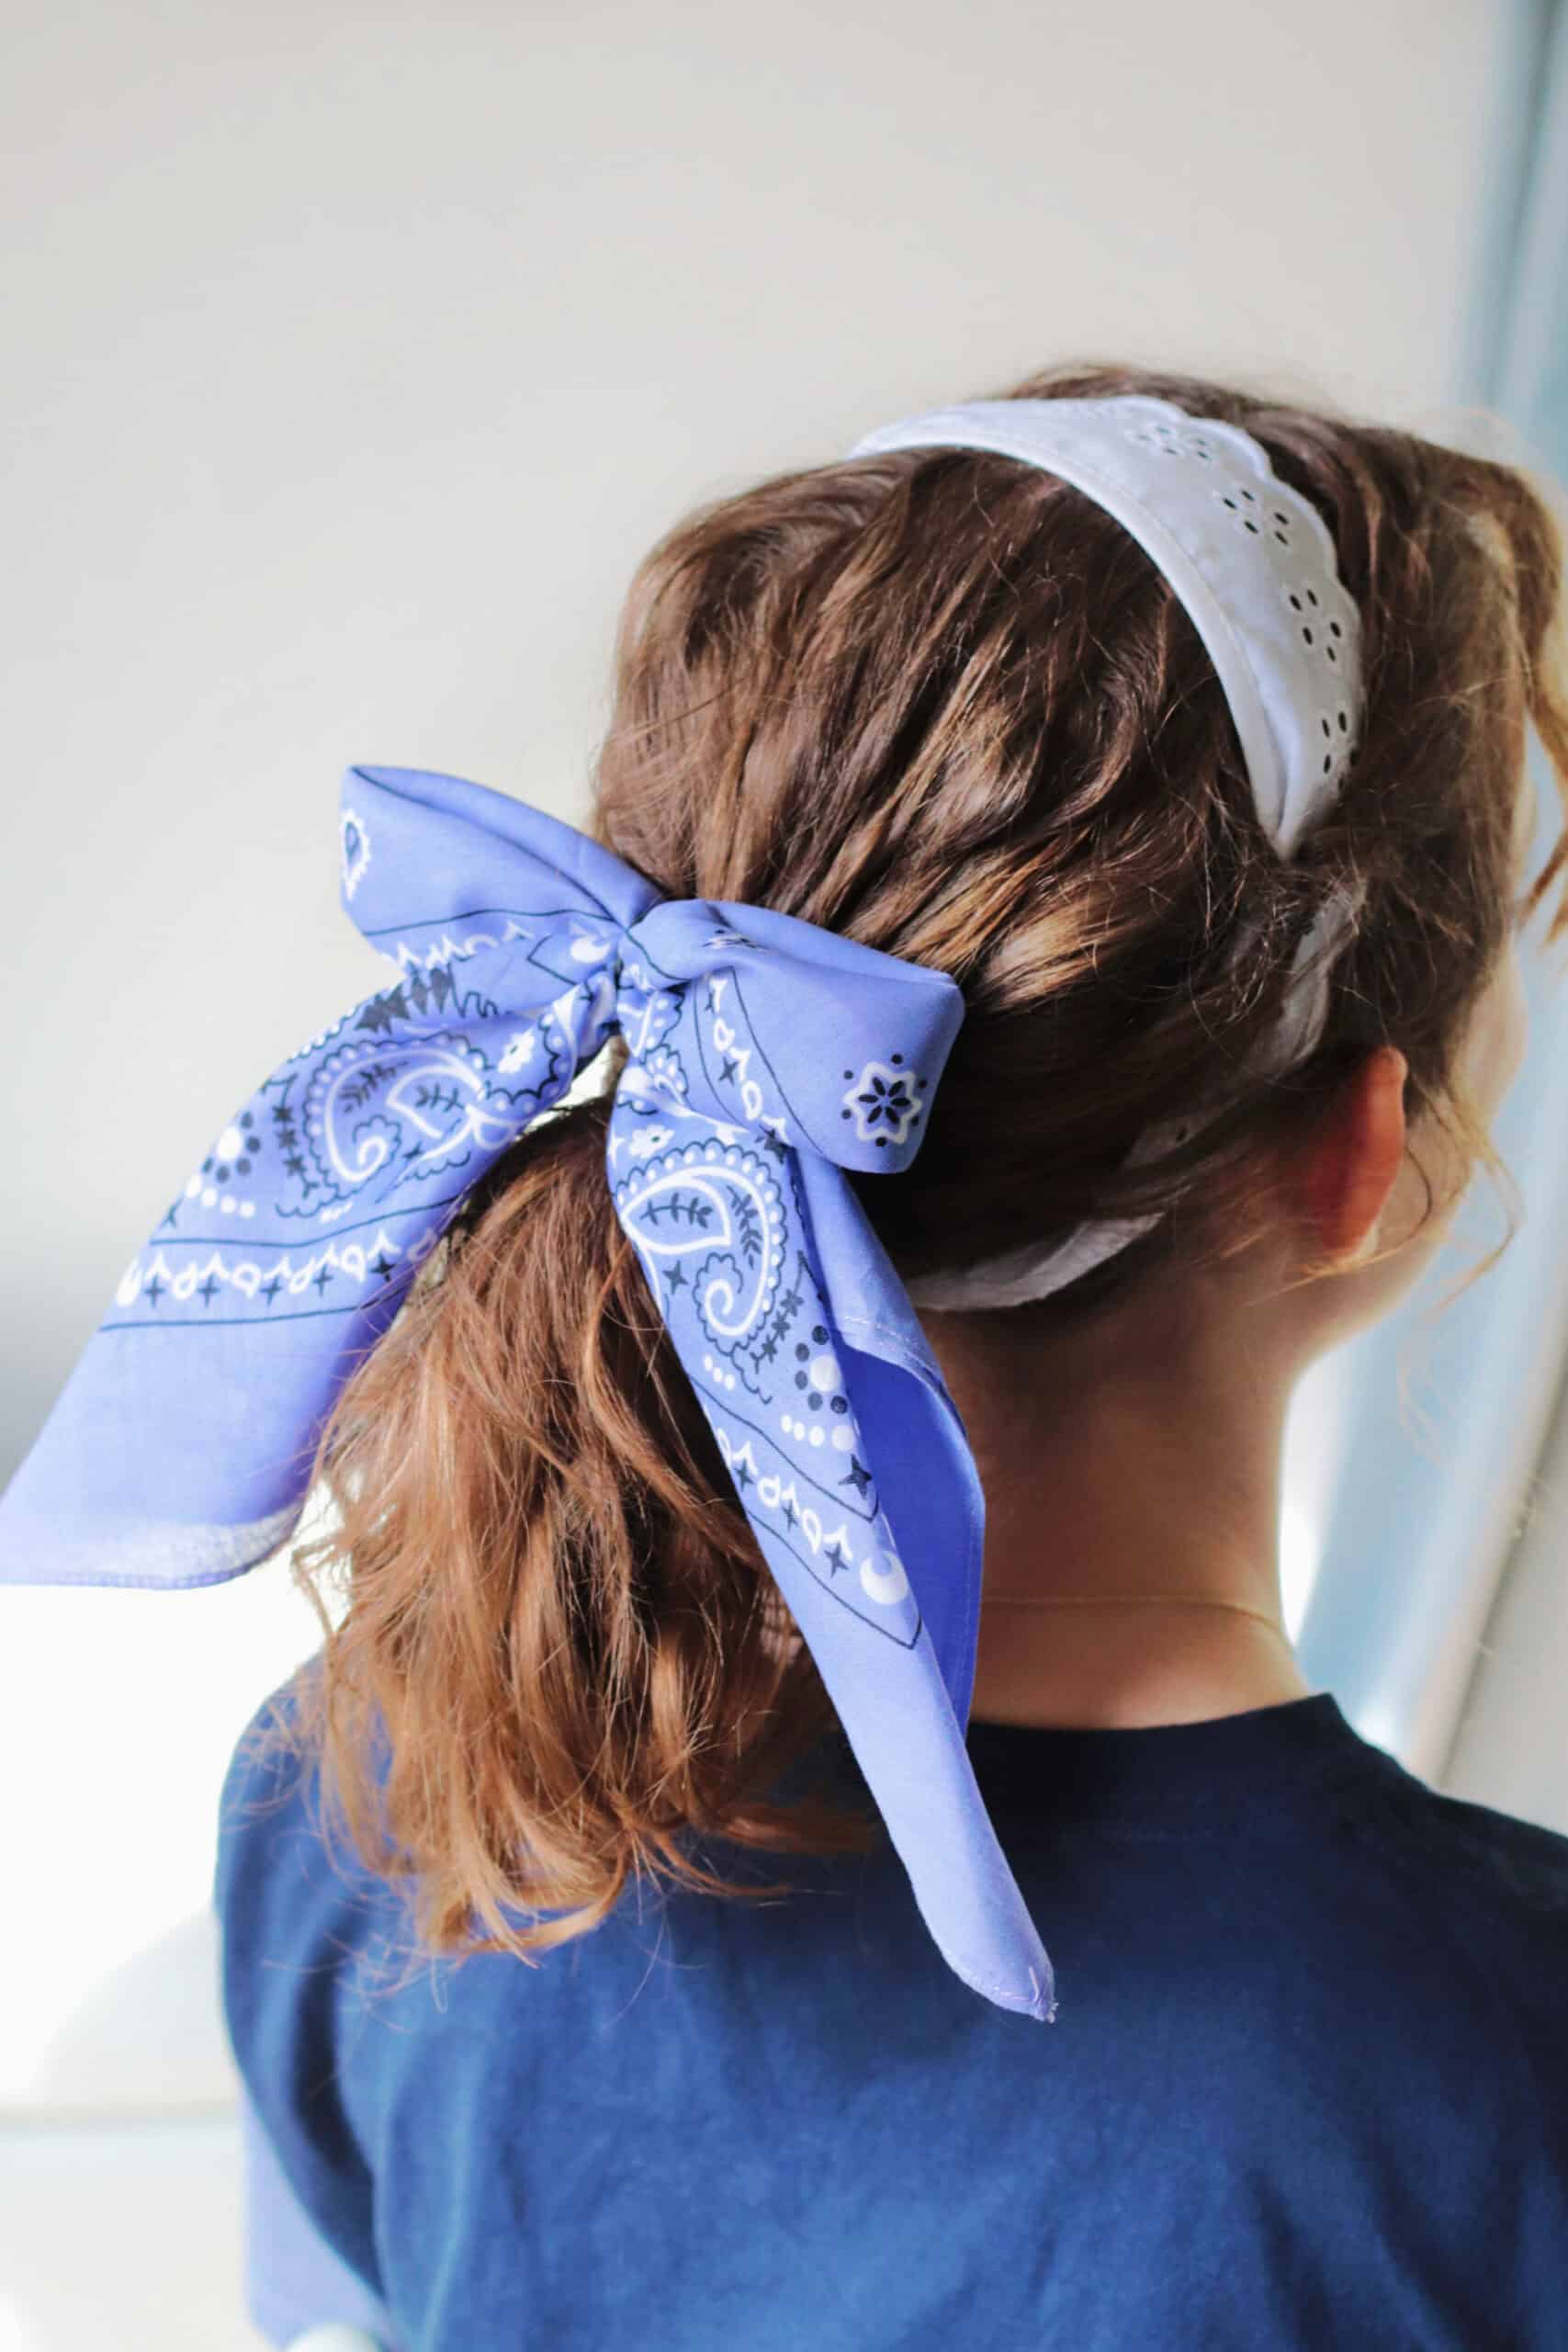
- Multiple ways to style. To use as a hair accessory, slide an alligator clip or bobby pin through the rubber band on the back. To make a pin, glue a pin back onto the bow.
- Adjust shape and thickness. Play around with how big you make the folds for different-sized bows.
- Reusable or permanent option. For a reusable option that allows you to use the bandana for other things later, make the bows as instructed in the tutorial. For a sturdier bow, add a few dabs of hot glue as you pinch the bow into shape.
Supplies
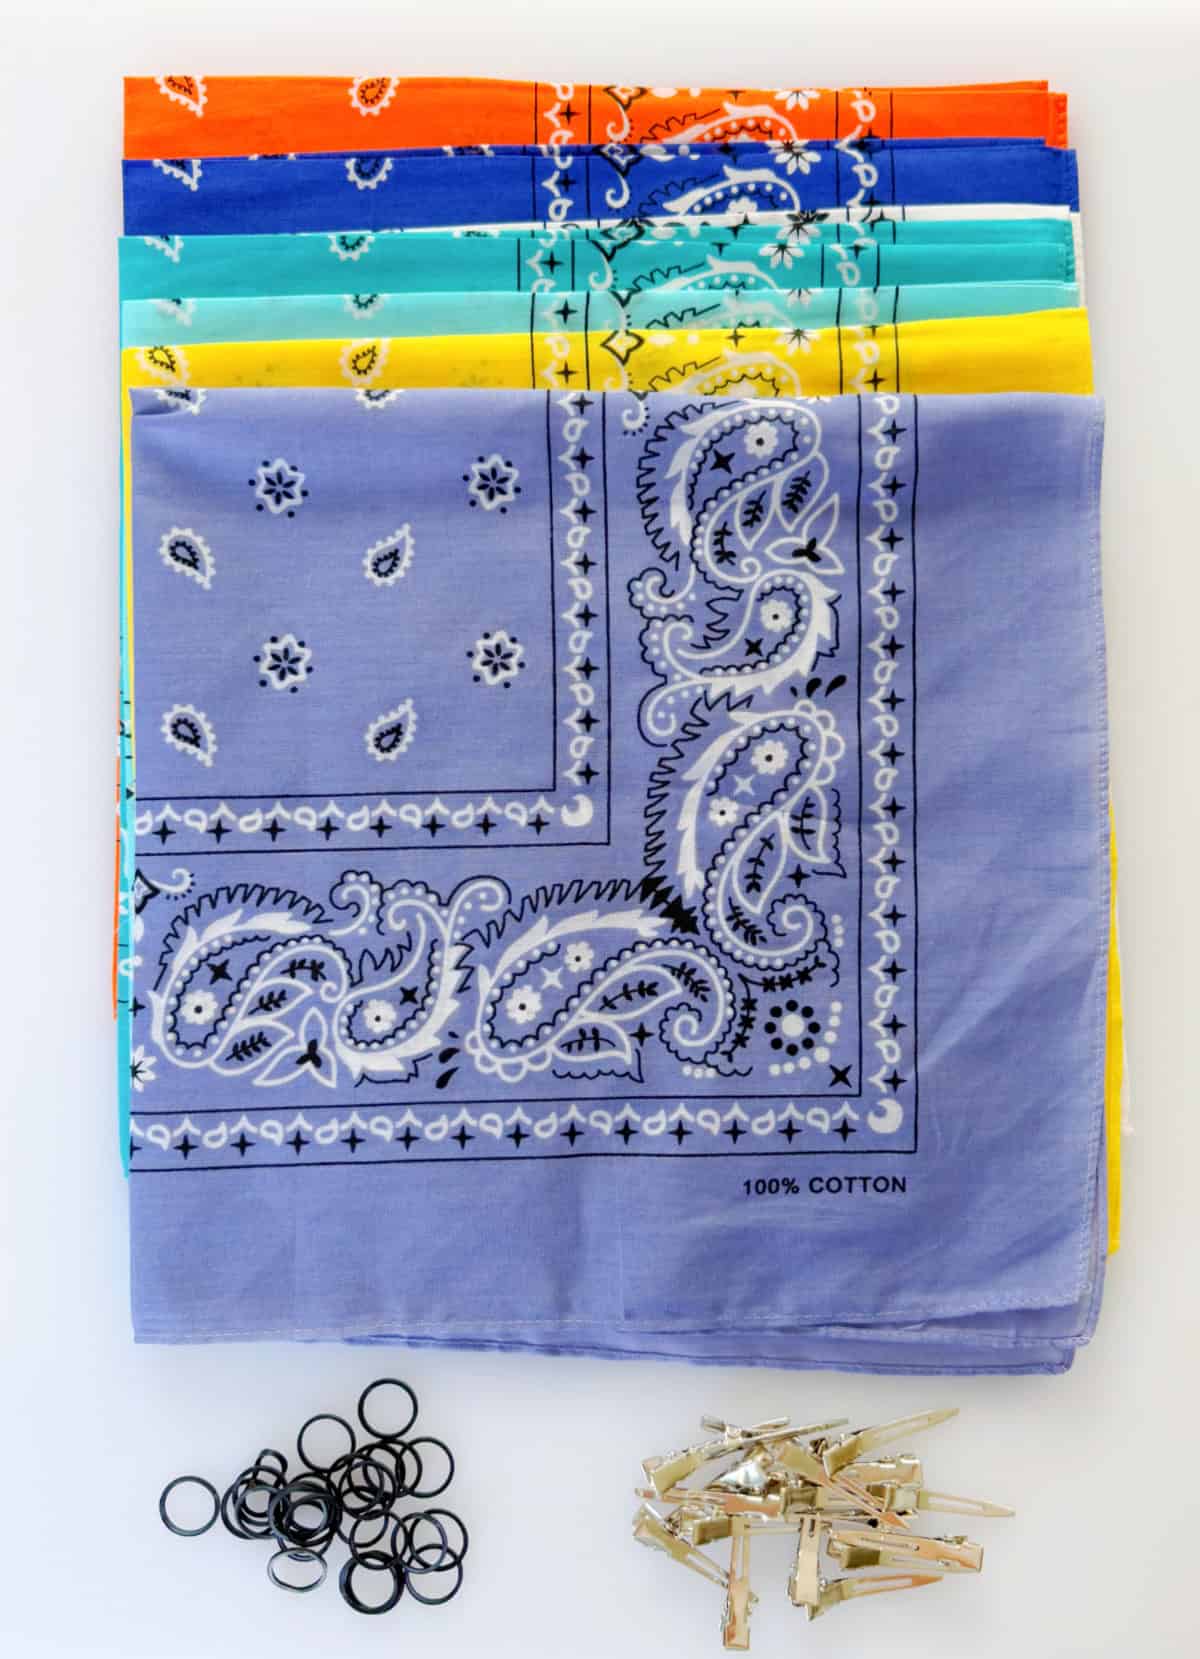
- Bandanas. I love this colorful collection of bandanas that I found on Amazon. You can find bandanas at just about any grocery store or craft store.
- Small hair ties. You can use whatever size hair tie you'd like, but I like how discreet these small black hair ties are.
- Hair clips. Alligator clips work great. These ones are 1.77".
See the how-to card at the end of the post for full information on supplies and quantities.
How To Make Bandana Hair Bows
Tip: Watch my step-by-step video for the best visual.
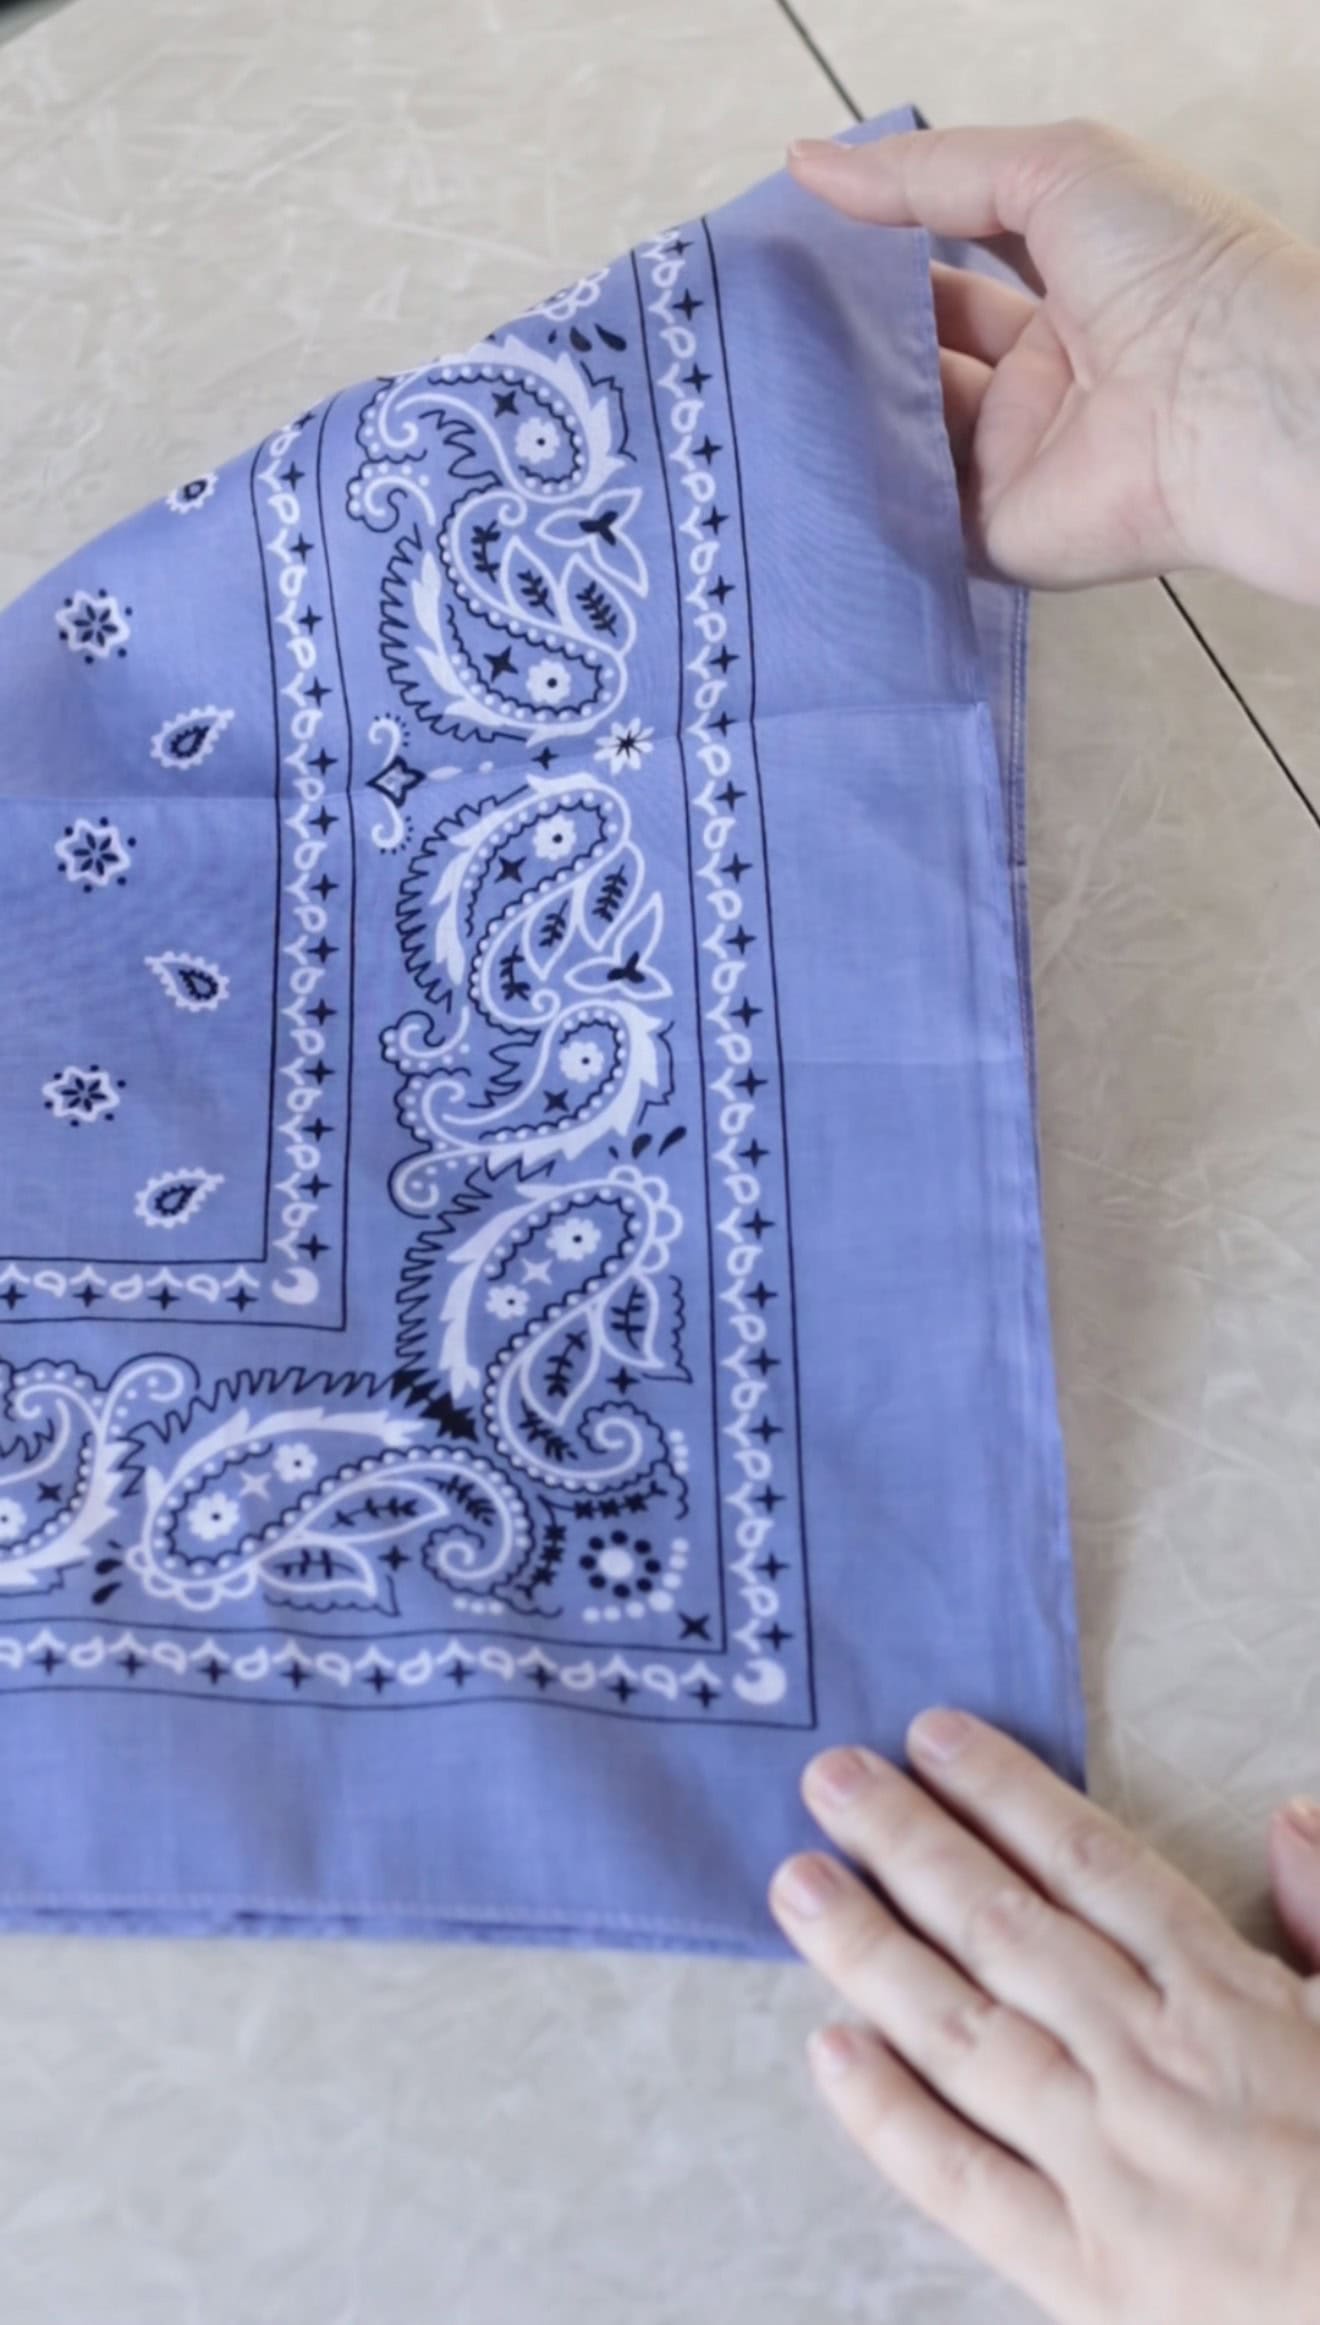
Step 1: Fold the bandana in half, creating a triangle.
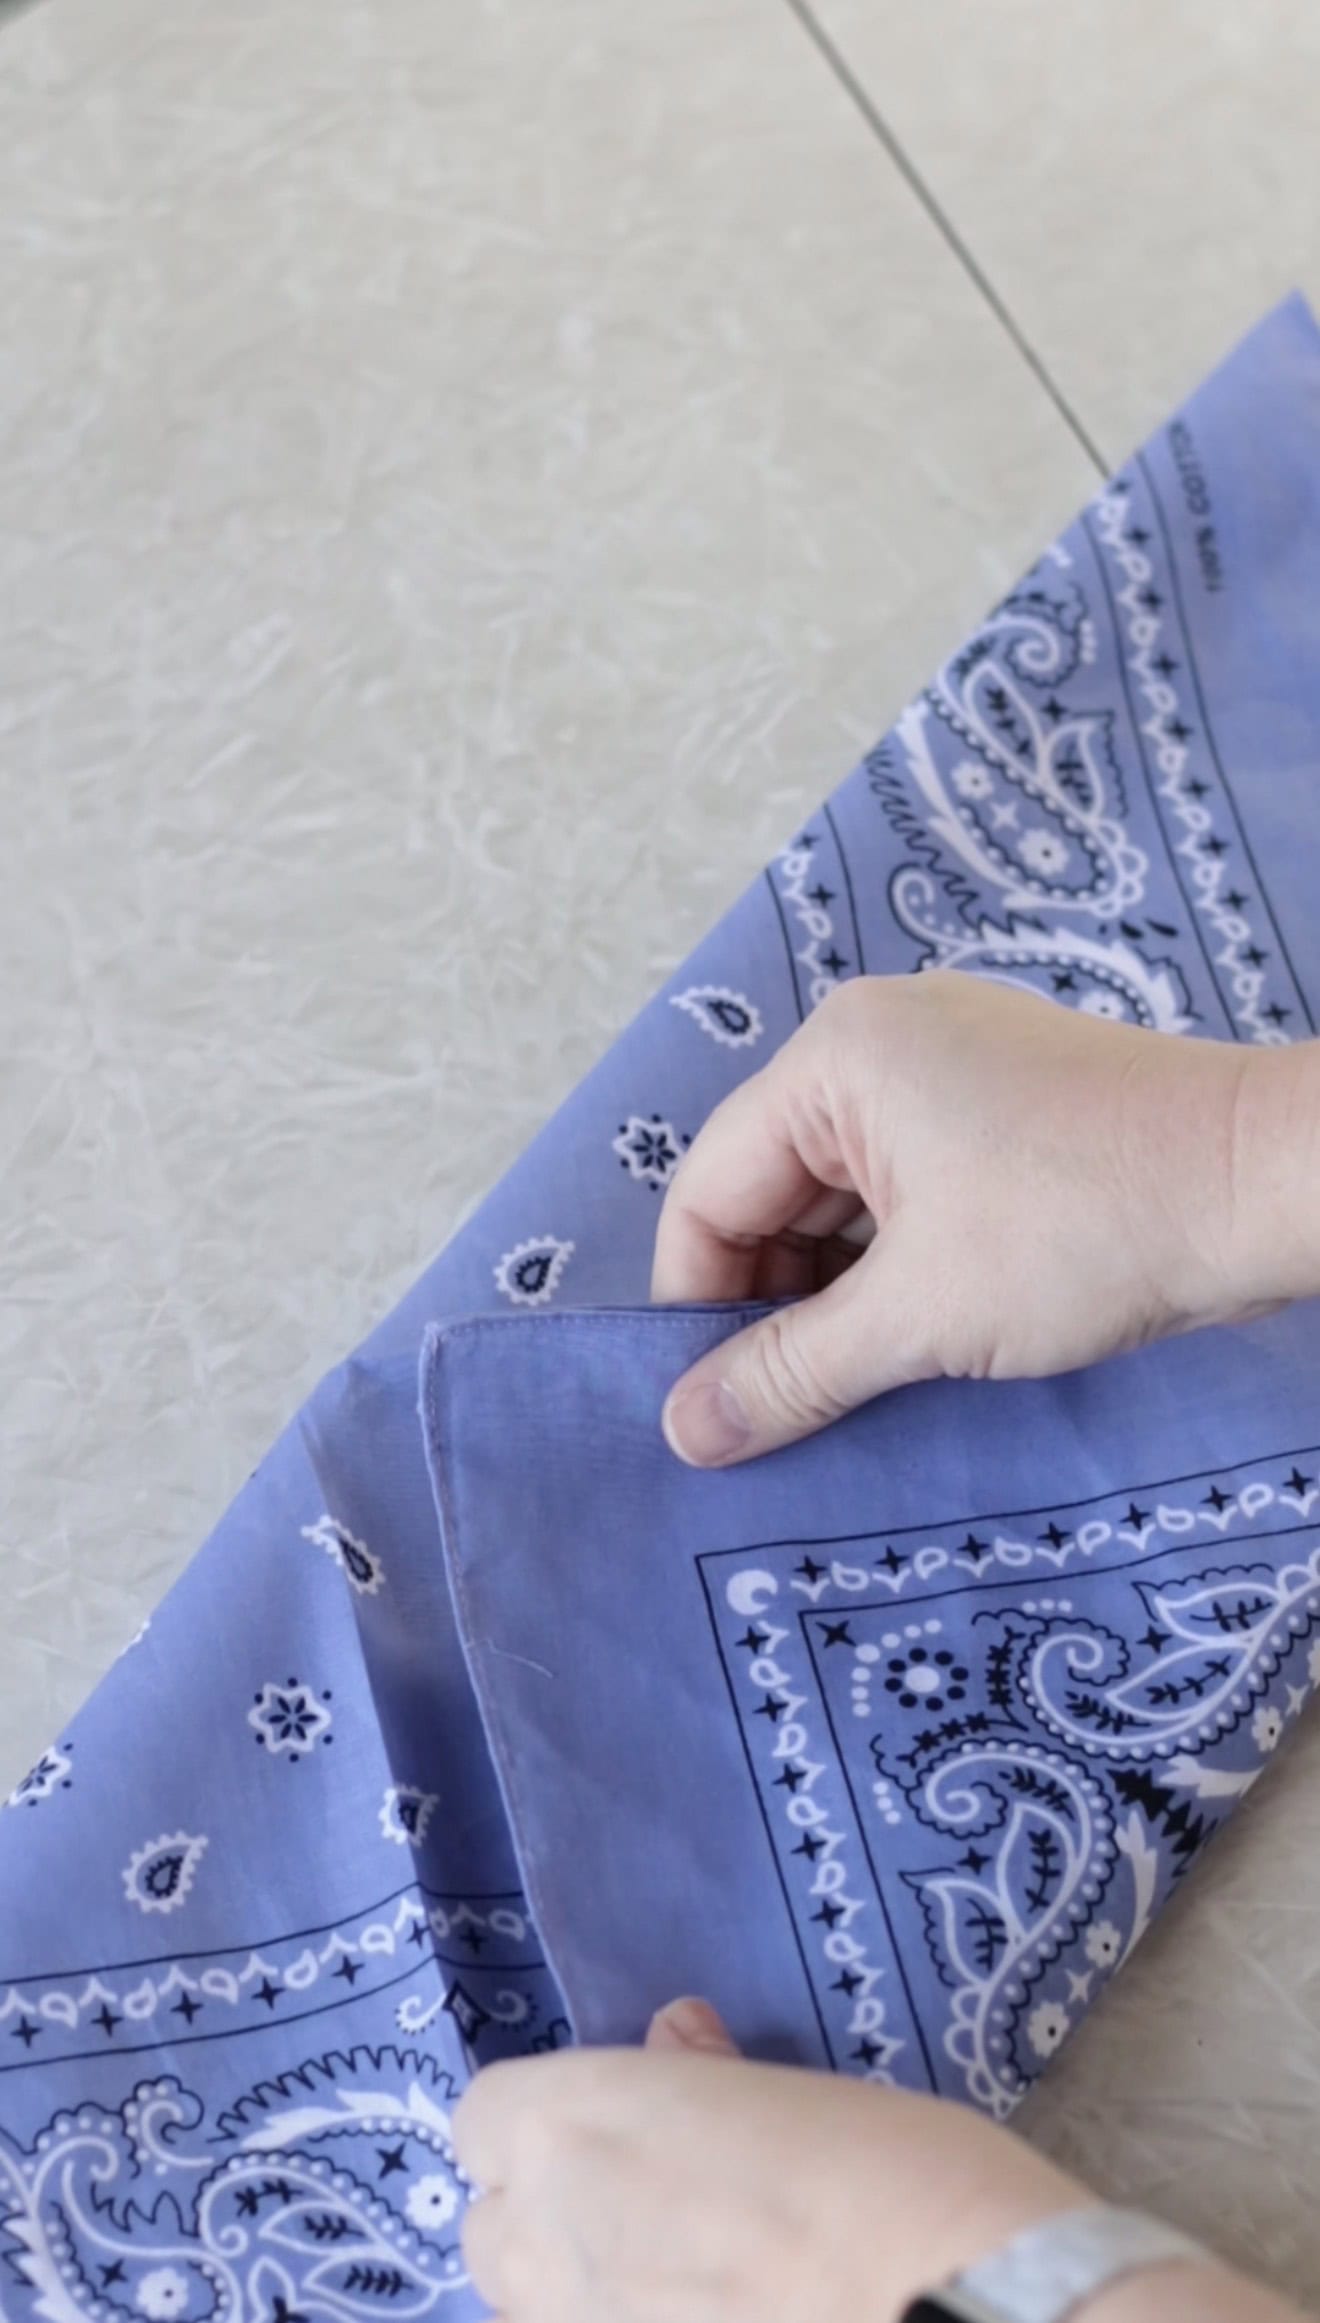
Step 2: Fold once more, bringing the tip of the triangle up, just below the top of the other side.

Step 3: Fold the bandana up, starting at the bottom. The width of the folds is up to you. Mine were a little larger than an inch.
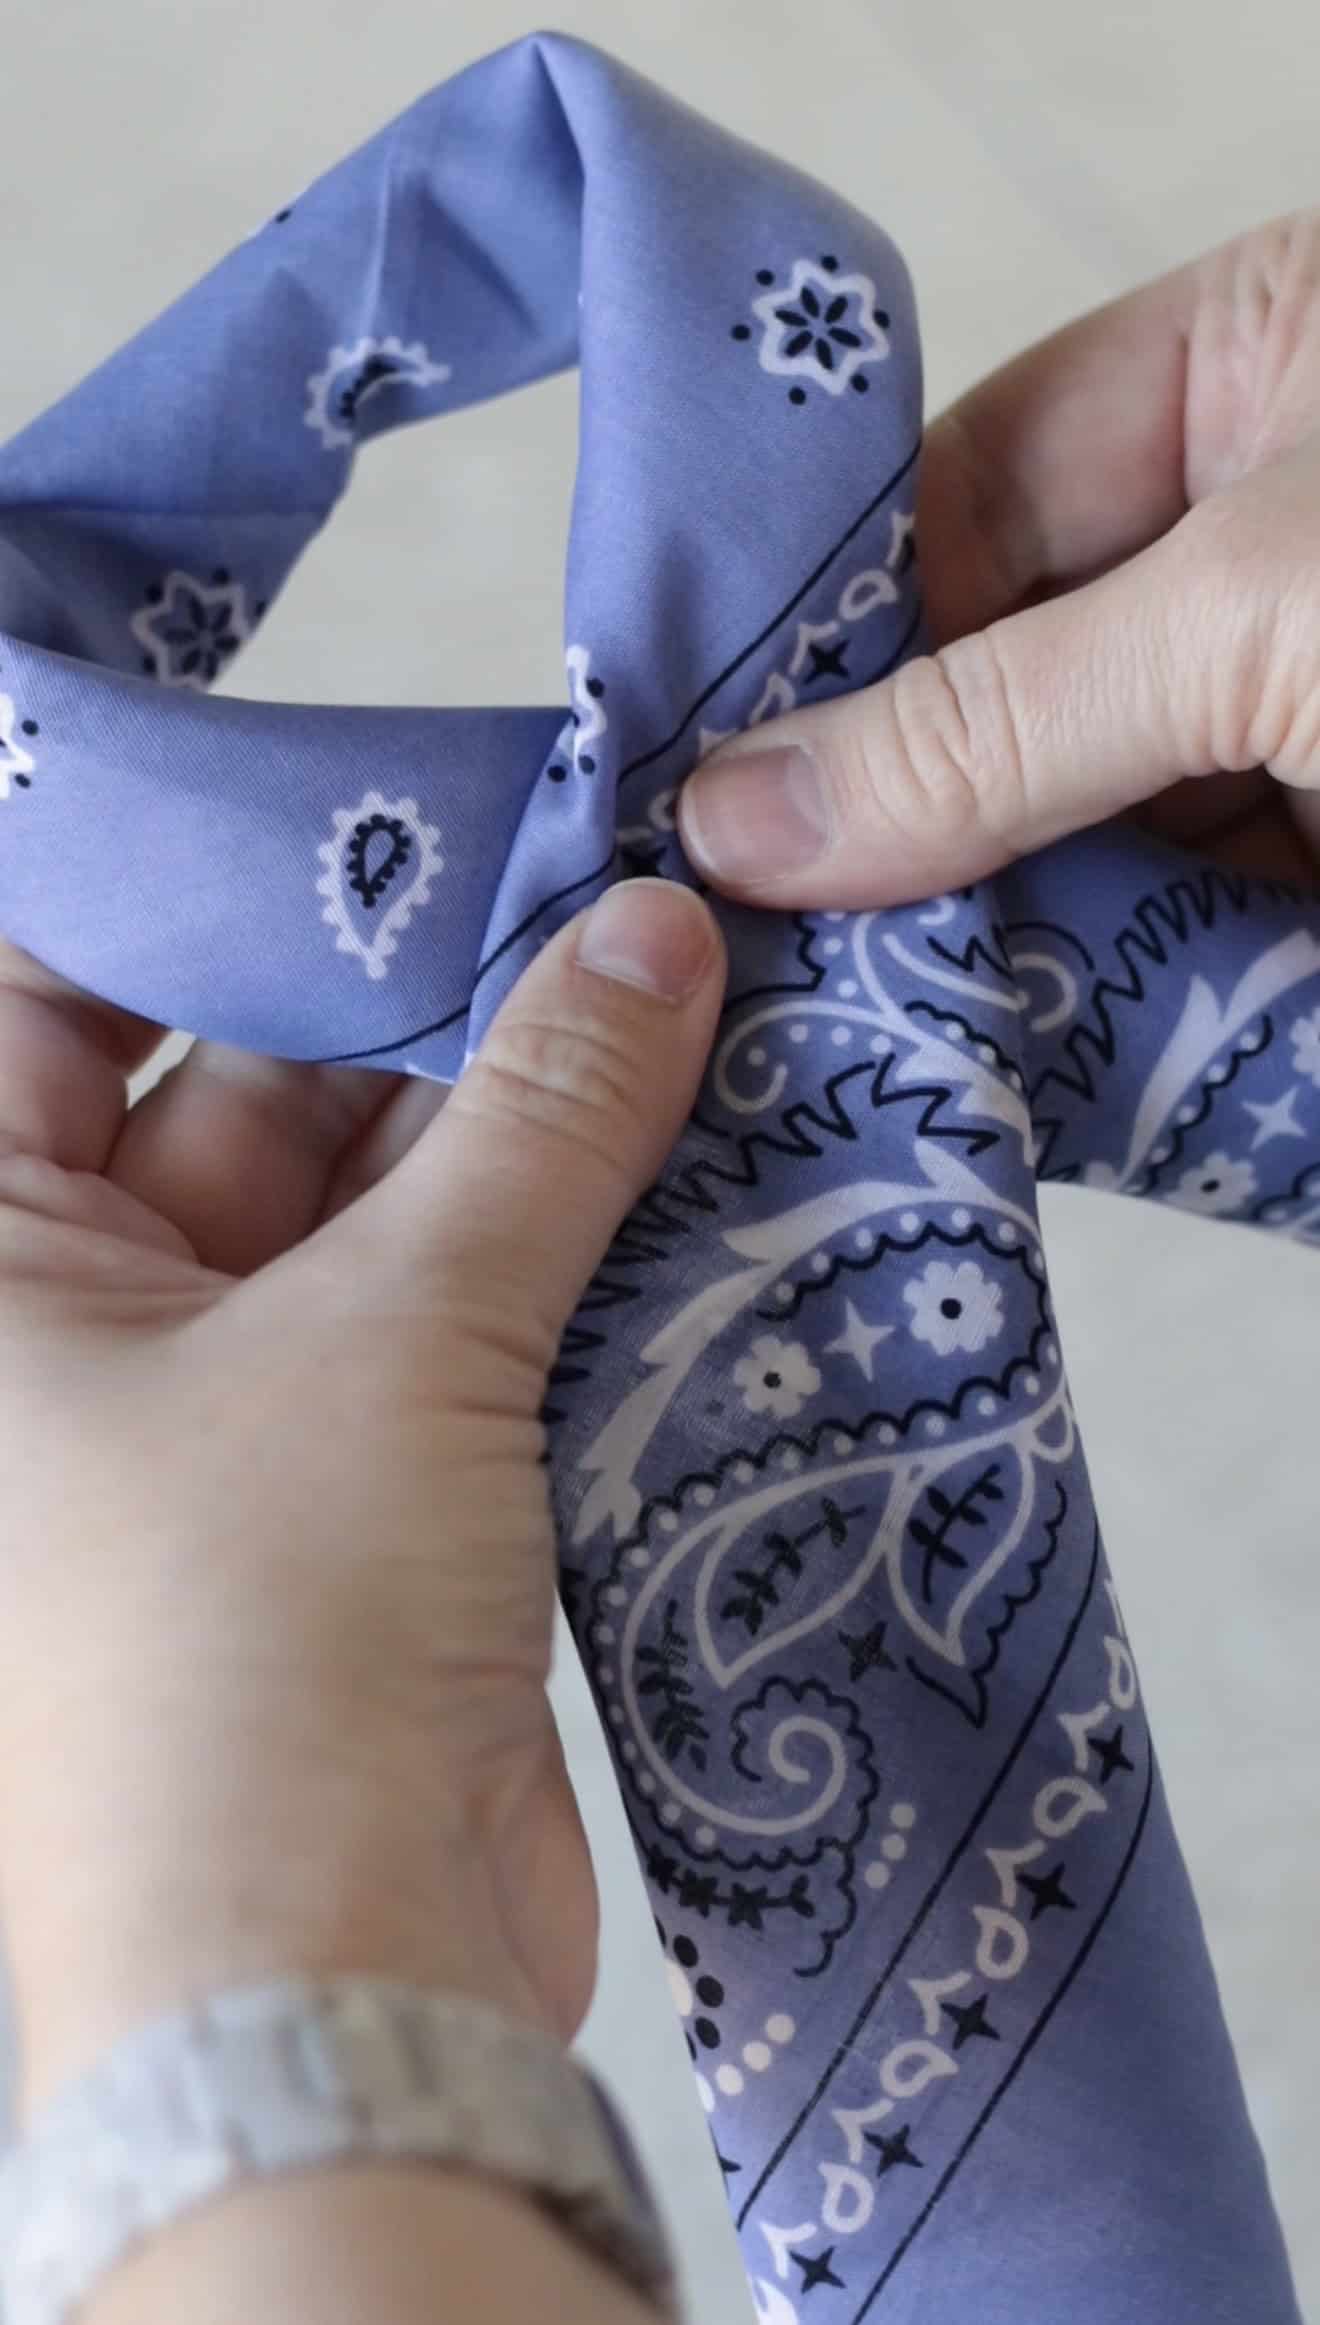
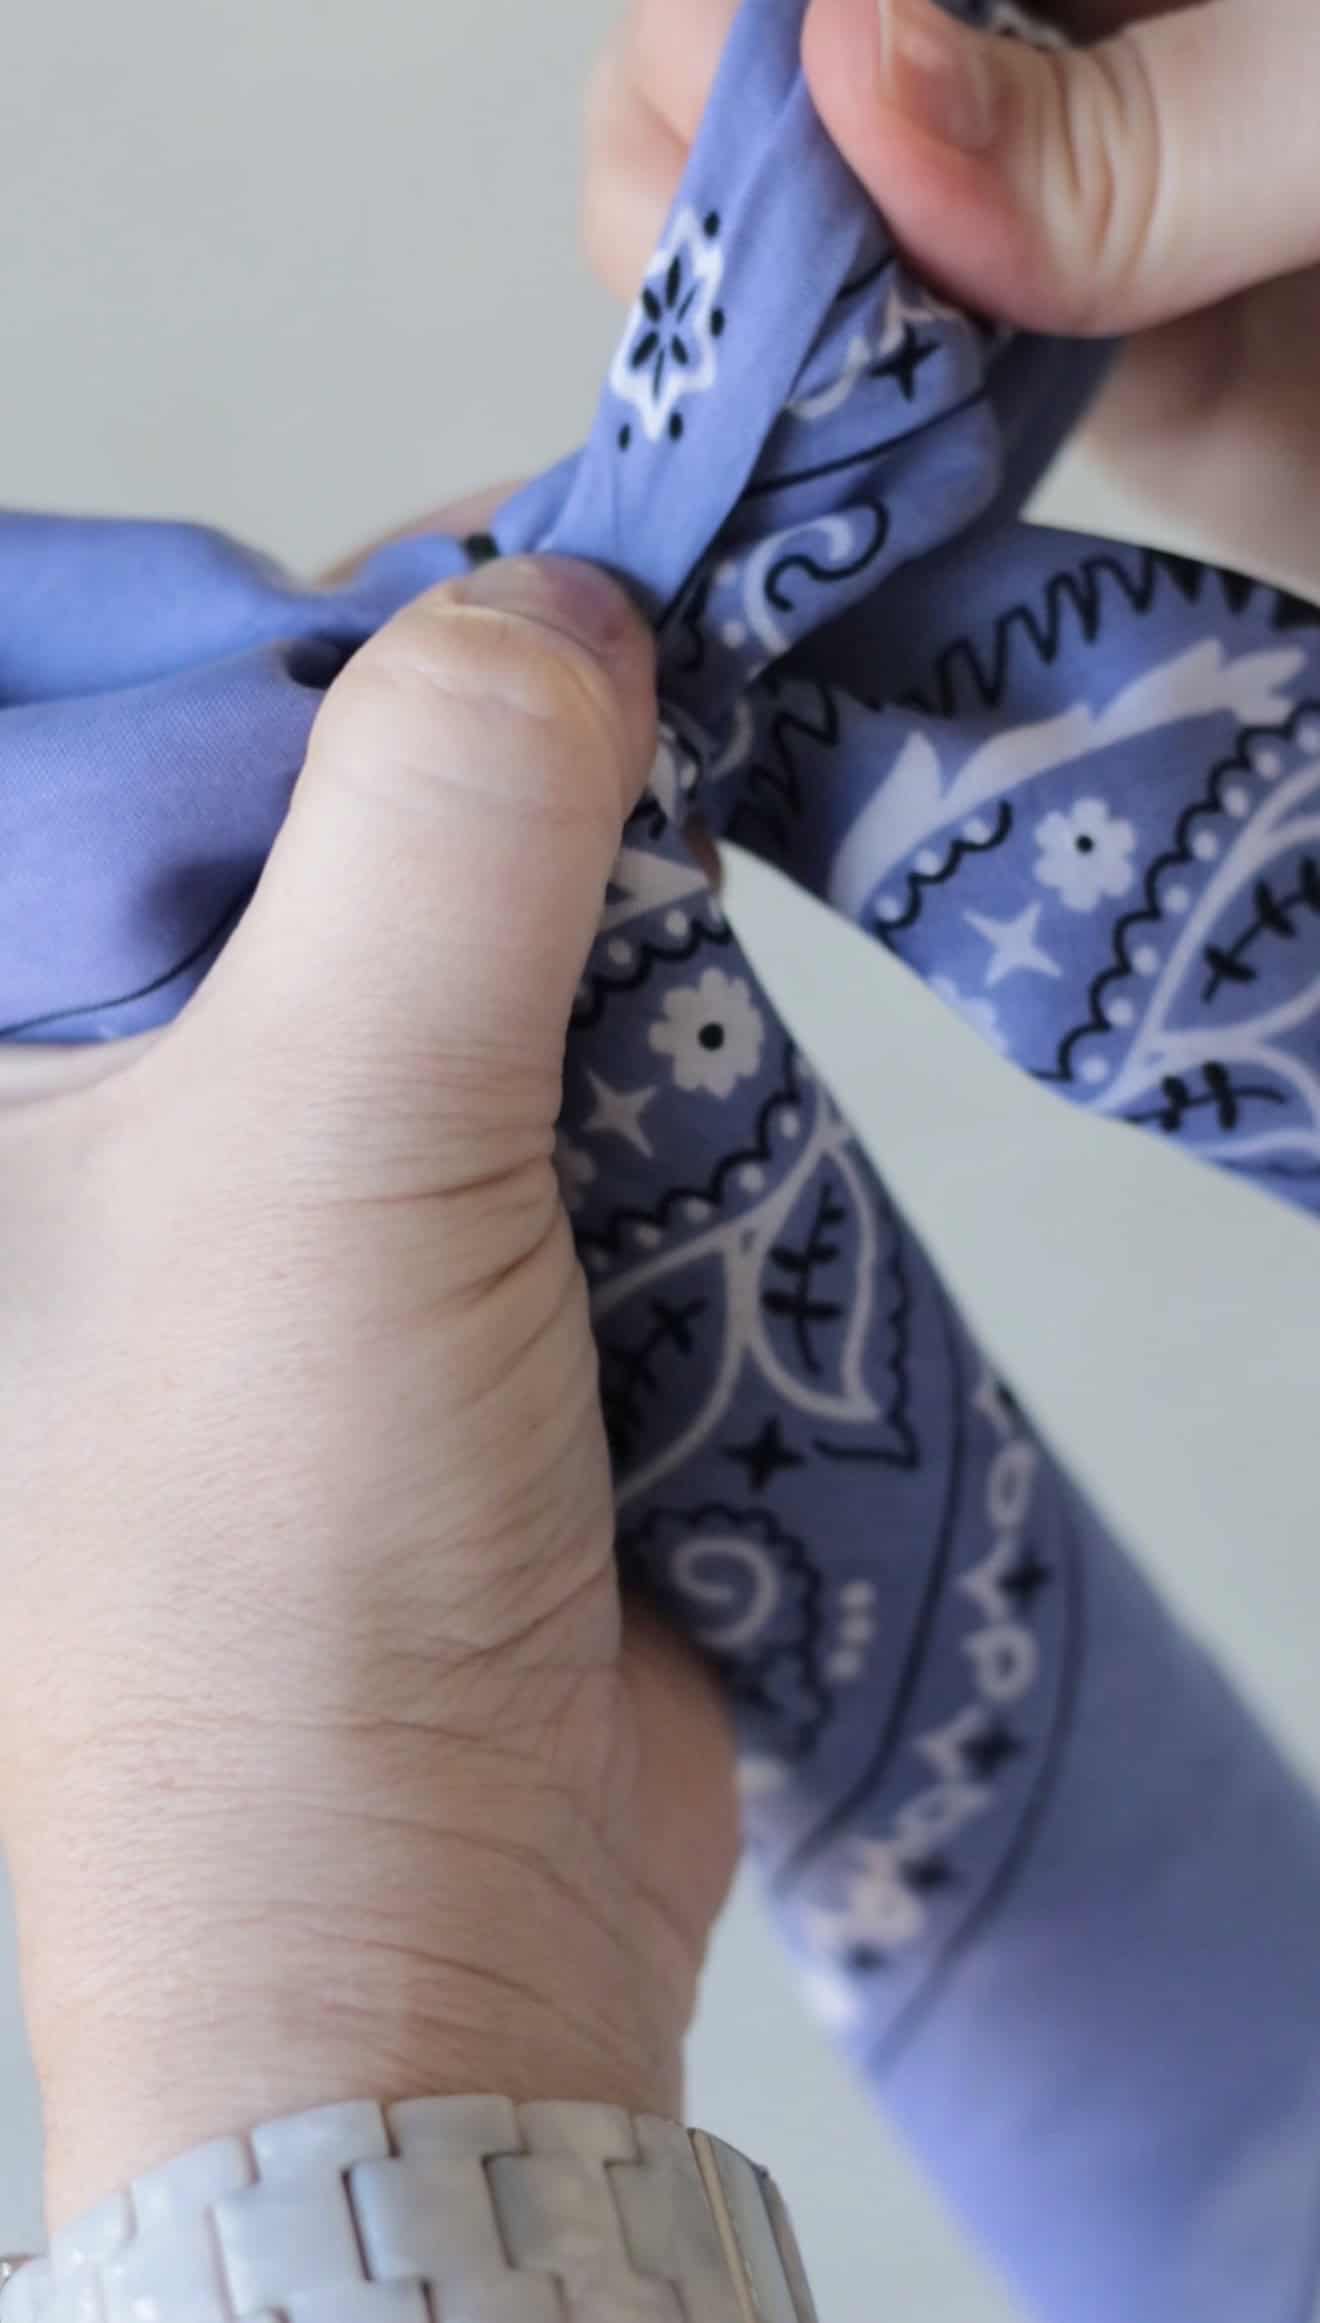
Step 4: Cross the bandana over as shown.
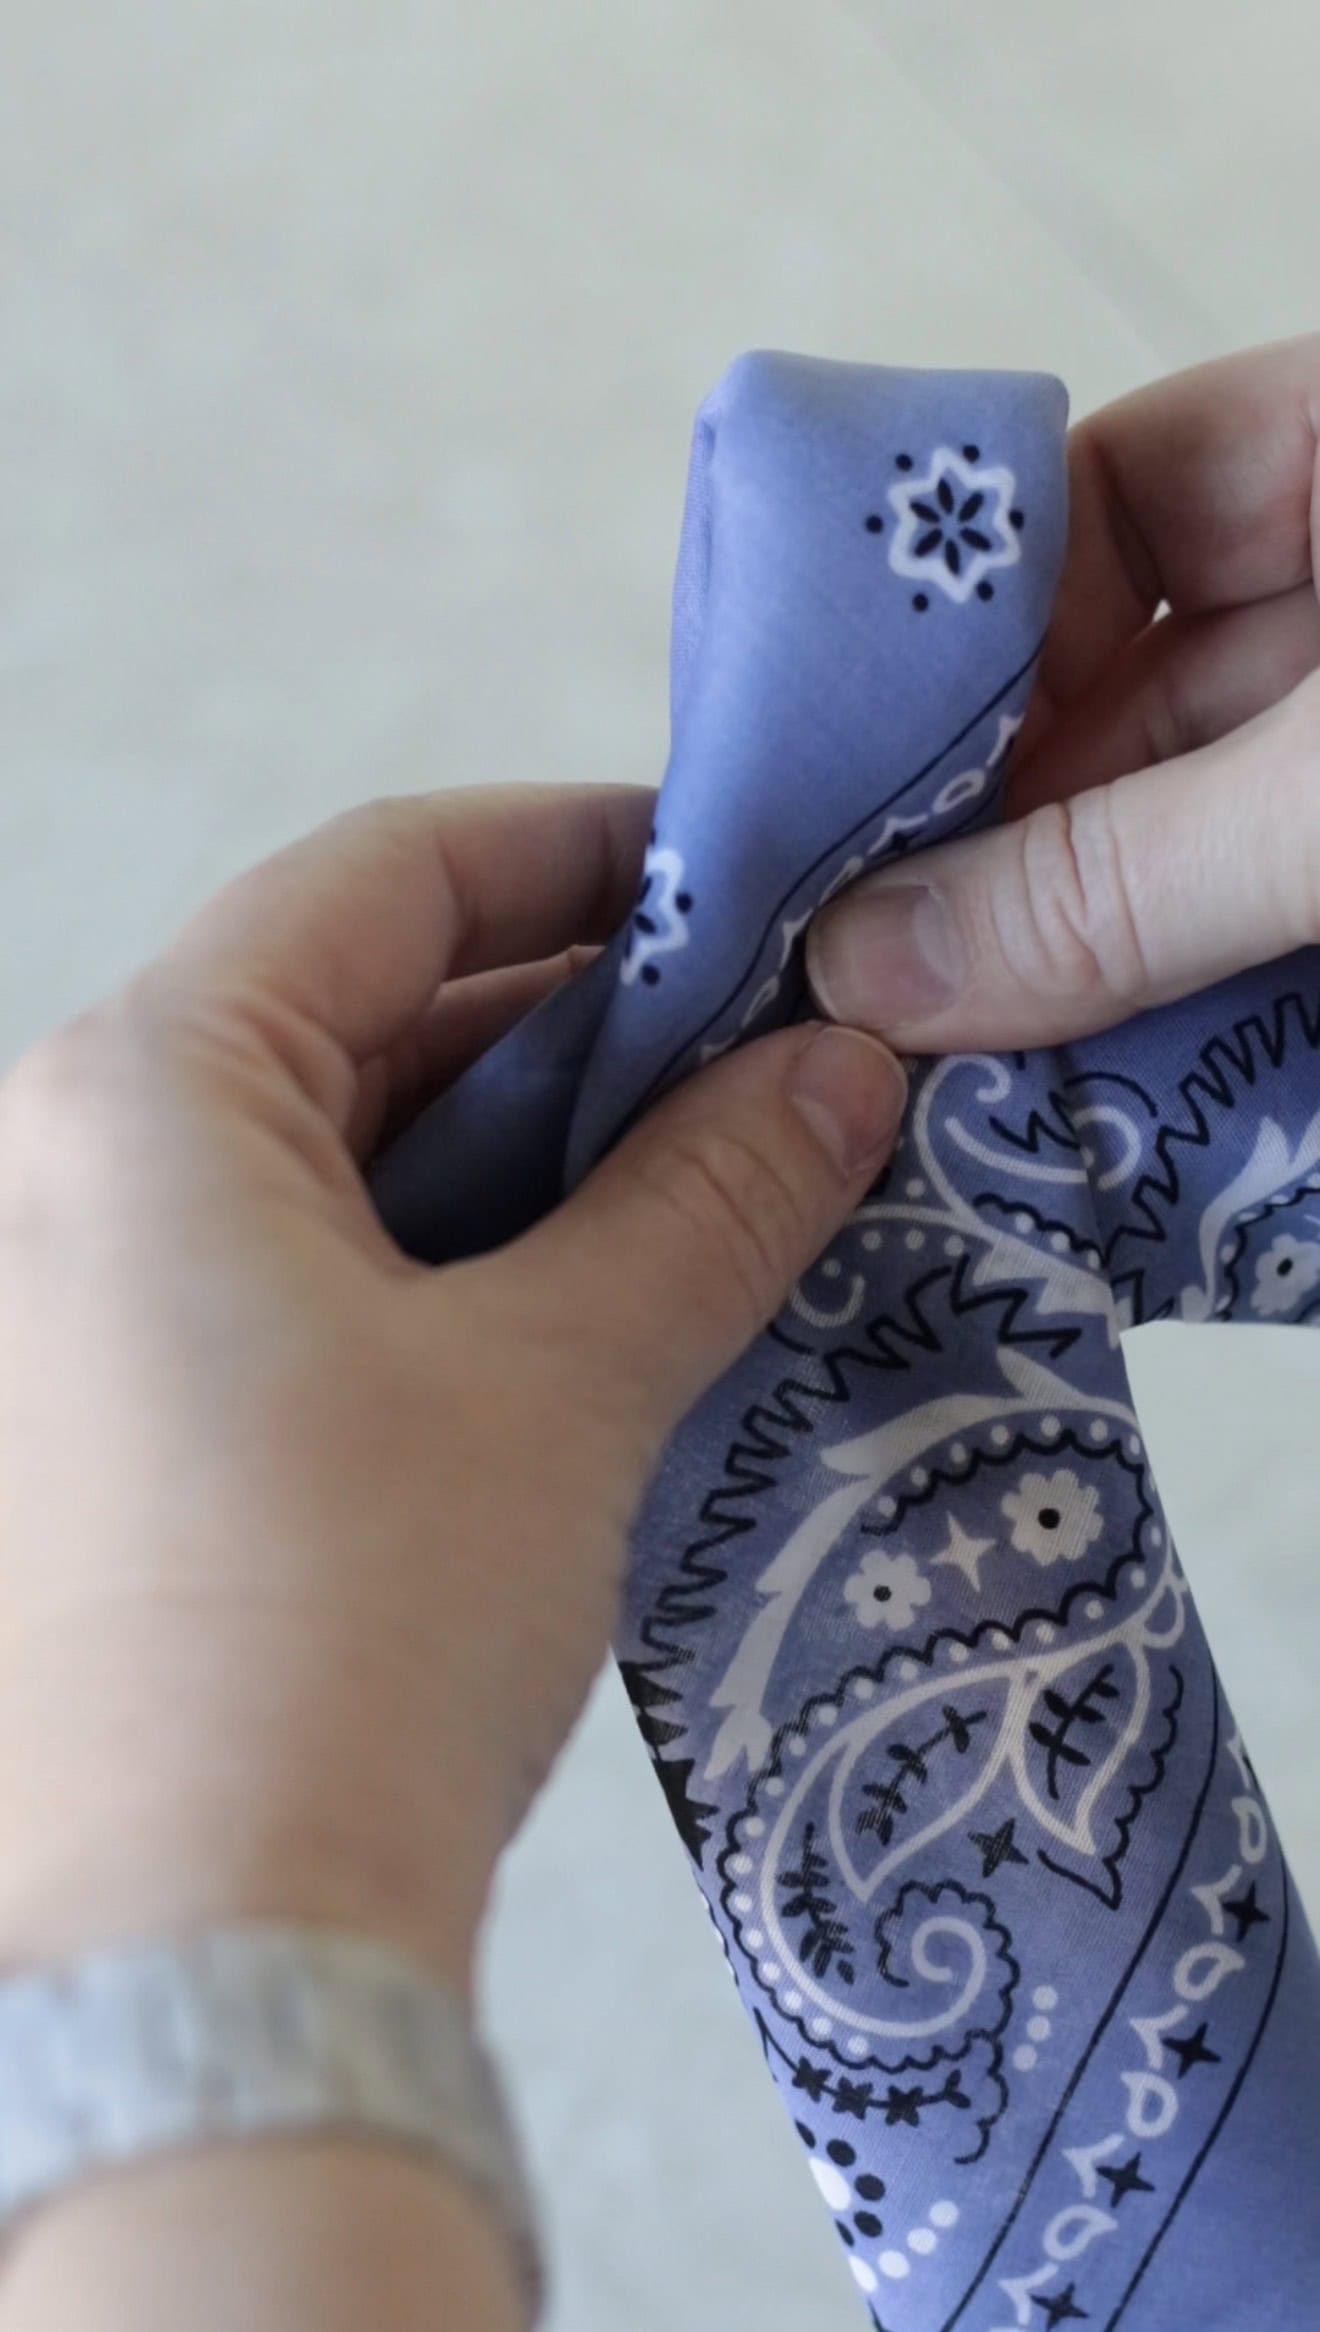
Step 5: Scrunch/pinch the center of the bow and hold into place.
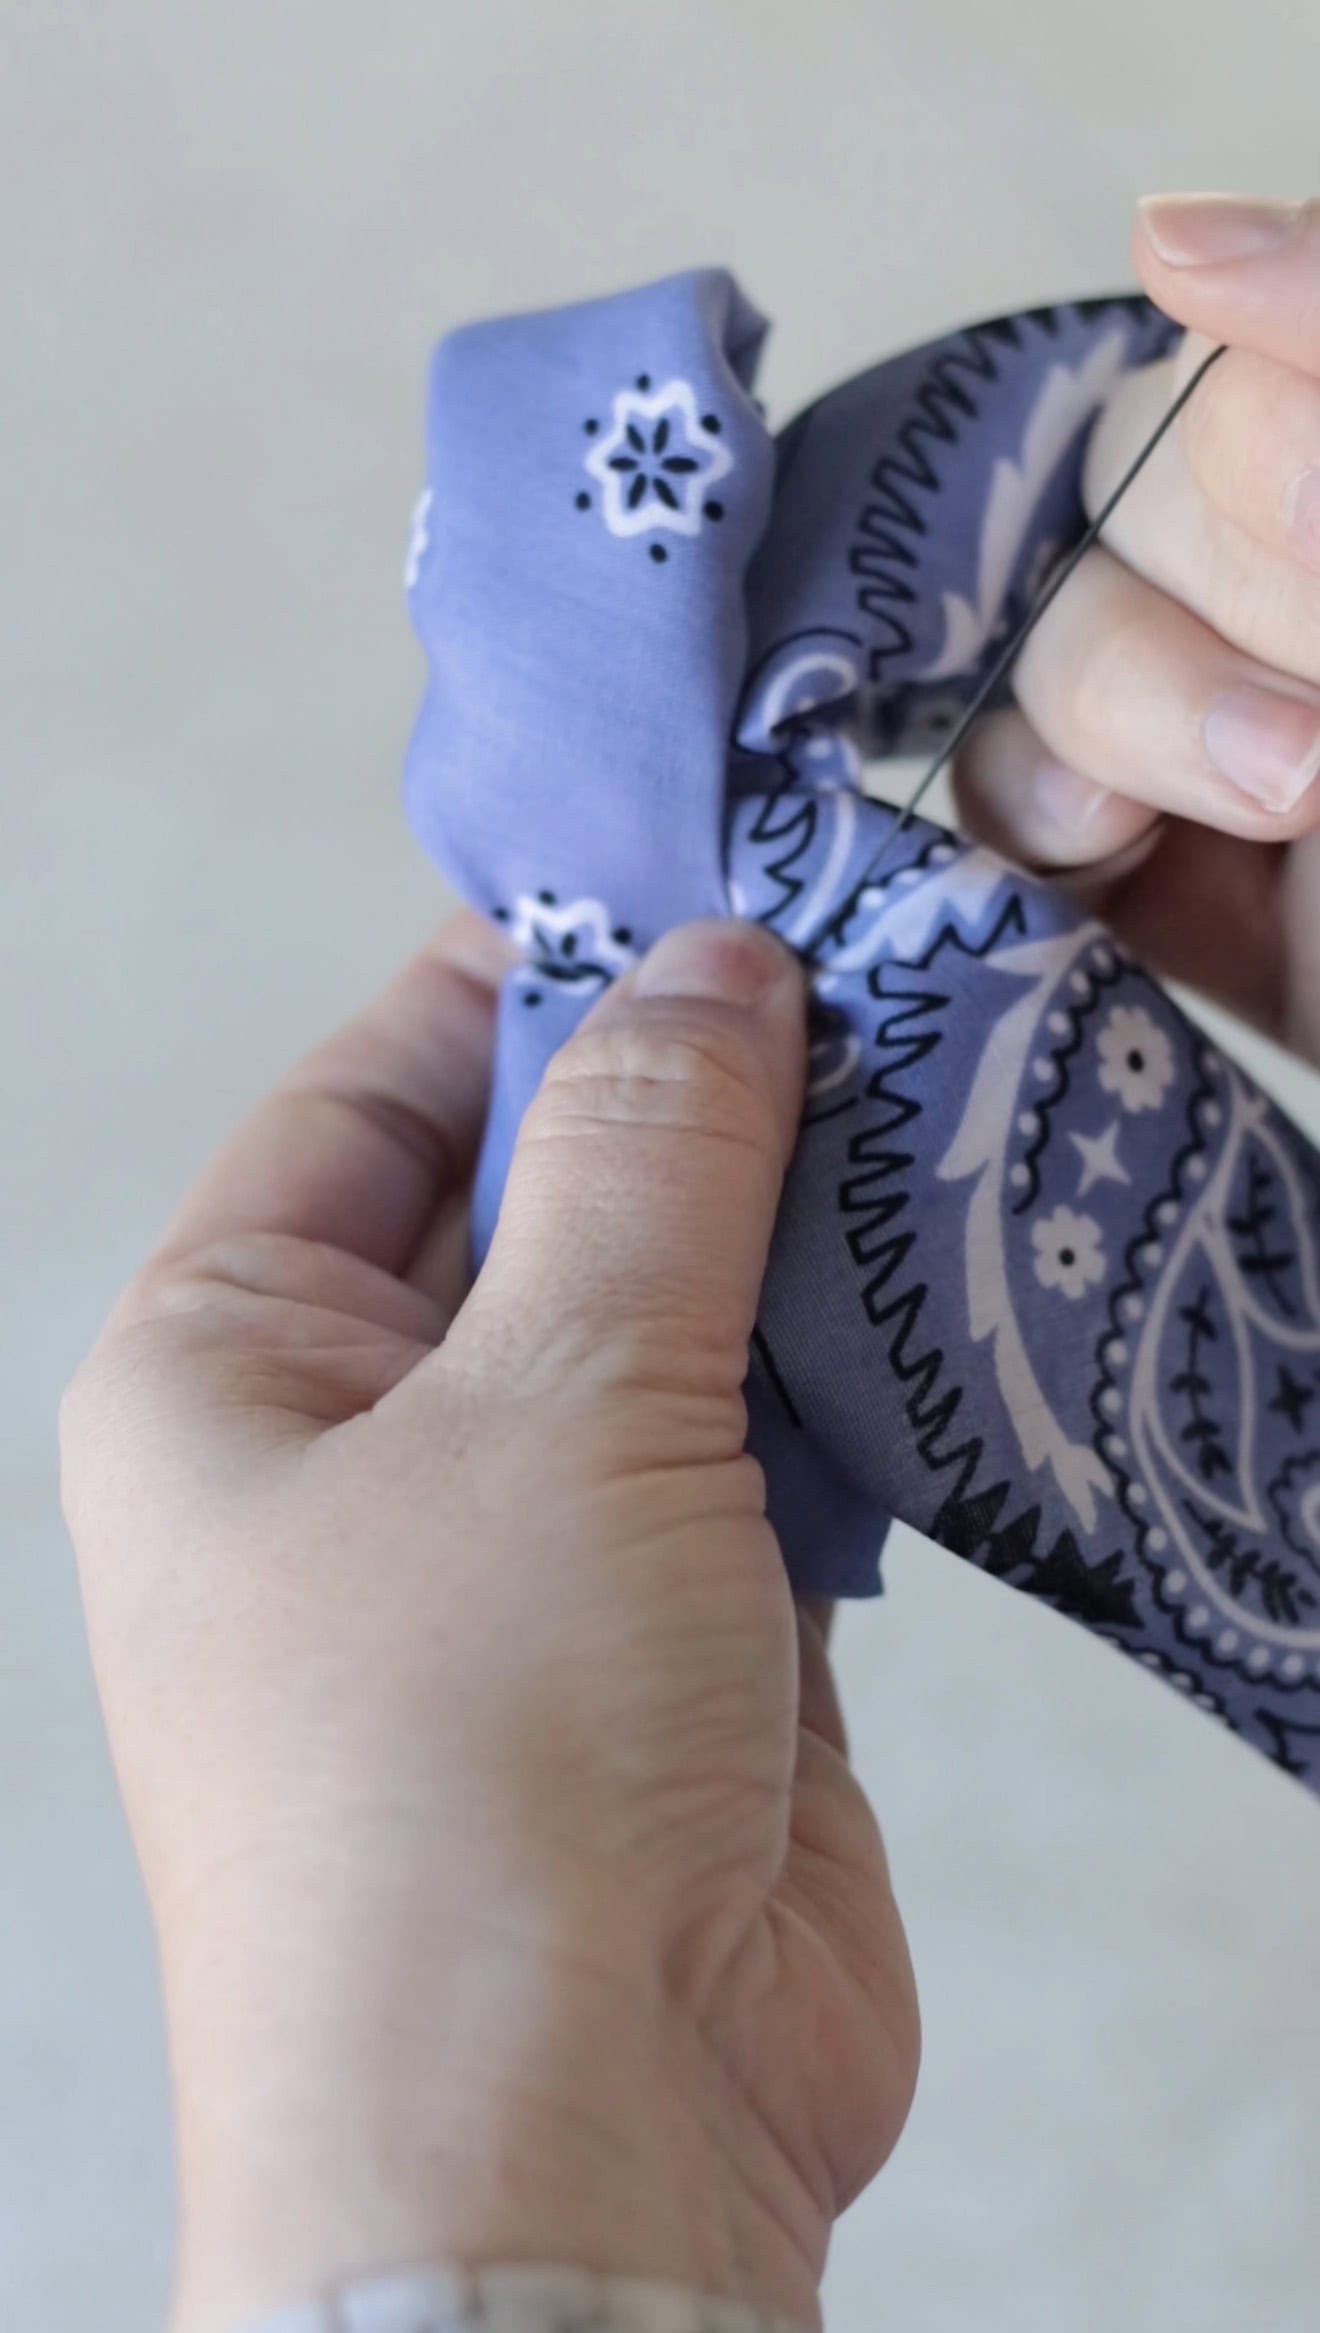
Step 6: Wrap the hair tie around the center of the bow a couple of times.
Step 7: Pull to adjust the bow's size and shape, if desired.
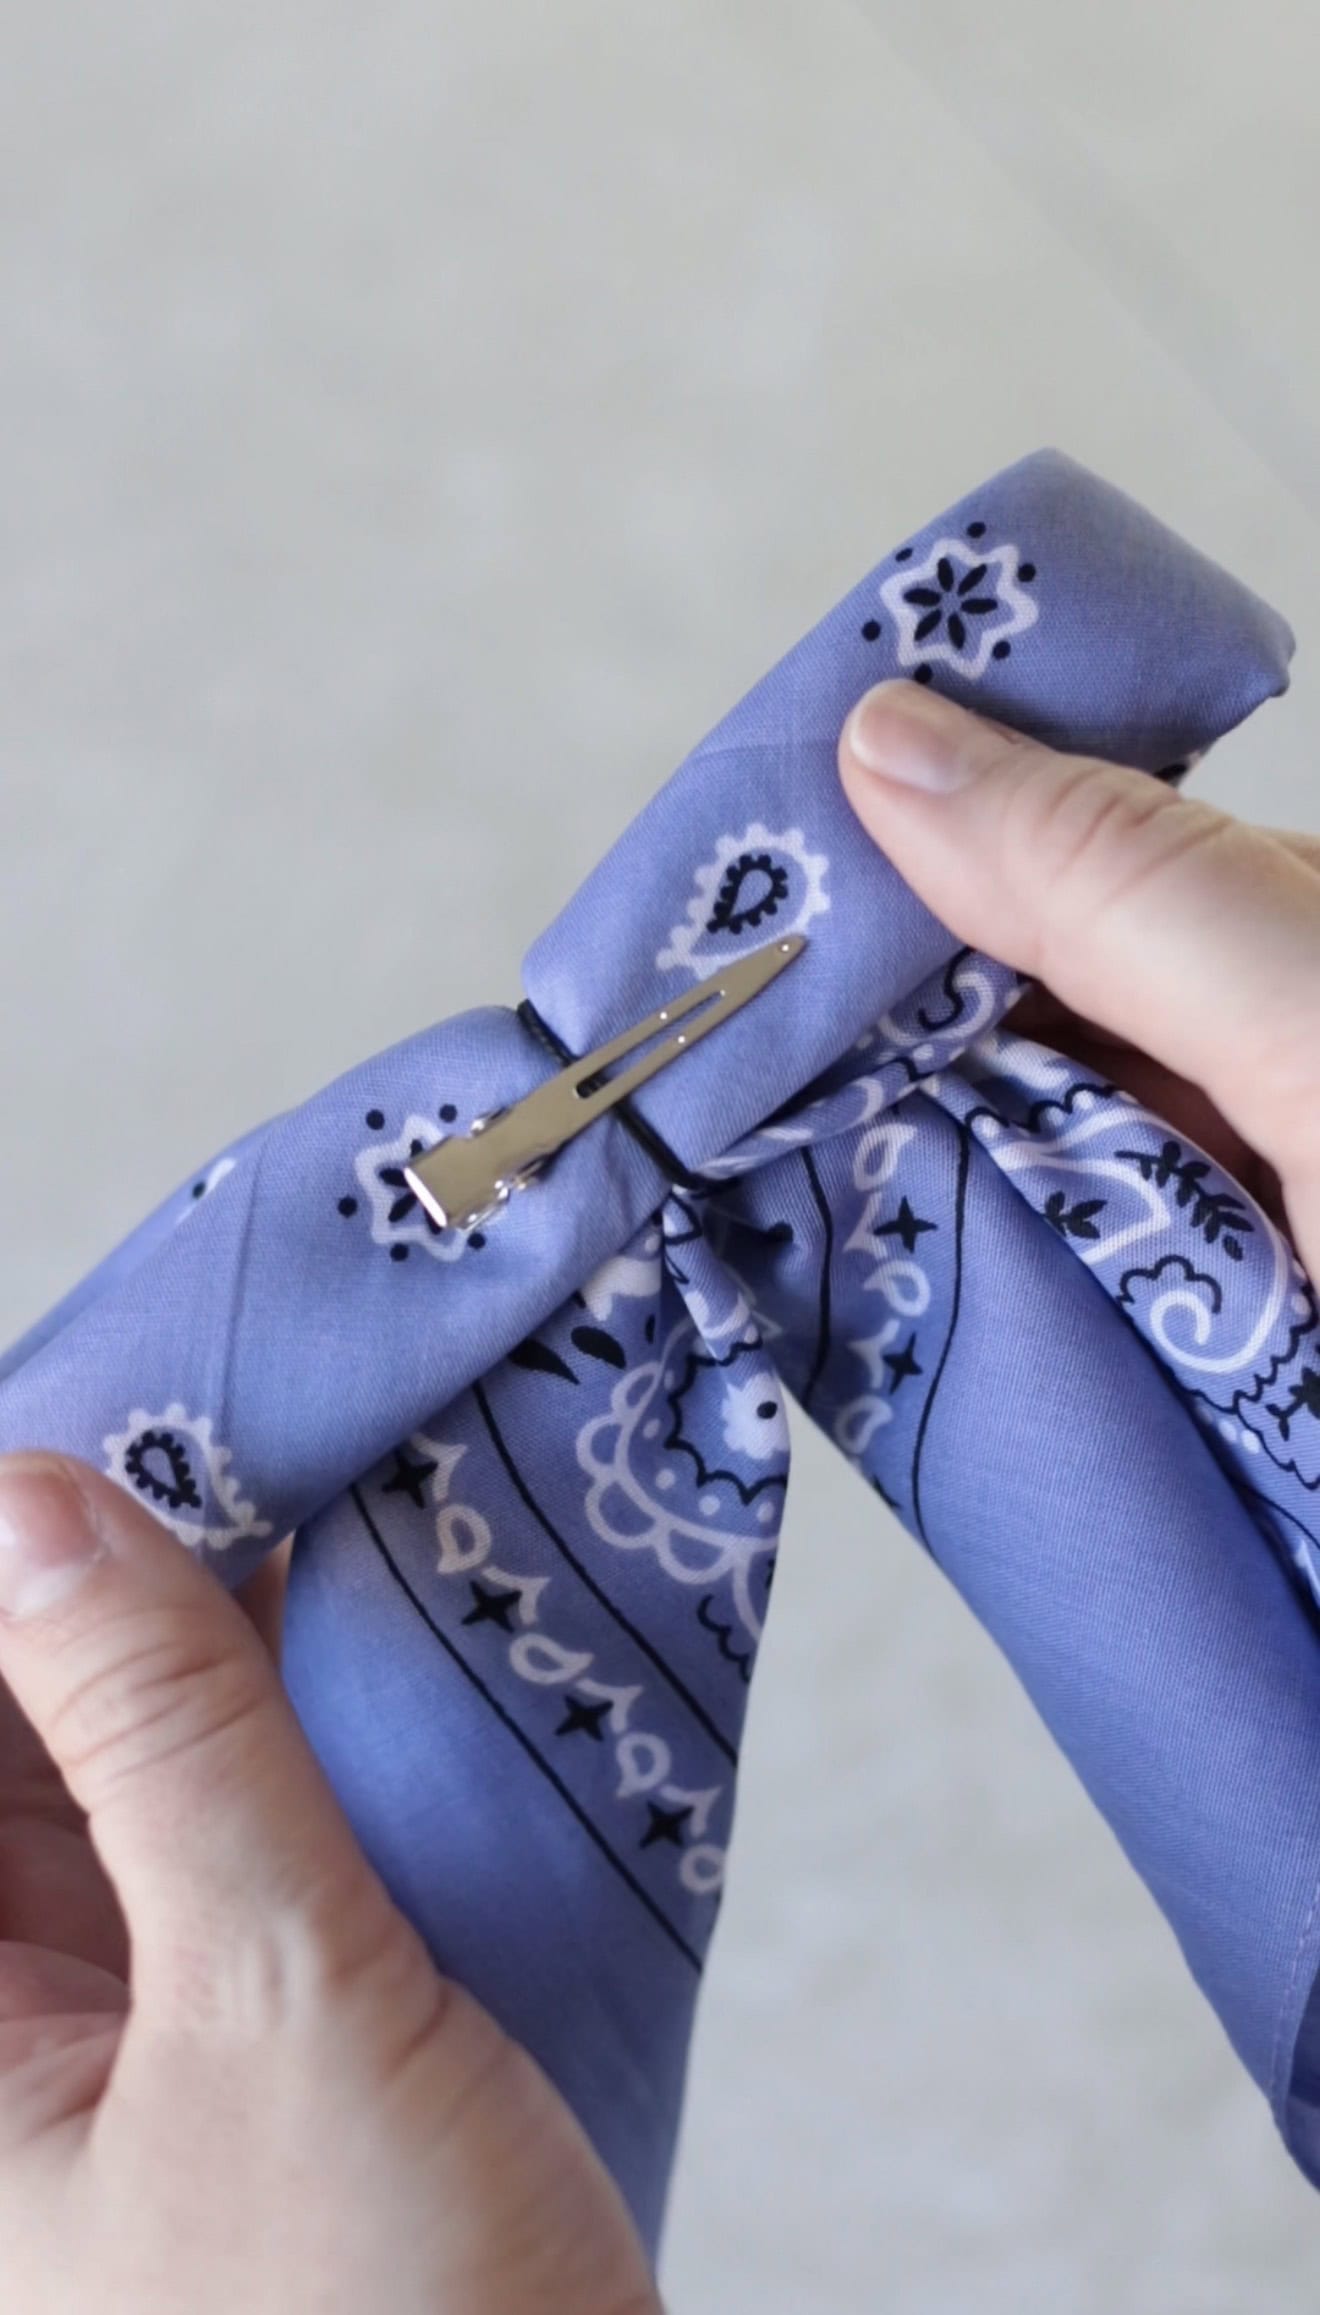
Step 8: No need to glue the hair clips onto the bow; simply slide them behind the black hair tie to secure them in place.
Bandana Bow FAQs
No, bandana hair bows can be made completely no-sew by simply tying the fabric into a bow. For extra hold, you can add a small amount of hot glue.
If using a bandana, you don't need to cut the fabric at all. A 22" square bandana is the perfect size. If using regular fabric, cut out a 22" square of cotton fabric using pinking shears (to prevent fraying).
Yes, bandana bows can be washed. Remove them from clips or elastics, wash on a gentle cycle or by hand, then air dry.
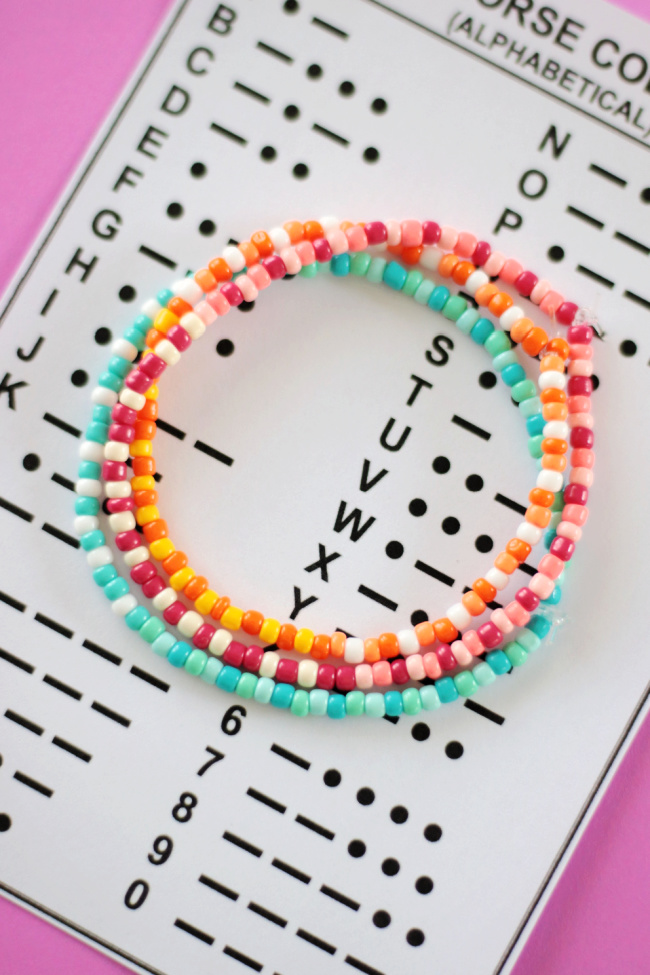
More Accessories To Make

MADE THIS CRAFT AND LOVED IT? 💛 Please leave a STAR rating and COMMENT below! Post it to Facebook or Pinterest to easily share with friends!
DIY Bandana Hair Bow Tutorial
Equipment
- N/A
Instructions
- Fold the bandana in half, creating a triangle.
- Fold once more, bringing the tip of the triangle up, just below the top of the other side.
- Fold the bandana up, starting at the bottom. The width of the folds is up to you. Mine were a little larger than an inch.
- Cross the bandana over as shown (view blog post or video).
- Scrunch/pinch the center of the bow and hold into place.
- Wrap the hair tie around the center of the bow a couple of times.
- Pull to adjust the bow's size and shape, if desired.
- No need to glue the hair clips onto the bow; simply slide them behind the black hair tie to secure them in place.
Video
Notes
- Multiple ways to style. To use as a hair accessory, slide an alligator clip or bobby pin through the rubber band on the back. To make a pin, glue a pin back onto the bow.
- Adjust shape and thickness. Play around with how big you make the folds for different-sized bows.
- Reusable or permanent option. For a reusable option that allows you to use the bandana for other things later, make the bows as instructed in the tutorial. For a sturdier bow, add a few dabs of hot glue as you pinch the bow into shape.


Leave a Reply