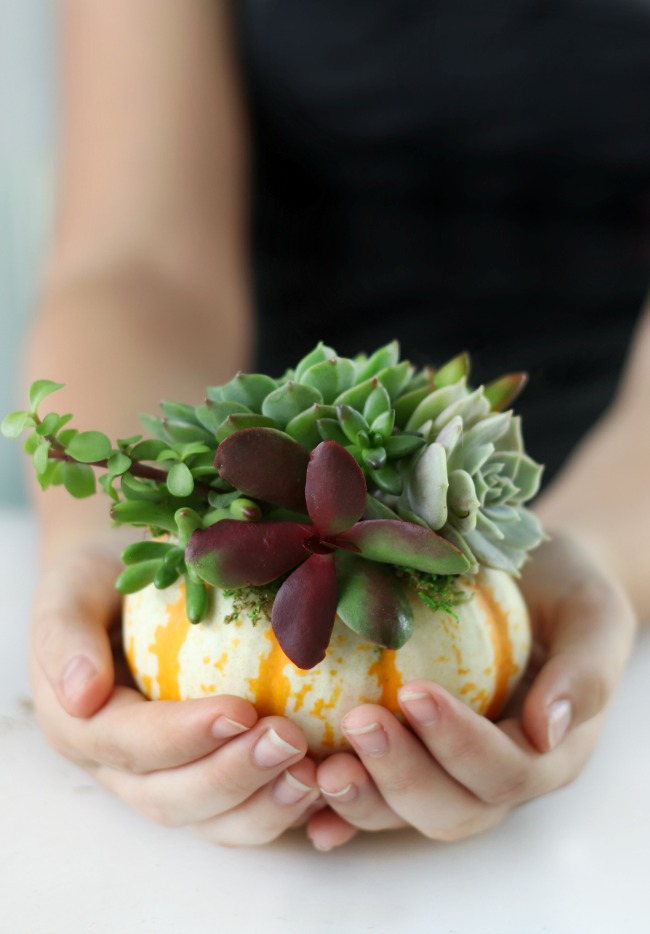
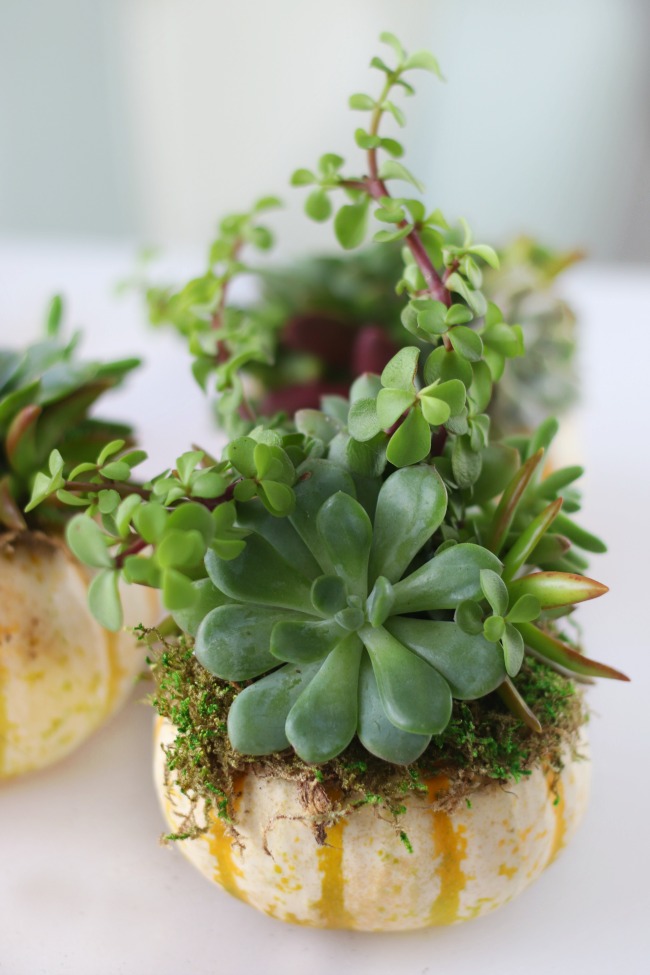
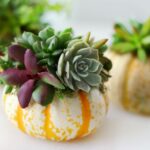
Make an easy succulent pumpkin centerpiece for fall! Fun to make and will last for months!
You might also like my velvet pumpkin tutorial, fabric pumpkins, or 10-minute sock pumpkins.
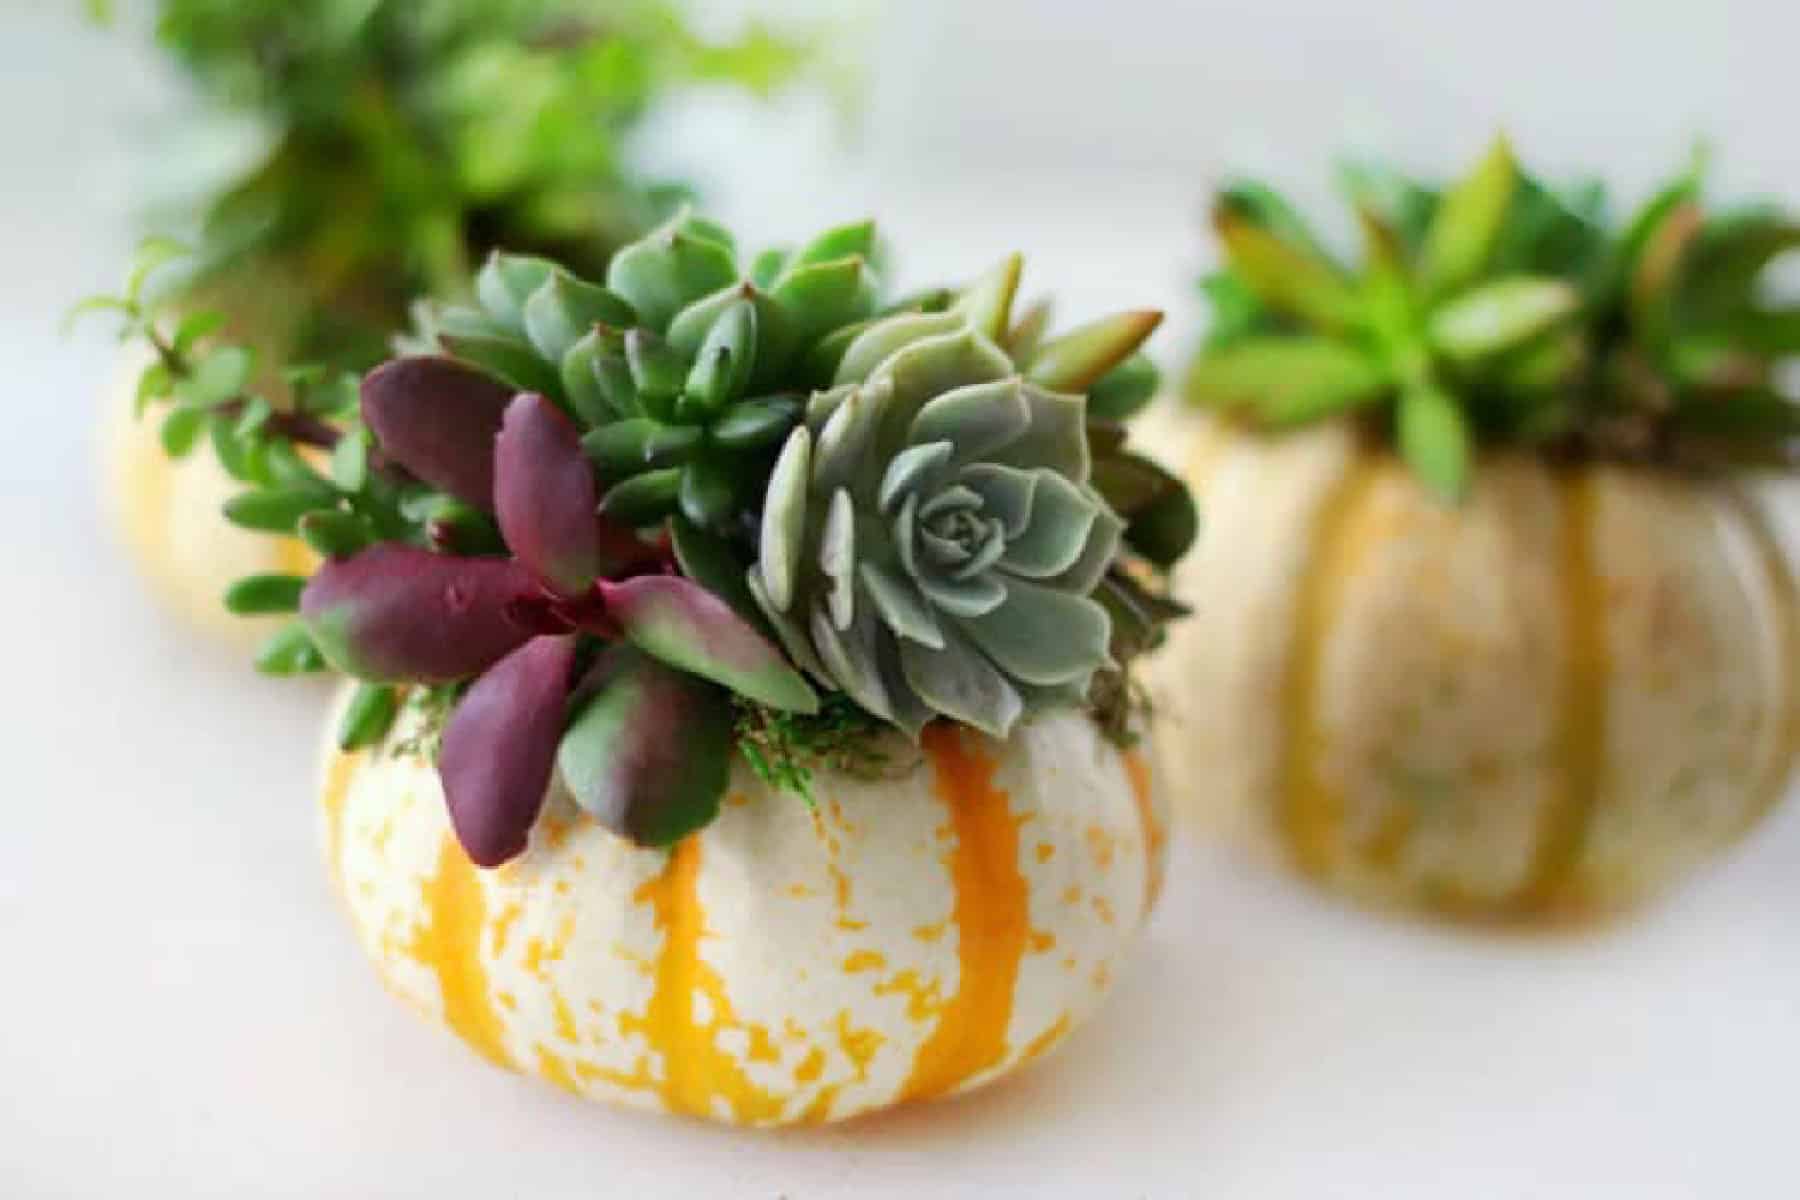
My girls and I enjoy crafting together. We made these succulent pumpkins for fall, and they brought them to give to their teachers at school. They were so quick and easy to make, and they turned out beautifully! I have one in my kitchen window and am thinking that this needs to be a thing. Some sort of little succulent planter in my window all year long.
Why I Like This Project
- Fun to customize. Use succulents, dried flowers, or any sort of cutting to add a creative touch to your pumpkin.
- Low maintenance. Succulents don't require a lot of water, making them incredibly easy to maintain.
- Easy to repurpose. When the fall season is over, you can plant the entire pumpkin into the ground if you live in an area where succulents thrive. I live in a very humid climate, so I'll keep mine inside and replant the succulents in a small pot.
Jump to:
Tips and Tricks
- Use mini pumpkins/gourds. I've found that mini pumpkins (which are actually gourds) stay fresh for months as opposed to regular pumpkins, which soften after a couple of weeks, depending on room temperature.
- How to care for your succulent. If your succulent cuttings are fresh, you won't want to water the planter for a week. This allows the bottom of the stems to form a callus. After that, just moisten the moss once a week, and your planter will last 2-3 months!
- Repurposing your succulents for another project. After a month or two, the succulents will begin to sprout roots (even though they had hot glue on the ends!). They are such hardy little plants. Gently pull the succulents off the moss, and gently pull the moss off the roots. Place the cuttings in soil. Moisten with a spray bottle.
Supplies
- Mini pumpkins: You can use any size of pumpkin you'd like. Pumpkins with a flat surface area (gourds) on top work great.
- Succulents: The succulents that I used for this project are from Home Depot. I didn't want to wait to order them from Amazon, but Amazon is cheaper and I've had great success with having them shipped to me. I used mail order succulents for these succulent gifts.
- Moss: Sphagnum moss is supposed to be the best for succulents, but I used sheet moss that I purchased at Walmart for $3.
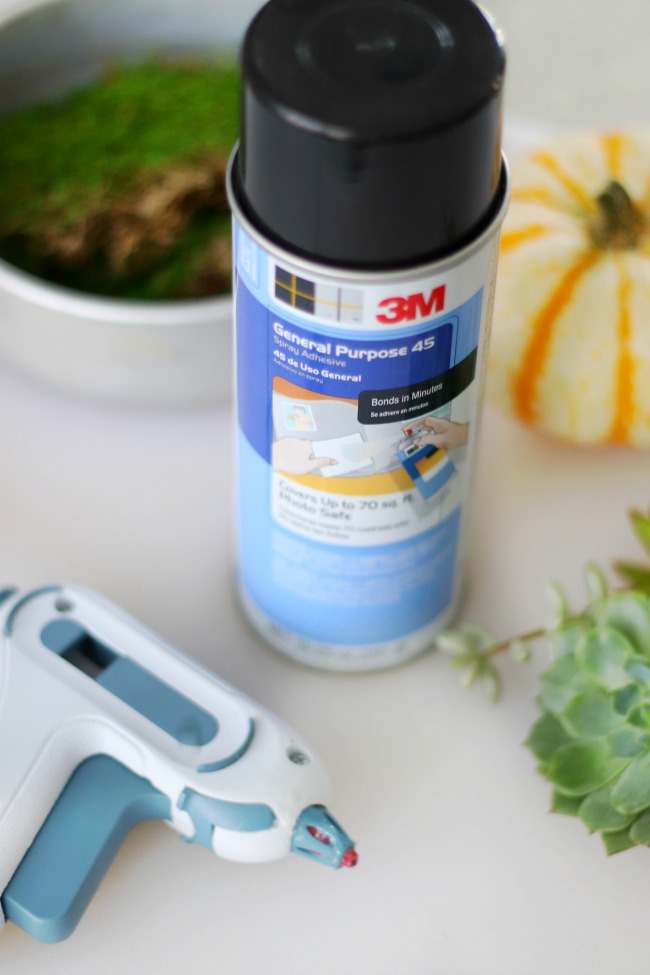
- Spray Adhesive: You'll use this to attach the moss.
- Hot Glue: You'll use this to attach the succulents. Don't worry, it won't hurt the succulents.
How to Make A Succulent Pumpkin
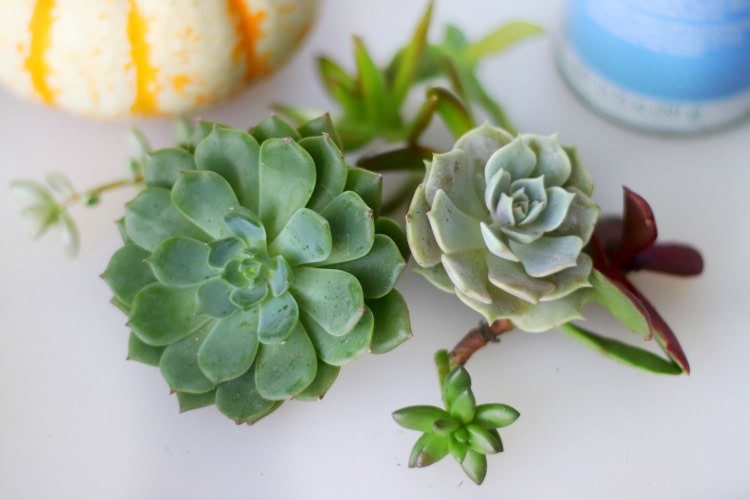
Step 1: Loosen the soil from the succulents and divide them into single sections. Gather the succulent cuttings that you'd like to use. Have a variety of big blooms, long sprigs, and fillers.
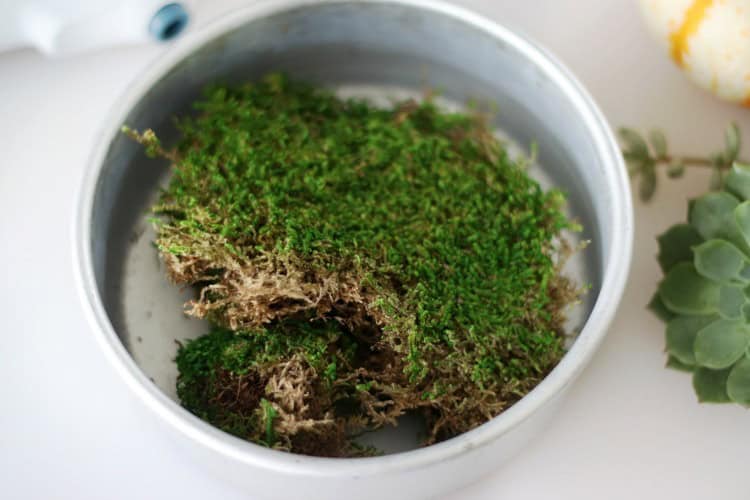
Step 2: Pull the stem off the mini pumpkin. Spray the top of the pumpkin with a light coat of spray adhesive. Add a layer of moss ¼"-½" thick.
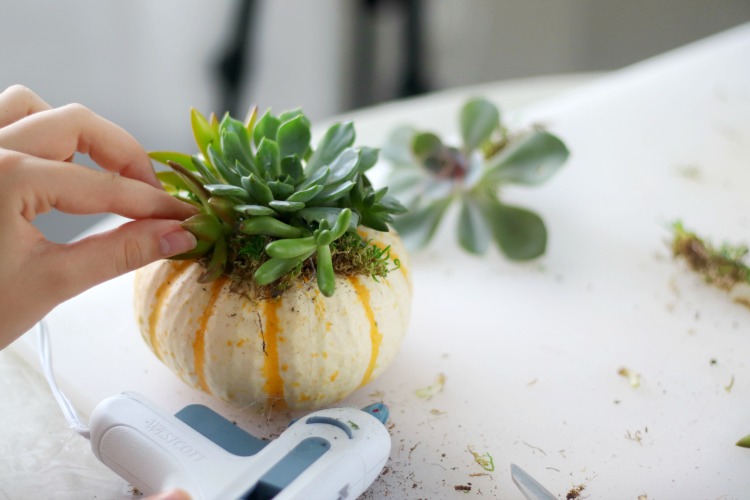
Step 3: Once the moss has been attached start hot gluing the succulents to the top of the pumpkin. Start with the bigger blooms and fill in with the long springs and small fillers. There is no right or wrong way to make a succulent pumpkin.
Succulent Pumpkin FAQs
The glue will burn the portion that it touches, but the rest of the succulent cutting will be just fine. After a few weeks it will sprout new roots, making the hot glue easy to remove and you can plant the succulent someplace else.
Wait one week before watering your succulent planter. This allows the cuttings to form a callus. Spray the moss with water once a week, starting from the first week. If you can't access the moss easily, you can water it with a syringe. Avoid getting succulents wet. Only water the moss.
Succulents like the sun. Ensure it is placed in a location that receives at least 6 hours of daylight.
After a month or two, the succulents will begin to sprout roots (even though they had hot glue on the ends!). They are such hardy little plants. Gently pull the succulents off the moss, and gently pull the moss off the roots. Place the cuttings in soil. Moisten with a spray bottle.
More Gardening Crafts To Make
MADE THIS CRAFT AND LOVED IT? 💛 Please leave a STAR rating and COMMENT below! Post it to Facebook or Pinterest to easily share with friends!
Mini Succulent Pumpkin Centerpiece
Equipment
- hot glue gun
Materials
- mini pumpkins
- spray adhesive
- mini succulents
- moss
Instructions
- Loosen the soil from the succulents and divide the succulents into single sections. Gather the succulent cuttings that you'd like to use. Have a variety of big blooms and long sprigs and fillers.
- You do not need to leave the roots on the succulents. Cuttings work great and will not be hurt by hot glue.
- Pull the stem off of the mini pumpkin. Spray the top of the pumpkin with a light coat of spray adhesive.
- Add a layer of moss ¼"-½" thick. Watch our step by step video to see how we made ours!
- Sphagnum moss is the best for succulents, but you can use Spanish moss, forest moss or sheet moss. They all work great. I used sheet moss. You don't need very much and a little bit goes a long way. I bought a bag at Walmart for $3 and we have ¾ of it left after making 3 mini pumpkins.
- Once the moss has been attached start hot gluing the succulents to the top of the pumpkin. Start with the bigger blooms and fill in with the long springs and small fillers. There is no right or wrong way to make a succulent pumpkin planter.


Leave a Reply