
These easy Halloween sugar cookies are soft, buttery, and perfect for decorating with buttercream frosting. You don't need royal icing or fancy cookie-decorating skills to make adorable Halloween cookies!
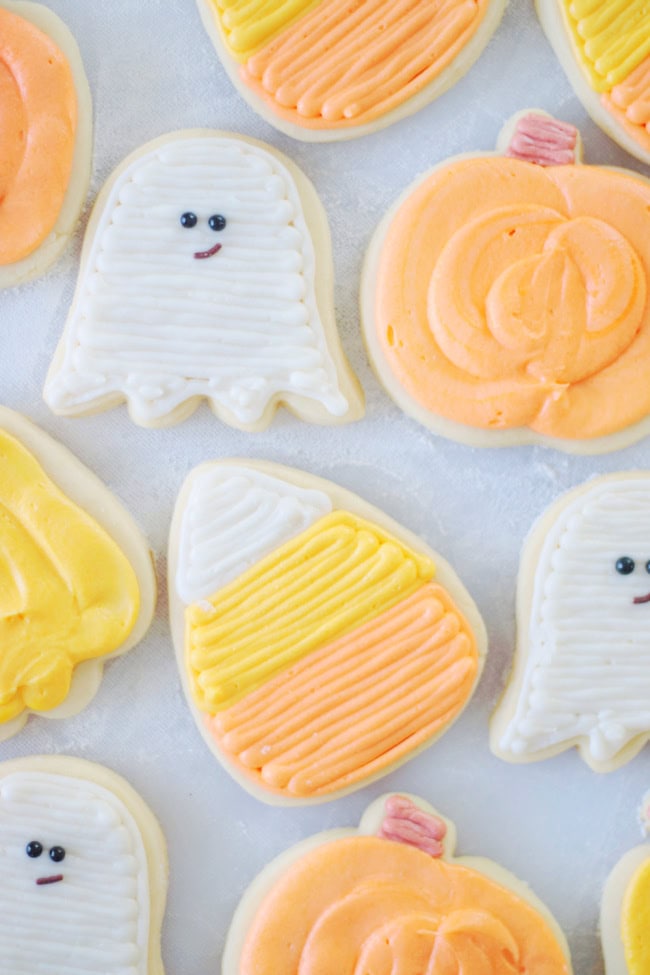
I'll show you how to decorate pumpkin, ghost, and candy corn sugar cookies using just a couple of basic piping tips. They're perfect for Halloween parties, classroom treats, cookie trays, or a fun afternoon of baking with the kids.
Watch the video to see exactly how I decorate these Halloween sugar cookies step by step!
Why You'll Love These Halloween Sugar Cookies
- No royal icing required. These cookies are decorated with buttercream frosting instead of royal icing. It's easy to work with, tastes delicious, and you don't have to worry about making different icing consistencies.
- The cookies don't need chilling. I use my favorite no-chill sugar cookie dough for these Halloween cookies. The dough rolls out easily and the cookies hold their shape beautifully when baked.
- Easy decorating technique. You don't need to be an experienced cookie decorator. A large round piping tip covers the cookie quickly, while a small round tip is perfect for the details.
- Three classic Halloween designs. I'll show you how to decorate pumpkins, ghosts, and candy corn, but you can use the same technique for other Halloween cookie shapes, too.
- Perfect for kids. This is a simple and fun way to decorate cookies without the frustration of complicated royal icing techniques. Kids can help pipe the frosting and add sprinkles or candy eyes.
- Great for making ahead. The baked, undecorated sugar cookies can be frozen, making these an easy Halloween treat to prepare ahead of time.
What Others Are Saying
I used this cookie recipe for Halloween now going to make valentine cookies,this is the best recip I've used!!---Jeanie
I used my tulip cookie cutter for the ghosts, such a great tip and love when I can use a cutter for more than one type of cookie. They turned out really cute.---Donna on FB
Jump to:
Tips and Tricks
- Use gel food coloring. Gel food coloring gives you bright Halloween colors without adding too much liquid to the frosting. I use orange, yellow, black, and white for these cookies.
- Don't overbake the cookies. The cookies should be set but still light in color. Overbaking will make them crisp instead of soft.
- Let the cookies cool completely. Make sure the cookies are completely cool before decorating or the buttercream will soften and slide.
- Use a large round piping tip for covering the cookies. A 1A tip makes quick work of frosting large areas and gives you a smooth layer of buttercream.
- Decorate while the frosting is soft. If you're adding sprinkles or candy eyes, add them before the buttercream sets.
Ingredients
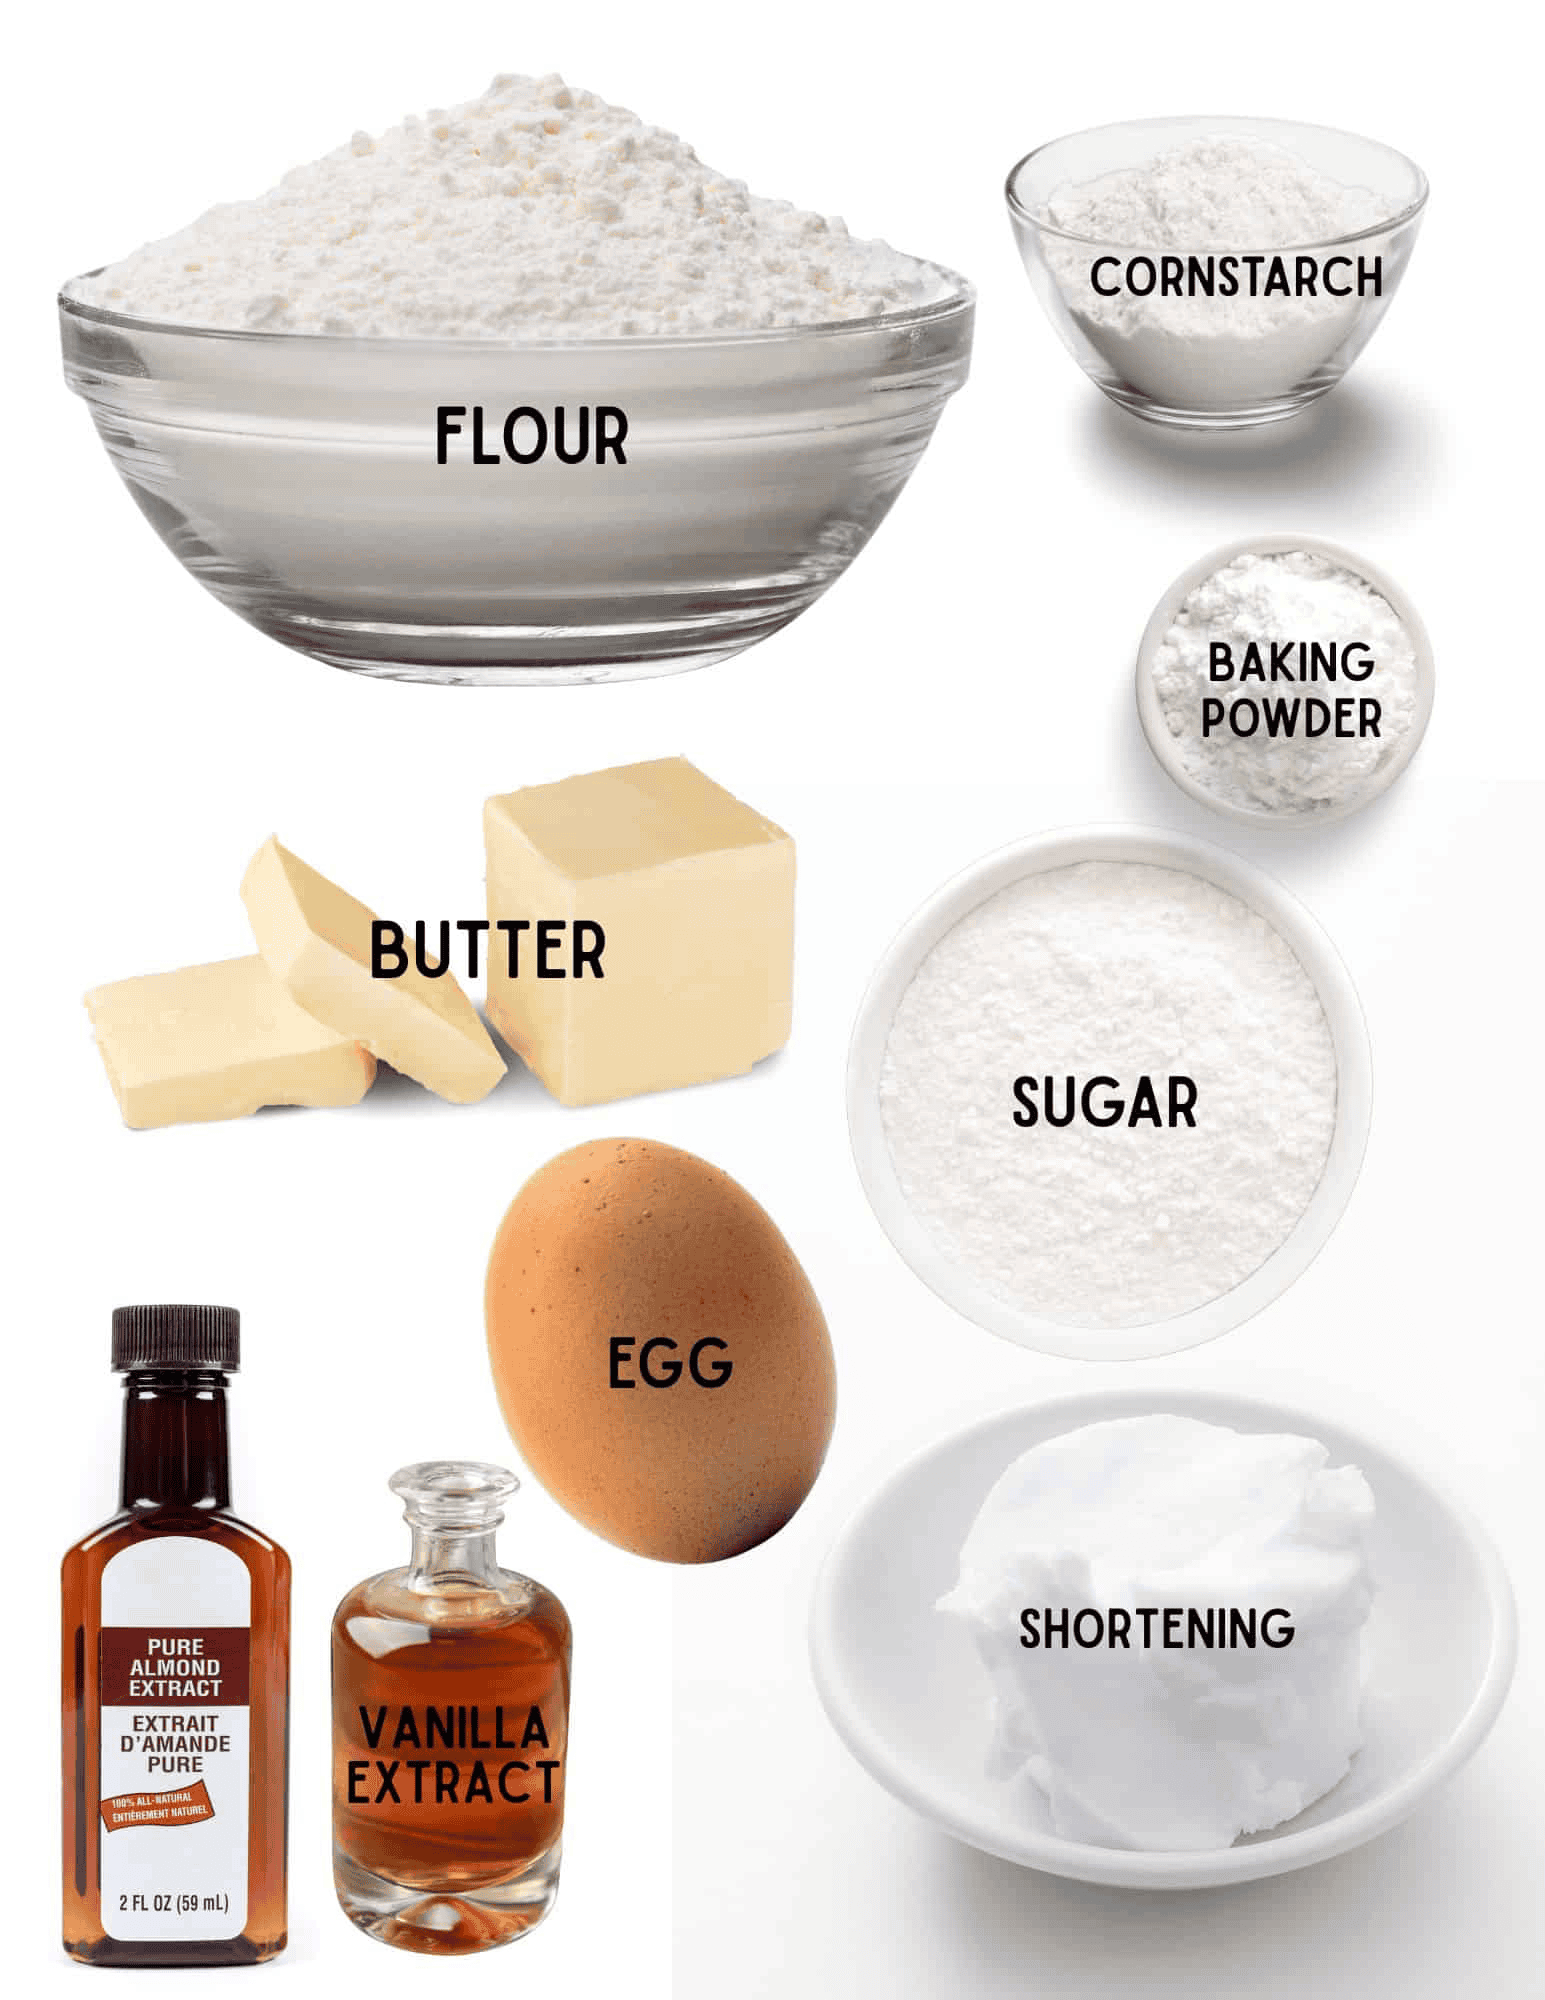
Sugar Cookies
- Butter: I use softened butter for rich flavor and a tender texture.
- Shortening: Shortening helps keep these sugar cookies soft and helps them hold their shape while baking.
- Granulated sugar: White sugar gives these cookies their classic sugar-cookie flavor and texture.
- Egg: The egg adds richness and helps bind the dough together.
- Vanilla extract: Vanilla gives the cookies a warm, classic flavor.
- Almond extract: Almond extract is one of my favorite additions to sugar cookies. It gives them that bakery-style flavor that makes them extra delicious.
- All-purpose flour: Regular all-purpose flour works perfectly for these cookies.
- Cornstarch: Cornstarch is what helps give these cookies their soft, tender texture.
- Baking powder: Baking powder provides a little lift and helps create a light texture.
Buttercream Frosting
- Butter: Use softened butter for a smooth, creamy frosting with great flavor.
- Powdered sugar: Powdered sugar sweetens the frosting and gives it a smooth, fluffy texture.
- Vanilla extract: Vanilla adds flavor to the buttercream.
- Milk: A little milk thins the frosting to the perfect piping consistency. You can also use heavy cream if you prefer.
- Gel food coloring: Use gel colors to tint the frosting orange, yellow, black, white, or any other Halloween colors you'd like.
Decorations
- Halloween sprinkles: Add sprinkles to the pumpkin cookies while the frosting is still soft.
- Candy eyes: Candy eyes make the ghost cookies especially cute.
- Chocolate sprinkles: A chocolate sprinkle makes an easy little mouth for the ghost cookies.
See the recipe card for full information on ingredients and quantities.
Helpful Cookie Decorating Supplies
You don't need a lot of equipment to decorate these Halloween sugar cookies.
- Small round piping tips (#5 or #7): These are very similar in size and are perfect for outlining cookies, covering smaller areas, and adding details.
- Large round piping tip (1A): This is a really large round tip that makes frosting large areas, such as pumpkin cookies, much faster.
- Disposable piping bags: Disposable frosting bags make cleanup easy and are convenient when you're working with several frosting colors.
- Couplers: Couplers attach to the piping bags and make it easy to change piping tips without having to refill the bag.
HOW TO MAKE Halloween Sugar Cookies
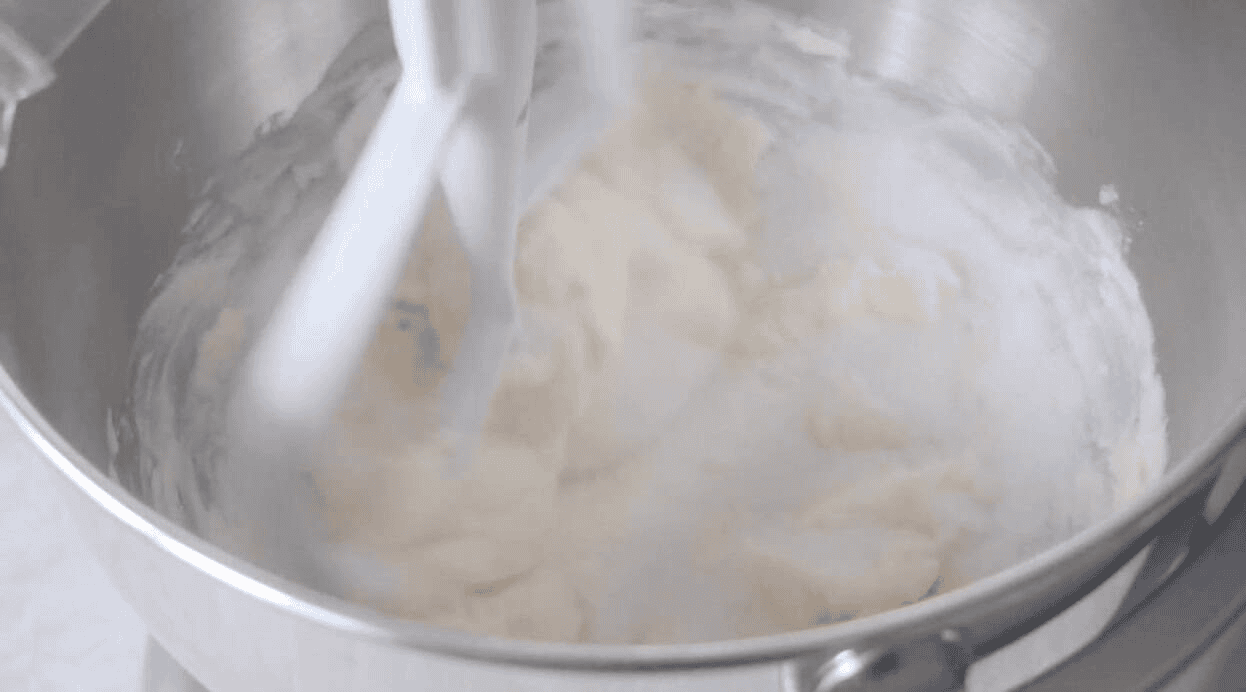
Step 1: In a large mixing bowl (or bowl of a stand mixer*), combine butter, shortening, and sugar. Beat until fluffy.
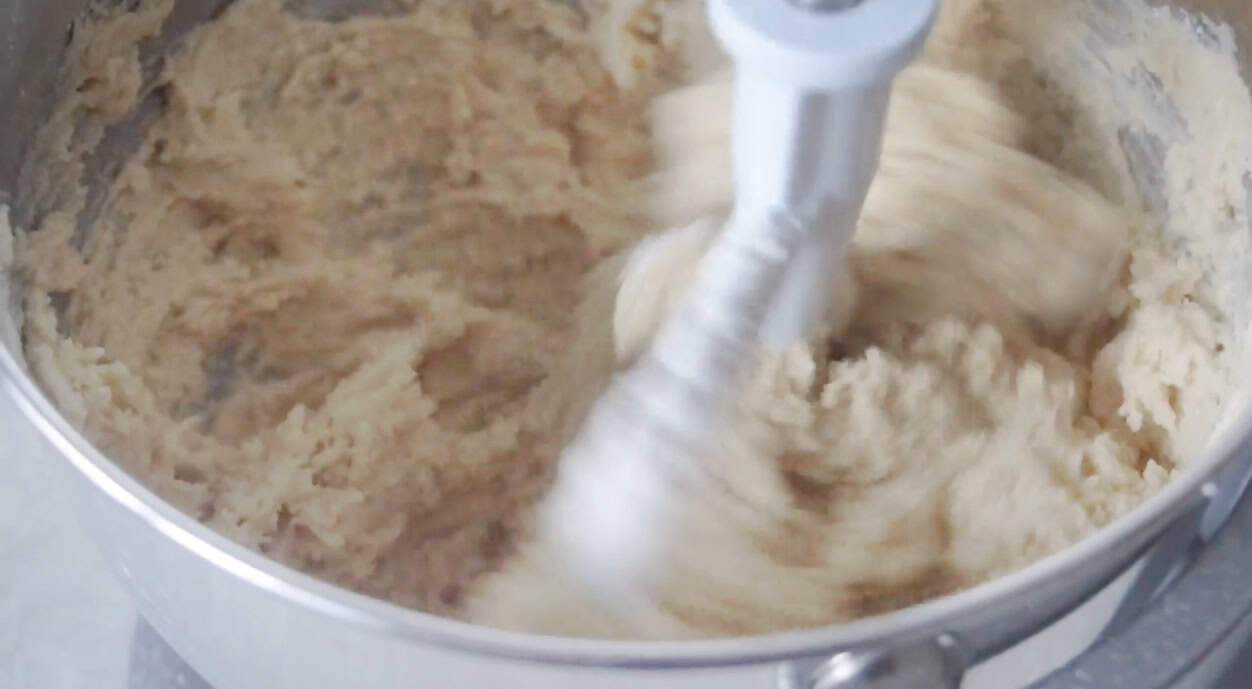
Step 2: Turn the electric mixer to a low speed and add the egg, vanilla extract, and almond extract. Add baking powder. Stir in the flour and cornstarch, and mix until a soft dough forms.

Step 3: Lightly flour your working surface and shape dough into a large ball.
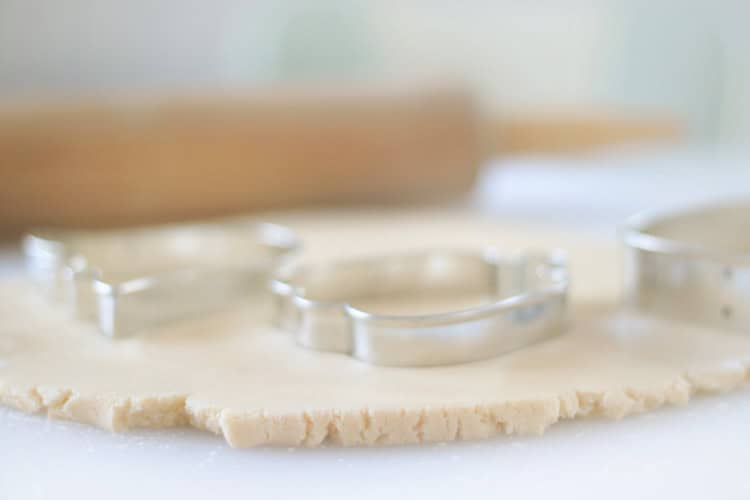
Step 4: Roll the dough out to the desired thickness using a rolling pin (I usually do ¼- ⅜") and cut into shapes. Add flour to the dough if it feels too sticky, but a nice, soft dough is what you want.
Step 5: Carefully transfer cut out cookie shapes with a spatula to a baking sheet. Bake at 325 degrees for 10 minutes. Cookies will be soft. Let sit on baking sheet for 5 minutes before carefully moving to a cooling rack.
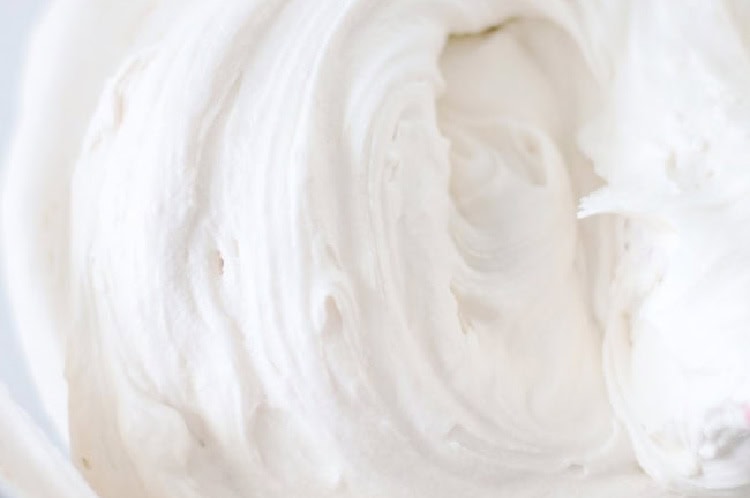
Step 6: Beat frosting ingredients together. Divide into bowls and color as desired. Fill piping bags with frosting tips and frosting.
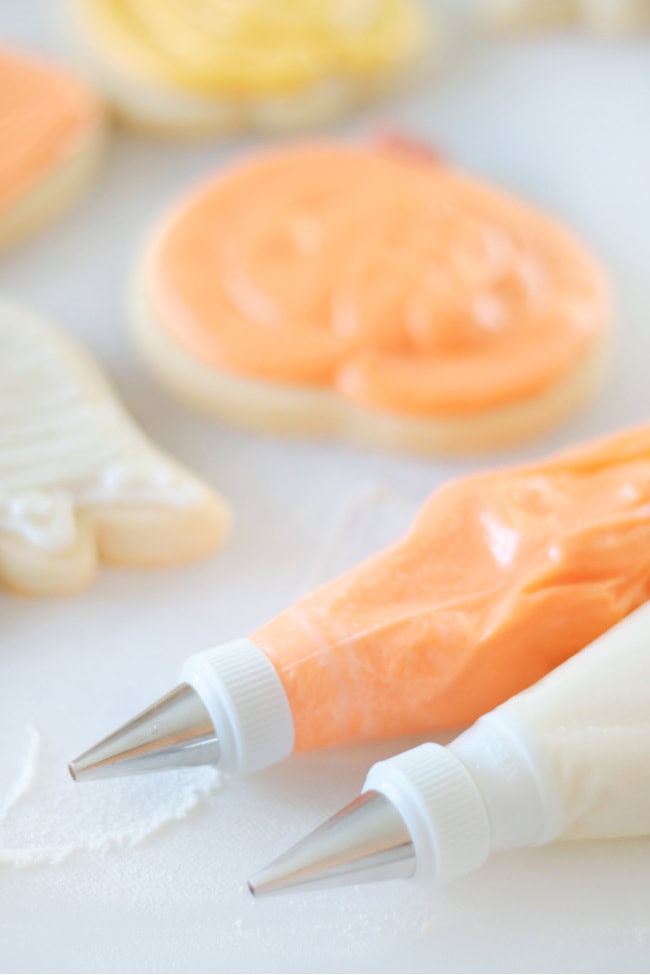
How to Fill a Piping Bag
If you've never used a piping bag before, don't worry! They're easy to work with.
Place the piping tip into the piping bag and cut the end of the bag so the tip fits snugly. Fill the bag with buttercream, then twist the top of the bag to push the frosting toward the tip.
If using a coupler, follow the video below. Couplers allow you to swap out tips, if desired. This is helpful if you only have one tip and want to use it for multiple frosting colors.
How to Decorate Halloween Sugar Cookies
I decorated three simple Halloween shapes for this tutorial: pumpkins, ghosts, and candy corn. You can use the exact same buttercream decorating technique for other Halloween cookie shapes, including bats, haunted houses, black cats, witches, and more.Again, WATCH MY VIDEO for the best visual tutorial.
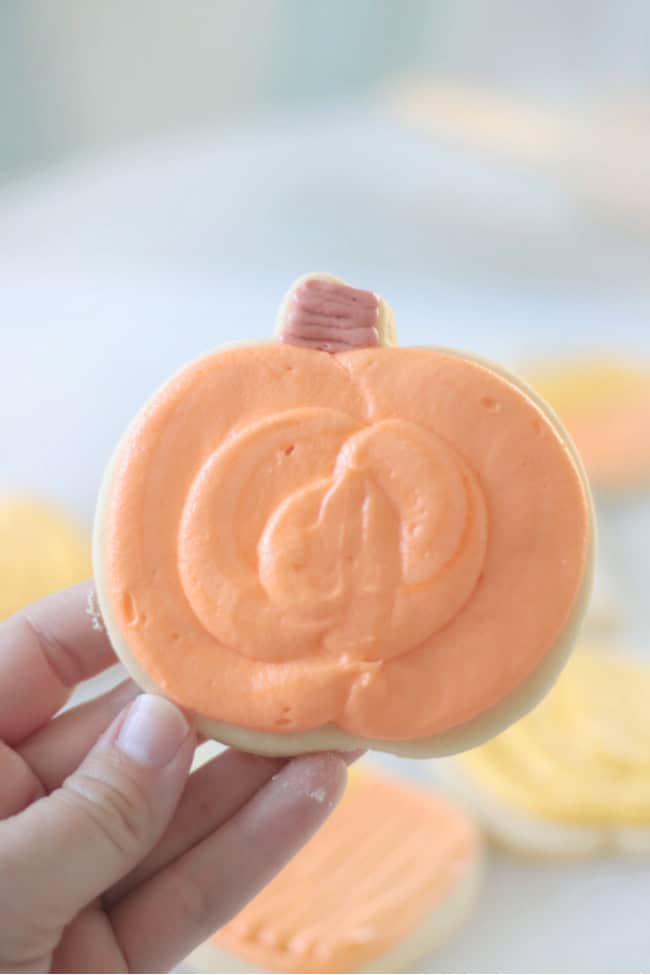
Pumpkin Sugar Cookies
Start by using a small round piping tip to cover the pumpkin stem with frosting.
Next, use the large 1A round tip to frost the pumpkin. Hold the piping tip close to the cookie, about ¼ inch away. Squeeze the frosting while dragging the tip across the cookie to create a smooth layer.
I like to work around each side of the pumpkin first and then fill in the center. Watch the video above to see exactly how I do this.
Add Halloween sprinkles while the frosting is still soft, if desired.
Ghost Sugar Cookies
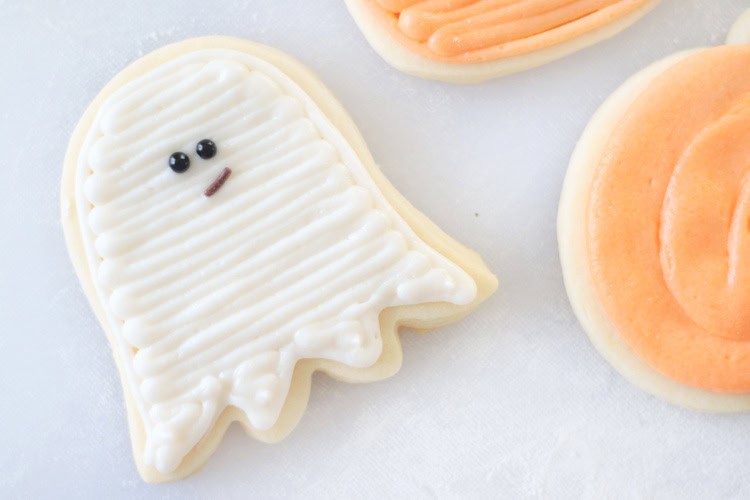
Use a small round piping tip to outline the ghost.
Fill in the ghost using the same round tip, moving the frosting back and forth in horizontal lines until the cookie is covered.
Add candy eyes, sprinkles, or black icing for the eyes. A chocolate sprinkle makes an easy little mouth.
Candy Corn Sugar Cookies
Candy corn cookies are so cute and surprisingly easy to decorate!
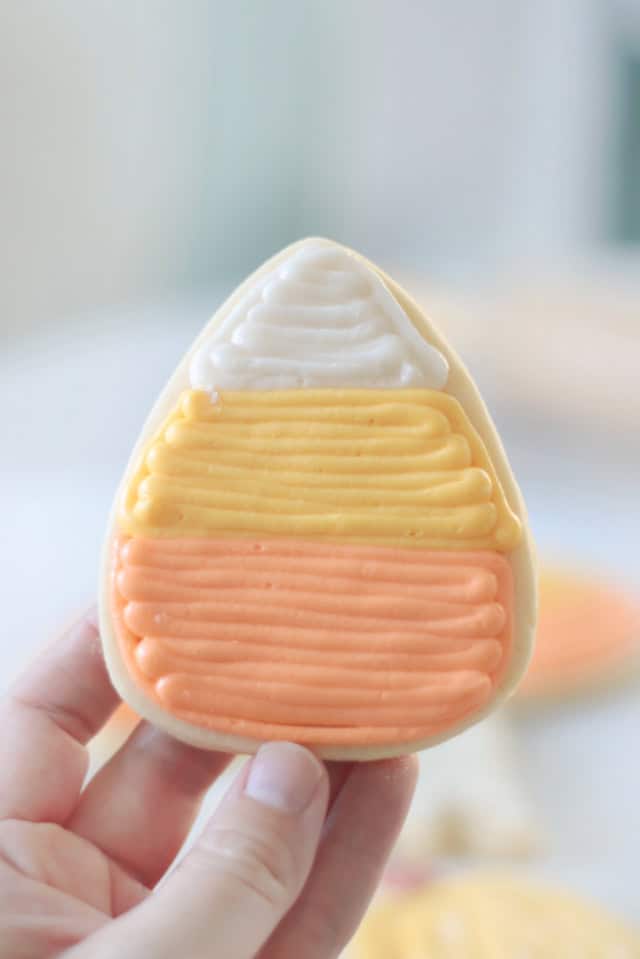
Start by outlining the top section of the cookie with white frosting. Fill in the section using horizontal lines.
Next, outline the center section with yellow frosting and fill it in.
Finally, outline the bottom section with orange frosting and fill it in with horizontal lines.
FAQs
A frosting coupler makes it easy to switch between piping tips without having to use a new frosting bag. Place the inside piece of the coupler into the piping bag, trim the bag to fit, then attach the outside piece and piping tip. See the video above for a step-by-step demonstration.
I use a small round tip, such as a #5 or #7, for outlines and details and a large 1A round tip for covering larger areas of the cookies. These two tips are all you need for the Halloween designs shown in this tutorial.
Yes, these sugar cookies freeze beautifully. I prefer freezing them before decorating, then thawing them completely before adding the buttercream frosting.
Absolutely! These Halloween sugar cookies are a great make-ahead treat.
Bake the cookies, let them cool completely, and freeze the undecorated cookies in a freezer-safe bag or container. When you're ready to decorate, thaw the cookies completely and decorate them with buttercream.
This is especially helpful when you're preparing cookies for a Halloween party, classroom treat, or large cookie tray.
Store decorated Halloween sugar cookies in an airtight container at room temperature or in the refrigerator. The buttercream will set up after about an hour, but it will remain soft. For that reason, I prefer not to stack the cookies right away.
Once the frosting has set, you can stack the cookies no more than two high. If you're giving them as gifts, they can also be wrapped individually in cellophane bags.
More Halloween Recipes to Make

MADE THIS RECIPE AND LOVED IT? 💛 Please leave a STAR rating and COMMENT below! Post it to Facebook or Pinterest to easily share with friends!

Halloween Sugar Cookies
Ingredients
- 1 cup butter softened
- ½ cup shortening
- 1 ½ cup sugar
- 1 egg
- 1 ½ teaspoon vanilla
- 2 teaspoon almond extract
- 4 cup flour
- ½ cup corn starch
- 2 teaspoon baking powder
Frosting
- 1 cup butter softened
- 6 cups powdered sugar
- 2 teaspoons vanilla
- 6-8 Tablespoons milk
Instructions
- In a large mixing bowl combine butter, shortening and sugar. Beat until fluffy. Turn mixer down and add egg, vanilla and almond extract. Add baking powder. Sift in flour* and cornstarch until mixed thoroughly.**Start with 3 ½ cups of flour, and if the dough seems too soft add the last ½ cup of flour. If it seems too dry, add a tablespoon or two of water.
- Lightly flour your working surface and shape dough into a large ball.
- No refrigeration necessary.
- Roll dough out on floured surface to desired thickness (I usually do ¼-1/2") and cut into shapes. Add flour to dough if it feels too sticky but a nice soft dough is what you want. Carefully transfer cut out cookie shapes with a spatula to a baking sheet.
- Bake on baking sheets* in the oven at 325 degrees for 10-12 minutes. Cookies will be soft. Let sit on baking sheet for 5 minutes before carefully moving to a cooling rack. Cool completely on wire rack before frosting.*For best results use light colored baking sheets.
Frosting
- Beat frosting ingredients together in a large bowl with electric mixer. Add more/less milk until desired consistency is achieved.
Decorating Cookies
- Fill decorator (we like disposible) bags with frosting and frosting tip.
- Follow the step by step guide in my post and WATCH our video to see how I used the tips #5 (or #7) and #1A to decorated the cookies!



Ashley says
If I’m wanting to make DIY cookie kits, Is this frosting able to set out at room temp in piping bags or should they be refrigerated?
Brandy says
Buttercream can stay out room temperature for a couple of days. There’s a small amount of milk in it, but it will be fine. I store my frosted cookies at room temperature.
Jeanie says
I used this cookie recipe for Halloween now going to make valentine cookies,this is the best recip I've used!!
Brandy says
I’m so glad you enjoyed it!!
Vickie Embry says
Does the icing hard up like flooded cookies?
Brandy says
It sets up slightly. Enough to stack two cookies tall, but is not as hard as royal icing.
Sina says
Salted or Unsalted butter?
Brandy says
Hi! I use salted butter. If you use unsalted you can add a little salt to the dry ingredients.
Heather says
Does it need to be unsalted or salted butter or does is matter?
Brandy says
Hi! I use salted butter. If you use unsalted you can add a little salt to the dry ingredients.
Tammy says
Question, is the dough supposed to be crumblely or did I do something wrong? I try to roll it out and it keeps breaking apart. Thanks for the help.
Brandy says
Hi! It shouldn’t be very crumbly. It should form into a ball when pressed together and when rolled out feels like play doh. You can add a tablespoon or two of water to see if that helps!
Reisha Glavic says
Do you have a link to the food coloring you used for the icing?
Brandy says
Yep! https://www.amazon.com/Food-Coloring-Set-Cherrysea-Decorating/dp/B0B6C25MWY/ref=mp_s_a_1_2_sspa?keywords=Gel+food+coloring&qid=1662638741&sr=8-2-spons&psc=1&spLa=ZW5jcnlwdGVkUXVhbGlmaWVyPUEyNlNWQk1MTzVDWExPJmVuY3J5cHRlZElkPUEwNzk3NjA0MzZYRVc1VUdFTEtaUiZlbmNyeXB0ZWRBZElkPUEwMDAyNDExMlhWN1BMTENKWUtMUiZ3aWRnZXROYW1lPXNwX3Bob25lX3NlYXJjaF9hdGYmYWN0aW9uPWNsaWNrUmVkaXJlY3QmZG9Ob3RMb2dDbGljaz10cnVl&_encoding=UTF8&tag=homswehom0f-20&linkCode=ur2&linkId=28c424544ad6bbbd5f730f16817eb985&camp=1789&creative=9325
Reisha Glavic says
Hello!
I can’t find the videos of the step by step to decorate each cookie. I don’t think they will load on this link
Could you possibly send me a new link?
Thank you:)
Brandy says
Hi Reisha! The video plays right underneath the first image. Do you have a pop up blocker on? That might prevent it from playing in your browser.