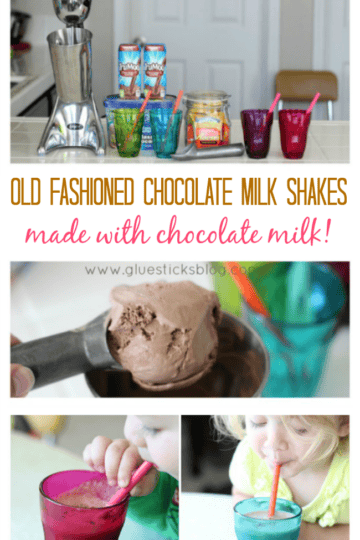
Milkshakes should be made with real ice cream. Plain and simple. Our old fashioned chocolate milkshake recipe uses chocolate milk along with real chocolate ice cream for the best shakes in town! This post contains affiliate links.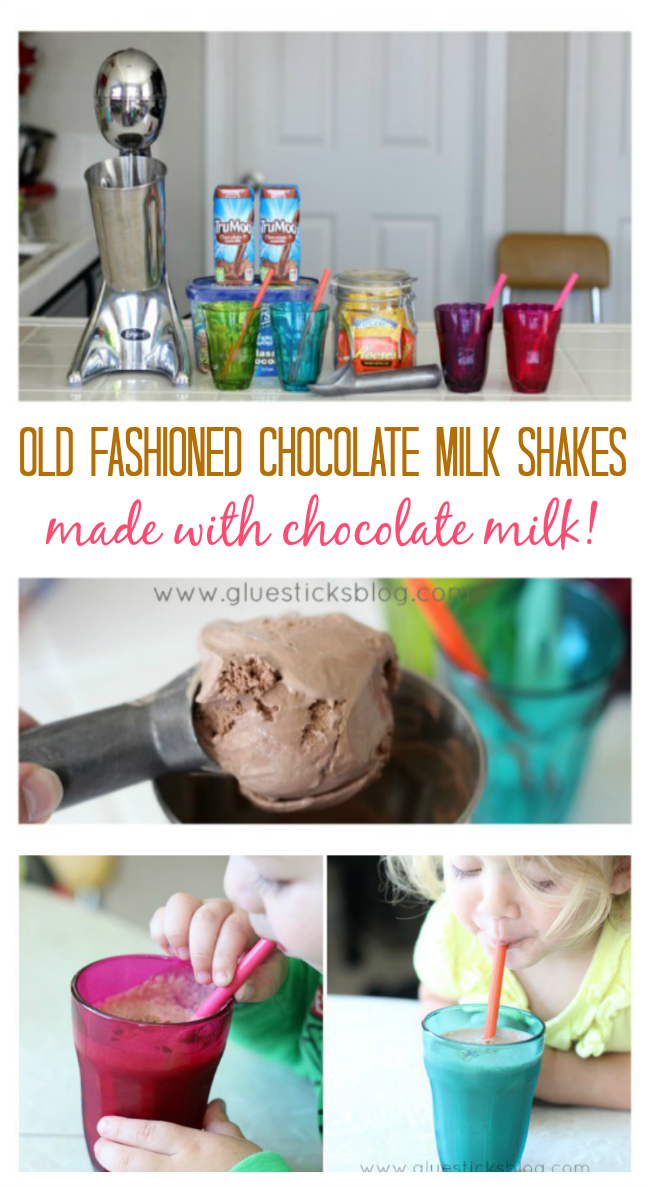
Recently we saw that one of our favorite fast food joints was having a sale on their shakes so we decided to treat the kids to a fun dessert! After waiting 45 minutes (it was so busy and they were way under-staffed) we finally got our shakes. And we were SO disappointed! Most of us didn't even finish them. For some reason we thought that they would have real ice cream in them, but they did not. Every flavor began with soft serve vanilla and they added so much flavoring syrup that it was hard to swallow.
That is when we decided to make REAL shakes with the kids. You know, the kind with ice cream in them! We found an Old Fashioned Ice Cream shop up in Yuba City and they make REAL shakes. The thick, creamy, just ice cream and milk kind. They are worth every penny and those are the ones we wanted to make at home.
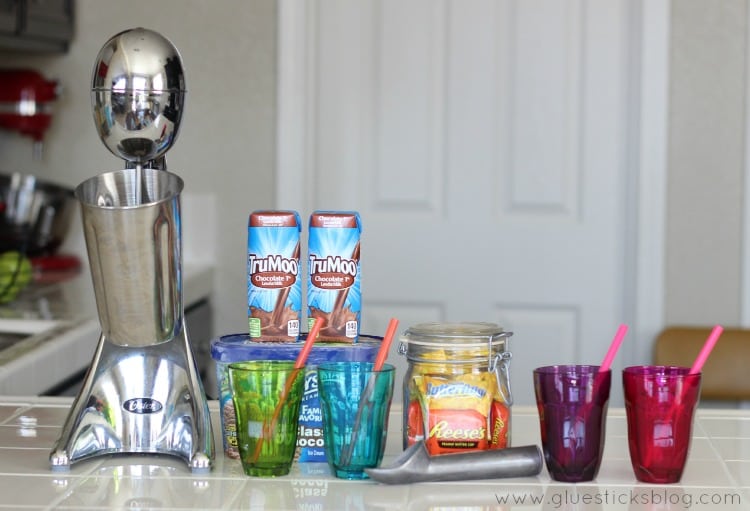
We just so happen to own a milkshake machine and so I pulled it out, stocked up on the kids' favorite candy bar mix-ins, a half gallon of thick and creamy chocolate ice cream, and even splurged on chocolate milk. If we are going to make chocolate shakes, why water it down with white milk? 😉
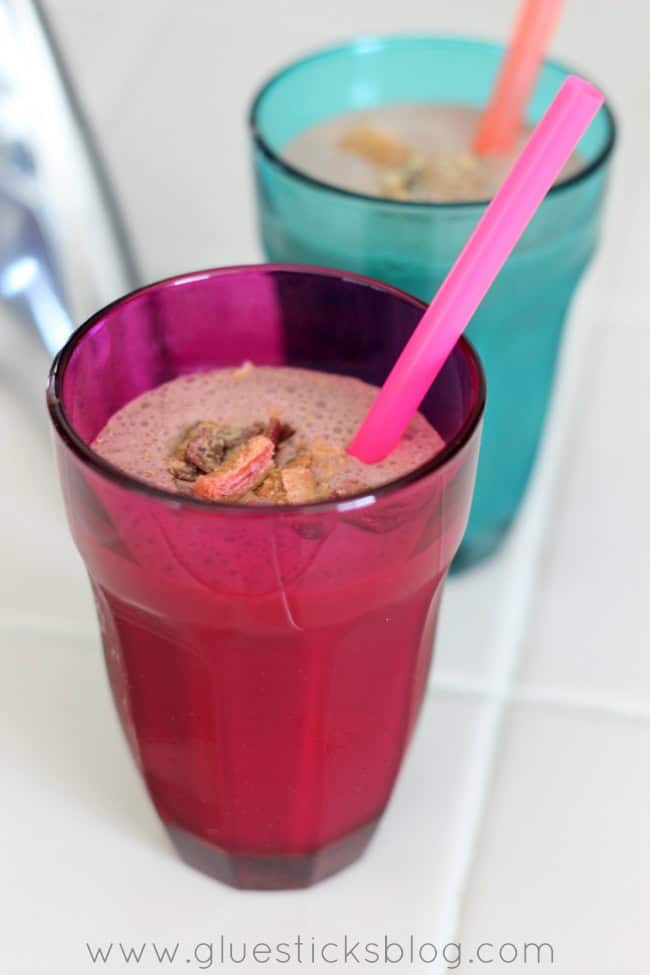
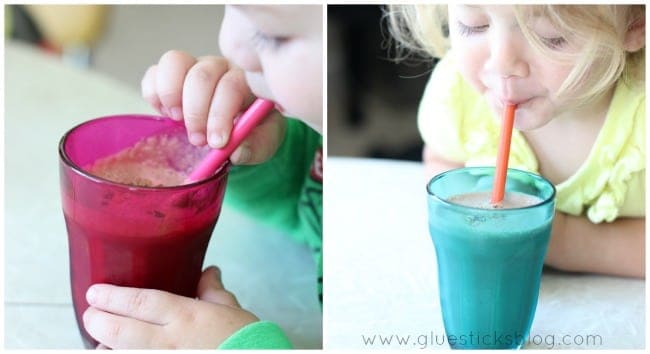
They had fun choosing what kind of shake they were going to have. I asked my oldest if his shake was better than the one at the fast food joint and he said, "SO much better!". What a difference REAL food makes! Ruby even enjoyed one with her little cousin. They didn't care much for their lunch that day, but were excited to make shakes.

Here is how to make our chocolate milkshake recipe!
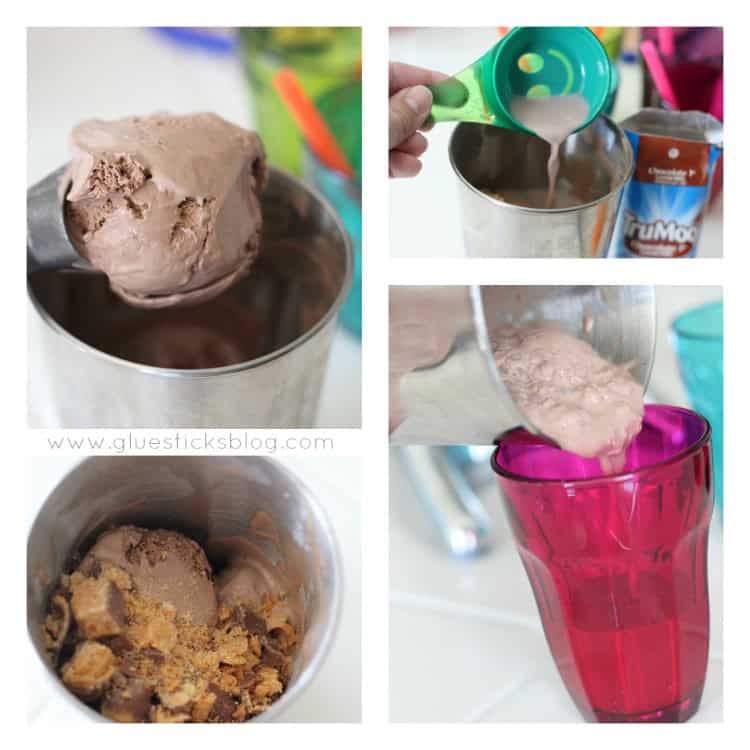
Old Fashioned Chocolate Milkshake Recipe
2 ½ c. ice cream
⅓ c. chocolate milk
¼ mix-ins
Serves 2.
You might also like...
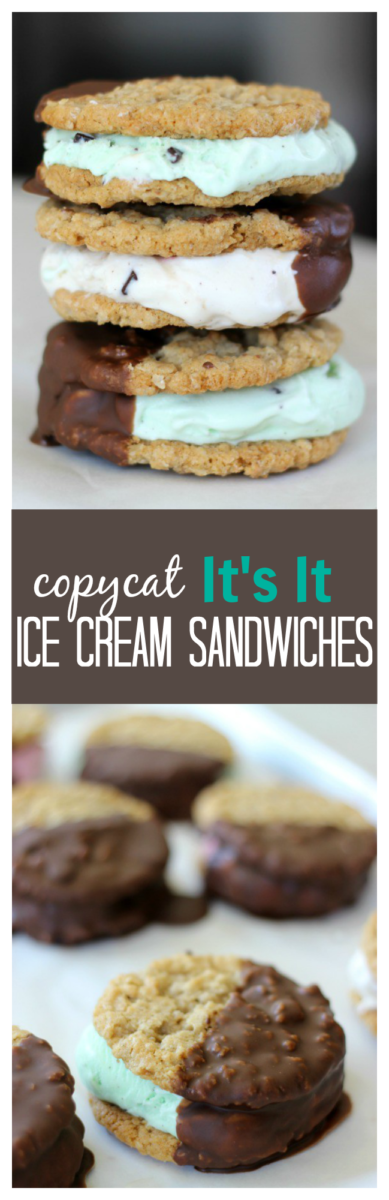
Copycat It's It Ice Cream Sandwiches

30+ Frozen Desserts for Summer


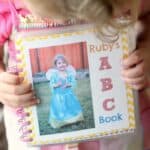

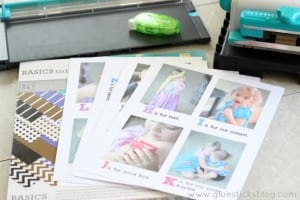


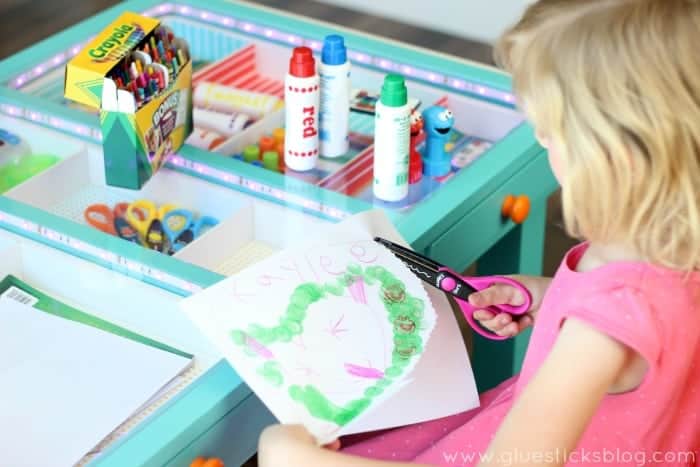
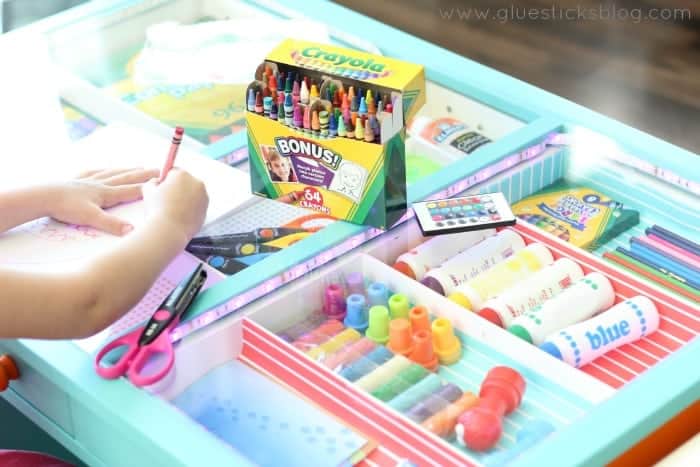
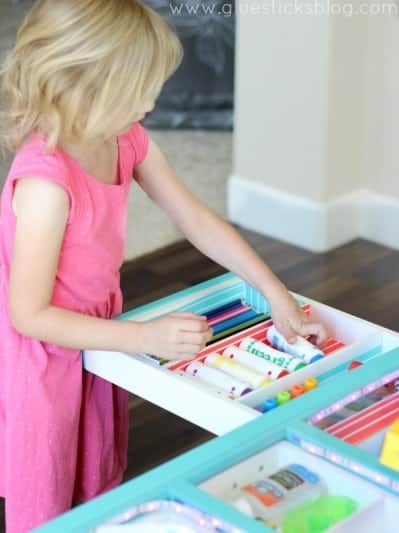
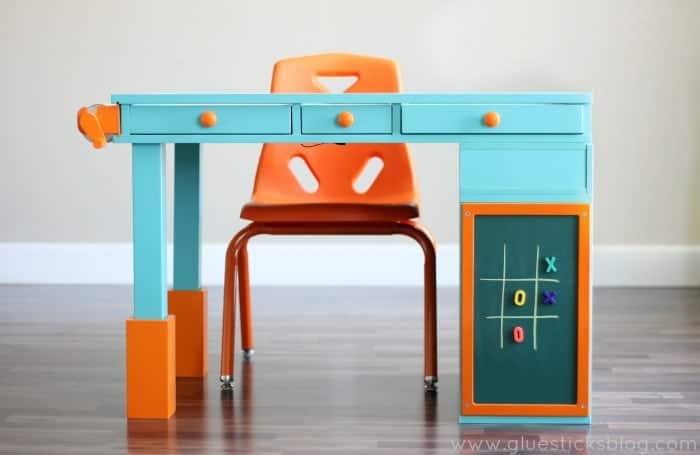
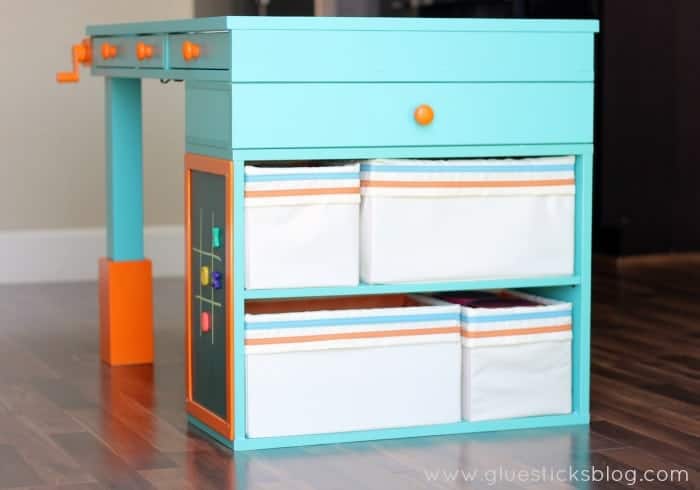
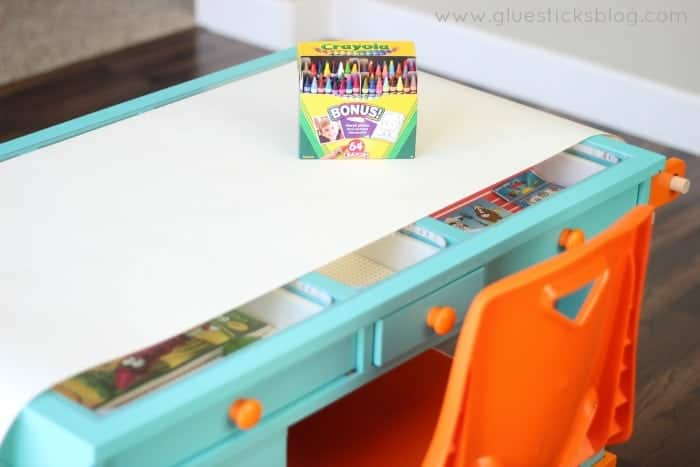
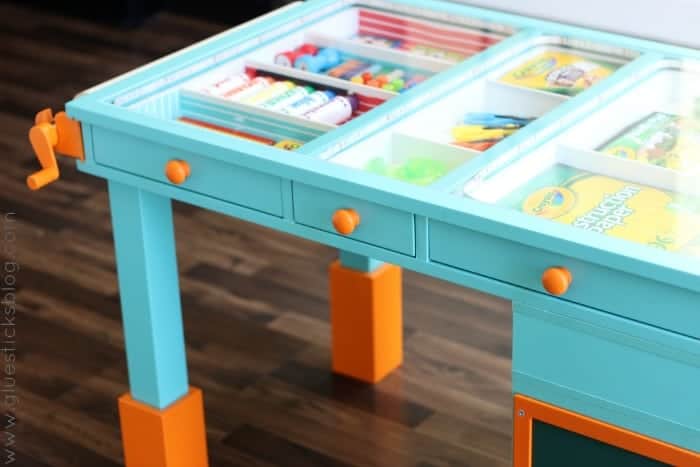
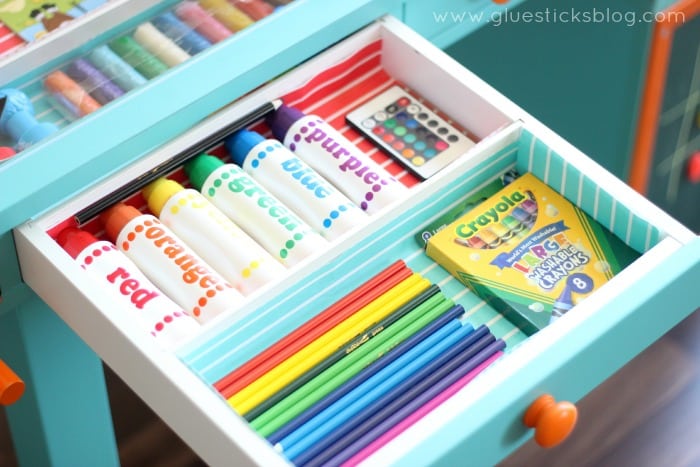
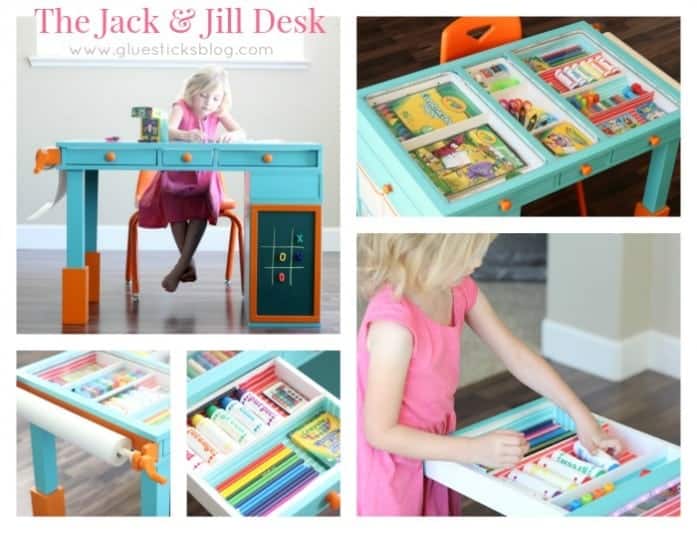 Remember how I was telling you guys a couple of weeks ago how my house was being taken over by kid's craft supplies? And how we had been sharing a joint space for storing some of their items? I also gave you a glimpse of our storage solution.