Today I'd like to share how I re-purposed two pieces of furniture for my office space. Two cheapy laminate stands that were going to be kicked to the curb. Literally. I figured I had nothing to lose, and so I decided to do something with them.
This was my first time painting furniture or finishing furniture of any kind. I was a bit hesitant since I wasn't sure if the paint would stick on top of laminate, but I found a wonderful step by step tutorial to help me along the way and in the end I was able to save money by giving these stands a new life.
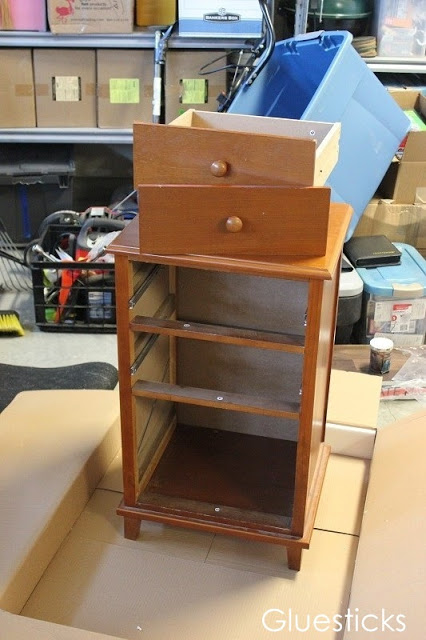
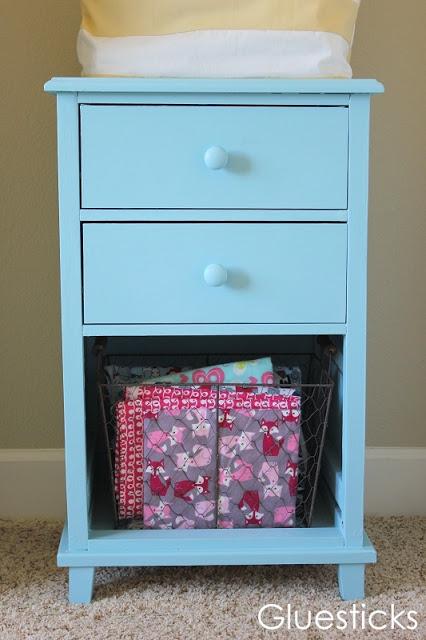
Here is what my sewing machine storage stand looked like before. It was a wooden file cabinet, but the bottom drawer was broken. The hardware for the file folders was un-repairable so I took it out and got rid of the drawer front.
The beauty of the type of primer that I used is that I didn't have to SAND before priming! I applied two coats of primer and followed it up with 2 coats of paint and a coat of clear spray paint.
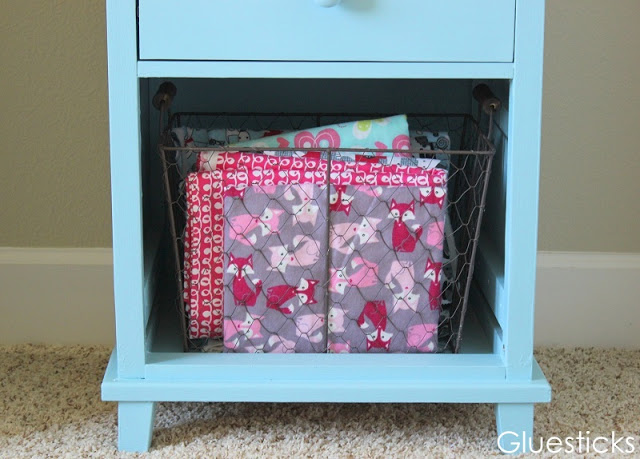
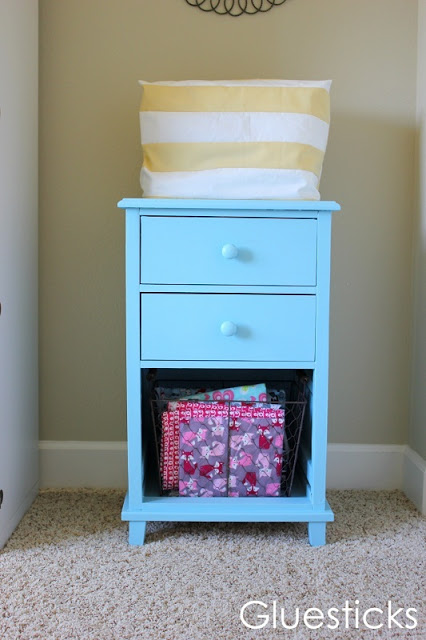
I added a wire basket to hold some fabric and my new storage stand was done! I keep my sewing machine on top and use the drawers for my pressure foot, user manuals, and other supplies.
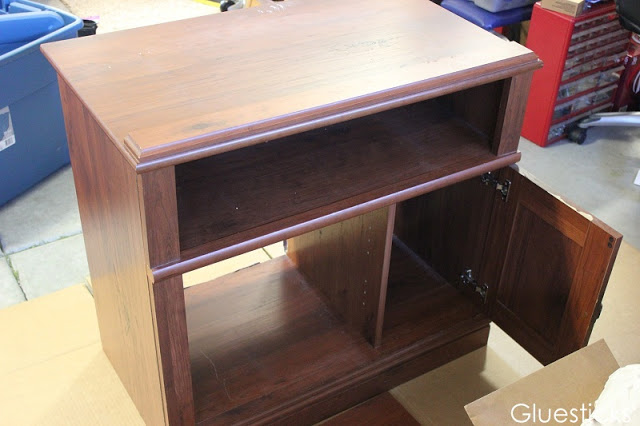
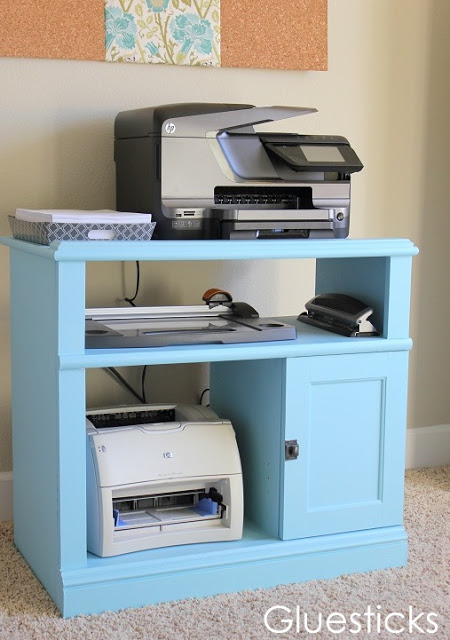
We recently bought a new entertainment stand for our great room and didn't need this anymore. It worked out great since I needed a printer stand for the office. So I gave it the same treatment as the sewing machine stand and voila!
If you are like us you probably have some laminate furniture that could use some sprucing up. And it really is easier than you might think. I swear we have a piece in every room of the house and now I know what I am going to do with it when it starts looking a bit drab.