Looking for a quick treat to put together to fill that late night craving for chocolate? What? You don't eat after 7pm? I wish I had that much will power. Well, for the rest of us, here is one of my favorite treats. And I made these at 7:30 tonight because I realized that I didn't have any sort of dessert in the house. And it's Saturday night. And I wanted some.
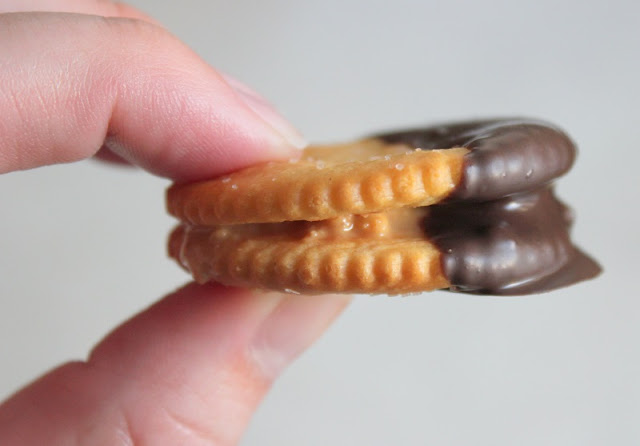
Ritz, peanut butter, and chocolate. It's the perfect sweet and salty combo. Think of a Take 5 candy bar.
Ritz, peanut butter, and chocolate. It's the perfect sweet and salty combo. Think of a Take 5 candy bar.
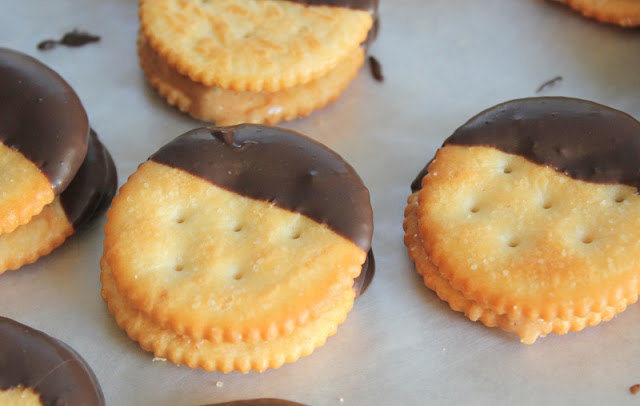
Spread peanut butter in between 2 Ritz crackers and dip in melting chocolate (Wilton candy melts or Ghirardhelli bars work well). Let set on wax paper in a cool place until the chocolate hardens. White chocolate is amazing as well.
Please make some of these so that I am not the only one stuffing my face after the kids go to bed.