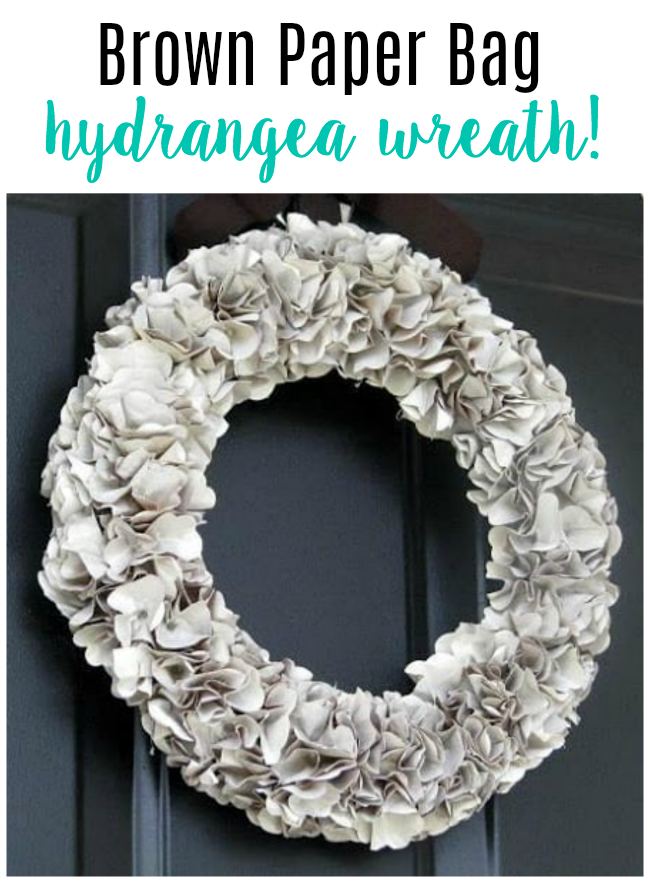
I love hydrangeas and would love to have a yard full of those gorgeous flowers! Instead, I'll have to settle for faux hydrangeas in vases or hydrangea wreaths because our yard lacks one thing. SHADE. Any kind of shade. This wreath was a happy accident. I made it after seeing this one and decided to give it a coat of spray paint. Voila---a faux hydrangea wreath was born and I couldn't love it more! Looking at it, you'd never guess it was made from brown paper lunch sacks! And my cost was $1 for the foam ring at the Dollar Tree store. Even better!
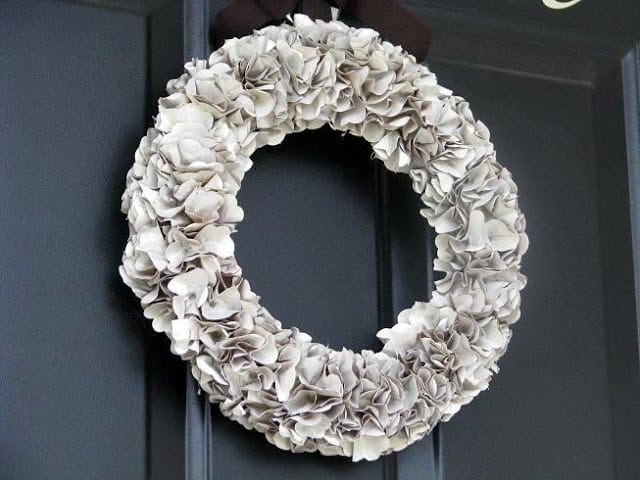
Paper Bag Wreath Tutorial
- Brown paper bags (Walmart)
- 3" Scalloped Punch (Amazon)
- Hot Glue/Gun
- Pencil or dowel
- Wreath Base (Dollar Tree)
- spray paint (cream colored)
How to Make a Paper Bag Wreath
Step 1: Cut out dozens and dozens of scalloped circles using your paper punch. You can also cut them out using a cricut or silhouette machine, but a paper punch works great. They are going to start to fall all over the place, so go ahead and get out a bowl to keep them in while you punch. Turn on your favorite show on Netflix and get punchin'!
Step 2: Pick up the pencil and wrap one circle around the end. (Do you remember making tissue paper pictures in kindergarten? You know, the ones where you wrap tissue paper around a pencil, dip it in Elmer's glue then push it onto a paper? This is the same technique. Only use hot glue instead of Elmer's glue and push them onto a wreath base.) Wrap and gluing until the wreath is nice and full.
Step 3: Give the wreath a light coat of cream colored spray paint. Repeat if desired.
5 More Wreath Tutorials That You May Like!
Target Dollar Spot Pumpkin Wreath Tutorial: Stop by your local target, grab six $1 pumpkins from Bullseye’s Playground and Dollar Spot, then follow our Dollar Spot pumpkin wreath tutorial for a gorgeous wreath to hang on your front door!
Citrus Greenery Wreath: Bright pops of citrus, greenery and gingham combine for an adorable & easy citrus wreath to make this summer!
Spring Hydrangea Wreath: How to make a hydrangea wreath for a fraction of the price of a custom store bought one. In less than an hour!
DIY Ornament Wreath: One of the most stunning wreaths, and I get so many compliments on it! Everyone needs an ornament wreath on their front door during the holiday season!
Old Glory Patriotic Wreath Tutorial: A gorgeous wreath to hang during the summer months! This patriotic wreath tutorial is simple to make, quick, and inexpensive!





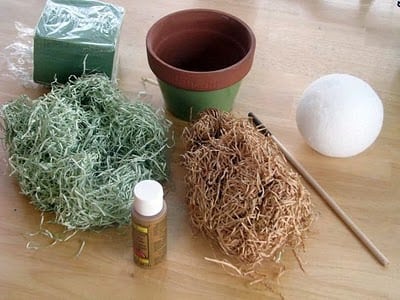
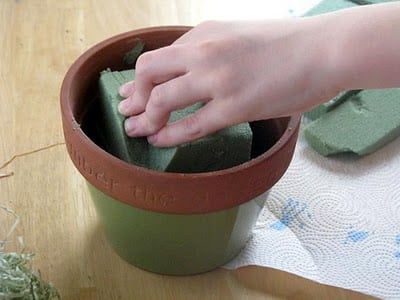
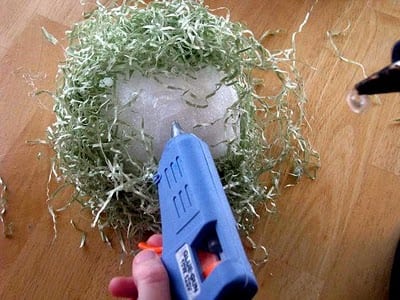
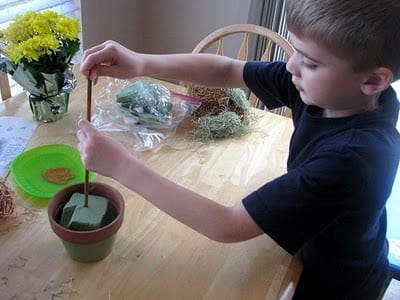
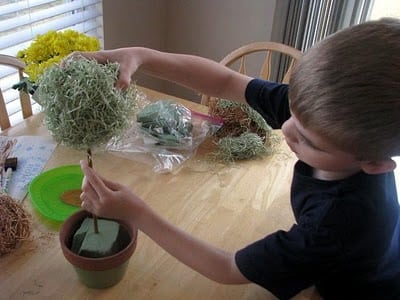
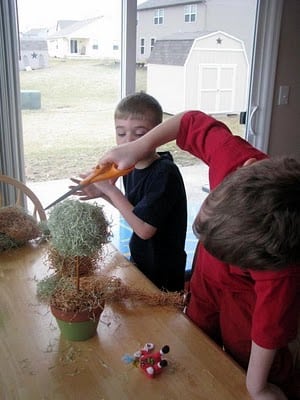
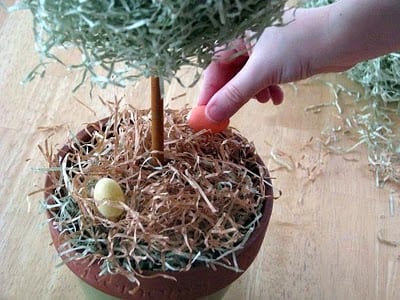
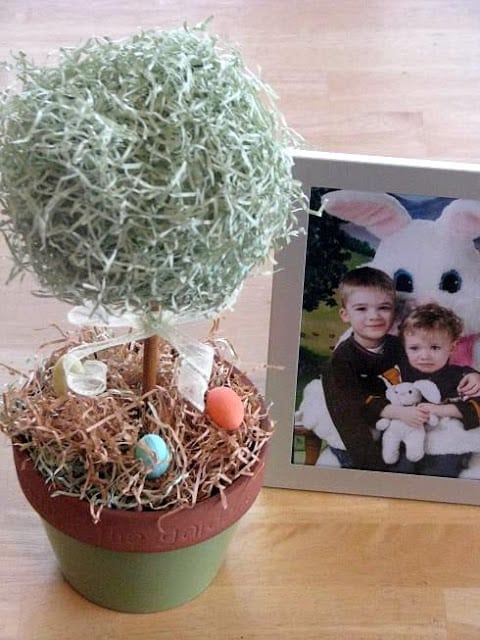 Here is a fun springtime topiary that the kids helped me make this week. We were able to use supplies that we already had from around the house to make it a no cost project. I love those!
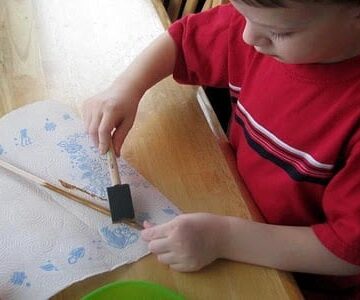
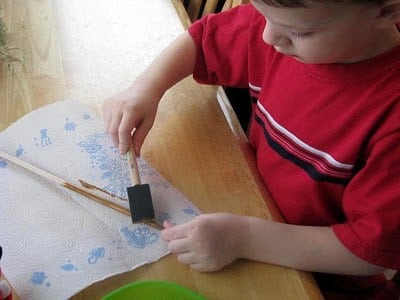 First, Aaron painted the dowel brown.


 We had some plaster of paris in our craft closet that had been in there for YEARS. So I thought we'd finally do something with it. I mixed it up and poured it into some small frying pans. I let it sit 5 minutes so that it could begin to set up. Then I sprayed the kid's hands with non stick spray and dipped them into the plaster. I also added a hole with a straw so that we could hang them.
 We used acrylic paint. The kids had fun customizing their plates.
 Kaylee had a little help with the blue paint, but did the green accents all by herself 🙂 We let them dry, then I added a coat of mod podge on the front and the back to seal it and make it smooth.
 Here they are! They've been done for 4 days and the kids keep asking when we are going to hang them up!
 When the basement is done, these will be the first things we put up! Perfect for the toy room. And perfect as keepsakes of their little hands for us to have forever!


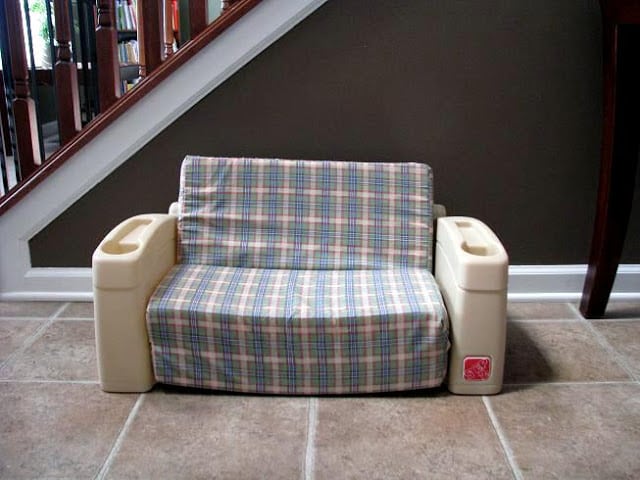
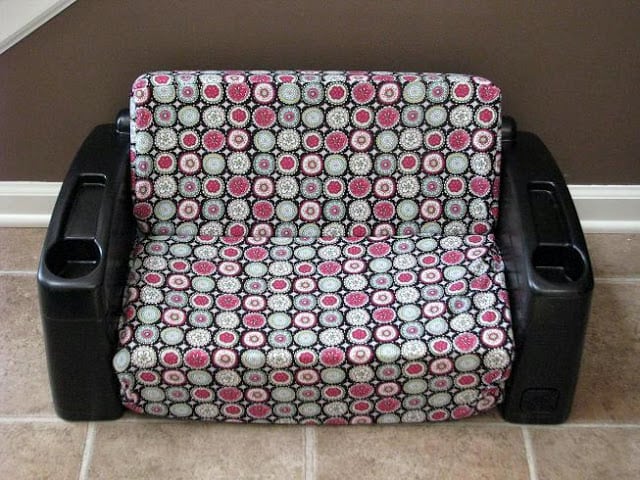

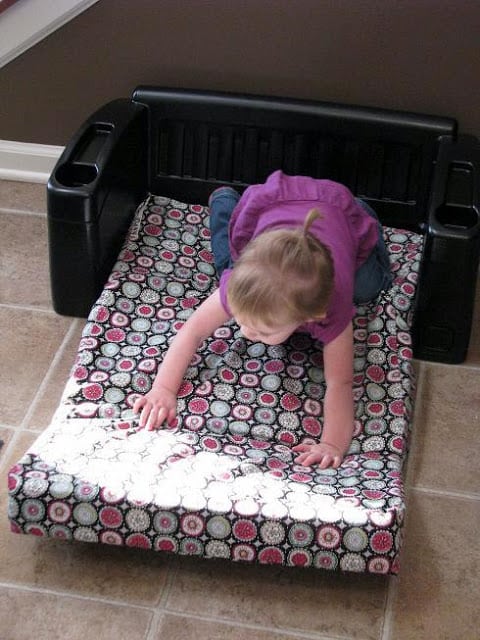 Checking out the fold out feature 🙂
