How To Make Your Own DIY Wall Decals
DIY Wall Decals Made From Scrapbook Paper
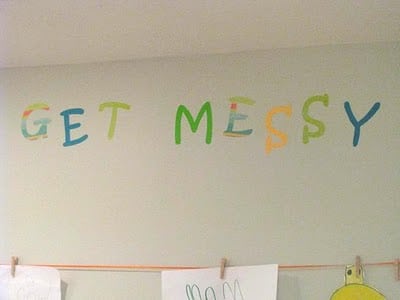
DIY wall decals made from scrapbook paper and contact paper. Peel and stick, removable, and perfect for kids rooms! Create any phrase or shapes you’d like!
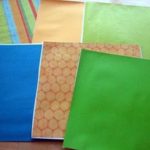
- Scrapbooking Paper
- Contact Paper
- Mod Podge (or spray adhesive)
- Foam Brush
-
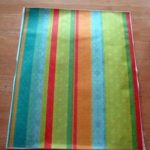
Brush a layer of mod podge onto the top of a piece of contact paper, then place a sheet of paper on top of that.

-
Press down firmly and get rid of the air bubbles. Place under a board or something heavy to keep it flat while drying.
-
Once the sheets have dried, they are ready to be cut!
-
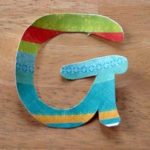
You can use a cricut or stencils to cut into desired shapes.
Note: I haven't tried spray adhesive, but would imagine that it would work just fine as an alternative method. Just spray and place a board over until set.
I noticed a few of my corners and edges coming off of the contact paper when I went to peel the backings off. I guess the mod podge wasn't thick enough in those areas. I just added a little tacky glue to fix the small spots and they were good to go.
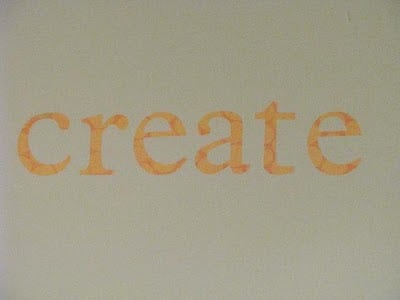
Custom peel and stick letters that are nice and sturdy, easy to place onto a wall, reposition-able, and inexpensive!
And these aren't limited to lettering! The possibilities are endless especially with the huge variety of cricut cartridges. You can make all sorts of custom scenes for your wall.
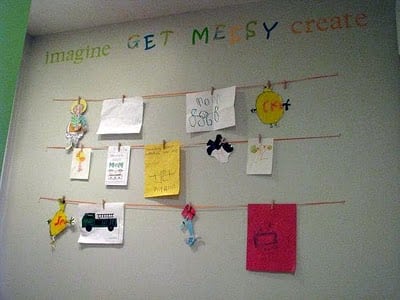
Our basement is brighter lit than most basements, but it is still hard to take a good picture down there. You get the idea.


Wendy says
So cool, I never thought of adding paper to contact paper, I it all the time in my cricut. Smart Girl!
Craft Envy says
I love this idea! We'd love you to share it at our saturday linky party! nv-craftenvy.blogspot.com
themasons says
great idea! very cool
Terri says
What a great idea, thanks! I was just about to create something sililar and wasn't happy with the plain color vinyl!
Michele {The Scrap Shoppe} says
This is such a great idea! I've been wanting to do something similar, but hadn't yet figured out how. Love it! Thanks so much for sharing!
That's A Stitch says
Brilliant! I will have to try this.
Lori says
Great idea. i love it.
Thanks for joining Get Your Craft on Thursday at Life As Lori. Please join me next week for another great party.
meredith* says
I'm all about contact paper to get the same look. this idea is great too!! stopping in from transformation Thursday!
The Autocrat: Haley says
Who thinks of this?! WOW you are a genius!! Good job!
Lisa F says
Love it! I'm glad you tried (and this is going to be a LOT easier to clean up than the flour/water mess that I used!
Brooke says
Wow, you are a genius! I must try this very soon!
Janelle says
Wow! Very nice 🙂 I found your post on the tea rose home link party!
gisele.artes says
Love this! You´re so creative!!
Jen C. says
Incredible!! What a grand idea! I am just gushing here, but I think this is really a wonderfully inexpensive and easy way to make custom lettering. Thank you for experimenting and sharing!
Liz @ LivingMySweetLife says
LOVE this! I would like to try this in our playroom/office/craft area... Thanks for the wonderful inspiration!