Gluesticks Blog

menu icon
go to homepage
  • Summer
  • DIY
  • Recipes
  • About Me
  • Subscribe
    • Facebook
    • Instagram
    • Pinterest
  • subscribe
    search icon
    Homepage link
    • Summer
    • DIY
    • Recipes
    • About Me
    • Subscribe
    • Facebook
    • Instagram
    • Pinterest
  • ×
    Home » Craft Tutorials » Kids Crafts

    Pencil Eraser Stamped T-Shirt {Halloween}

    Modified: Sep 4, 2025 · Published: Aug 12, 2019 by Brandy · This post may contain affiliate links.

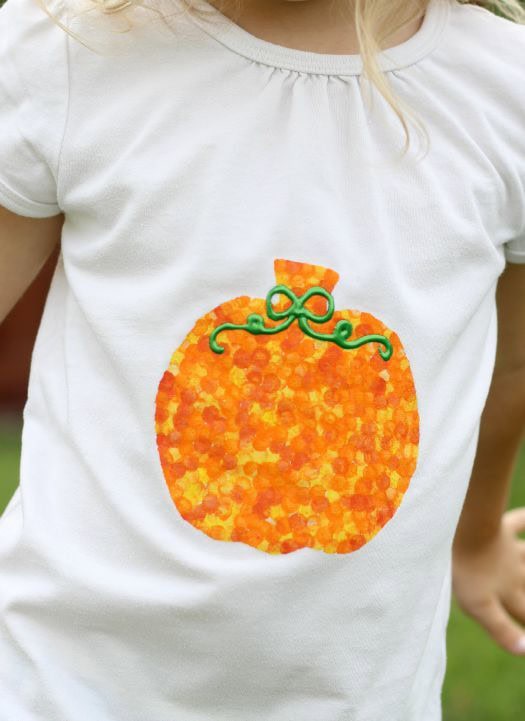
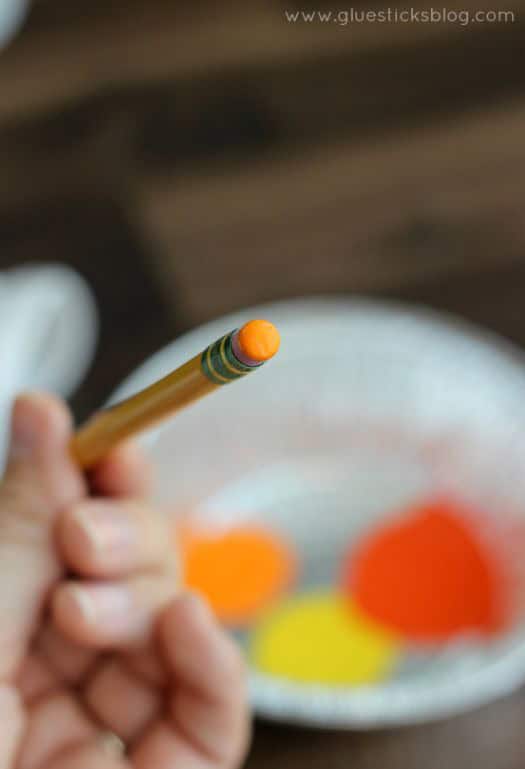
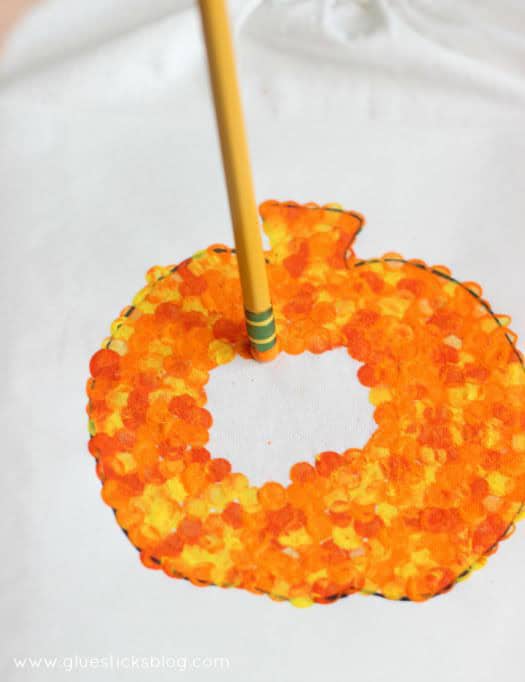
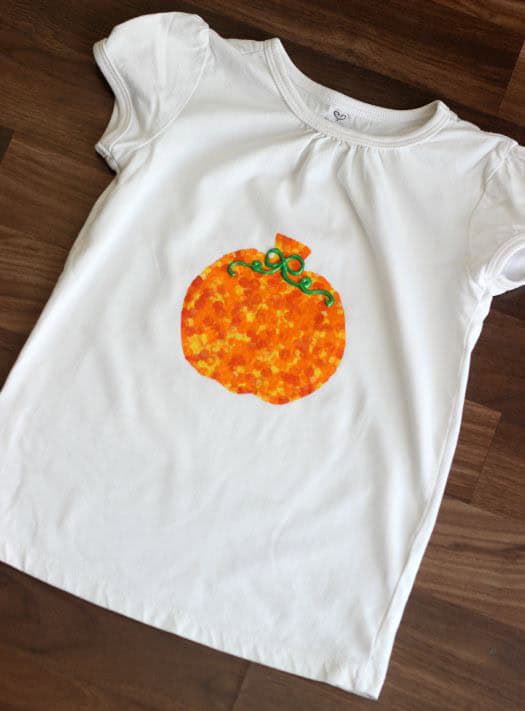
    Did you know that you can paint with pencil erasers? This pencil eraser stamped t-shirt is so cute and easy to make for any holiday or occasion. This post contains affiliate links from Amazon.

    how to make a pencil eraser stamped t-shirt

    pencil stamped shirt
    This little t-shirt had been around for quite awhile and had a few small spots on it. We gave it a new life and added some Halloween pizazz at the same time using craft paint and a pencil eraser! Wouldn't a heart be cute with red, pink, and white for Valentine's Day? How about a shamrock with different shades of green for St. Patrick's Day? These would be a great classroom project too. The possibilities are endless!

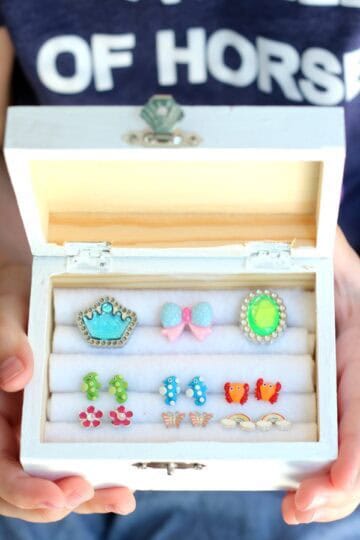
    5 More Crafts for Kids To Make:

    Temporary Tattoo Soap

    Jelly Soap

    Wash Cloth Puppies

    Heart Plushies

    Clear Ornament Penguin

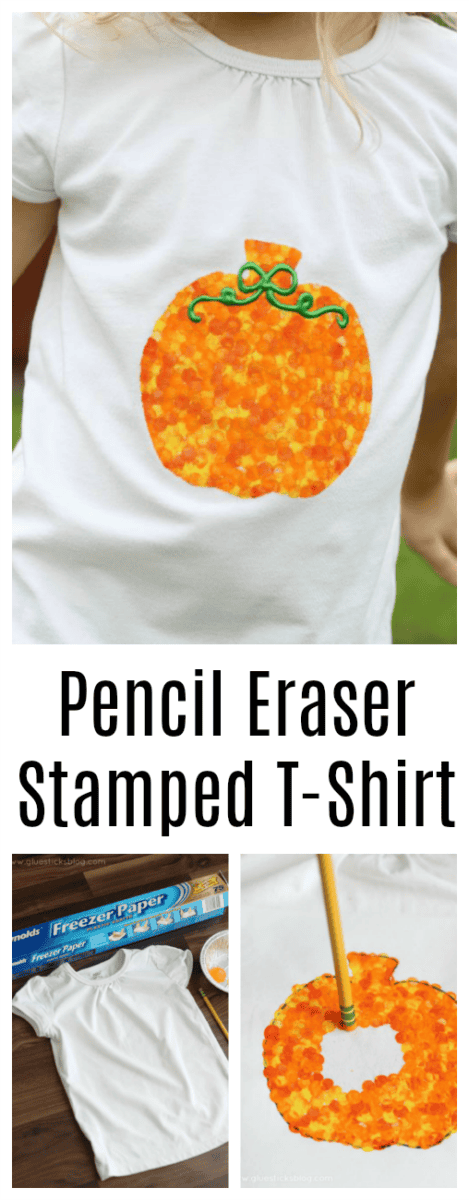
    Pencil Eraser Stamped T-Shirt Tutorial
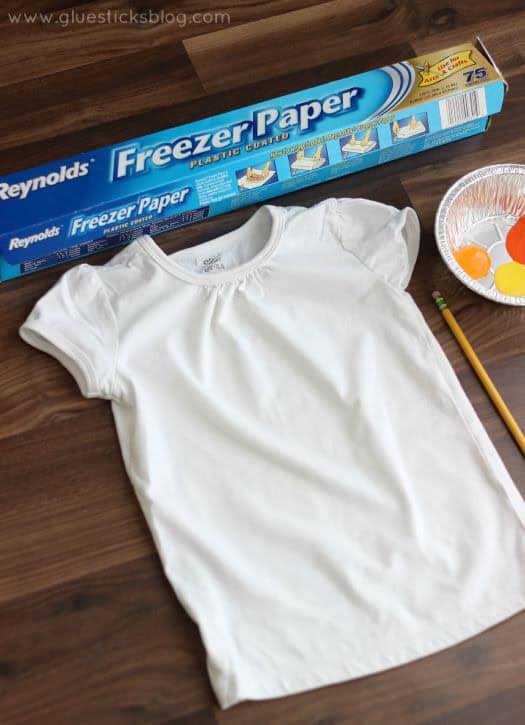
    Pencil Eraser Painted T-Shirt
    Supplies:

    T-shirt

    Freezer Paper

    Scissors

    Acrylic Craft Paint

    Pencil with Eraser

    Fabric Puffy Paint, optional

    Iron

    Pencil Eraser Painted T-Shirt
    Instructions:

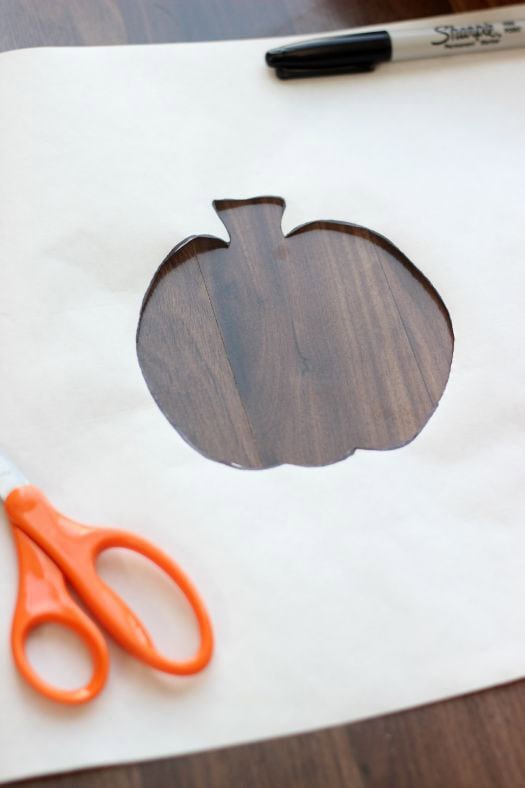
    Step 1: Trace a pumpkin shape onto a piece of freezer paper. A cookie cutter works great for tracing the shape.

    Note: Freezer paper is perfect for making your own stencils. I've been using it for years for making fun shirts for the kids. One side is matte finish and the other side is shiny. When you place the shiny side down and iron from the matte side, it will stick to the surface! It peels away easily and leaves nice clean paint edges.

    Pencil Eraser Painted T-Shirt

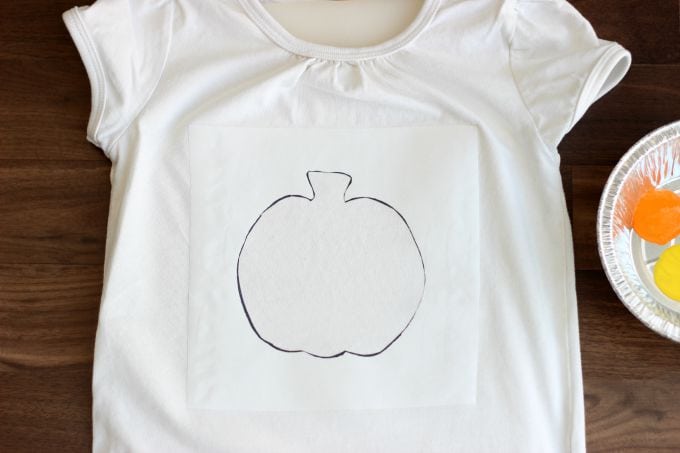
    Step 2: Iron stencil onto your shirt. Place a small cutting board or piece of cardboard inside the shirt to prevent the paint from soaking through.

    Pencil Eraser Painted T-Shirt
    Step 3: Now pass it over to the kids and let them start stamping!

    Pencil Eraser Painted T-Shirt
    These colors remind me of fall. They'd be the perfect color scheme for a leaf shape stencil too.

    Pencil Eraser Painted T-Shirt
    Soon the stencil will be filled and look very colorful!

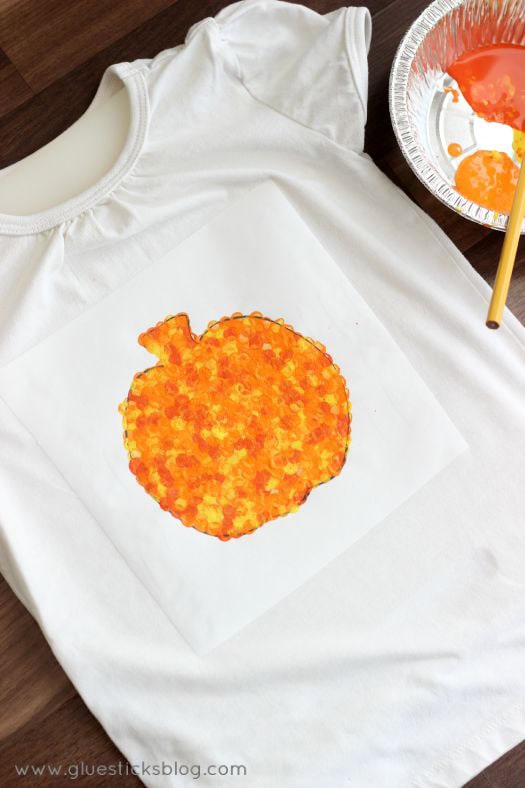
    Step 4: Let dry for about 10 minutes before removing the freezer paper. Let dry completely.


    Pencil Eraser Painted T-Shirt
    If you'd like to add a little embellishment you can do that with some puffy paint. Let dry. Wash inside out the first time in a normal cycle and tumble dry.

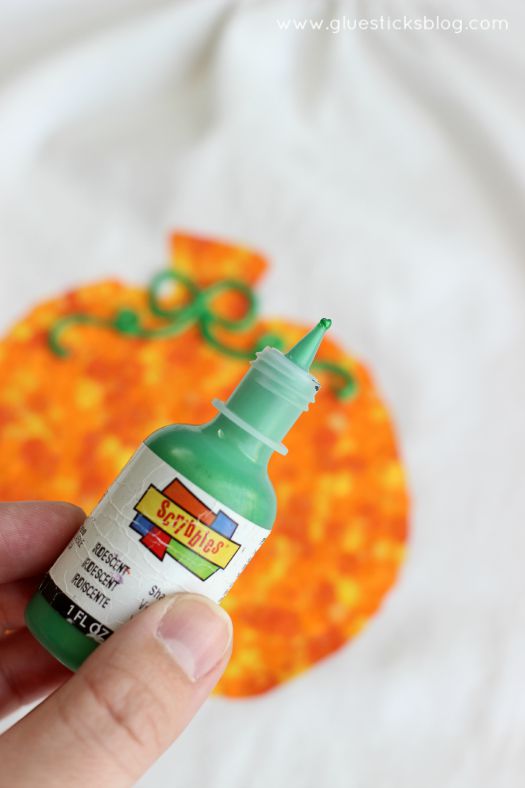
    Acrylic craft paint is permanent so it is great for these kinds of projects. Optional: For a softer feel, add a bit of fabric medium to your paint. This will help it soak into the shirt instead of just sitting on top. 

    Pencil Eraser Painted T-Shirt
    Cute, right? What shape should we make next? A heart for Valentine's Day? A shamrock for St. Patrick's Day? An egg for Easter? How about a Christmas tree? You could add ornaments after the tree dries using red and yellow eraser dots or puffy paint. The possibilities are endless!

    These DIY heart plushies come together quickly, and are a great beginning sewing project for kids! Fill with stuffing, dried lavender or beans!

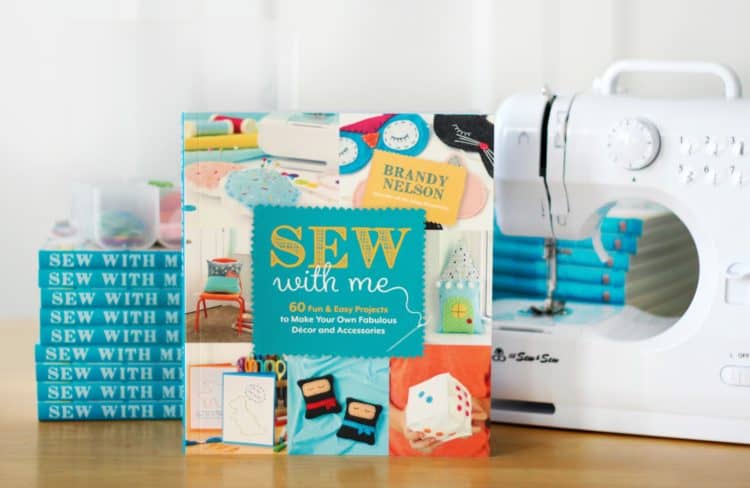
    If you are looking for an entire collection of projects to make with kids check out my book! It has 60 step by step projects with hand stitching and machine stitching techniques! With 5 chapters you and your little one will have fun picking out holiday projects, things to make for their room, projects to use at school, fashion accessories, and simple gift ideas! My favorite 4 projects in the book are our Ninja Buddy Rice Bags, Felt Nesting Boxes, Bunny Bags, and E-Reader Holder.

    A brand new sewing book for kids! Sew with Me has 60 step-by-step projects divided into 3 sewing levels. There is something for everyone! Pre-Oder before December 11th and receive a mini sewing kit for free!


    Share
    Pin

    More Kids Crafts

    • Arms with stacks of bandana bracelets on them.
      Easy DIY Bandana Bracelets
    • White candles decorated with wax candle pens.
      How to Decorate Candles with Wax Candle Pens
    • Pop Tart nativity scene on white plate.
      Pop Tart Nativity Scene
    • DIY Jewelry Box for Kids to Organize Rings and Earrings!

    About Brandy

    Welcome! I'm Brandy, mother to 5 darling kiddos and a cute black lab named Toby. My husband is in the Coast Guard so we've lived all over the place, turning each house into a home. I love baking, sewing, making cute things with my kids, and sharing what I've learned with all of you!

    Leave a Reply Cancel reply

    Your email address will not be published. Required fields are marked *

    Recipe Rating


    This site uses Akismet to reduce spam. Learn how your comment data is processed.

    Welcome!

    I'm Brandy! I love to create and share my ideas through easy-to-follow recipes and tutorials.

    More about me

    As an Amazon Associate, I make a small commission on qualifying purchases.

    sew with me kids sewing book
    My Book

    Summer Posts

    • Cherry pie on prep mat.
      Best Cherry Pie Recipe
    • Bandanna Picnic Blanket Tutorial
    • diy tiki torch planter on black plant stand
      DIY Tiki Torch Planter (Table or Stand) + Video
    • slab pie on white plate
      Peach Slab Pie
    • toddler playing with dinosaur garden
      Dinosaur Garden For Kids (Fairy Garden) (Video)
    • water bottle sewing tutorial
      Color Block Fabric Water Bottle Holder Tutorial
    • strawberry pie with whipped cream on top.
      Fresh Strawberry Pie Recipe (Video)
    • slice of ice cream cake on spatula
      Oreo Ice Cream Sandwich Cake
    See more Summer →

    Latest Posts

    • Stack of colorful bandana hair bows.
      How To Make Easy Bandana Hair Bows (No-Sew)
    • Slice of Chessmen banana pudding on a metal spatula.
      Chessmen Cookie Banana Pudding (Easy No Bake Recipe)
    • Chocolate cake coated in ganache and mini chocolate chips.
      Best Chocolate Pudding Bundt Cake
    • Corned beef, cabbage, carrots, potatoes and roll in serving dish.
      Corned Beef and Cabbage (Stovetop, Slow Cooker or Instant Pot)
    • Hand holding yellow chick sugar cookie.
      Chubby Chick Sugar Cookies (No Cookie Cutter Needed)
    • Bunny sugar cookie with buttercream carrot.
      Chubby Bunny Sugar Cookies (No Cookie Cutter Needed)

    Footer

    ↑ Back to Top

    About

    • Privacy Policy
    • Accessibility Policy

    Newsletter

    • Sign Up! for emails and updates

    Contact

    • Contact

    As an Amazon Associate, I earn from qualifying purchases.

    Copyright © 2025 Gluesticks Blog