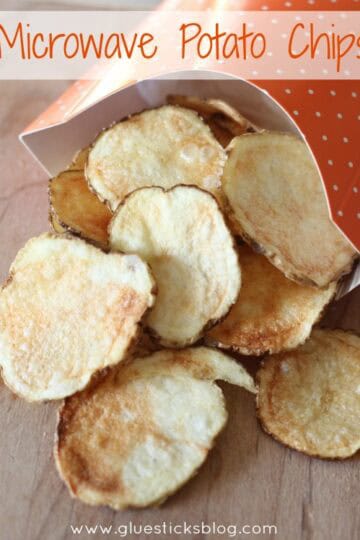
Microwave potato chips are one of my kids favorite after school snacks. They are easy to make and are made from natural ingredients. Potatoes, sea salt, and olive oil. That's it!
Microwave Potato Chips
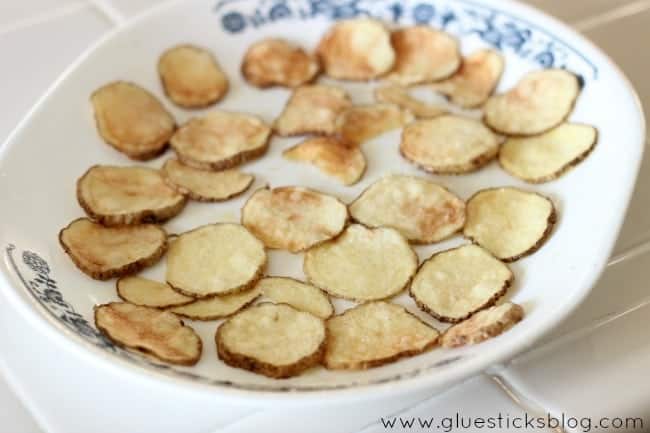
Slice 2 potatoes nice and thin. Spray (or brush) a platter/plate with a light coat of olive oil (I like the spray can olive oil that you can buy near the non-stick cooking spray). Arrange potatoes in a single layer. Spray (or brush) top of potatoes with olive oil and sprinkle with sea salt.
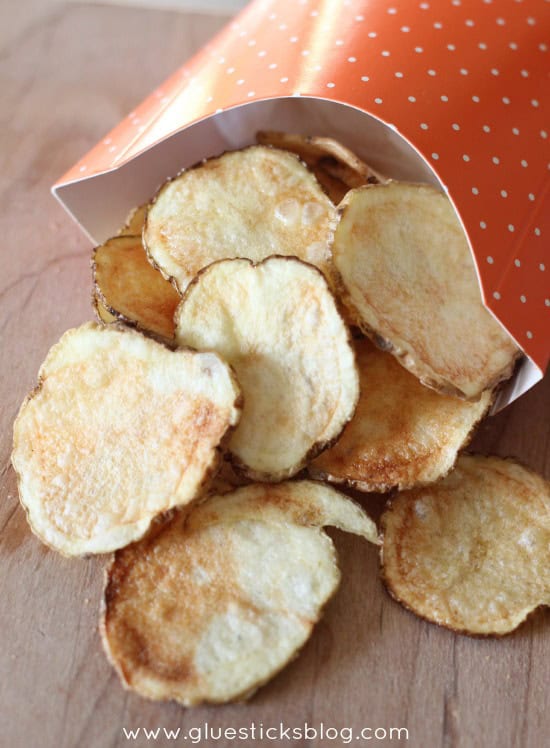
Microwave 8-10 minutes or until golden brown. Every microwave cooks differently so just check it around 6-8 minutes and add minutes if needed. The chips need to be golden for them to crisp up nicely.
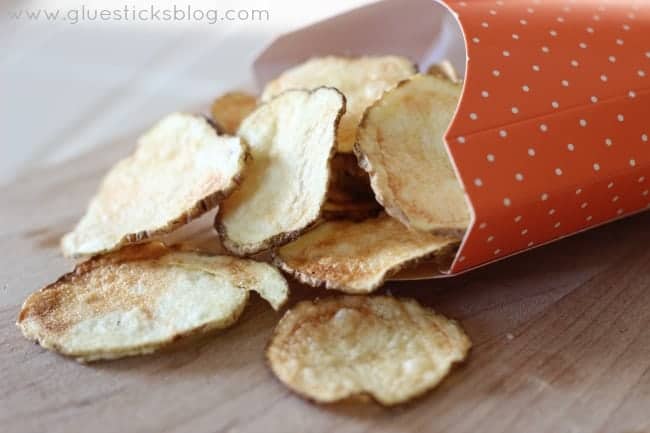
Since there are no preservatives, they are only good when they are fresh. They will become soft if left to sit over night.