A childhood favorite dinner, fried soft tacos! Soft flour tortillas are fried in a shallow pan in coconut oil until golden on each side. Fill with taco meat, cheese and a variety of toppings. My mom used chili instead of taco meat for a mock Navajo taco. So yummy!
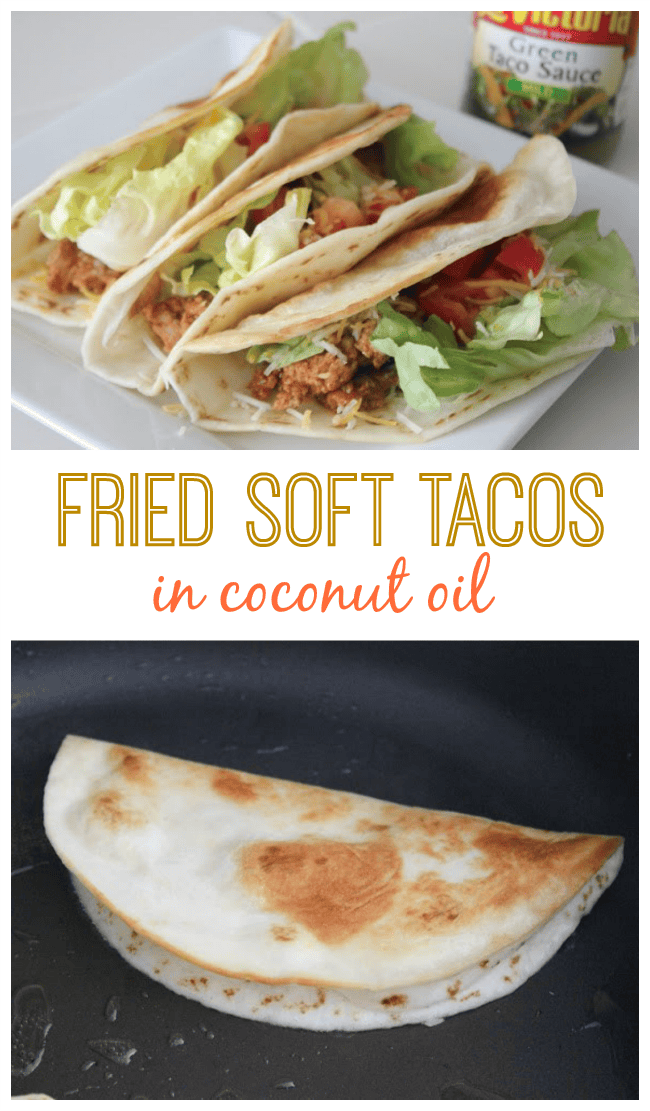


Did you grow up on fried soft tacos? I did and so did my husband. It is still my favorite way to have a taco, but I only make them on rare occasions because throwing that huge spoonful of shortening into the pan kind of makes my heart hurt. But they are oh so good! Recently I tried using coconut oil and they were JUST as good. So that is a better alternative.  If  you haven't had a soft taco this way, you need to try it. And make them for your family...a few times a year.
Fried Soft Tacos in Coconut Oil
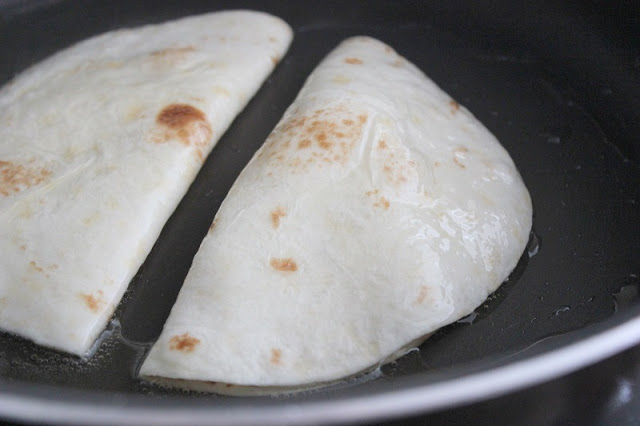
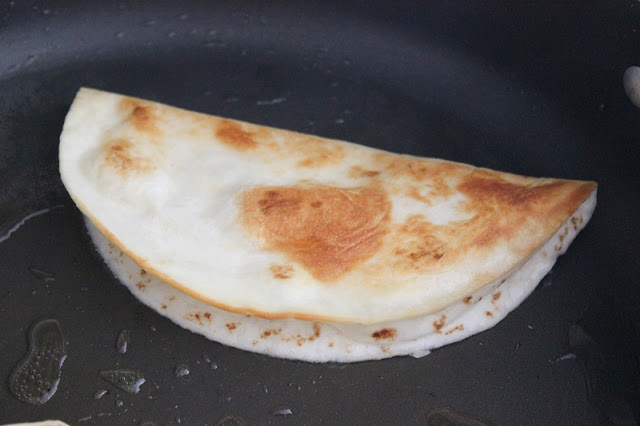
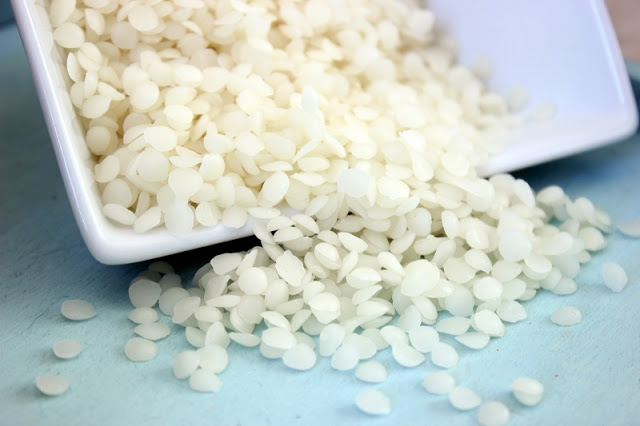
I throw a BIG spoonful (about ⅓ c.) of shortening or coconut oil into a hot frying pan. Fold your tortilla in half and toss it into the oil. When it begins to puff up and turn golden brown on the bottom, flip it over with some tongs and fry the other side.
Repeat for remaining tortillas. I usually do two at a time. Add more shortening if needed.

Drain on paper towels and fill with your favorite taco fillings!
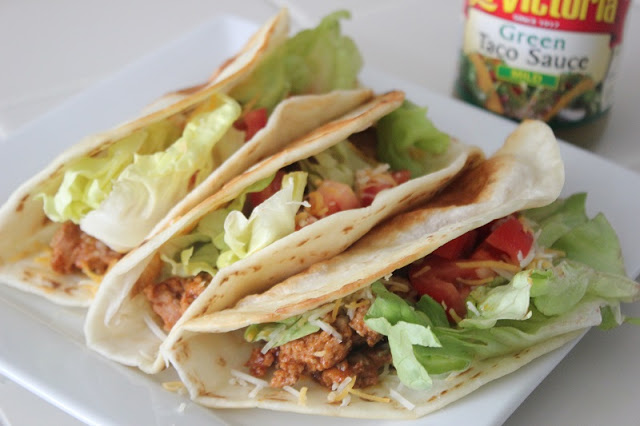
Heaven on a plate right there.
You might also like...
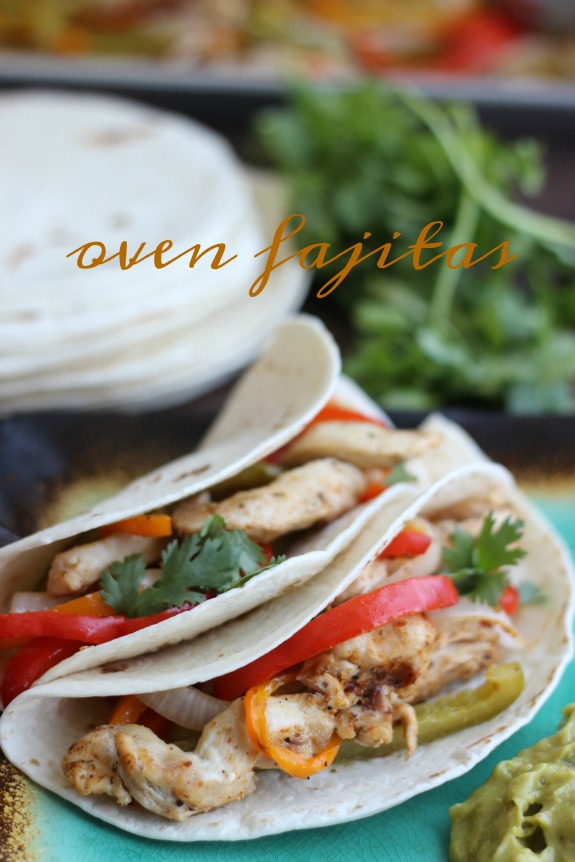
Delicious fajitas that are baked up on a sheet pan! Cook the chicken, peppers and onions all at once! Serve in a soft tortilla with guacamole and sour cream.
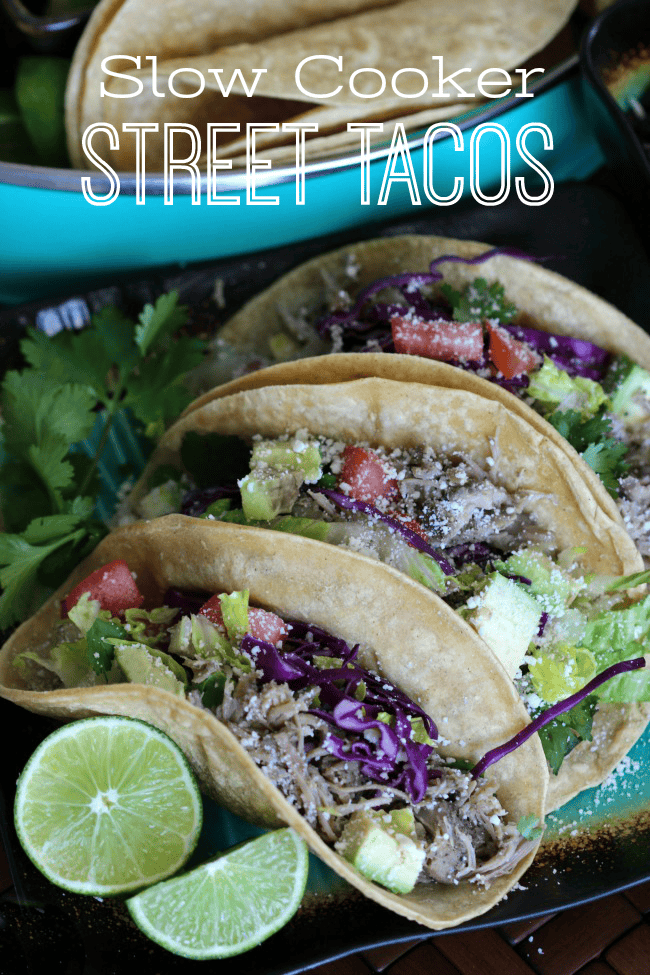
These slow cooker street tacos take just minutes to prepare! The deliciously seasoned carnitas simmer to perfection in the slow cooker. When you are ready to eat simply serve in a warm corn tortilla and top with shredded lettuce, avocados, cilantro, tomatoes and cojita cheese.
Visit my Family-Friendly Recipes board on pinterest for more dinner ideas!


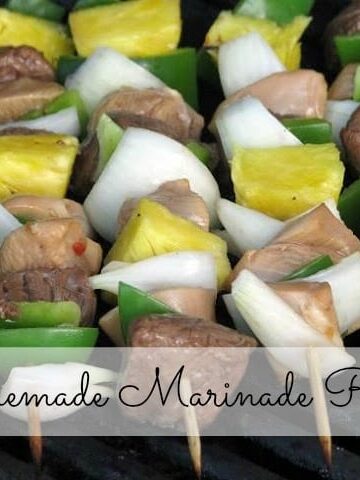
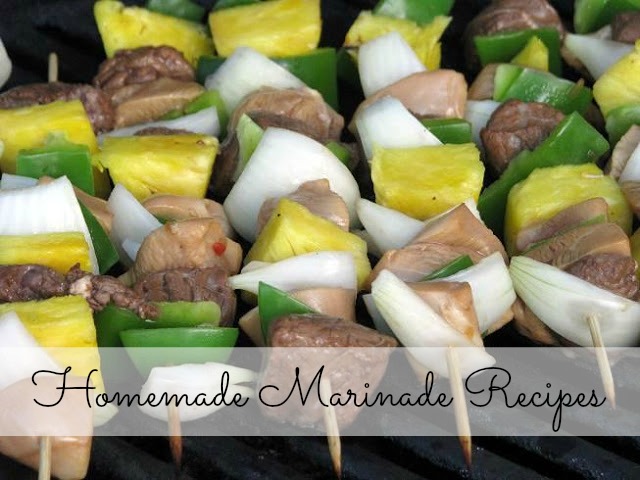
 I have a couple combinations for marinades that we have used for years.