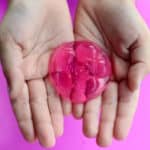
Jiggles like gelatin, but washes like soap! DIY jelly soap is a great project for kids! Use any kind of liquid hand soap for endless scent options!
If your kids like making simple projects like this, they'll love our homemade noise (fart) putty!, gelatin birdseed feeders, or DIY popsicle stick fans!

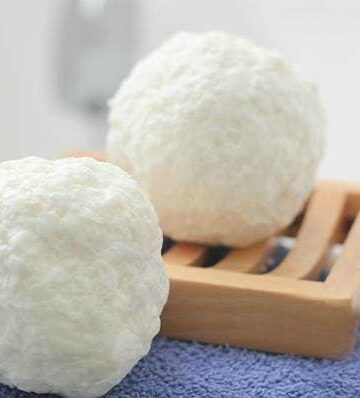
My girls love making homemade soap. We branched off from our easy glycerin soap for kids that we usually make and made jelly soap. It's jiggly, smells great, and suds up while washing with it! The best part was that we already had all of the ingredients.
Why I Like This Project
- Simple supplies. Chances are, you already have everything you need in your pantry and cleaning closet for making your own jelly soap. If not, a quick trip to the store won't set you back more than a few dollars.
- Easy for kids to make. This is a great project for kids ages 8+ to make. If your kids like making slime, they'll have fun making jelly soap---which is virtually mess-free.
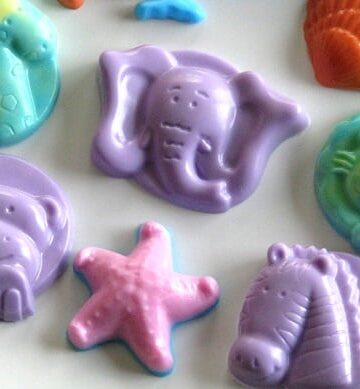
- Fun to use. This gummy soap suds up just like bars of soap, but it's way more fun. It's squishy, can be colored in any hue, and scented however you'd like. As with all soap: KEEP OUT OF REACH OF CHILDREN unless being supervised by an adult.
What Others Are Saying
Thank you so much for sharing this recipe! I may have enjoyed it more than the girls! We used bath/ shower gel, and it turned out great! ---Kelly
This was so easy, and the outcome was fun and perfect. ---Jenni (Pinterest comment)
Jump to:
Tips and Tricks
- Use 2 packets of unflavored gelatin. We've found that by adding an extra packet of unflavored gelatin, the soap is a bit more sturdy. You can make it with one envelope, if that's all you have, but if you have two, go ahead and use both! Here is our adaptation.
- How to remove jelly soap from molds. Silicone molds are the easiest molds to work with when making soap, but you can use plastic molds, too. To loosen, run a butter knife around the edge and gently push from the back to loosen the soap from the mold.
- Store gummy soaps in the refrigerator. You can keep the one that you are using out on the counter or in a dish, but keep any other soaps in the refrigerator for 3-5 days.
- Do not eat. I feel like this doesn't need to be said, but I'll say it. These are not edible. Do not eat the jelly soap.
- How to use jelly soap: The soap feels like gelatin jigglers and smells amazing! Use jelly soap the same way that you'd use liquid soap (wash hands, in the shower, etc). Jelly soap doesn't last as long as bar soap and dissolves quickly. If placed in a bathtub with water, it will dissolve after a minute or two and turn into a bubble bath. The soaps will last 3-5 days in the refrigerator before drying out.
Supplies and Ingredients
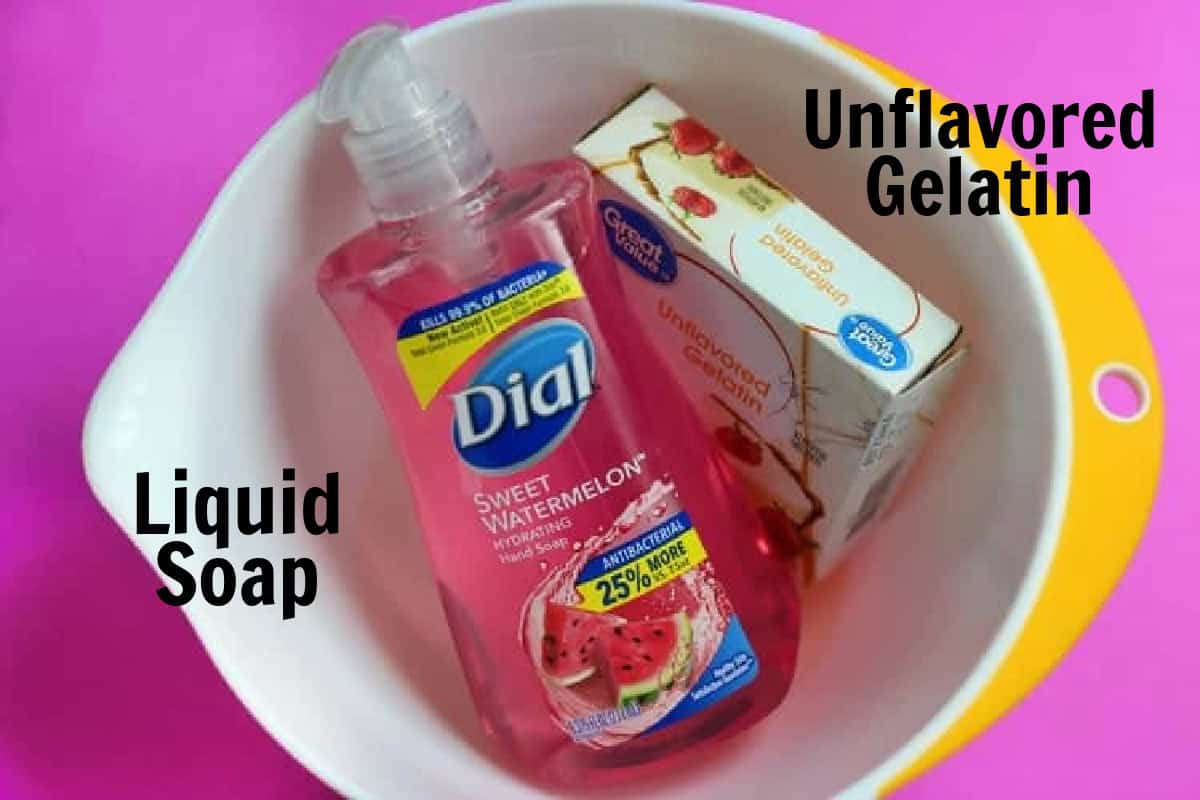
- Unflavored gelatin: Gelatin is what helps the soap set up a bit and gives it the jelly texture.
- Liquid hand soap: You can use hand soap, dish soap or body wash.
- Soap coloring: This is optional, and purely for aesthetic purposes. If your liquid soap is already tinted, the color will show up when it turns into jelly soap. The soap coloring just makes it brighter.
- Soap mold: I used a plastic mold, but silicone molds are often easier to work with.
See the how-to card at the end of the post for full information on supplies and quantities.
How To Make DIY Jelly Soap
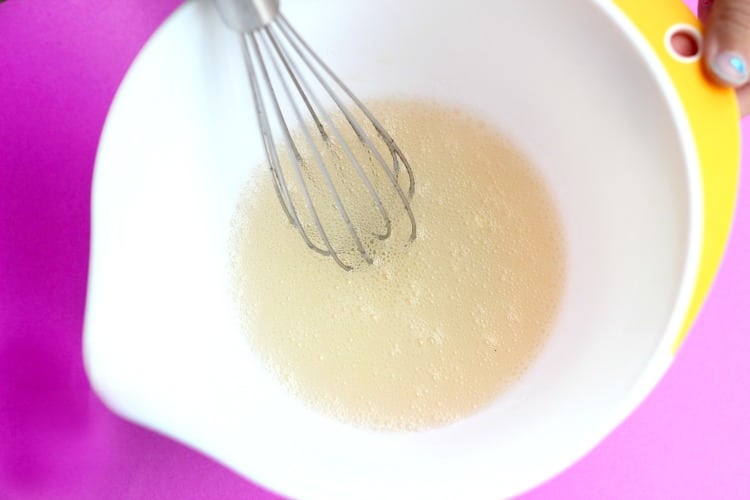
Step 1: In a small pan, bring water to a boil. Add salt and give it a stir. Empty the packets of unflavored gelatin into a small bowl. Add salt water and stir until gelatin is dissolved.
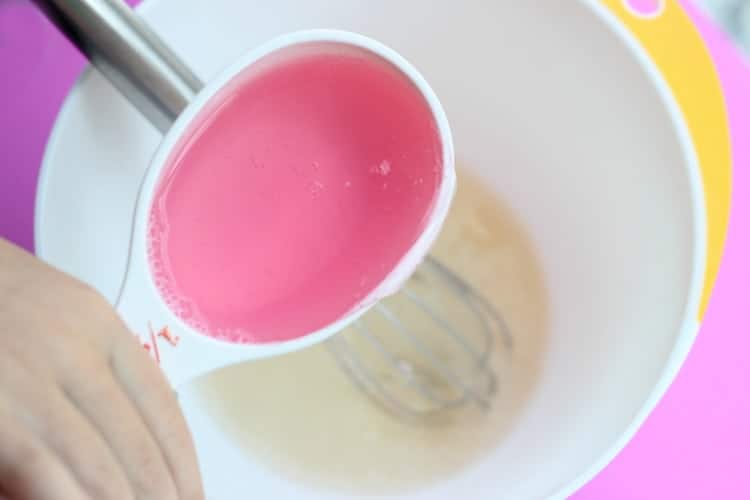
Step 2: Stir in liquid soap. Pour mixture into a measuring cup with a spout. Spoon off any froth/bubbles.

Step 3: Place the soap mold onto a baking sheet.
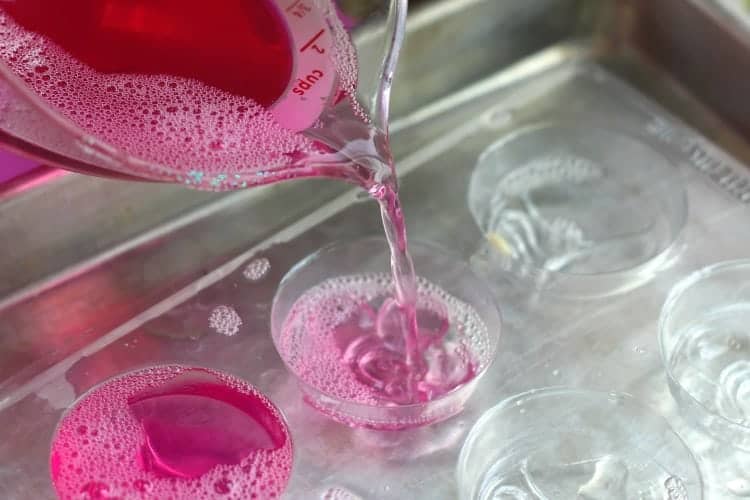
Step 4: Pour the mixture into soap molds. Refrigerate 2 hours.
Step 5: To loosen from a plastic mold, simply run a butter knife around the edge of each soap mold and gently pull the jelly soap out. If you use a silicone mold, gently push from behind and pull the jelly out.
Jelly Soap FAQs
Like gelatin, jelly soap needs to set up in the refrigerator for at least 2 hours.
Jelly soap is not edible. DO NOT eat.
Jelly (or gummy) soap is fun to use while washing your hands. You can also use it in the shower! You can use jelly soap the same way you'd use liquid soap.

More Soaps To Make


MADE THIS CRAFT AND LOVED IT? 💛 Please leave a STAR rating and COMMENT below! Post it to Facebook or Pinterest to easily share with friends!
DIY JELLY SOAP
Equipment
- stove
- baking sheet
- bowl
- whisk
- measuring cups/spoons
Materials
- 2 envelopes unflavored gelatin
- 1 teaspoon salt
- ½ cup boiling water
- ½ cup liquid hand soap
- soap coloring
- soap mold silicone works best
Instructions
- In a small pan, bring water to a boil. Add salt and give it a stir.
- Empty the packets of unflavored gelatin into a small bowl. Add salt water and stir until gelatin is dissolved.
- Stir in soap.
- Add extra coloring (if desired).
- Pour mixture into a measuring cup with a spout. Spoon off any froth/bubbles.Place soap mold onto a baking sheet.
- Pour mixture into soap molds.
- Refrigerate for at least 2 hours.
- To loosen from a plastic mold simply run a butter knife around the edge of each soap mold and gently pull the jelly soap out. If you use a silicone mold, gently push from behind and pull the jelly out.


Lisa says
Hello,
What happens if you don't store them in the fridge?
Brandy says
Hi Lisa! I keep the one that I'm using out in the open and the others in the refrigerator. If your house isn't too warm, they may be fine in an airtight container on the counter. We found they kept their consistency better when cool.
Serena says
This looks like such a fun little project to make and I plan to make this, but I only have gelatin leaves/sheets at the moment. Would they work as well with the same amount as the gelatin powder? Also, would regular food coloring work instead of soap coloring?
Brandy says
Hi Serena! I've never used gelatin sheets so I'm not sure if they can be used in place. You can use food coloring instead of soap coloring. There's no harm in that, but I would use less as it may stain your skin.
Jasmine says
Thank you much its awesome
vicki says
I love this idea and was wondering if I could use jello instead of clear gelatin? It would already have the color in it
Brandy says
Hi Vicki! I'm sure it would still have a setting affect, but am not sure how it would turn out with the sugar in it.
Holly says
Thank you so much for sharing this recipe! I may have enjoyed it more than the girls! We used bath/ shower gel, and it turned out great!
Brandy says
I'm so glad!!
Katie says
Hi i tired it and they came out cute but not too soapy is there a way to make them more soapy ? Or did i not add enough hand soap ?
Thank you
Brandy says
Hi Katie! They set up good, but aren't sudsy? Hmm...I'm not sure. I would imagine adding a little more soap would be ok without affecting the firmness of the soap too much.
dee says
i tried these... and left them in the fridge overnight... they never set enough to get out of the mold... just came out in a jelly blob... what did i do wrong???
Brandy says
Hi Dee! It’s hard to say! We’ve made them a few times, and sometimes they are a little tricky to get out of the mold (because we used a plastic mold instead of a silicone mold once), but they always set up and felt like jello jigglers. I’m sorry I’m not more help!
Courtney Masters says
Cute idea! I am going to use it for our online kids church lessons. During the COVID-19 pandemic, a lot of my kids parents are not able to go out to the store. Is gelatin optional to make the soap? Are they able to just refrigerate the soap in the molds if they are unable to go out and get this item? I know that defeats the purpose of the gummy soap, but to still include those that do not have gelatin I thought they could at least make their own soap bars..
Brandy says
Hi Courtney! Things are so crazy lately. Who knew two months ago that a simple trip to the store would be so hard?! Unfortunately the gelatin is what sets this soap up. Otherwise it's just water and hand soap. I'm sorry!
Michelle says
What size are the packages of gelatin? My kids would love this!
Brandy says
I buy a 1 oz. box that comes with 4 envelopes inside!
Mary says
Love Love this idea! Thanks for sharing.
Lucy says
This looks a great weekend project ☺️
Sandie says
Just in time for birthday treats for grandma 👵🏼
Erin says
Love this project! I had never heard of this. We will definitely try this. Thanks for a great tutorial
Maureen says
This looks like a lot of fun! My son will enjoy this project for sure!
Maureen | http://www.littlemisscasual.com
Lorena says
This sounds like a fun activity to do AND learn a little science as well!
personally, I'm loving the gem soaps, how fun to give as gifts!
Kim~madeinaday says
What a cool idea! #pinned! Thank you for sharing on Merry Monday! Hope to see ya next week!
Kim