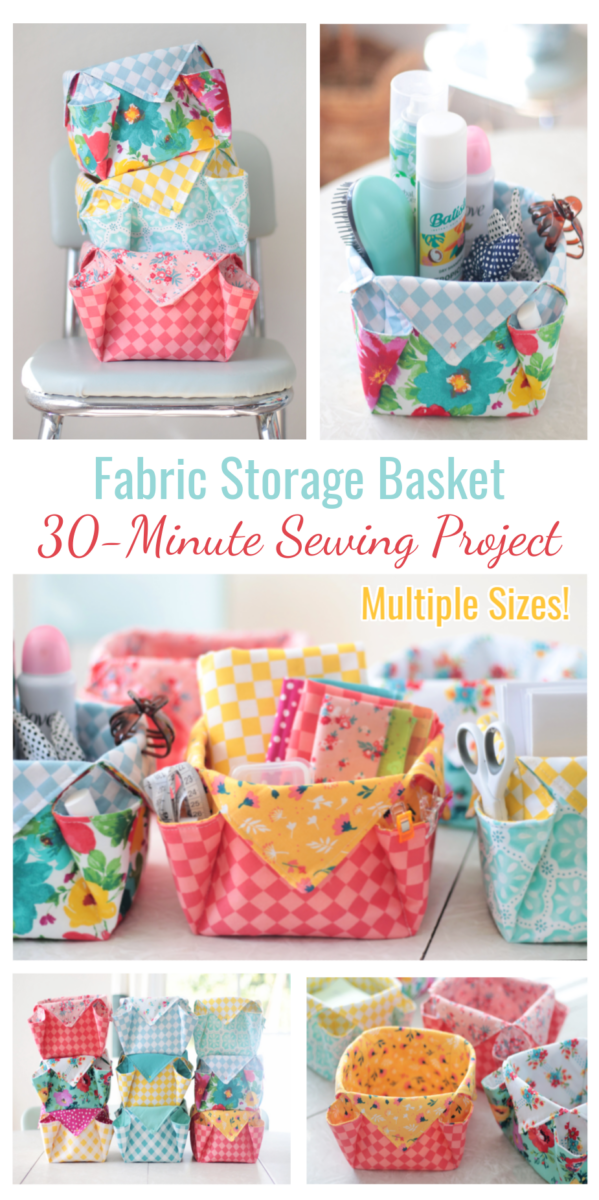
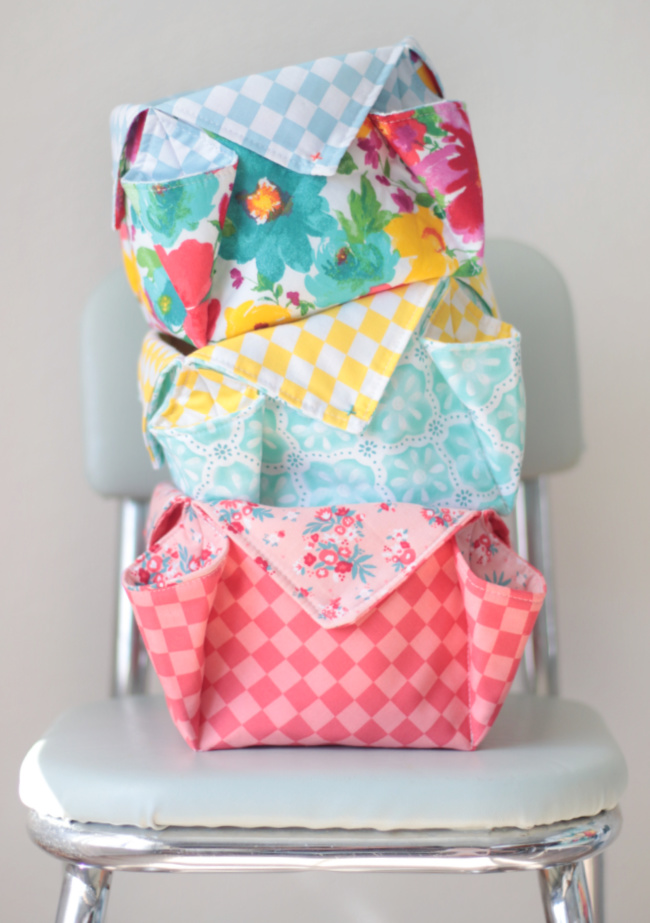
These fabric storage baskets are so easy to make for everyday use! A 30-minute project. Perfect for storing a variety of things and they make great gifts. Follow our guide for making fabric baskets in a variety of sizes! This post contains an affiliate link.
You might also like our DIY fabric basket liner tutorial, our 15-minute pencil pouch tutorial, or our color block cosmetic bag sewing tutorial! Looking for storage for blankets? Check out our blanket ladder tutorial.
Watch our step by step video!
These fabric baskets are so fun to make---you won't be able to make just one! They are a great scrap-buster project, tame clutter, and come together in under 30 minutes.
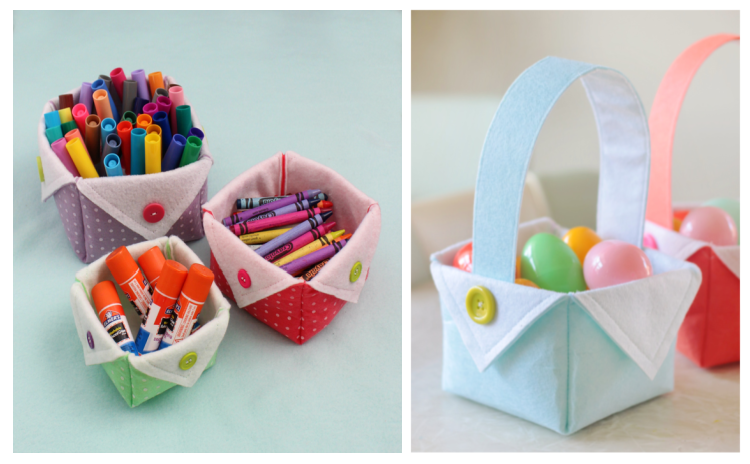
(Nesting boxes from my SEW WITH ME sewing book for kids. 60 projects!)
My kids sewing book has instructions for making nesting fabric baskets very similar to these. I also used this method to make Easter baskets. They are so easy to make and are kind of addicting too. This time instead of using felt I used cotton, and instead of cutting off the side flaps, I turned them into pockets.
Easy Fabric Storage Baskets
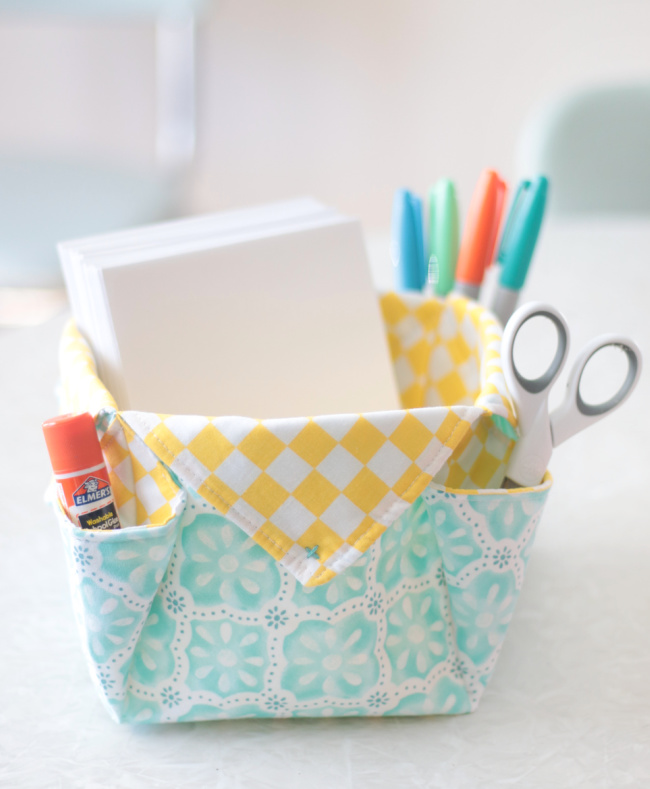
These fabric storage baskets are great storage solutions for cosmetics, art supplies, craft supplies, small toys, and sewing supplies and accessories! They fold flat, are washable, and make great gifts. Use them on a shelf in closets, laundry rooms, bathrooms, offices, and craft rooms! I'm giving these to the teenage girls that I work with at our church as a back-to-school gift. They'll each get to select one to use to tidy up their dresser or desk in their bedroom. I also made them for my daughters. They loved them and got to work filling them with scrunchies and other odds and ends.
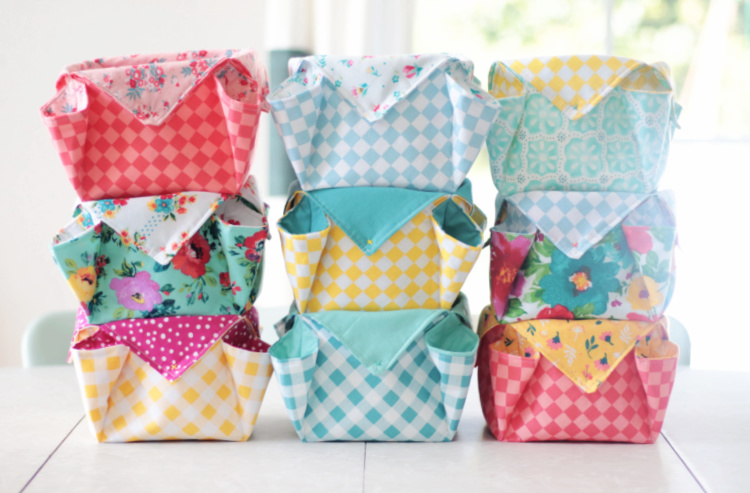
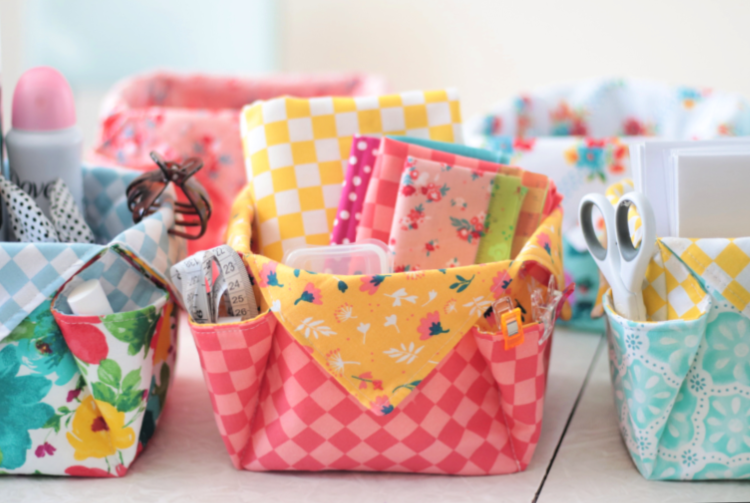
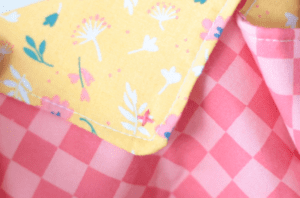
I'm loving the bright prints from The Pioneer Woman. I used a combination of her fat quarter bundles and some checked prints from Joann's to make my stash of baskets. Want to make bigger or smaller baskets? I'll share a simple conversion chart to make this basket in a variety of sizes.
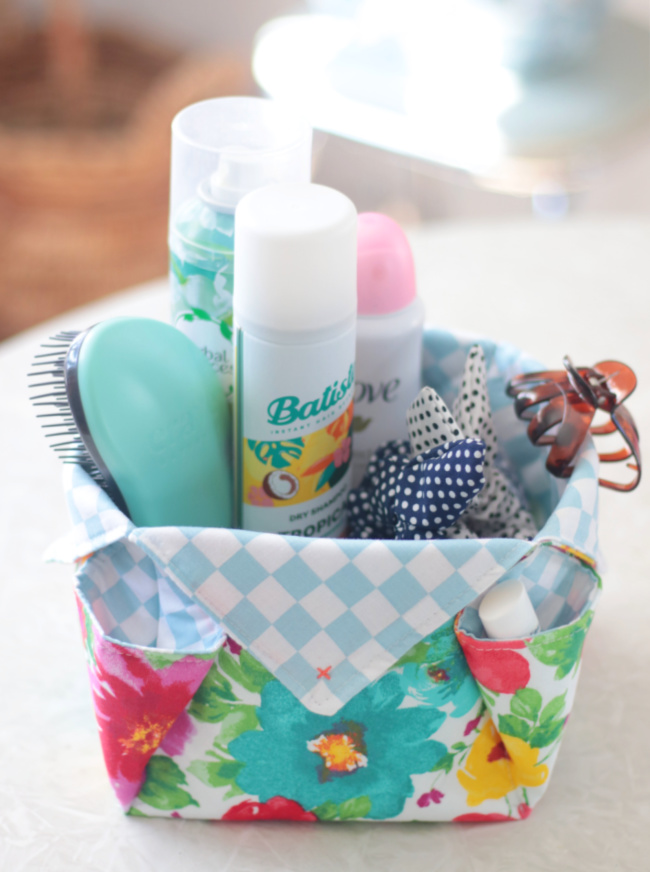
I secured each flap with a simple "x" that I embroidered in a contrasting color. You can add a button if you'd like, but I liked the simplicity of the "x".
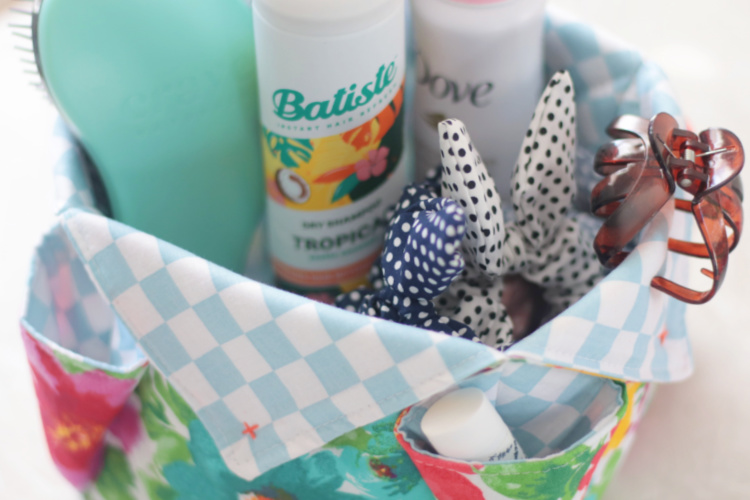
I was surprised with how much fit in this little 7" basket. It's sturdy and holds its shape great. If I were to make a bigger basket (10"+) I'd probably add a second piece of interfacing for more stability. I like using fusible fleece interfacing. It's soft and stable without making the project feel stiff. It also works great for quilting. I simply ironed it to the back of one of the squares of fabric before sewing the two squares together. You can use felt as an alternative to fleece and use basting spray to attach it to the back of the fabric or simply cut it to the same size as your fabric and sew it when you sew your fabric together.
Ready to make a basket? Or 2 or 10 of them? Maybe a trio in different sizes? Let's get started!

Fabric Storage Basket Specifications
(scroll to the end for a step by step tutorial and make sure to watch our video.)
Project time: 30 minutes
Skill Level: Beginner
Seam Allowance: ⅜"
Top Stitching: ¼"
Finished size: 7" (see cutting guide for other sizes)
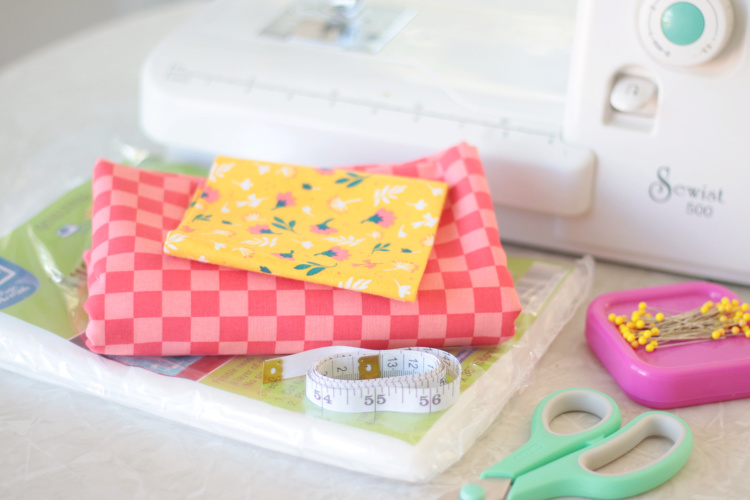
Sewing Supplies
This tutorial will make a 7" wide basket. For a different size refer to the cutting guide below.
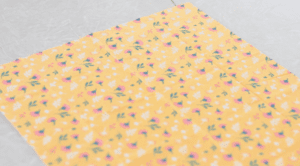
- 2 (16") squares of fabric
- 1 (15 ½") square of fusible fleece interfacing
- sewing thread
- embroidery thread
Equipment
- sewing machine
- iron and ironing board
- scissors or rotary cutter
- measuring tape
- pins
- sewing needle
- ruler/straight edge
- sewing/fabric pen (disappearing ink)/pencil
Recommended Fabrics for Baskets
- cotton fabrics (quilting, broadcloth, calico prints) are a great choice!
- lightweight denim
- lightweight corduroy
- home decor prints
Cutting Guide for Basket Sizes
Interfacing should be ½" smaller than the fabric squares.
- 5" basket: 12" squares of fabric, 2.5" corners
- 6" basket: 14" squares of fabric, 3" corners
- 7" basket: 16" squares of fabric, 3.5" corners
- 8" basket: 18" squares of fabric, 4" corners
- 9" basket: 20" squares of fabric, 4.5" corners
- 10" basket: 22" squares of fabric, 5" corners
A Few Notes
- To make other sizes take the size you want your finished basket to be, multiply that number by 2 and add 2 to get the square size. The corner size is half of the finished measurement size. For example: for a 6" basket you'll multiply 6x2 and then add 2 to get 14" squares of fabric. Then 6/2= 3" corners.
- I've made these in all different sizes and have found that 5" is about as small as I like to make them. Any smaller and the side pockets would be too small to actually use.
- You can use a piece of interfacing the same size as the fabric squares if you'd like. Having it slightly smaller reduces some of the bulk when pressing it flat, but I've made these both ways and the baskets turn out either way!
- Felt also works well as a stabilizer. It isn't fusible, but you can attach it using basting spray or simply cut the felt to the same size as the fabric and sew it all together when you sew around the perimeter. I've made baskets with felt and fusible fleece. I prefer fusible fleece, but felt is a great alternative.
How To Make an Easy Storage Basket

Fabric Storage Baskets
Equipment
- sewing machine
- iron
- ironing board
- pins
- sewing pen (disappearing ink)
- ruler or straight edge
- sewing needle
- measuring tape
Materials
- 2 16" squares of fabric
- 1 15.5" piece of fusible fleece interfacing
- embroidery thread
- thread
Instructions
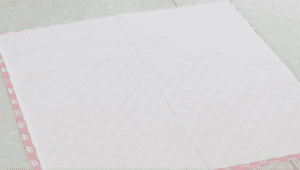
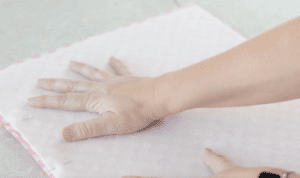
- Place fusible fleece square on top of one of the 16" squares of fabric (on the back/wrong side of the fabric.)Iron interfacing in place.

- Place the other square of fabric onto your work surface (right side up).

- Place the fabric fused with interfacing on top with right sides together and interfacing on top.

- Place two straight pins on one side, 4" apart.
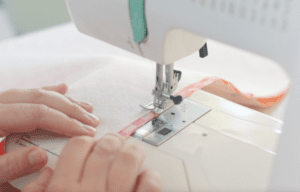
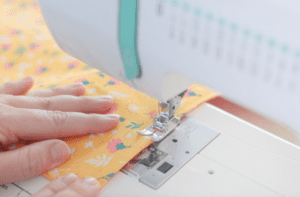
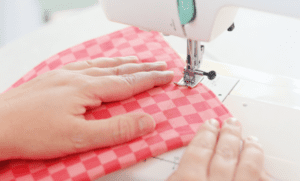
- Starting at one straight pin, sew a ⅜" seam around the entire perimeter, ending at the second straight pin.

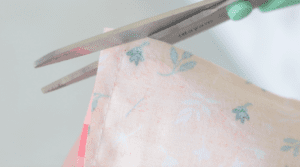
- Clip corners to reduce bulk.

- Turn right side out. Press seams flat and poke out corners so that they are pointy.

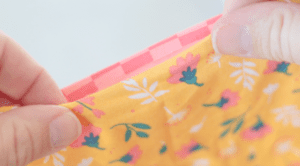
- Fold the edges of the 4" opening over and pin in place.
- Top stitch around the entire square. This will give it a finished look and close off the opening where you turned it right side out.

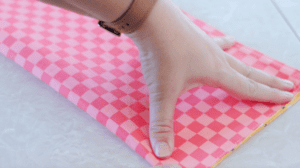
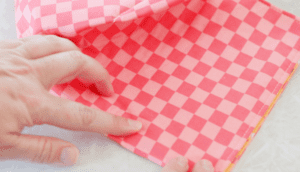
- Fold the finished square in half.

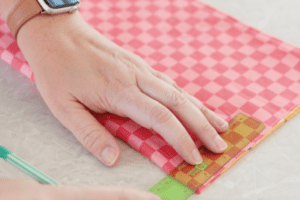
- Make 2 markings 3.5" up from one corner and 3.5" to the left of the corner, along the bottom.Use a straight edge to draw a line connecting the two dots. This should create a triangle in the corner. Note: My daughter misplaced my sewing pen so I used a pencil. You don’t really notice the light pencil markings when it’s finished, but a sewing pen with disappearing ink works best! You can also simply make two dots and eyeball it as you sew.

- Stitch along the line from one dot to the other. Repeat this step on the other corner.

- Fold the square the opposite way and repeat the steps of marking the sides and bottom, connecting the dots and sewing across the line for the other two corners.

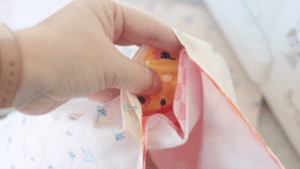
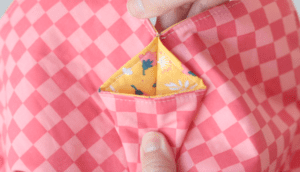
- Flatten each corner to create a pocket.
- Tack down the top of each pocket by sewing over the top stitched seam.

- Fold flaps over and pin into place.

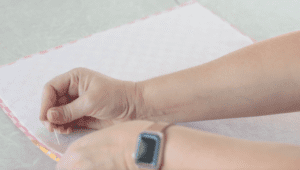
- Secure flap by hand stitching an "x" onto each one. Note: I started and ended my x's under the flap to hide the knots, but you don't have to do that.

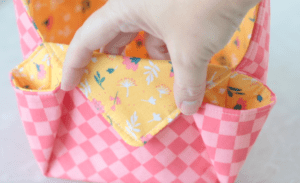
- Your fabric basket is now complete. Admire your work and make a second one! 🙂


Video
Notes
- 5" basket: 12" squares of fabric, 2.5" corners
- 6" basket: 14" squares of fabric, 3" corners
- 7" basket: 16" squares of fabric, 3.5" corners
- 8" basket: 18" squares of fabric, 4" corners
- 9" basket: 20" squares of fabric, 4.5" corners
- 10" basket: 22" squares of fabric, 5" corners
- To make other sizes take the size you want your finished basket to be, multiply that number by 2 and add 2 to get the square size. The corner size is half of the finished measurement size. For example: for a 6" basket you'll multiply 6x2 and then add 2 to get 14" squares of fabric. Then 6/2= 3" corners.
- I've made these in all different sizes and have found that 5" is about as small as I like to make them. Any smaller and the side pockets would be too small to actually use.
- You can use a piece of interfacing the same size as the fabric squares if you'd like. Having it slightly smaller reduces some of the bulk when pressing it flat, but I've made these both ways and the baskets turn out either way!
- Felt also works well as a stabilizer. It isn't fusible, but you can attach it using basting spray or simply cut the felt to the same size as the fabric and sew it all together when you sew around the perimeter. I've made baskets with felt and fusible fleece. I prefer fusible fleece, but felt is a great alternative.


Leave a Reply