Every baby deserves a soft, cuddly, handmade blanket just for them. I love making baby blankets, especially receiving blankets. Lately I have found my love for working with knit fabrics. I didn't think that would ever happen, but I have found that knit actually isn't that hard to work with. If you find the right weight. I like sticking with light-medium or medium weight knits. They don't curl as you sew and the medium ones feel like I'm sewing cotton.

Dallin's teacher is pregnant with her first baby. She loves owls and has them all over their classroom. So that is where the scheme for this blanket came from. Owls are very easy to find these days! I received a knit "burrito" blanket with Dallin and loved it. All of my babies loved to be swaddled. The burrito blanket stretched and stayed put. A nice little baby burrito. Using the same technique as I did in the Flannel Baby Blanket tutorial, I got started on Mrs. Darnell's blanket.
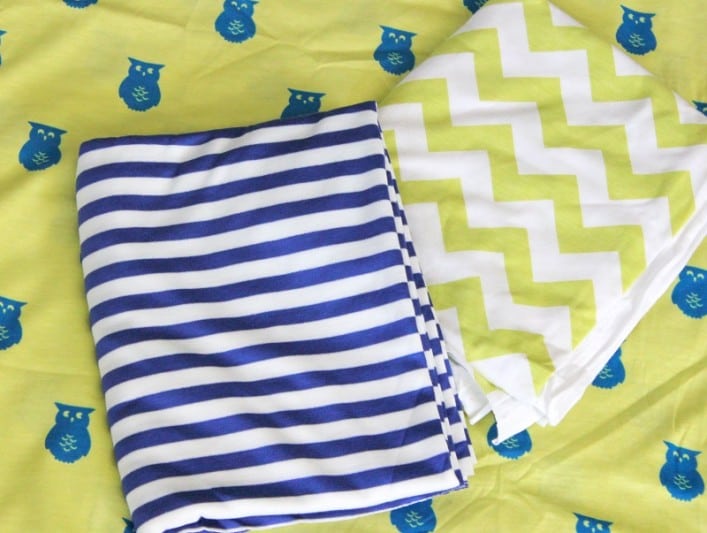
I found these 3 coordinating knit prints from Girl Charlee fabrics.
{The fabrics I used were Linden Green Chevron, Linden Green Owls, and Royal Blue/White Stripe Ponte de Roma.}
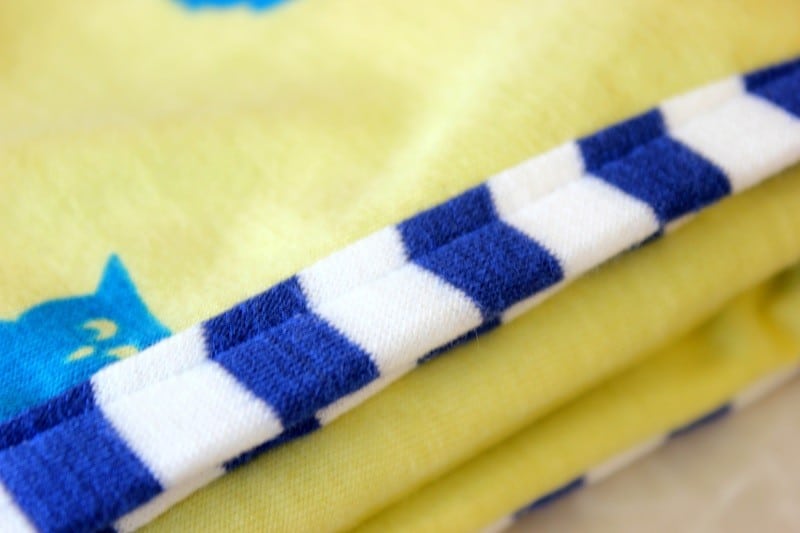
I used the striped knit for my bias tape, which actually isn't cut on the bias so it is just trim. Since knit is nice and stretchy, I just cut it in strips, pressed it and pinned it around the edges of the blanket.
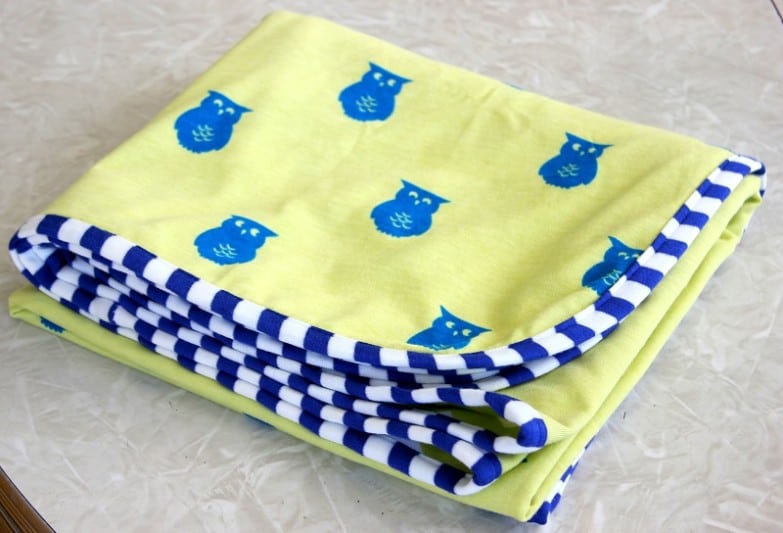
In no time, this blanket was finished and we couldn't wait to give it to her.
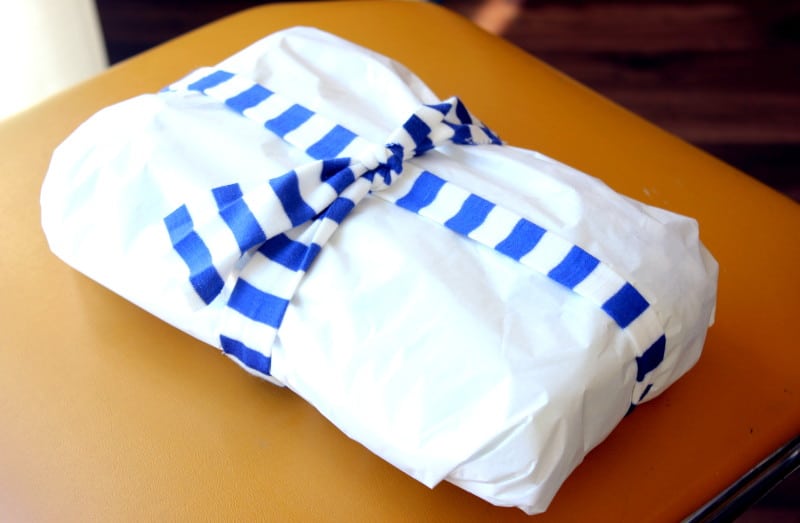
Wrapped in tissue paper and some extra scraps of trim, we headed to school to drop it off before she went on maternity leave. She absolutely loved it. We can't wait to see pictures of her new bundle of joy!
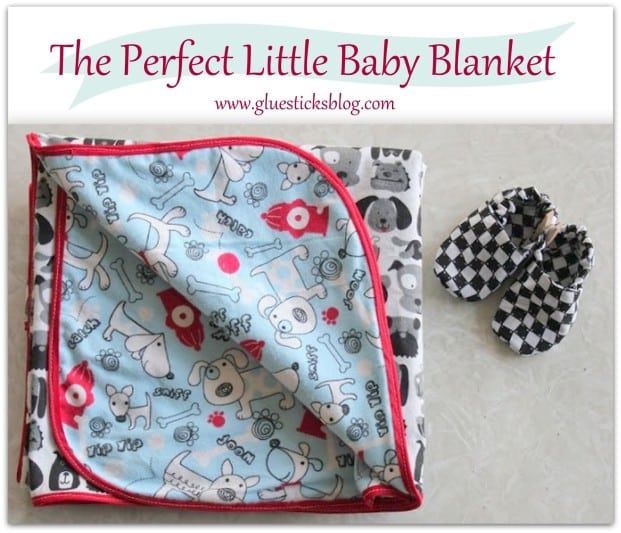
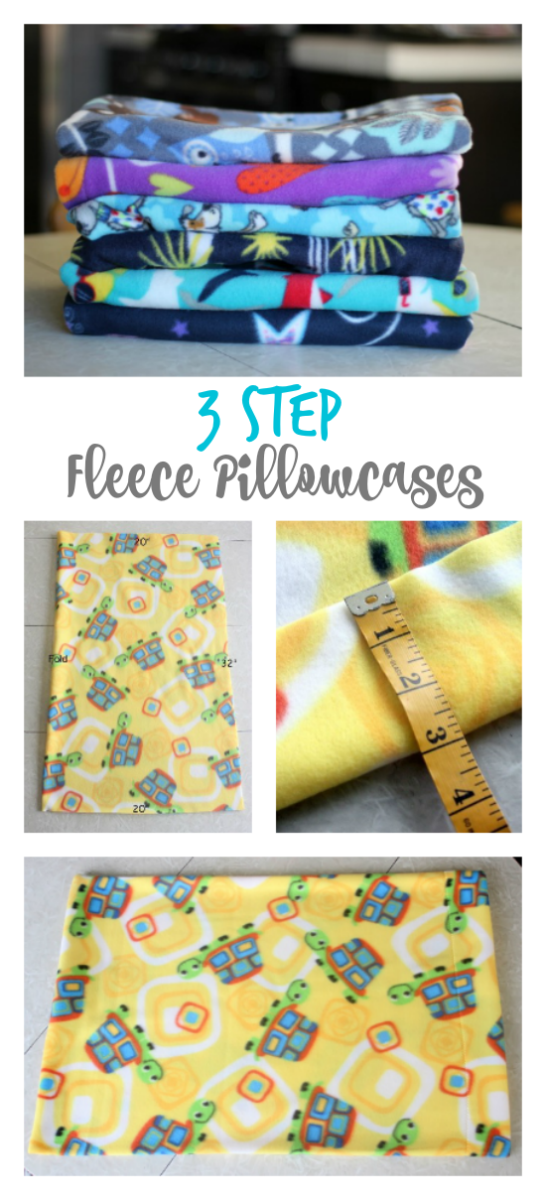
To make your own darling knit or flannel receiving blanket you can follow my quick tutorial here!