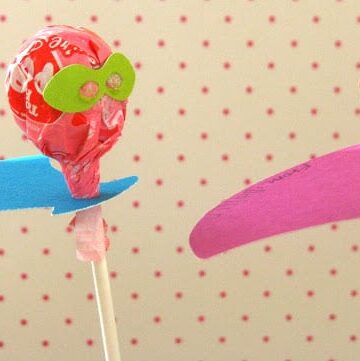
We decided to get a head start on our Valentines this year. Which was probably a good idea since I am organizing the kindergarten Valentine's Day party as well. These SUPER POPS were super easy to make, especially if you have a cricut, but if you don't, you can still make them too. See this inspiration via pinterest. Since I had the cricut paper doll cartridge I opted not to do the printable version and save time on cutting.
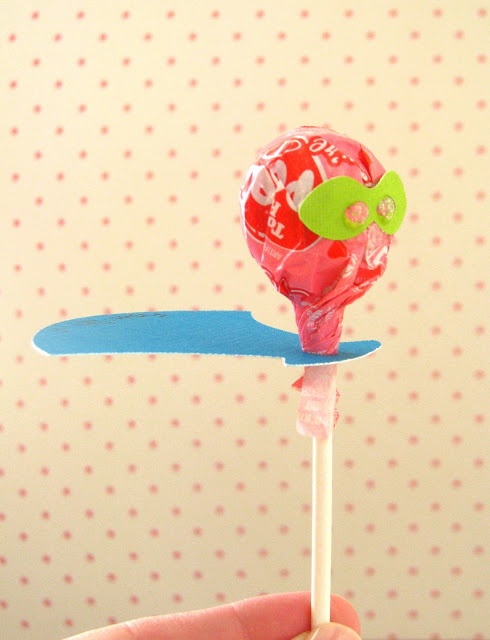
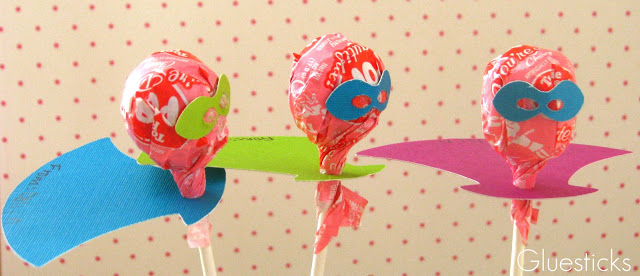
I cut out capes using the 4" settings (do NOT have it set to real dial size). And masks in the 4" setting as well. Then I hot glued the masks on and hole punched the capes so that the stick could easily slide through.
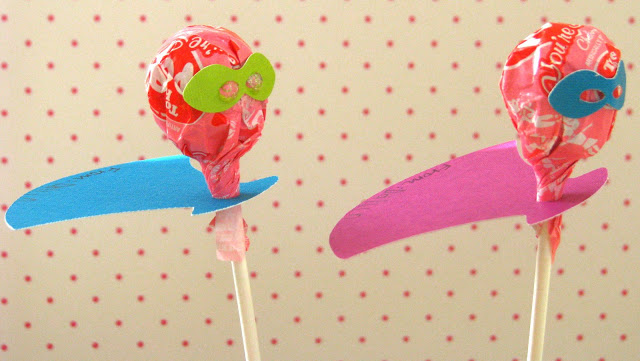
We kept the capes super simple and the boys just wrote From: Dallin/Aaron on each one.
They think they are pretty silly and I have to admit, they make me laugh too.